Journey with Confidence RV GPS App RV Trip Planner RV LIFE Campground Reviews RV Maintenance Take a Speed Test Free 7 Day Trial ×


Reply
 
Thread Tools Display Modes
 
Old 01-11-2019, 01:01 PM   #21
Orv
Senior Member
 
Join Date: Sep 2018
Posts: 624
Garage
That is, believe it or not, the way that small non-structural cracks are dealt with on aircraft. Drill a hole at the end to eliminate the stress concentration from the sharp point, then if necessary attach a doubler plate.

I have a hunch this is due to the van body flexing while driving. I feel like getting in and out of the bunk wouldn't be enough stress cycles to propagate a crack that far, but I could be wrong. These bodies don't have a lot of stiffness in the roof area, and adding a penthouse top cuts out a lot of the reinforcing members. Westfalia conversions used to have a thick L-channel all the way around the opening for that reason (but those were unibodies, and so subject to more structural load.)

It could easily start at any rough edge or notch where the metal was cut.

__________________
N8SRE
1990 E-250 Sportsmobile w/ penthouse top, converted when new by SMB Texas.
Orv is offline   Reply With Quote
Old 01-11-2019, 02:46 PM   #22
Senior Member
 
shenrie's Avatar
 
Join Date: Nov 2012
Location: boise idaho
Posts: 2,625
Garage
I was always told to drill holes for the corners and then cut to the holes. That way you don’t leave a weak point for a stressed area to start cracking from.

From the handful of pix posted on this forum of the cuts under smb installs I’m surprised we don’t see this more.
__________________
"understeer is when you hit the wall with the front of your car, oversteer is when you hit the wall with the rear of your car, horsepower is how hard your car hits the wall, and torque is how far your car moves the wall."
shenrie is offline   Reply With Quote
Old 09-03-2020, 03:08 PM   #23
Senior Member
 
vandiesel's Avatar
 
Join Date: Oct 2009
Location: Portland, OR
Posts: 1,257
Garage
Quote:
Originally Posted by John and Dana View Post
I am looking a repair this same issue only I live in Seattle and driving my van to Fresno and taking a week off work or shipping the van for a repair are not a feasible options.

I have had two plates made by a local fab shop that match the curvature of the van roof and will span from the buytl sealant to just shy of the rain gutter. My plan is to use a combination of 3M structural auto body adhesive and water proof pop rivets to secure the plates. The only thing I am not sure of is if the van roof is single of double wall construction. I remember reading the Ford vans had a double wall body which makes them stiffer but don't know if this only applies to the side or to both the roof an sides. It will make a difference in which pop rivets is order.

Does anyone see any potential pitfalls with my plan?


I appreciate any and all feedback.

Thanks
John

John, Reviving this thread. I have the same scenario as what you described. Did you ever perform this repair? Can you report on the outcome?
__________________
2001 Ford RB 7.3 Quadvan (sold)
2006 Sportsmobile EB Transformer 6.0
vandiesel is offline   Reply With Quote
Old 09-17-2020, 02:10 PM   #24
Senior Member
 
John and Dana's Avatar
 
Join Date: Feb 2008
Location: Normandy Park, WA
Posts: 364
Orv, thank you for the poke, I meant to post an update to my repair but life got in the way. I am very happy with how easy the repair was to complete and how it turned out.

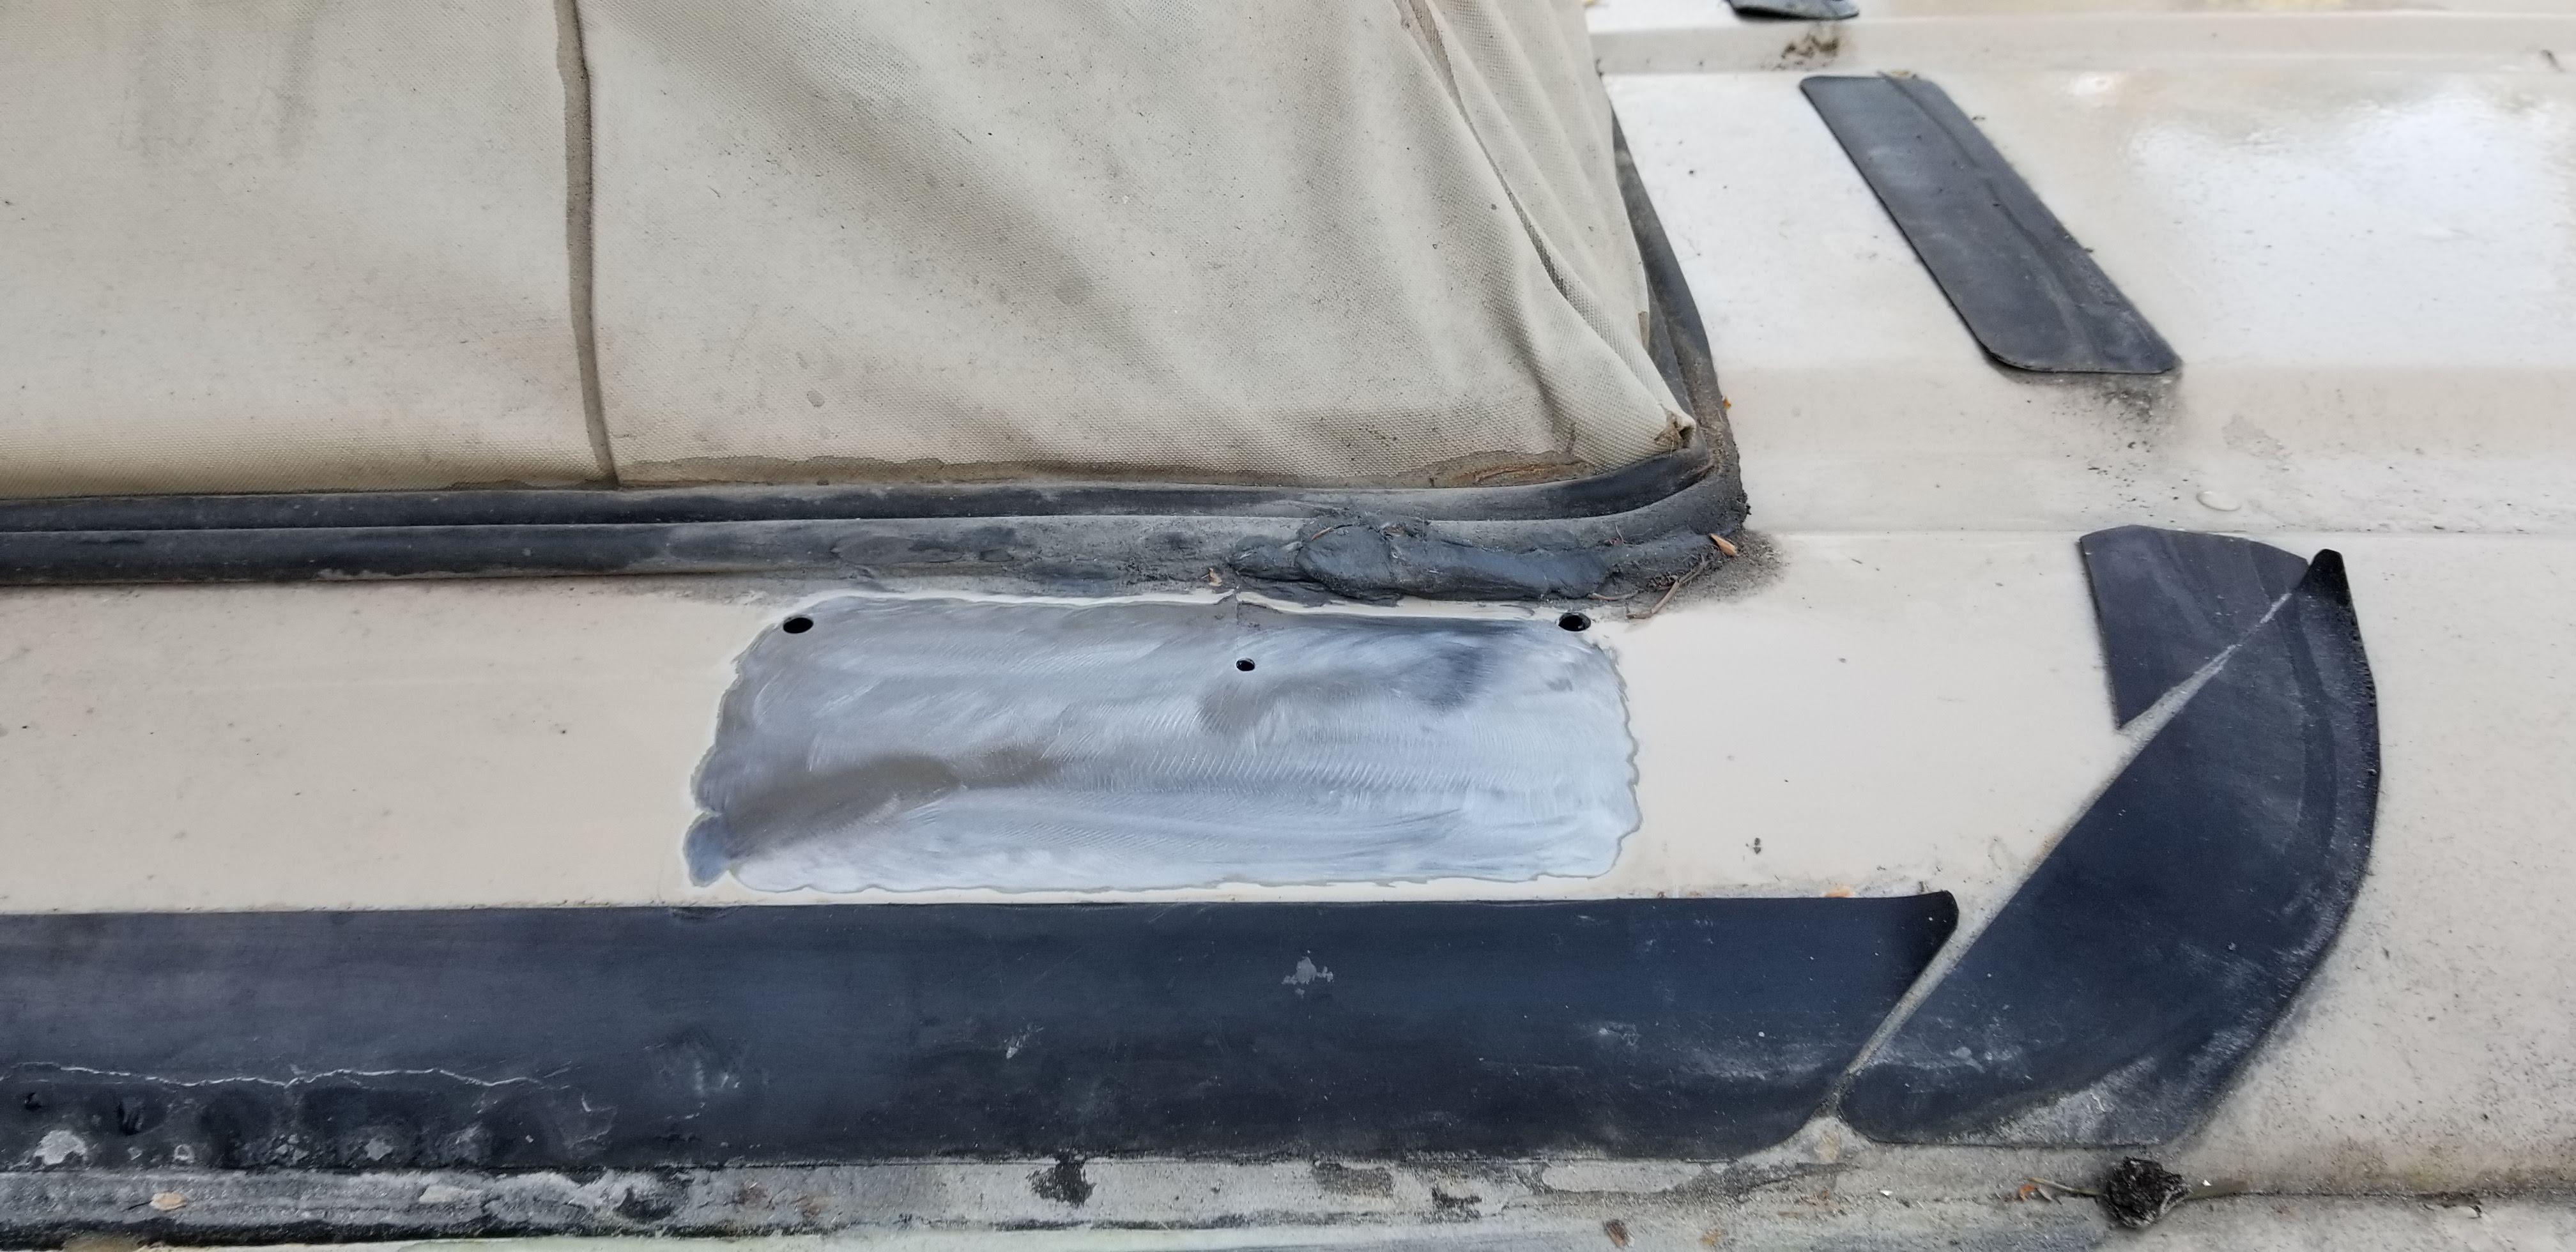
I had plates made by a local fab shop that were radiused to the contour of the van roof. They were not an exact match but close enough that I was able to pull them in place with the rivets. I painted the plates to match the van body before installing them.


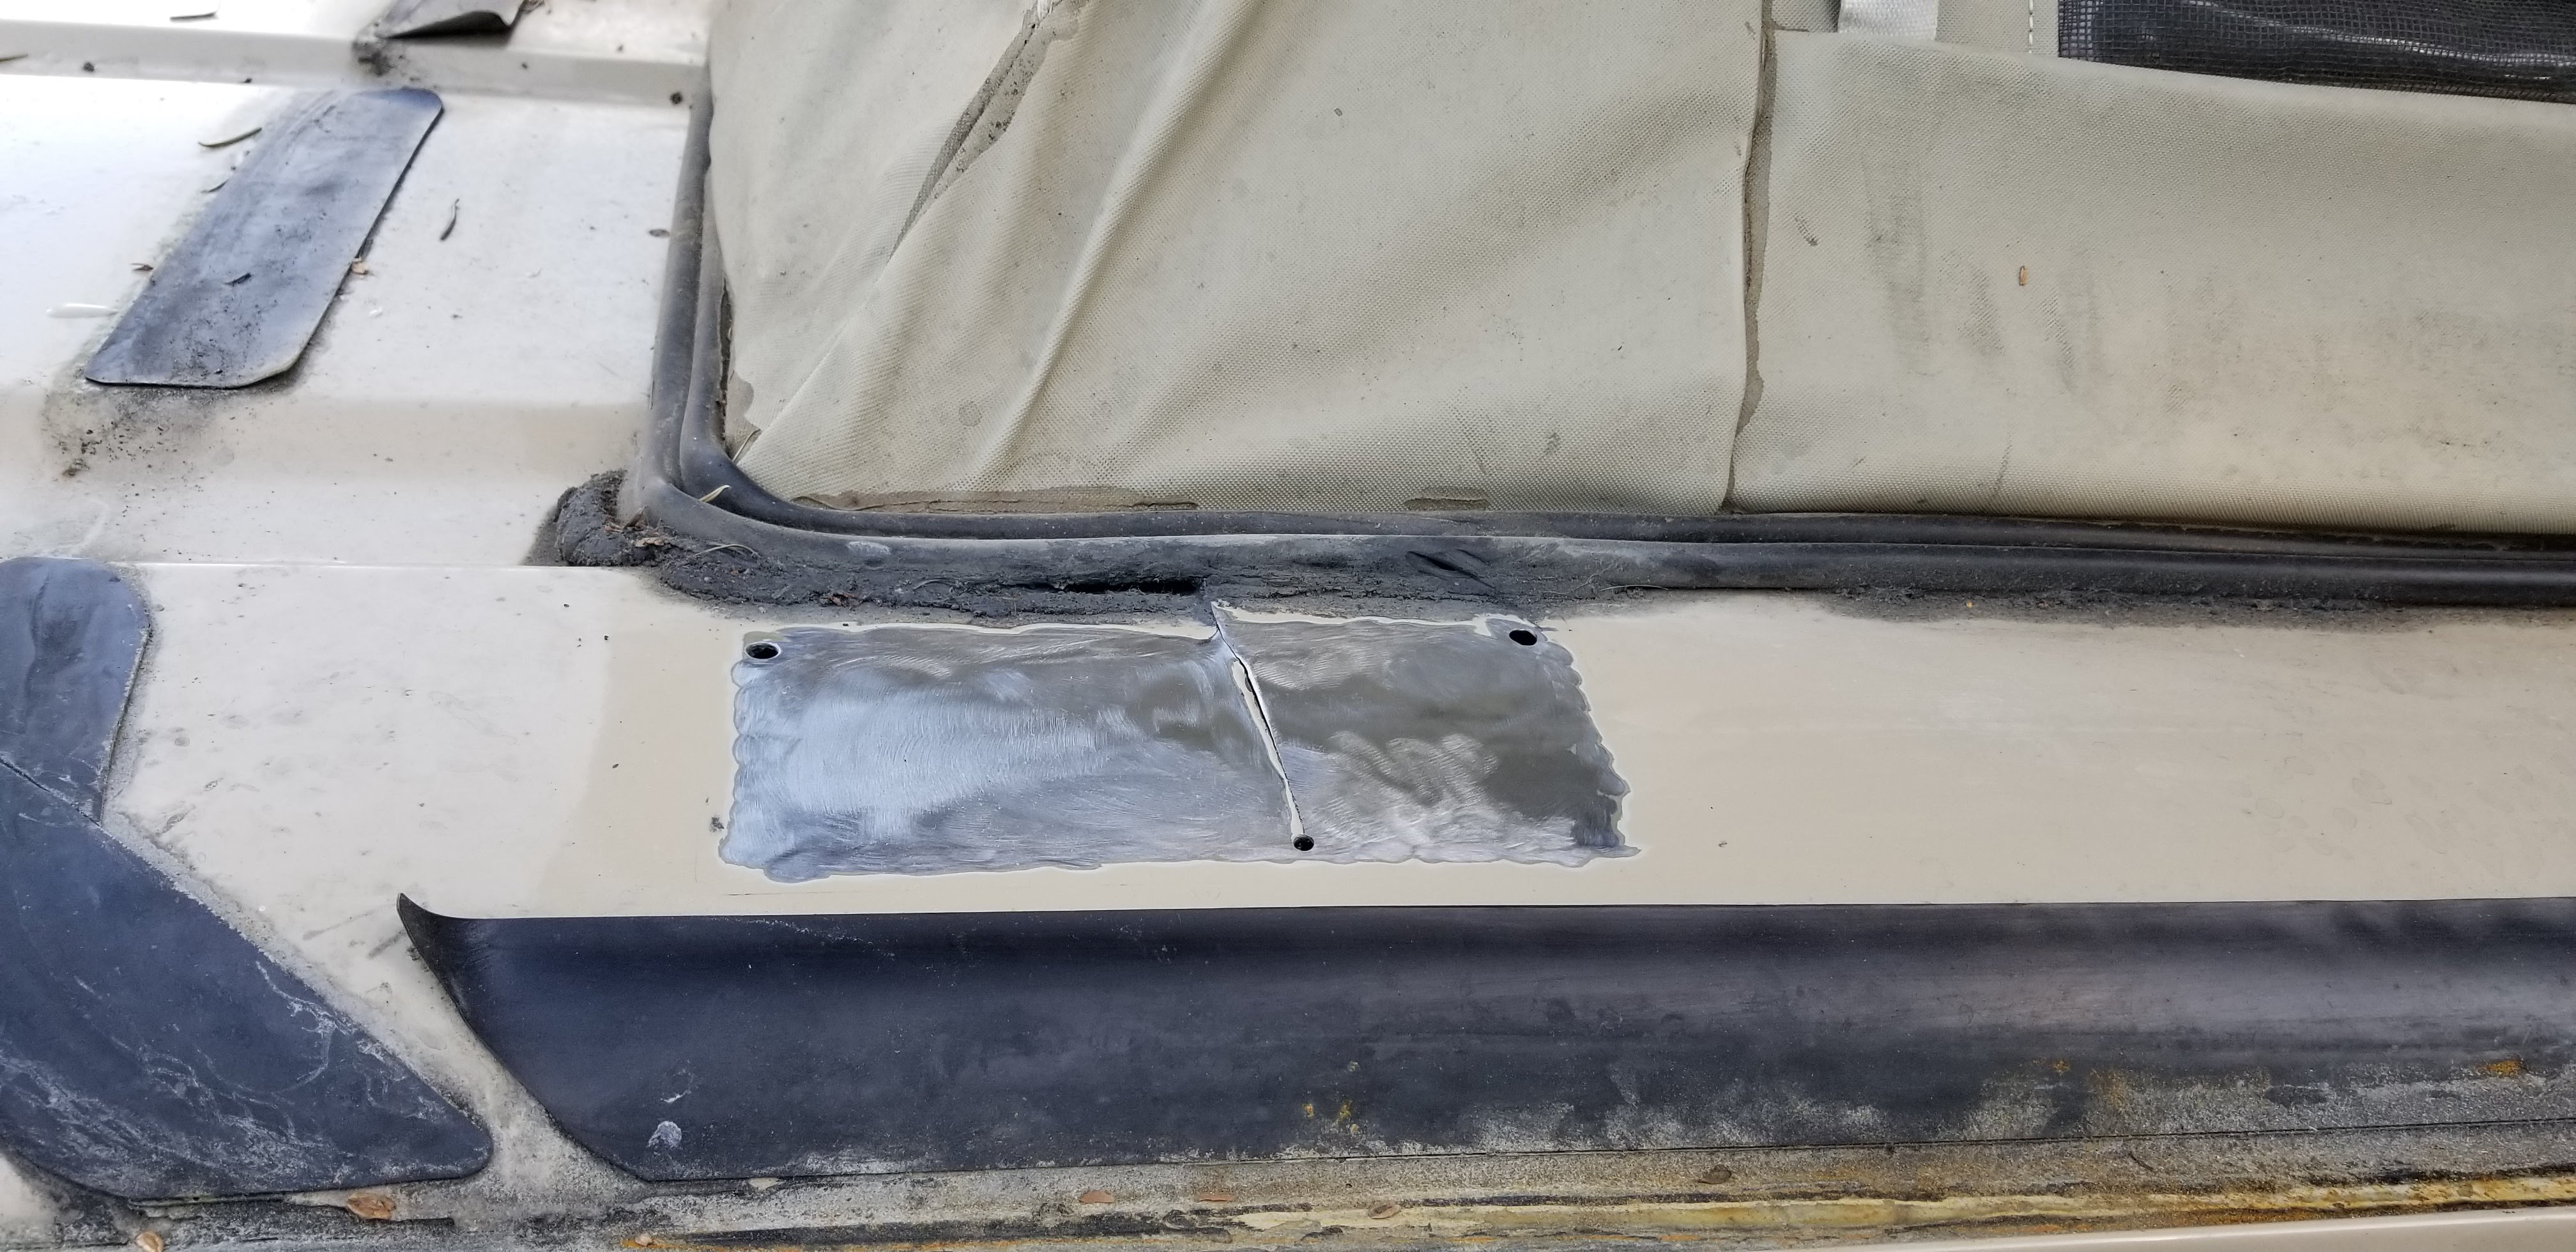
I used a small die grinder and 3M abrasive pads to remove the paint down to bare metal. I drew an outline of the area the plates would cover and ground the paint off to within 1/4 inch of the edge of the plate. I wanted to be sure I didn't take paint past the plates to keep rust from forming.

I drilled small 1/8" holes at the ends of the cracks before installing plate to keep the cracks from continuing.


I used 3M 08115 auto body adhesive. This is used to adhere body panels and bumper panels and has a 3000 psi breaking strength. This is a 2 part epoxy and it requires a special applicator that mixes the parts as it is pressed out. I purchased both at a local auto body and paint supply store. The adhesive and applicator are also available on Amazon. There are aftermarket applicators which are cheaper than the 3M applicator but I wanted the project to go smoothly so I went with the 3M applicator.


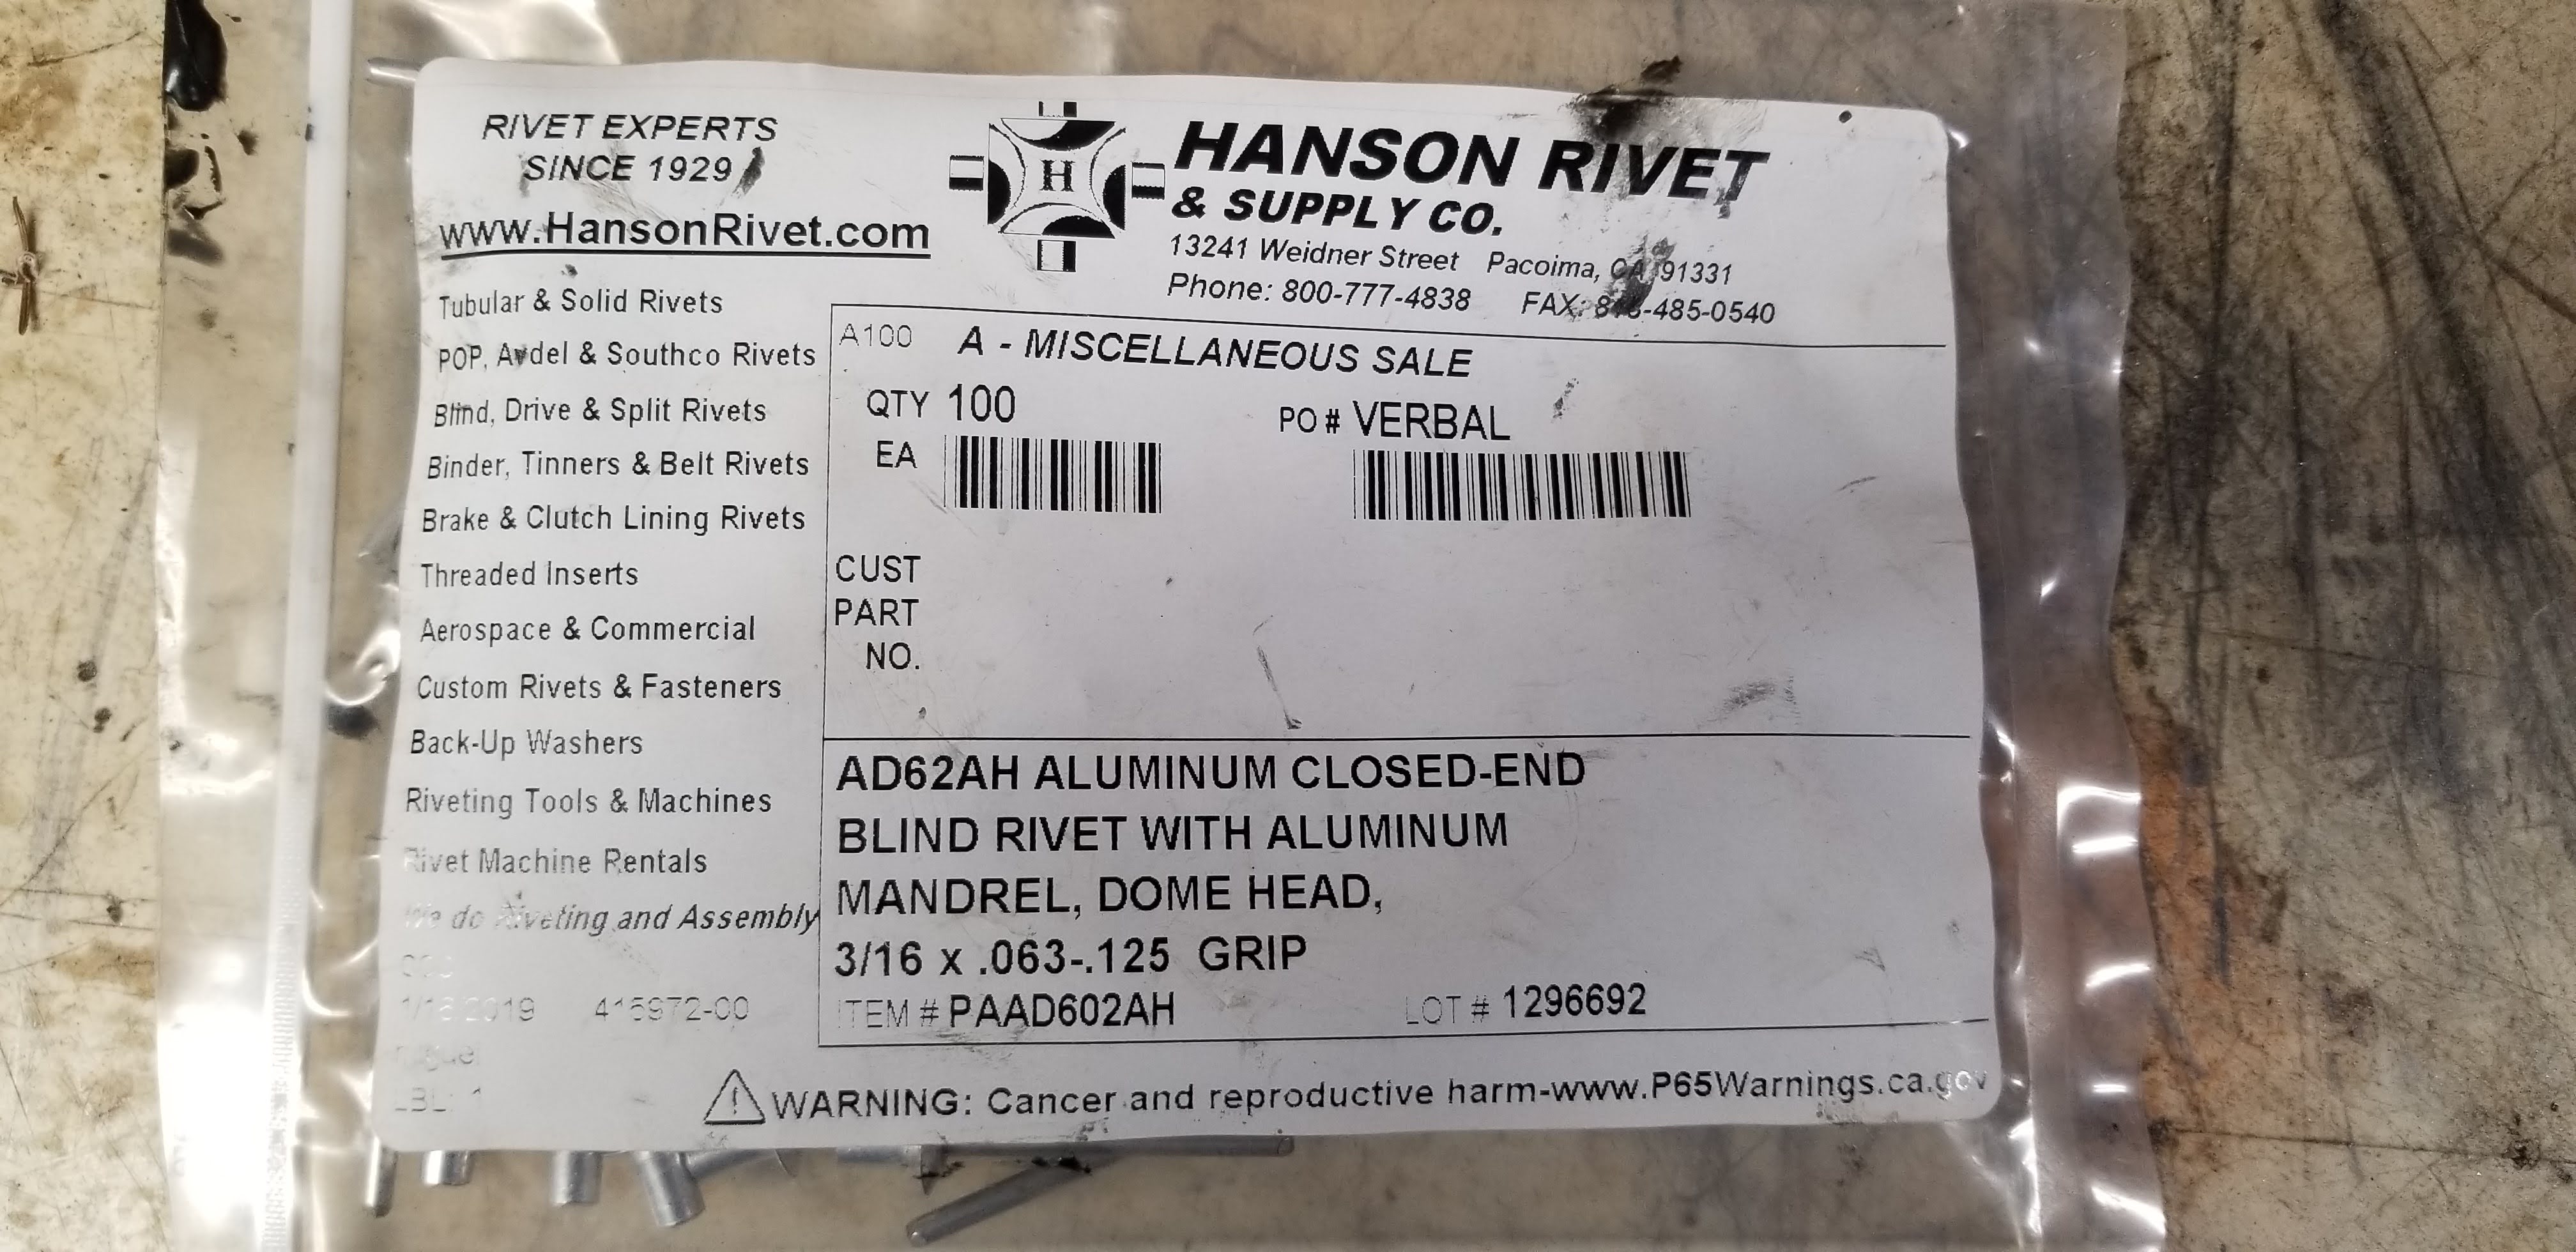
I ordered 3/16 closed end rivets with a grip of .63-.125. I brought them through Hansen Rivets, www.hansonrivet.com. It is important to use closed end rivets to prevent water from leaking through the rivets. Most of the rivets you will find at local hardware store are open which could cause leaks.


I pre-drilled holes in the plates and two holes in the van body at the top corner of each plate to align the plates. I drilled the remaining holes as I installed rivets. This was because the plates didn't exactly match the curve of the van body and I wanted to avoid alignment problems.

I spread a generous amount of adhesive on the van body. I used a 1" plastic putty knife to evenly spread the adhesive over the area. This stuff is super sticky and you will need adhesive remover for the excess that comes out as you rivet the plate in place. There is a 3M adhesive remover specified on the package, which I didn't buy, but I found that Goo Gone did a great job of removing the excess.

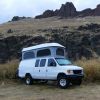
Here are photos of the completed repair.


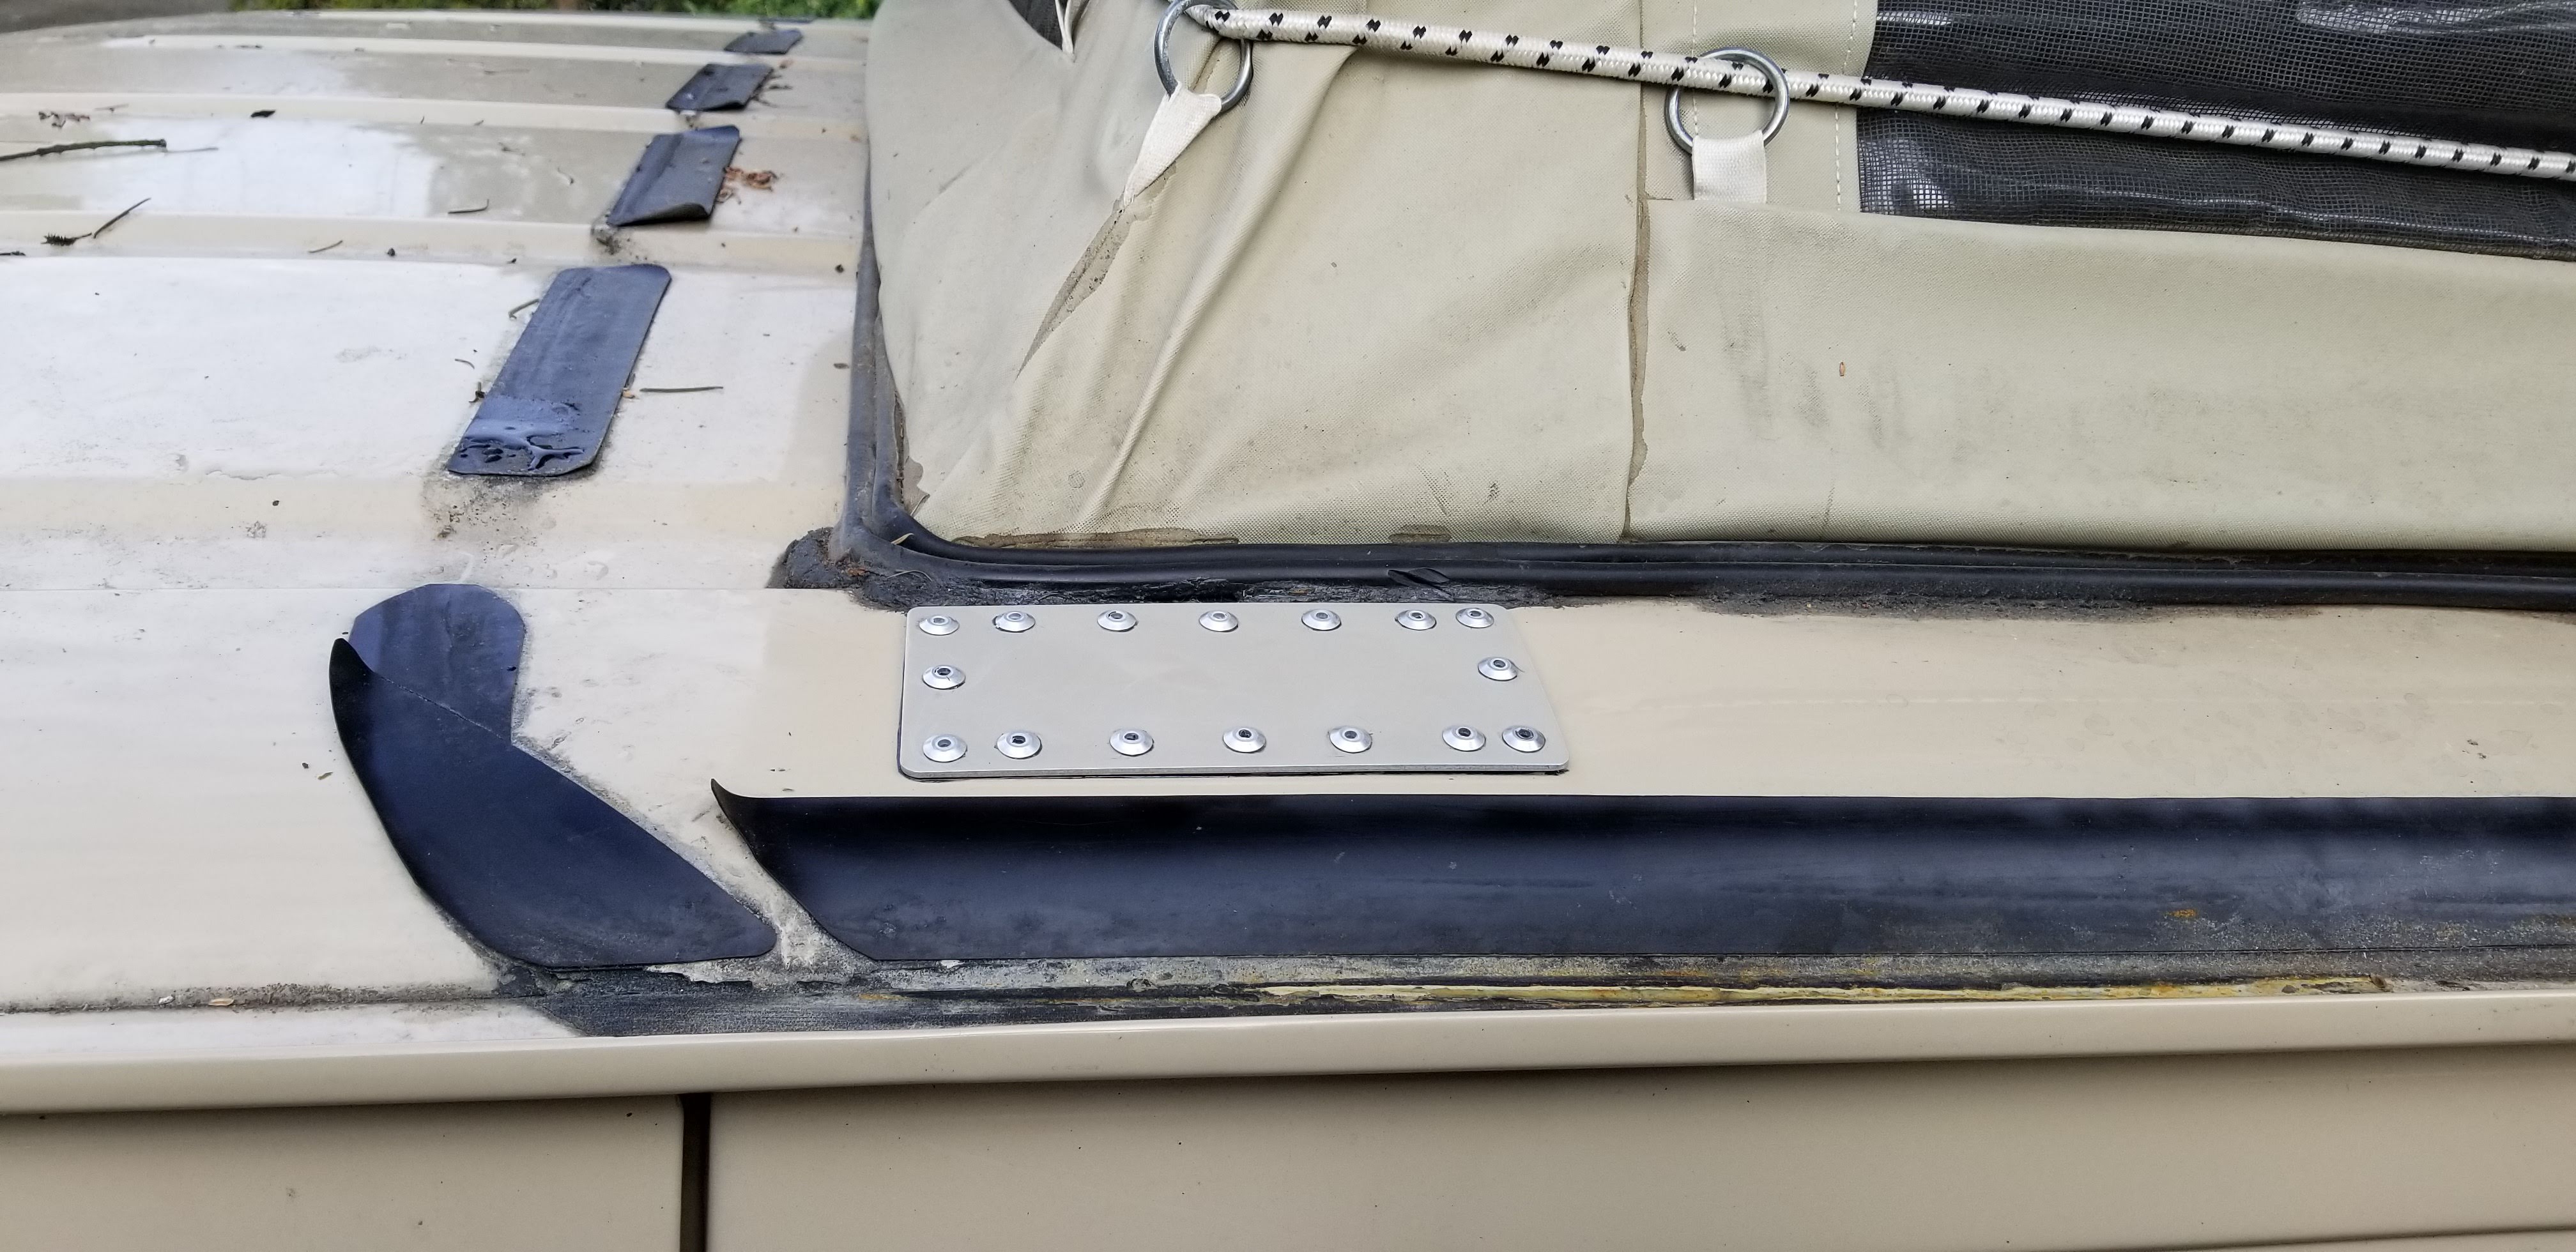
I am very happy with how the repair turned out and we have done some pretty tough 4x4 trails after the repair and there is no evidence of the cracks spreading.

I hope this helps anyone else trying to repair these cracks and am happy to answer any questions.

John
__________________
'08 SMB 4X4 6.0PSD EB 50 (96K)
John and Dana is offline   Reply With Quote
Old 09-17-2020, 03:24 PM   #25
Senior Member
 
pjpvi's Avatar
 
Join Date: Apr 2007
Location: SF Bay Area, CA
Posts: 1,289
Nice! Do you want to do mine too?

What sheet metal did you use (Aluminum or Steel? Thickness?)? Maybe I'll tackle this one after I run out of other projects ...
__________________
Phil

- 2005 EB50 6.0PSD - SMB 4x4
pjpvi is offline   Reply With Quote
Reply


Posting Rules
You may not post new threads
You may not post replies
You may not post attachments
You may not edit your posts

BB code is On
Smilies are On
[IMG] code is On
HTML code is Off
Trackbacks are Off
Pingbacks are Off
Refbacks are Off

» Featured Campgrounds

Reviews provided by

Powered by vBadvanced CMPS v3.2.3
Disclaimer:

This website is not affiliated with or endorsed by Sportsmobile SIP or any of its affiliates. This is an independent, unofficial site.


All times are GMT -6. The time now is 01:24 PM.


Powered by vBulletin® Version 3.8.8 Beta 4
Copyright ©2000 - 2024, vBulletin Solutions, Inc.