Here goes the boring play by play:
I bought 3 kinds of elastic cord online, and couldn't find anything to secure it with. In the end I used a combination of command adhesive clips and junk- what I really wanted were tiny ring anchors, but I simply couldn't find anything small enough and since I didn't want to attach things permanently I turned to Command Adhesive.
Unfortunately I couldn't get anything I really liked as anchor points, which is how we arrived at the Frankensteinian collection of things to create the clipping elastic gates.
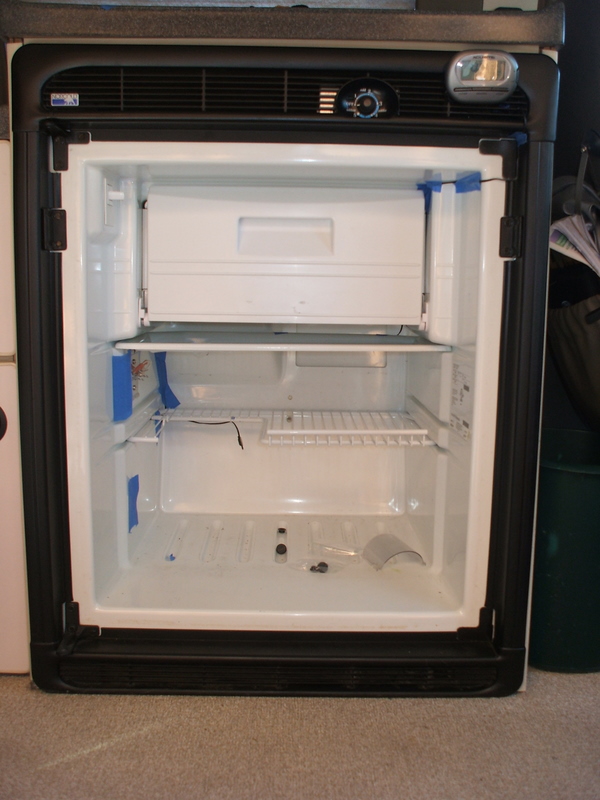
Started by marking the tray depths with my favorite tape.
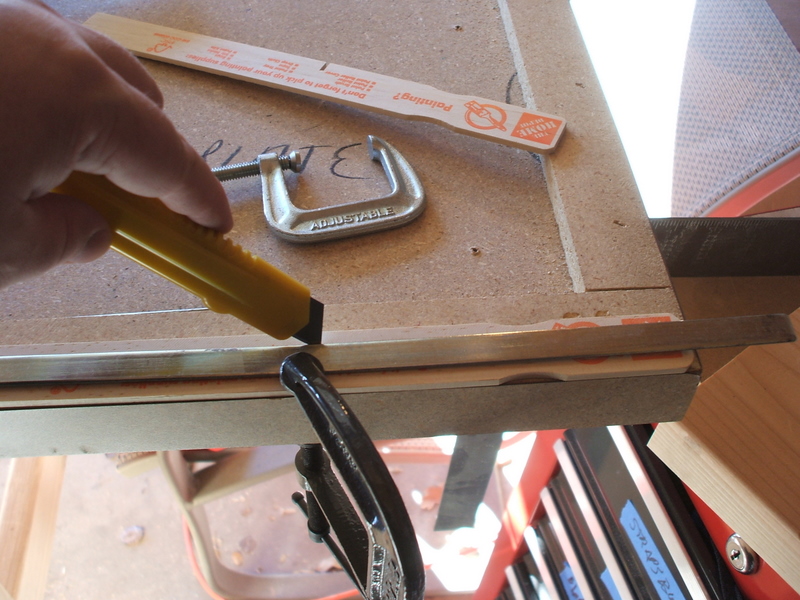
Next I split some of my favorite small wood stock- using a metal guide I razored about 6 times and then folded them in the vice to finish the split.
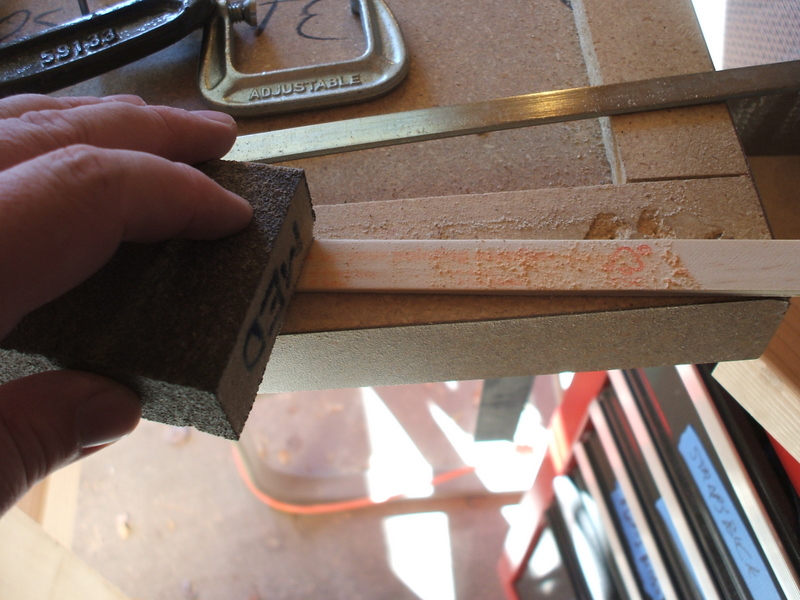
Then a litte sanding to keep things from looking totally salvage, plus cleaning up the rough edge from splitting.
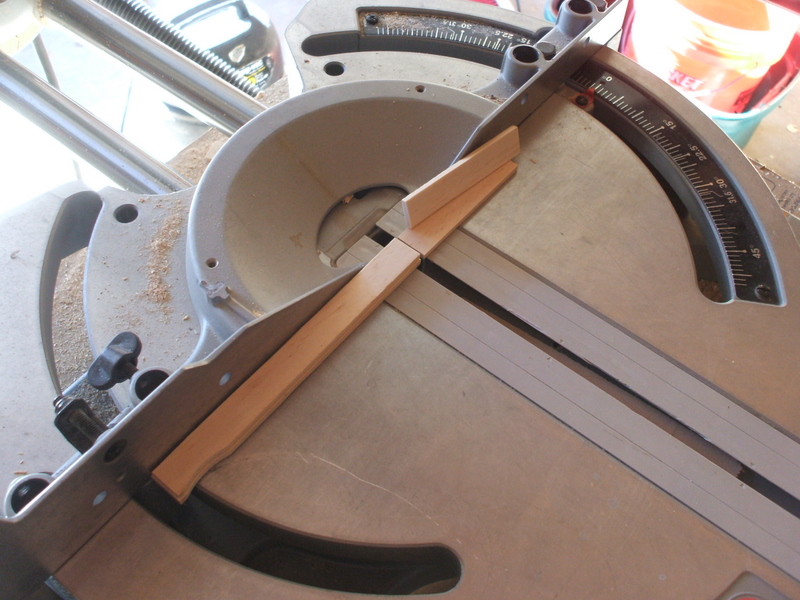
Chop to size. Using the razor and metal edge to go with the grain was sufficient, but for a nice clean cross cut, nothing beats the miter saw.
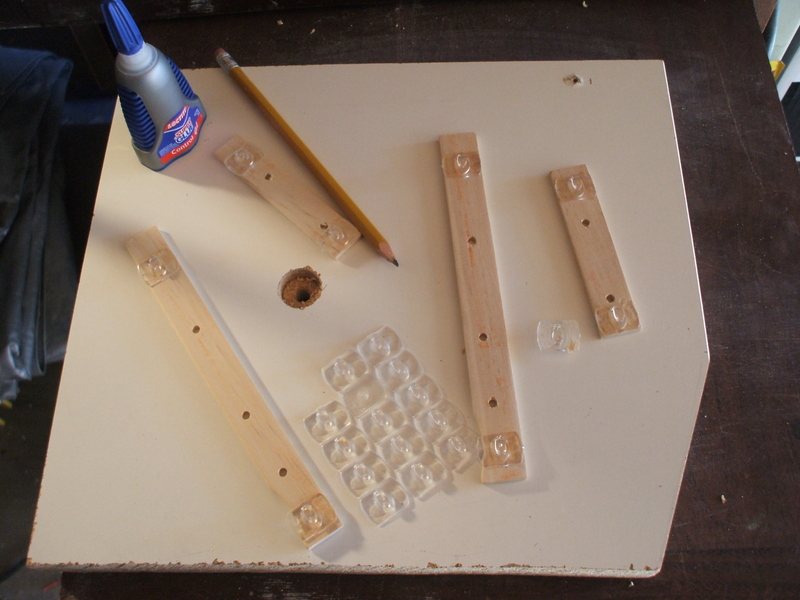
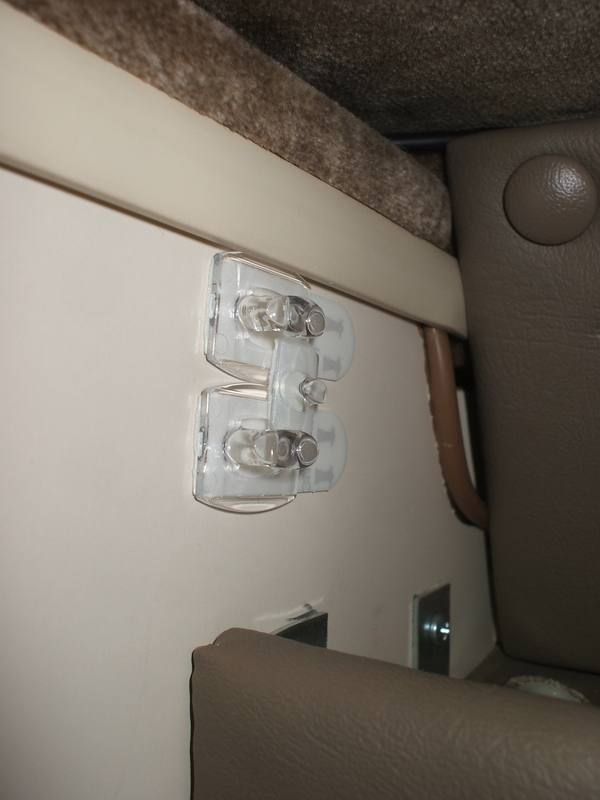
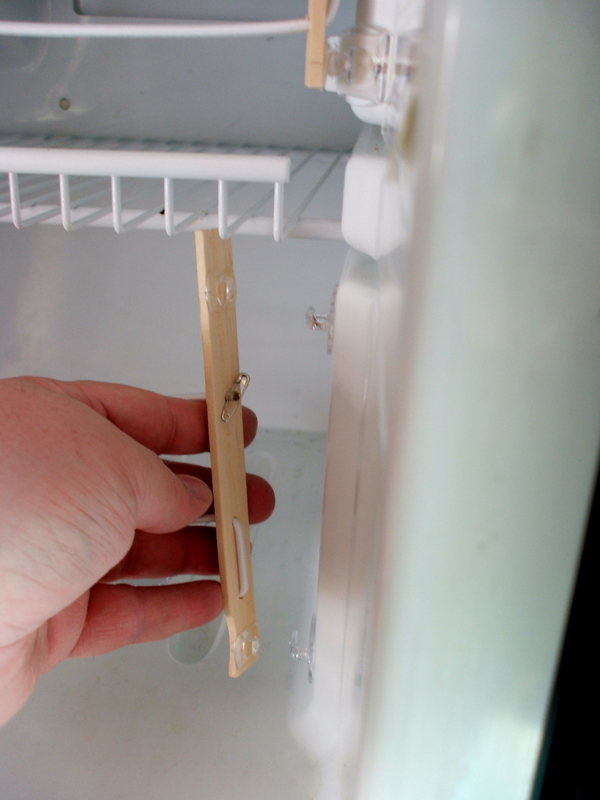
With the stock size I knew where to place the base clips, so that's what I started doing. Wipe with an alcohol swab, then hold for 30 seconds. Command adhesive for non-permanent install (plus it works).
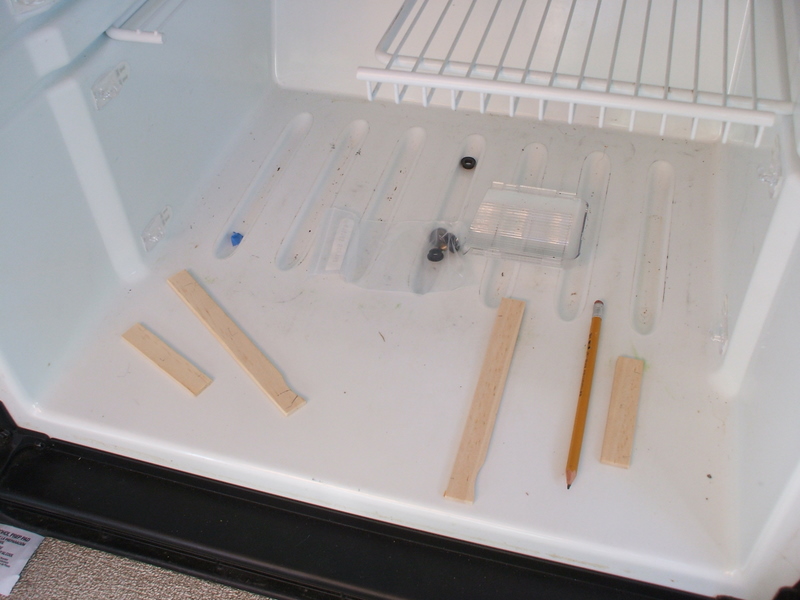
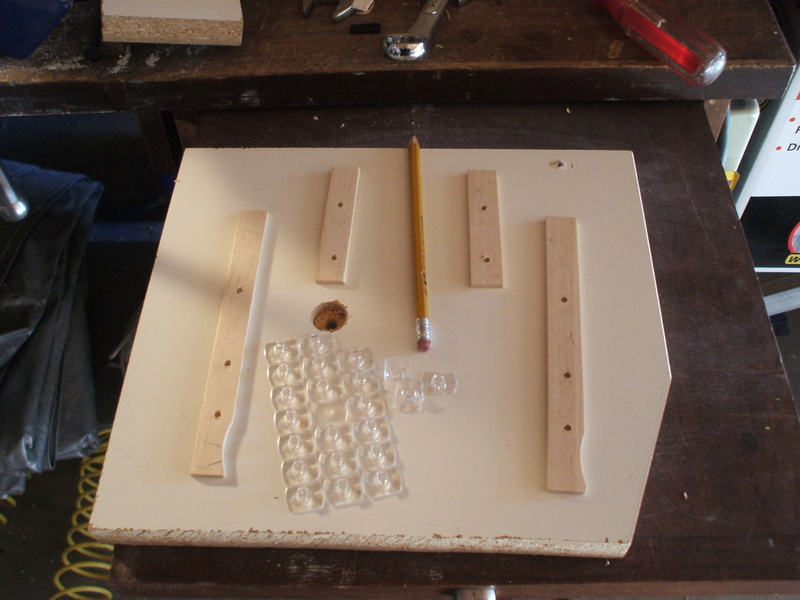
With all the base clips in place I marked the wood pieces, making notations for the clip position and where the cords should go.

I test drilled some holes and had Scribbles check the fit using a scrap piece of wood.
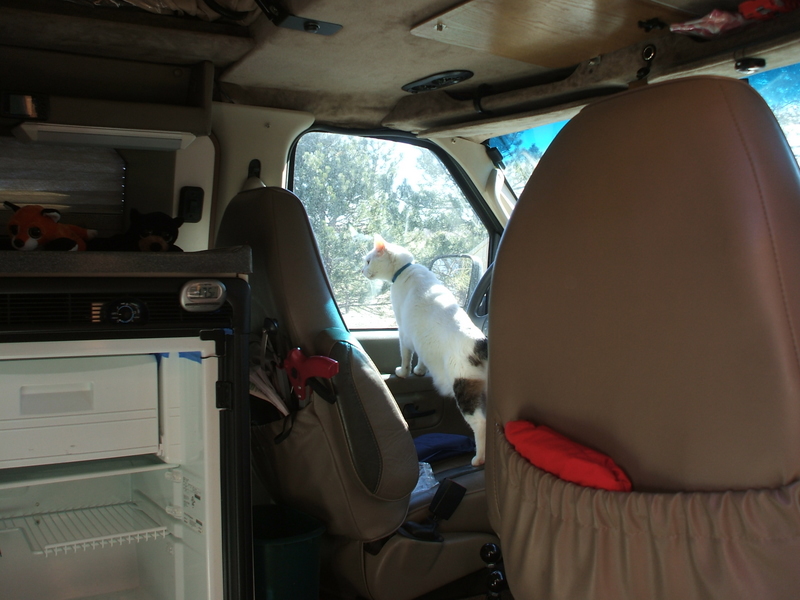
Then it was off to patrol to ensure nothing was going to disturb our work.
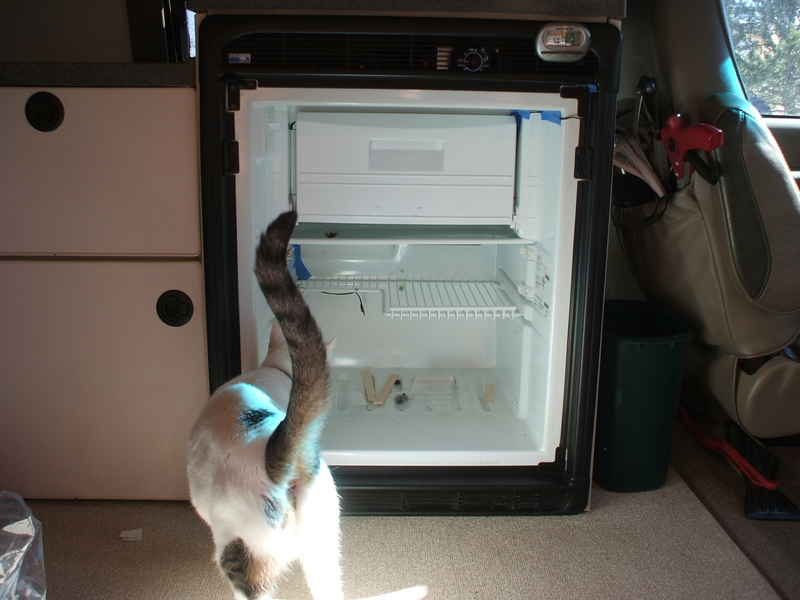
Except ourselves.
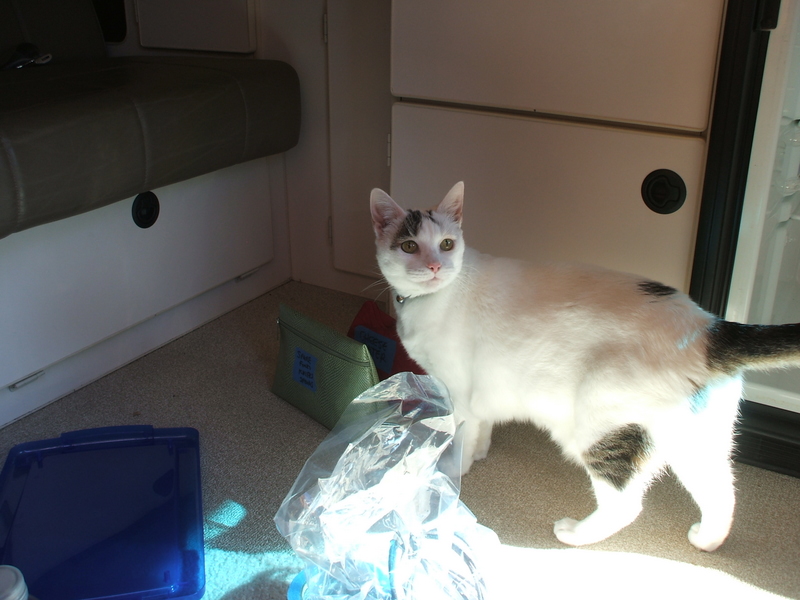
And then to ensure nothing was sneaking up from the rear
Back in the garage, with our fuzzy distraction back in the house, I drilled all the pieces and prepared them for the smaller clips.
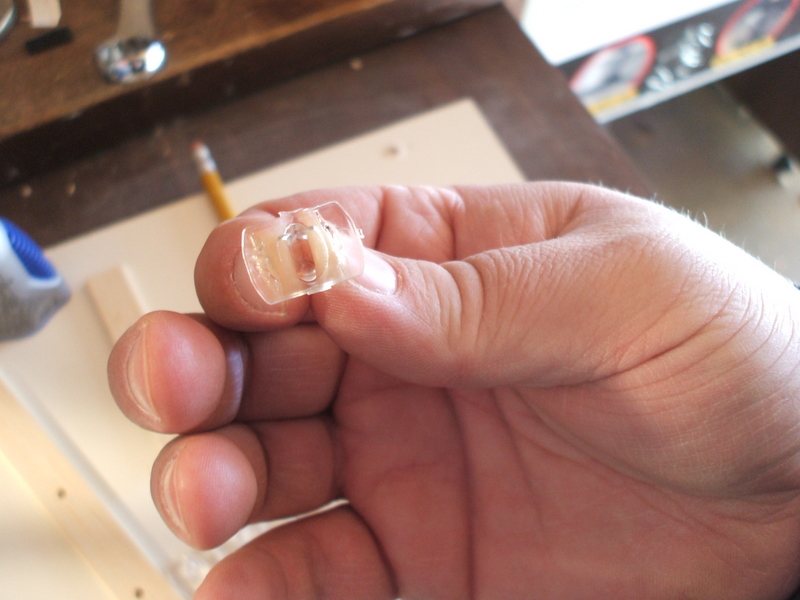
In my tests to try to come up with something for the open hooks, I found the small ones clipped to the large ones. For this, I'm using superglue- no reason not to make this permanent.
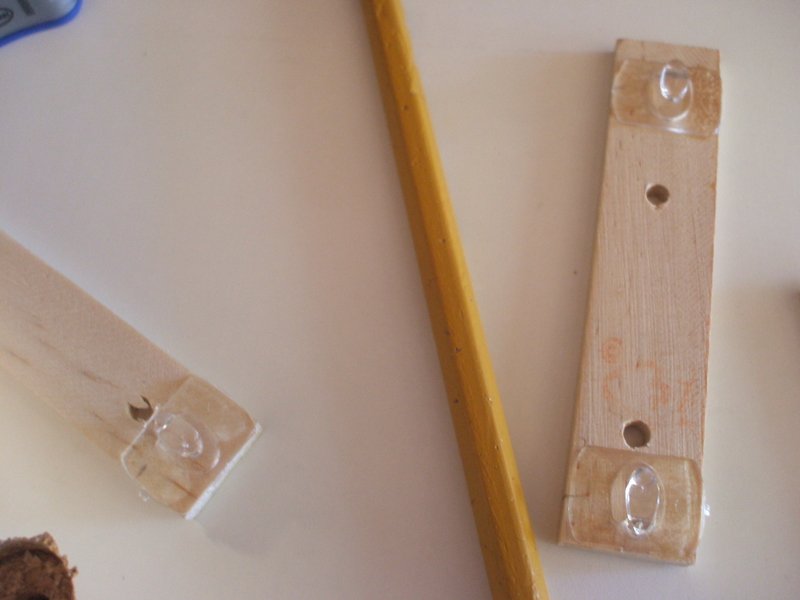
Glued in place- those with sharp eyes may notice the bottom hook on the right is upside down. D'oh! The reason it matters should become apparent, as they need to clip downward on the larger base clips.
Upside down hook fixed and the rest in place it was time to run the elastic.
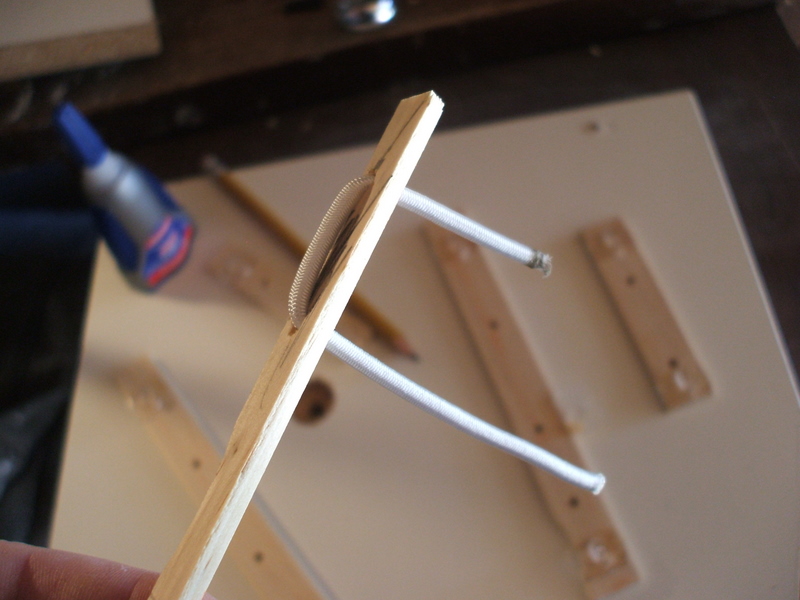
The backside was easy- using as scrap piece of wood it was clear that one side could be simply threaded and take up less space then having separate strands.
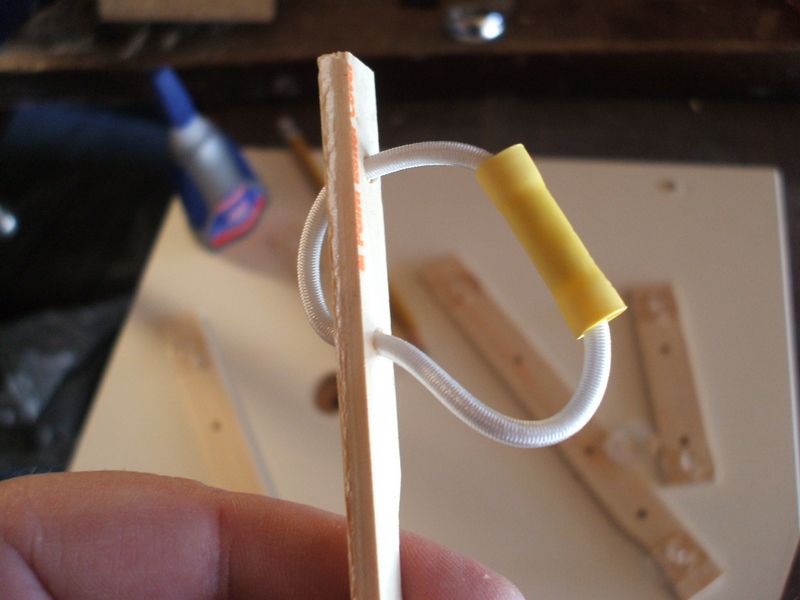
Brilliant idea to save space on the ends side, however to fit the cord the butt connector got rather large and the bottom section having three strands would not have this as a viable option.
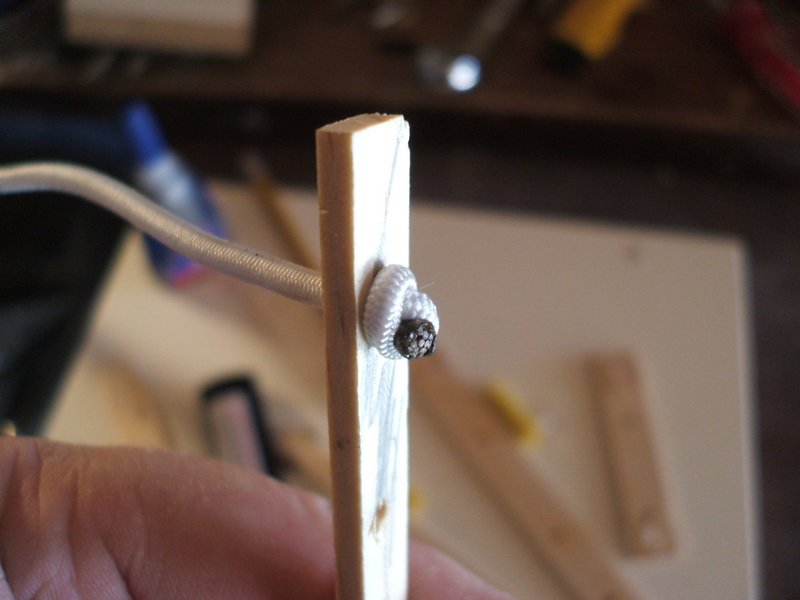
Tying a not actually wasn't that bad. There is limited space and this is not much bigger than the electrical connector.

After trying a number of cross pins I settled on a tiny safety pin for each end. Cut, melt, safety pin, then superglue the cord end past the safety pin.
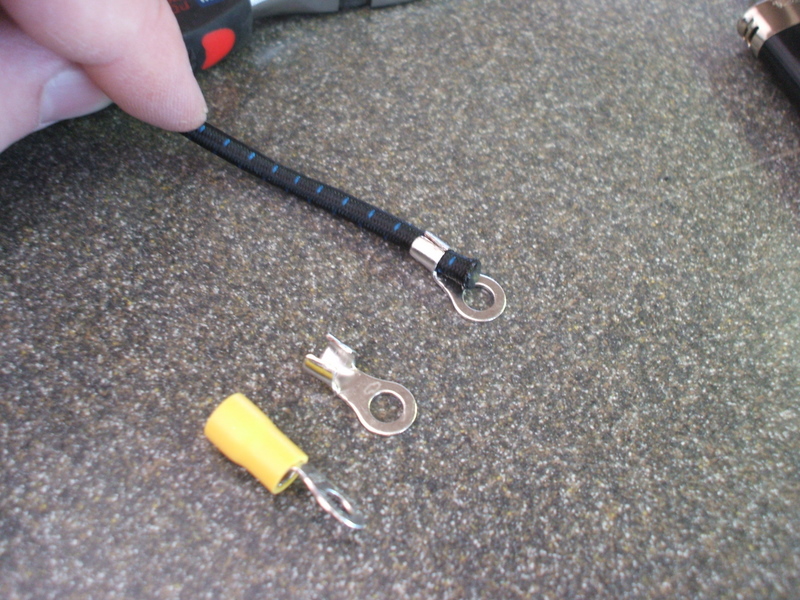
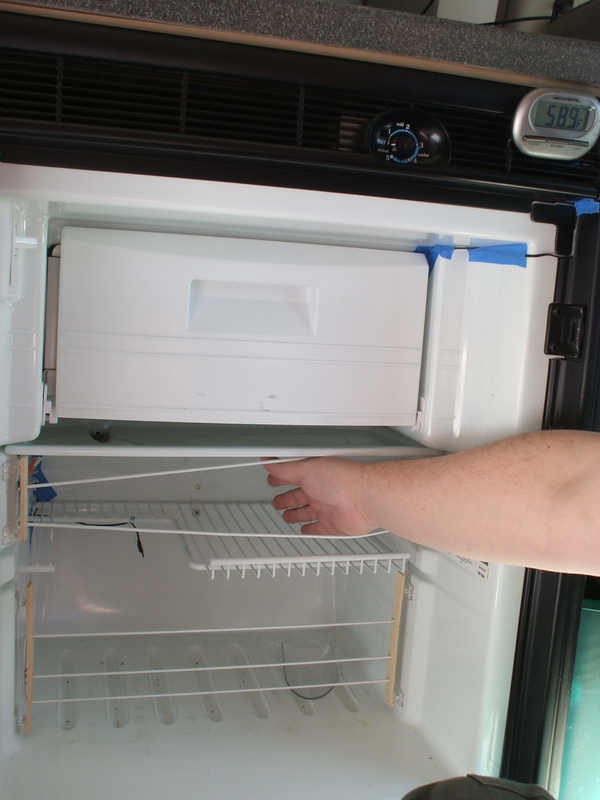
With my second set of rope I started on the shelf cords while things set up in the fridge. Recycling the electrical connector idea, I removed the sheath and opened up two eye connectors and then crimped them on the cord (not yet crimped in this shot)

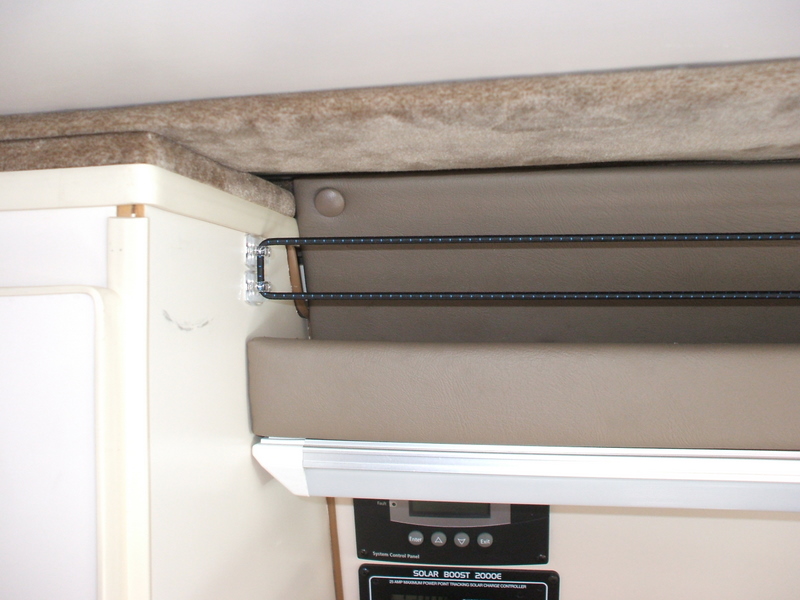
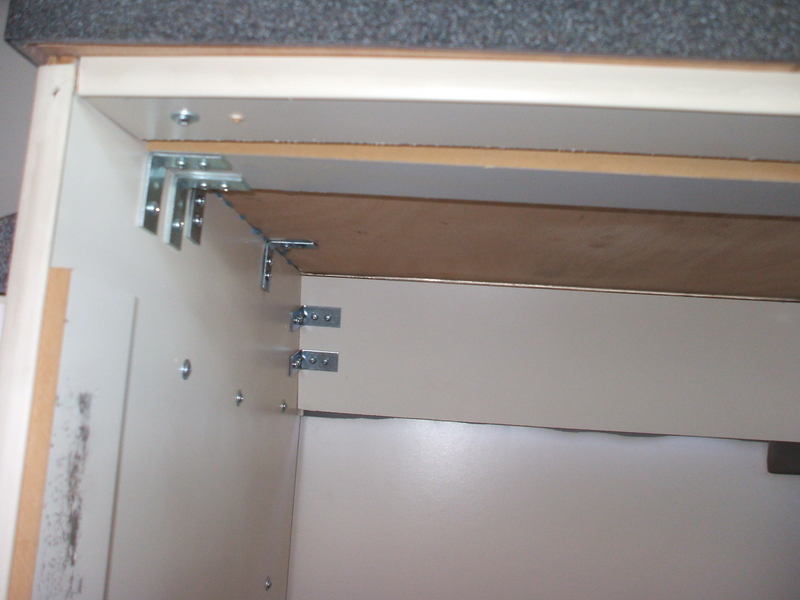
The eye was then screwed into the shelf end above the driver.

The opposite end sported a wall, so again I turned to Command Hooks. Two of the larger hooks were just the right size for the cord, and gave it a nice position- in truth I got lucky since even with the opposite screw just barely left room for another clip above-
Then I test fitted the cord and played with tension before clamping the second eyelet on the upper end.
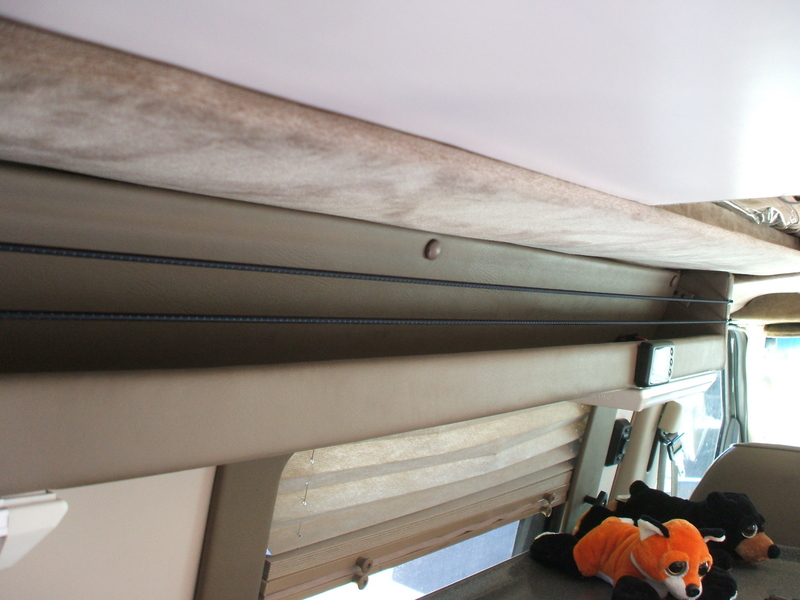
The cords strech all the way down the shelf, so things will be tighter towards the ends.
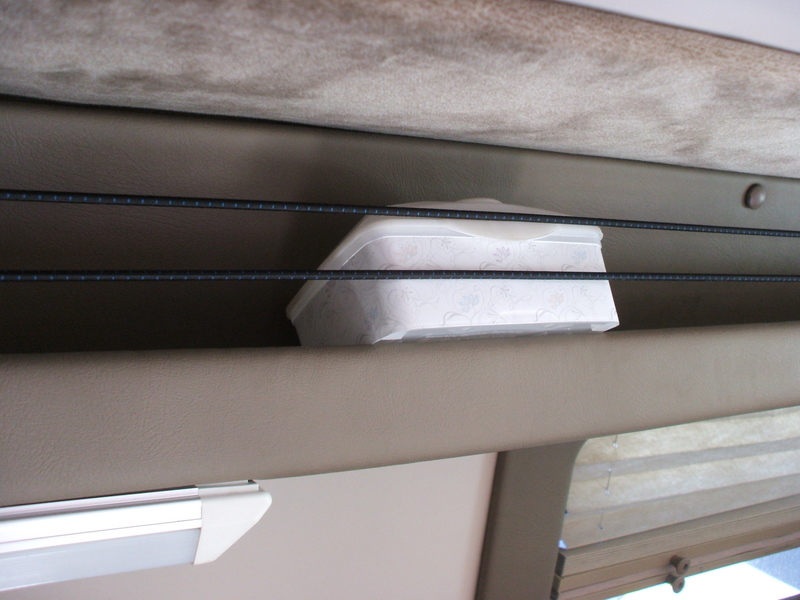
Test fitting a container.
A small problem was noted when releasing the cord from the clips- it slingshotted rather forcefully toward the driver. To prevent accidental discharge during vehicle operation, a 3rd small hook was added in the reverse direction.
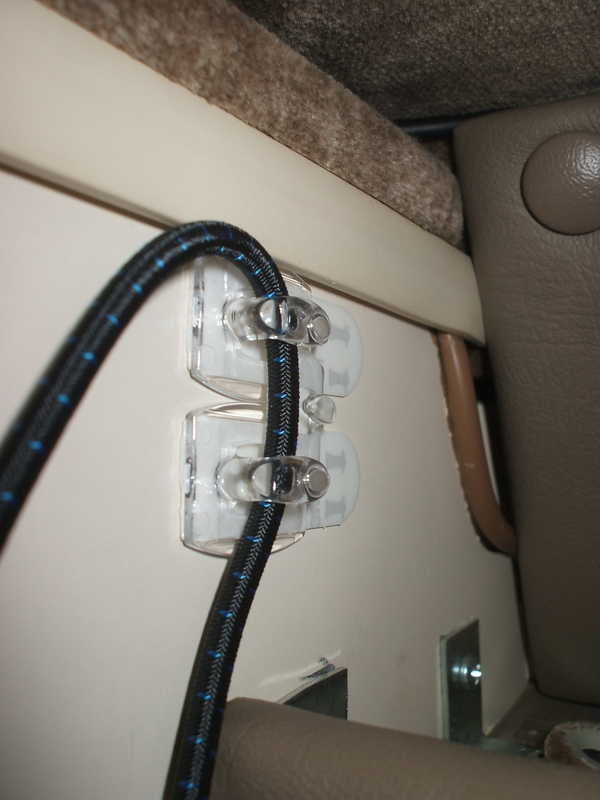
The cord can still be unclipped, but will not come out as easily.

Once the base clips had had time to set up, I installed the top and bottom and then snugged the cord down to what seemed like a good tension for each.
The cords allow hands and food to be passed through for easy access.
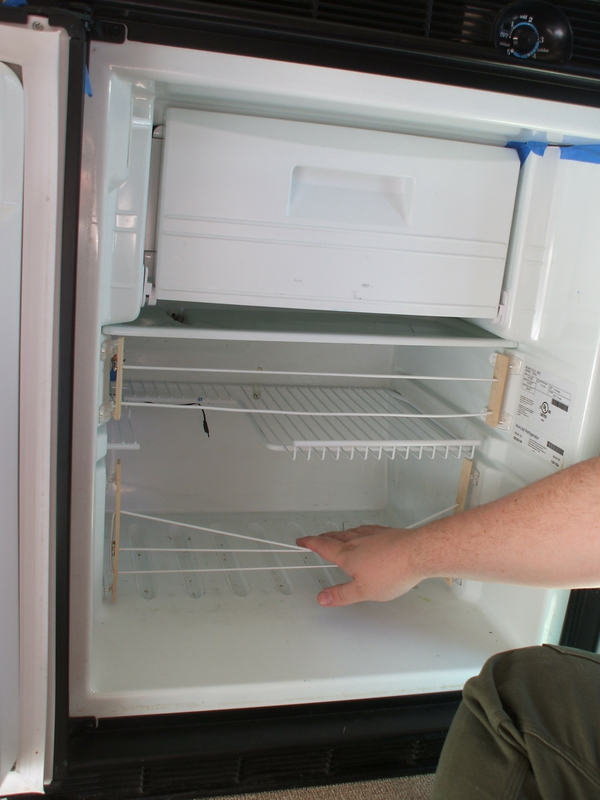
There is very little tension on these, and they are right at the edge of the door trays.
The wood ends can be unclipped by pulling up, and the whole gate can be removed or placed aside when not needed.


 Sportsmobile (AKA Money Pit)


 Linear Mode