I wanted to post some quick pictures from my solar panel install. I still have a few touch up items to finish (like shortening the screws holding the panels to the brackets) but, for the most part, it is finished.
First, the items bought for the install: (Most from Amazon)
Two 100 watt Renogy RV/Boat grade panels from Amazon
http://www.amazon.com/gp/product/B00AQQ ... UTF8&psc=1
Two Ceacap Bulkhead Pass-Thru Fittings (I only used one)
http://www.amazon.com/gp/product/B001F0 ... UTF8&psc=1
Two Y Branch Solar Adapters (Used them both)
http://www.amazon.com/gp/product/B0090M ... UTF8&psc=1
2 sets Solar Brackets that were used to attach to the Thule rack:
http://www.amazon.com/gp/product/B008T2 ... UTF8&psc=1
5 pair of MC4 Male/Female Solar Panel Connectors:
http://www.amazon.com/gp/product/B00A8T ... UTF8&psc=1
Two 6 foot 12AWG solar panel extension cables (They did not arrive in time and I used some extra 12AWG I had instead)
http://www.amazon.com/gp/product/B00KFM ... UTF8&psc=1
Bought some MC$ Assembly tools just in case (Not used either)
http://www.amazon.com/gp/product/B00BCW ... UTF8&psc=1
Not listed:
I bought a Thule bracket kit that included square ended screws that slide directly into my Thule rack. I placed all the screws directly in the rack in case I wanted to add another panel at a later date.
RV roof sealant for sealing the cut hole.
2nd, the install:
I did not grab as many pictures as I would have liked as was heading across country the next day but managed to capture a few. The included foam fitting worked as a good template for judging location of brackets. As I wanted to limit the number of holes drilled into the van (to ONE!) the panel installed in the rear of the van took far longer than the middle panel as I put together a custom bracket for install. Luckily, I also did not have to drill the solar panel at all to fit.
Template / Location of rear panel:

Brackets installed and ready for solar panel install:

Rear panel installed:

Next came the hole. I will admit as was as nervous as my first day of kindergarten (Not that I can remember back that far) drilling a hole through the roof of the van. To top it off, I had to also make sure my drilling did not hit the wiring coming into from the microwave/fridge. I used a ¾ bit to make the hole.

Once the hole was drilled, I sealed the edges with the RV sealant, and installed the screw / wiring. After the install of the wiring I coated the ceacap screw with more RV sealant:

The second panel was easier to install than the first as I did not have to use any special brackets:

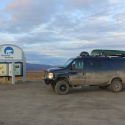
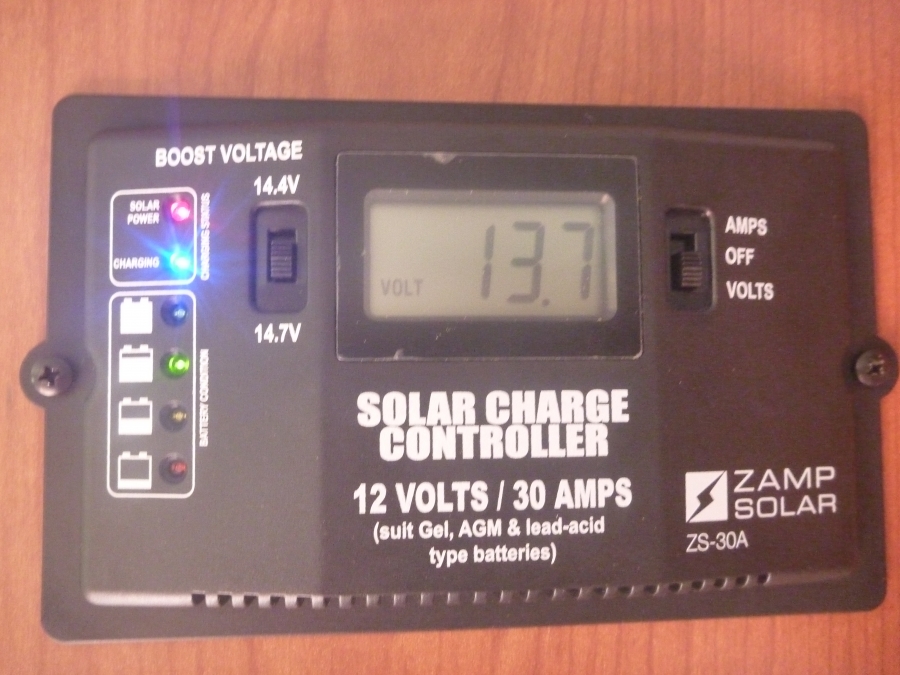
Once everything was connected I drove the van into sunshine to test the panels:
The drive across country was a great test for wind noise (none) and sealant properties (no leaks)
Thanks for everyones advice on sealing and preparing the wiring/what pass through screw to use.
-tonyv


 Linear Mode