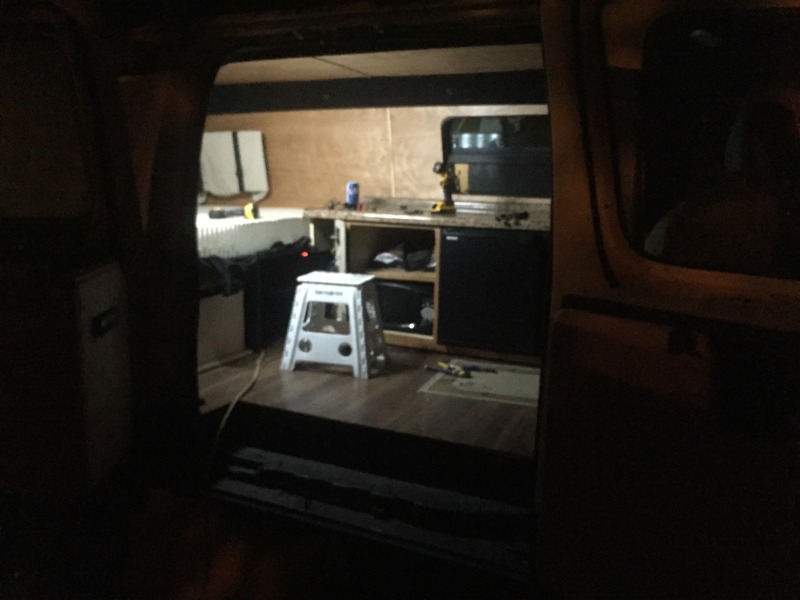
So I'm getting really close. In the final stretch.
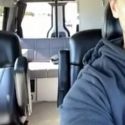
I made a little box that fits under my bed for all my clothes.

I also bought two big totes that fit perfectly in the back. One's going to be a bunch of random stuff and my summer clothes and the other is going to be my motocross stuff. My helmet and boots fit perfectly right next to it too. Packed tight.

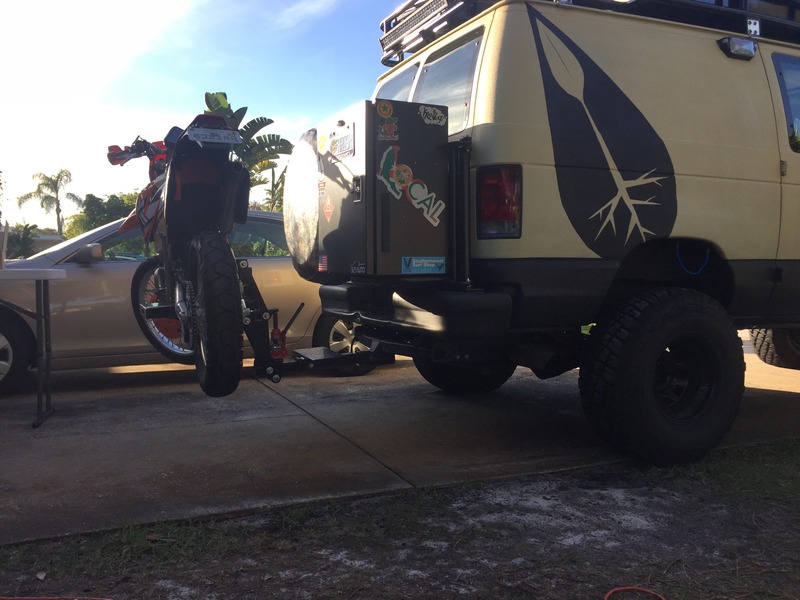
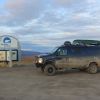
I found a hitch extension at HF for cheap so I figured I'd test it out and see what it's like. It would be nice to be able to open the back fully with the bike on there. However I think it might be a bit much. Maybe if I'm cruising around places softly and planning on opening the back often. :dunno: What's your guys' opinion?


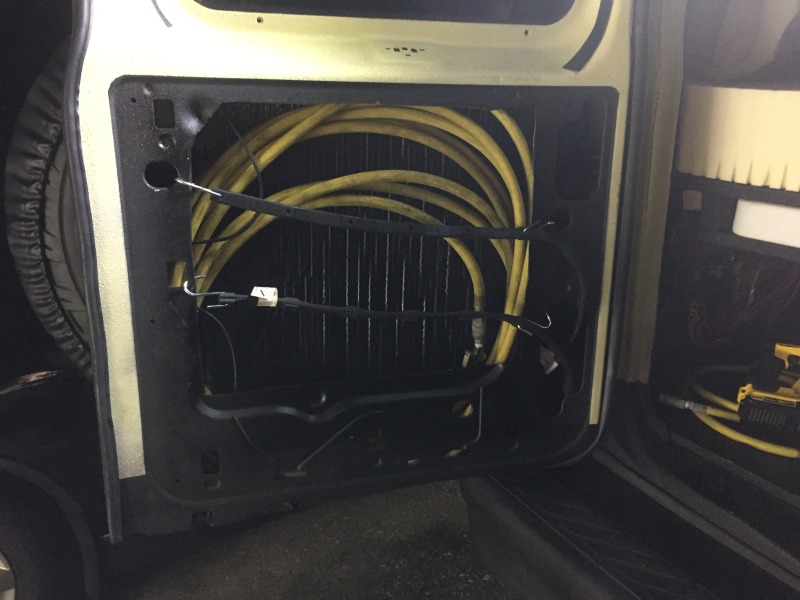
Started working on the plumbing and heaters too. I have an Espar Airtronic D2 and a Hydronic D5S. An easy start 7-day timer and a digi max D1000. I'm not sure which unit will go to which controller yet. I have a high altitude sensor too that needs to go in-line with the Airtronic. I'm not sure if the Hydronic needs one too or not. But it came with no literature and the literature that's online is outdated. I assumed you just connect like colors, but apparently that's not the case.


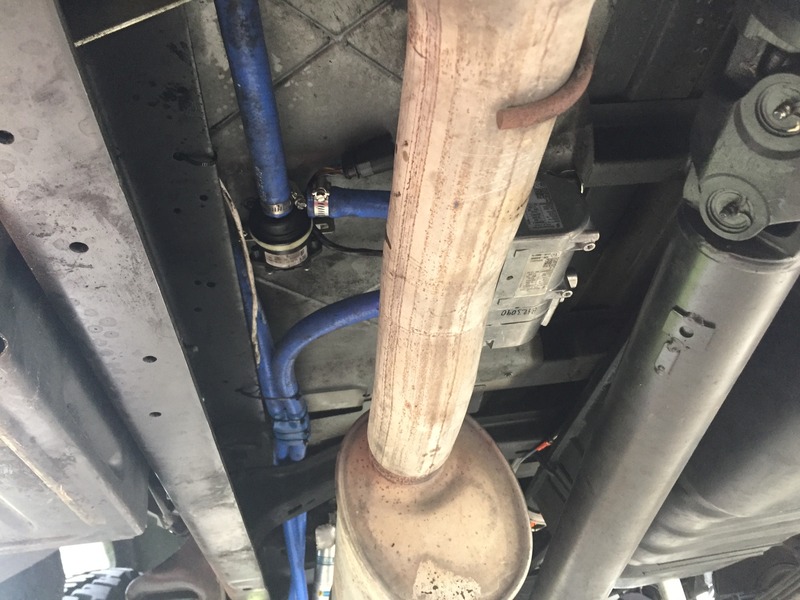
So the water heating system uses a heat exchanger. I have to tie into the coolant lines and run them back to the Hydronic unit. The unit heats up the coolant and runs it through a heat exchanger then back to the engine. This way I can heat up my block and my water system at the same time. It's passive as well so I shouldn't need the heater if I've been driving and the engine is hot. Furthermore, I won't need to plug in the block heater in cold weather.
Tying into the coolant lines.

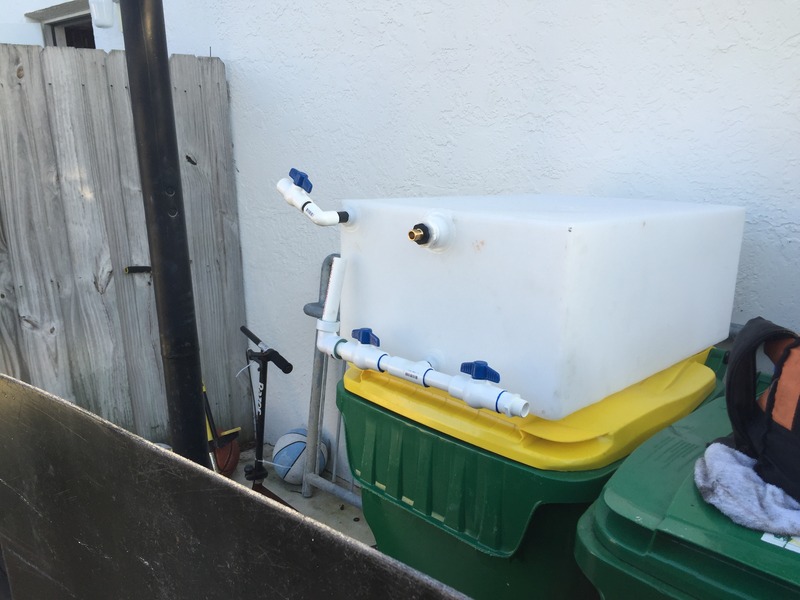
inline valves

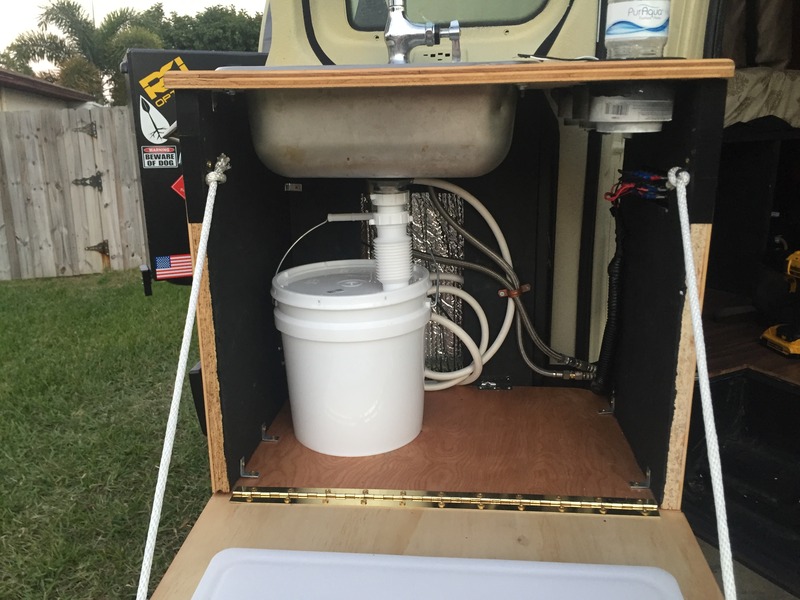
The mounted heater and pump
Back to the heat exchanger. The water lines go straight up through the floor.

The pump and accumulator.


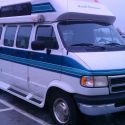
 Sportsmobeebs, Sporty for short
 Linear Mode