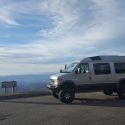
So Slacker wanted some bigger tires. We tried the new BFG KO2's in 315/75-16 and they looked awesome

At first............

Discount tire assured me they would fit fine and had no problem selling them. I heard they had no problems taking them back later either, after Slacker took delivery and had some bad rubbing problems. The situation was, basically, that I said I would trim them myself and drove carefully home. I soon realized that just cutting plastic wasn't going to do it. Slacker was due in for pick up a day or so later so I did my best but still had some rubbing, on metal not plastic. He pretty quickly took them back and wound up going a size or two smaller. Sure did look amazing with those, but due to time and expertise we were both at the end of the smaller tires were the easiest option. He did keep K02s on it though which was a great plan.

Back to the interior. The only cabinet I reused from rebuild 1 was the left rear, housing the furnace and microwave plus a few small cubbies. I redid the already failing T-molding and added a bin at the top where a water cooler sat previously. For the record, that was a bad idea. The ice was constantly sloshing around driving us all crazy and there was no way to keep it from leaking and/or condensating all over the place.

At this point I was really feeling the heat to get this done, for mine and Slacker's needs, but we were waiting on upholstery and the countertop to be finished. While I waited I stayed busy with the part that creeps up on you on a build, the finish work. Leveling and mounting drawers, for instance.

I did the 'Larrie mod' on the Truckfridge using a small computer fan to help with fridgeficiency. Now you don't see it.......

Now you do

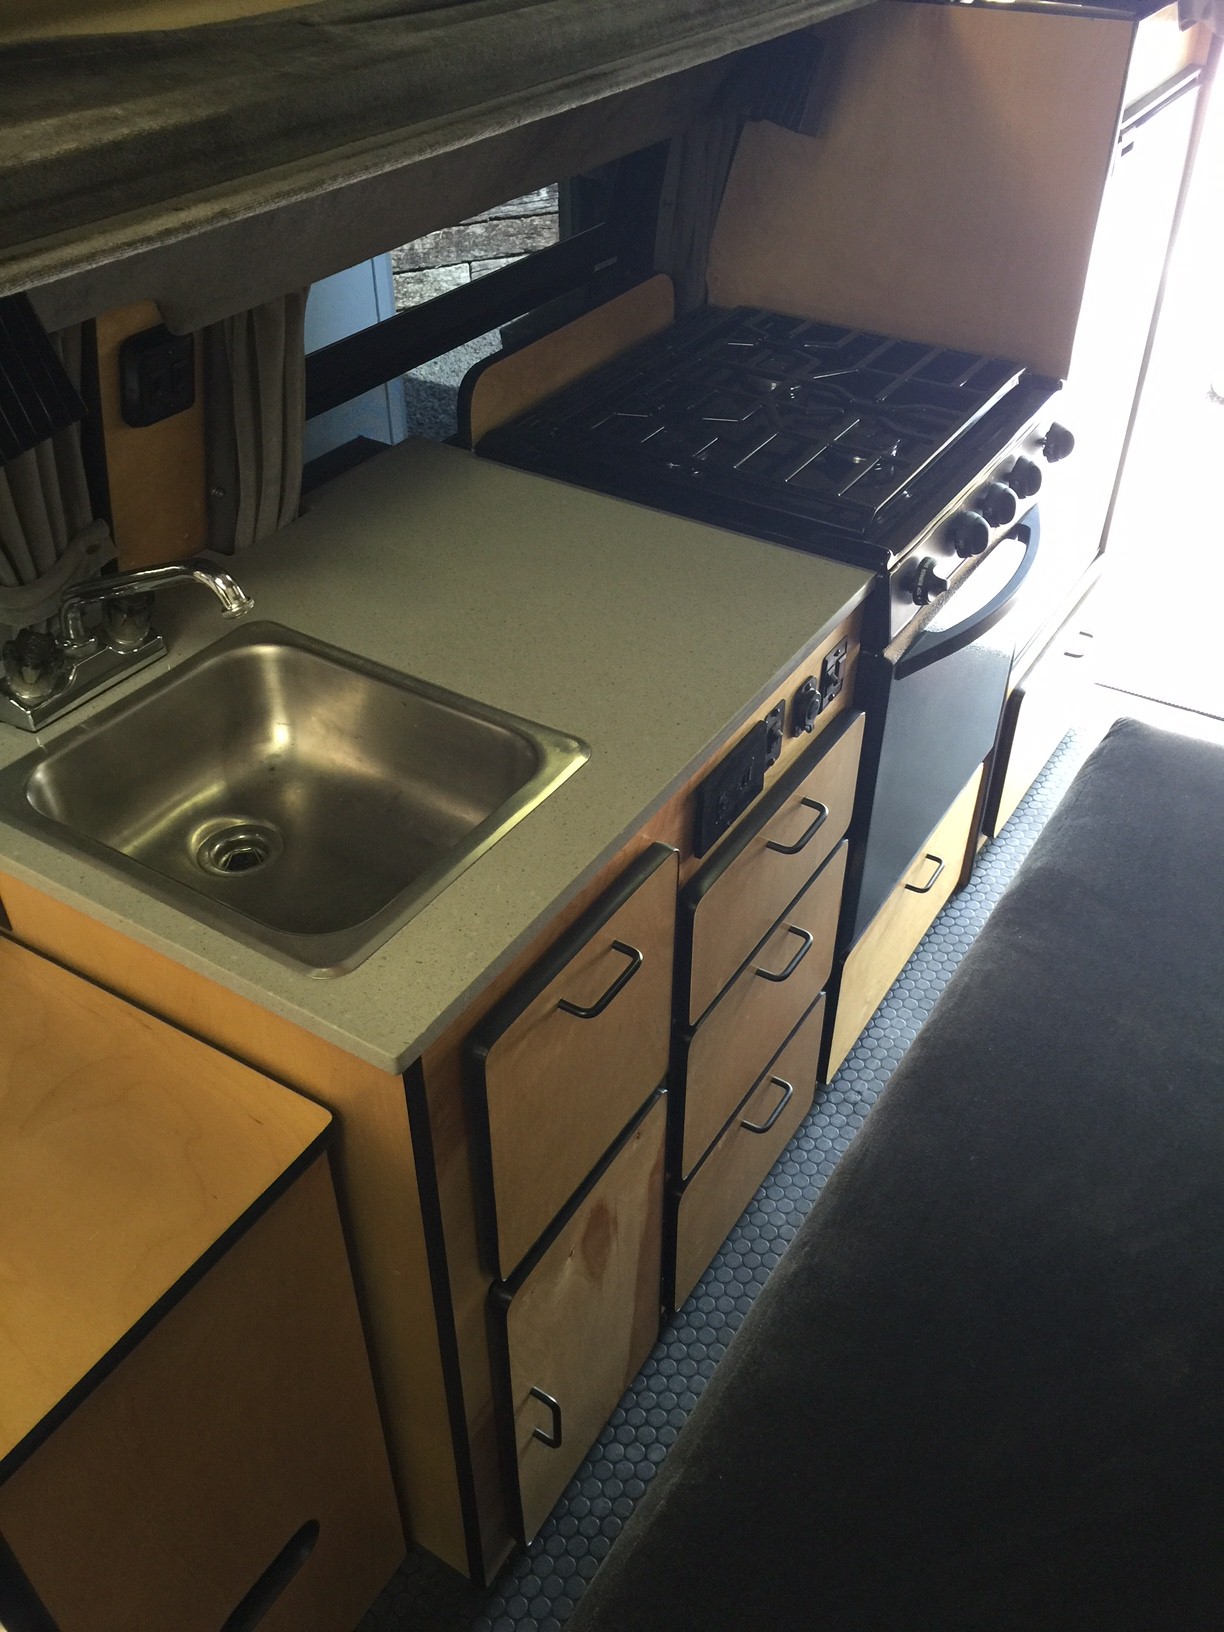
Finally, the countertop was ready. Just for the record and for my own and Slacker's future reference, this is how stuff is laid out under it. The wiring is, from left to right, receptacle with USB ports, water pump switch, 12v socket, and then water heater switch and light.

We puzzled over how to attach a 50 lb. countertop to an overlanding vehicle and ultimately decided on this. The 3 flat pieces in the pic below covered with epoxy and a line of construction adhesive around the edges, with a finish bead of silicone outside of that.

It ain't going anywhere, but the 3 epoxied pieces can be removed from below by removing drawers and getting at the bottom of them where L brackets hold them in. The construction adhesive and silicone should give before destroying the cabinet, if for some reason the top ever needs to be pulled. I tested epoxying a piece of wood to the granite first and had to beat it off with a hammer. It works. Now finally, the cabinet is pretty much finished.
Door galley back in

More to come


 2014 Ford E-350


 Linear Mode