We were planning a weeklong trip to visit several hot springs in eastern Oregon. Many of the roads in that part of Oregon are unpaved gravel. Having driven lots of gravel roads in the past I knew they could be rutted, potholed, and washboardy. To smooth out the ride it was time to add an onboard air system to the Tardis so I could air down the tires.
I looked at several system and decided to keep it simple and install an ARB CKMA-12 compressor. The Tardis is the extended body style so there is lots of available space to install accessories behind the rear axel and between the frame rails like an air compressor.
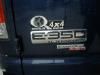
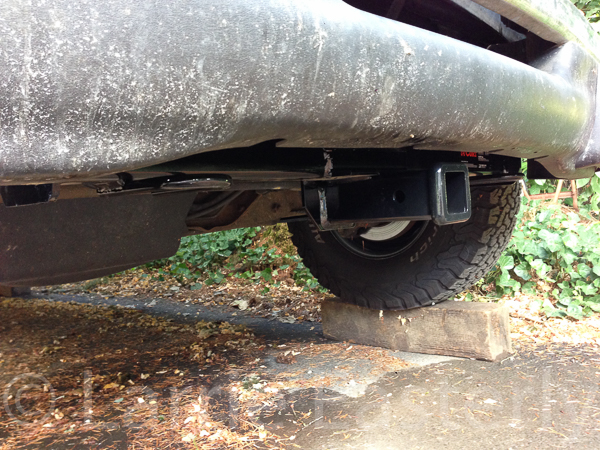
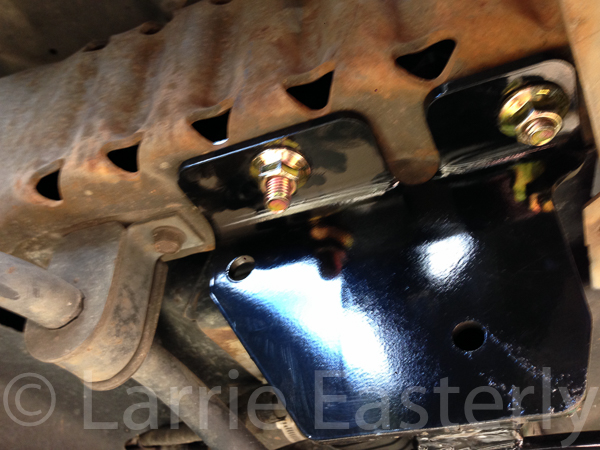
Compressor mounting.
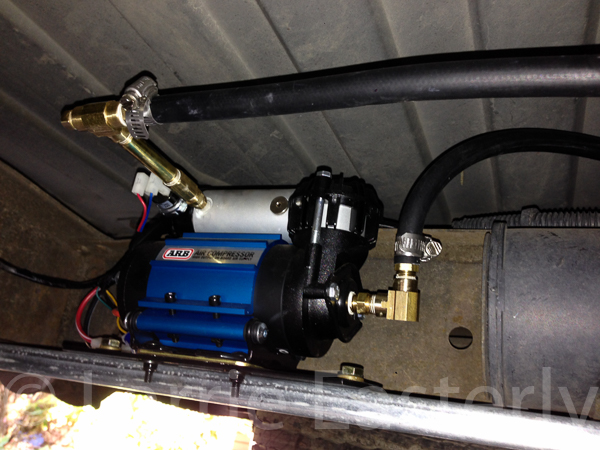
The compressor comes with its own mounting base plate that is pre drilled for mounting bolts. This is a fairly small plate and the installation required a longer one. A larger powder coated plate was found at a Wilco Farm Store that was originally designed for fence posts. A little drilling later and the plate was ready to be mounted to the compressor base plate. The entire assembly was then mounted to a piece of 11/16" slotted metal chanel that was installed between the frame rails using two existing holes in the frame.
Compressor mounting.
The compressor comes with a wiring harness that is designed to go into the engine compartment of a Land Cruiser or Jeep. The six wires need to be extended to make the harness work with he compressor in the rear of the vehicle and the switch in the dash. The two power wires were run along the passenger side frame rail to the starting battery. The four control wires were run into the driver side living area and extended up into the dash to the on-off switch.
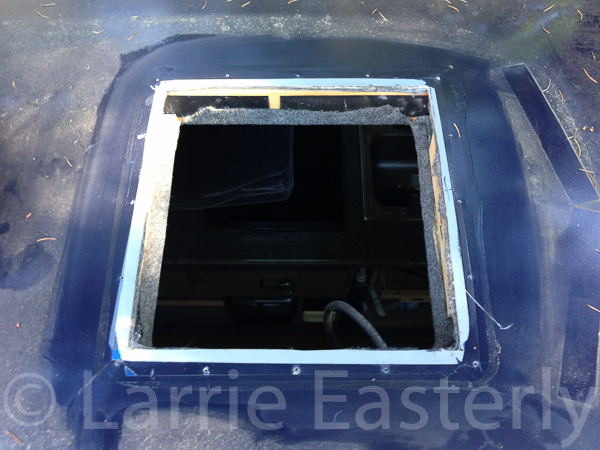
The fresh air inlet was also run into the living space. This assures that the compressor clean air at the inlet.
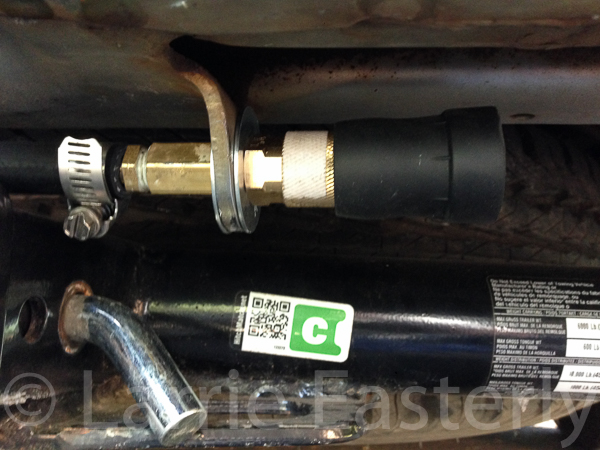
Brass fittings were used to connect the rubber air hose to the compressor. The hose was then run to the back of the van and mounted to one of the trailer chain attachment holes in the rear step bumper.
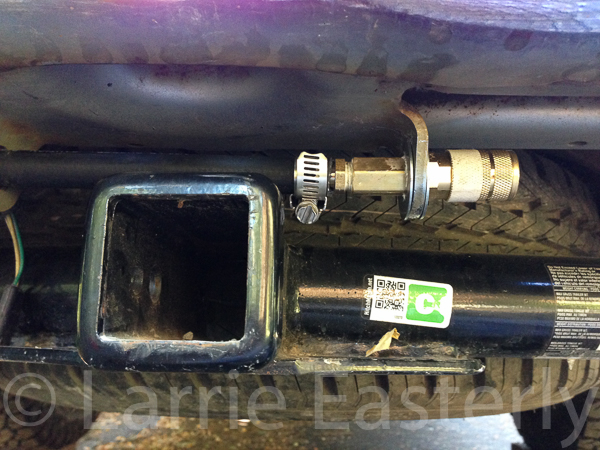
Brass fittings at compressor.
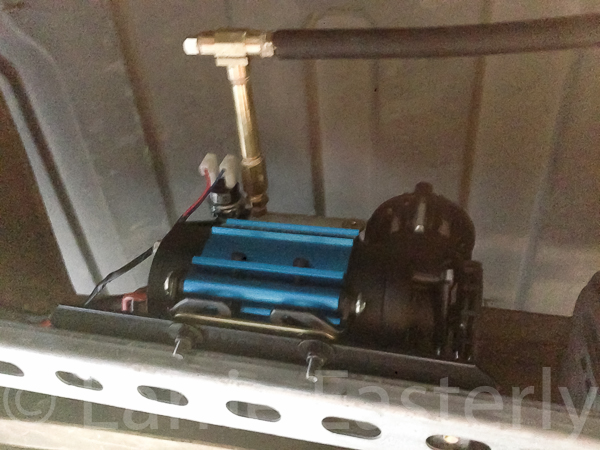
Quick connect mounting point.
With air hose connected.
The dashboard faceplate was removed so the power switch could be installed. The faceplate is held in by a couple of bolts, clips and the head light switch. The escutcheon around the switch unscrews. The knob has a metal retainer piece that needs to be pulled up in order to remove the escutcheon. ARB installation manual gives the size of the power switch mounting hole. Using the dimensions a template was made and then a suitable place on the dashboard faceplate was found next to the 12 volt socket. A Dremel tool using a cutoff wheel was used to cut the rough opening. The opening was then fine tuned with a knife.
Harbor Freight had a sale on a 50 foot 3/8" rubber air hose that was cut into several lengths for the air intake line, the onboard air line, and a 25 foot length used to run from the air quick connect to the tires. The quick connects came from Home Depot.
A trip to the drug store yielded a cane tip that would fit on the female quick connect to keep the dust out of it.
One thing I learned is that the quick connects come in different flavors, industrial, automotive and combination. I started with the automotive flavor but then switched to combination so that the connections would with the rest of the air system in the shop.
The onboard air system worked great on the trip. The only thing I noticed was that quite a bit of condensation was developing inside the air line. This seemed to be slowing down the air up times on the last tire. The only way to solve this would be to install an air tank with an auto drain or a coalescing filter at the air outlet.


 PhoTo
PhoTo Linear Mode