|
|
 03-12-2015, 09:38 PM
|
#11
|
|
Member
Join Date: Jan 2015
Location: San Diego, CA
Posts: 37
|
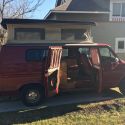
Re: Wicked Wench van build
Quote:
|
Originally Posted by 86Scotty
Van is coming along nicely! I think the only reason your pics above didn't post is because you added the image (img) click in the reply options above. When you add a photo bucket image code you don't need to do anything else. Hope that helps.
I used to use Photobucket solely but started to use the gallery here and once you get it down it's really nice to be able to store and link your van/van build related pics here.
Good luck
 |
Thanks Scotty. This forum has been a great resource!
__________________
2013 E350 RB Passenger Van
|

|

|
|
03-13-2015, 09:38 AM
|
#12
|
|
Member
Join Date: Jan 2015
Location: San Diego, CA
Posts: 37
|
Re: Wicked Wench van build
__________________
2013 E350 RB Passenger Van
|
|
|
|
|
03-14-2015, 05:17 AM
|
#13
|
|
Senior Member
Join Date: Jan 2011
Location: Reynoldsburg, Ohio
Posts: 3,774
|
Re: Wicked Wench van build
Lookin' good so far! 
Also used Coverking seat covers but in the Cordura materal, black. I did remove the arm rests so didn't have to buy the separate covers for those.
They're well worth the money---if seats are a bit worn but still usable they restore the nearly new look. If seats are in great condition they help keep them that way for a long long time.
|
|
|
|
|
03-17-2015, 11:54 AM
|
#14
|
|
Member
Join Date: Jan 2015
Location: San Diego, CA
Posts: 37
|
Re: Wicked Wench van build
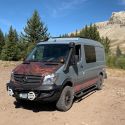
Stopped by Agile Offroad last week and met Ramsey and Glen. Two knowledgable, straight-shooting guys. I went for a ride in one of the 4x4 vans, and was really impressed with the ride quality, at speed, over bumps/dips/etc.. The build they were currently doing looked great. The TTB Dana 50 had they're extremely robust radius arms welded on with solid beads. They had finished (powder coated) and unfinished TTB's to look at.
I asked them about the added weight for the 4x4 conversion, and we went through all the parts and ball parked about 250lbs.... that's a rough number, but the Dana 50 with the radius arms, the aluminum transfer case, and other components did not feel heavy at all. That estimated weight is not counting the subtracted weight you will lose when you take out the existing I-beams. The van I saw was about 3.5" taller than stock, but they said the lift can vary.
I will, unfortunately, be waiting to do the 4x4 because with a wedding, kid, and down payment on a house all looming in the next year I have to exercise some financial restraint  I am going to see if I can at least get some fox shocks, and a 2" leveling/lift solution from them for the time being.
If you are considering a 4x4 conversion, this is a great option IMO
__________________
2013 E350 RB Passenger Van
|
|
|
|
|
03-17-2015, 12:26 PM
|
#15
|
|
Senior Member
Join Date: Mar 2013
Posts: 4,244
|
Re: Wicked Wench van build
My 2001 GTRV with an Advanced 4x4 conversion rode like crap until I made it to Ramseys shop. When I pulled out, it was like a new van, and I was very happy with the improvement. Then Ramsey took me for a ride in his van over the same route, the difference was amazing. His coil spring conversion probably has the best ride of any 4wd van I have driven. If mine wasn't already converted, I know who I would have do it. .....
__________________
Arctic Traveller
KC6TNI
2001 GTRV
Advanced 4wd
Agile Ride improvement package
|
|
|
|
|
03-17-2015, 12:43 PM
|
#16
|
|
Member
Join Date: Jan 2015
Location: San Diego, CA
Posts: 37
|
Re: Wicked Wench van build
Yeah, I was very impressed. From flat ground, to side-slop incline change (maybe 10 degrees or so), to a negative side-slope incline at over 30mph the van soaked up the transitions smoothly and recovered without lingering body roll, almost instantaneously. Impessive for a lot of rigs, but especially a van. I've heard a lot about how a van should/should not be used, but for me, traveling on hundred mile washboard roads with the occasional mud or silt... the ability to travel comfortably at speed is a big plus.
Just because you drive a van doesn't mean you should have to slow to 20mph whenever you leave the pavement. I think most people here get that already.
__________________
2013 E350 RB Passenger Van
|
|
|
|
|
04-06-2015, 10:21 AM
|
#17
|
|
Member
Join Date: Jan 2015
Location: San Diego, CA
Posts: 37
|
Re: Wicked Wench van build
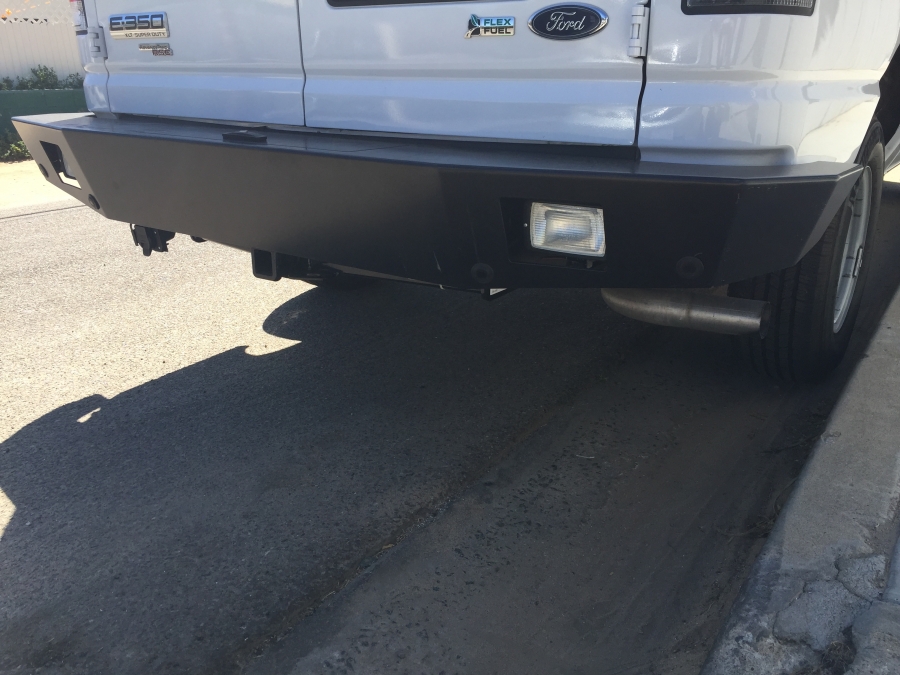
I put on the aluminess bumper from my old van, installed the factory parking sensors on the new bumper, and added a class 4 tow hitch.
The bumper lights are not wired yet, and I'm thinking that wiring them to a switch might be the way to go as opposed to wiring them to come on with the reverse lights. I guess I can pull power from the tail lights unless anyone has a better suggestion. 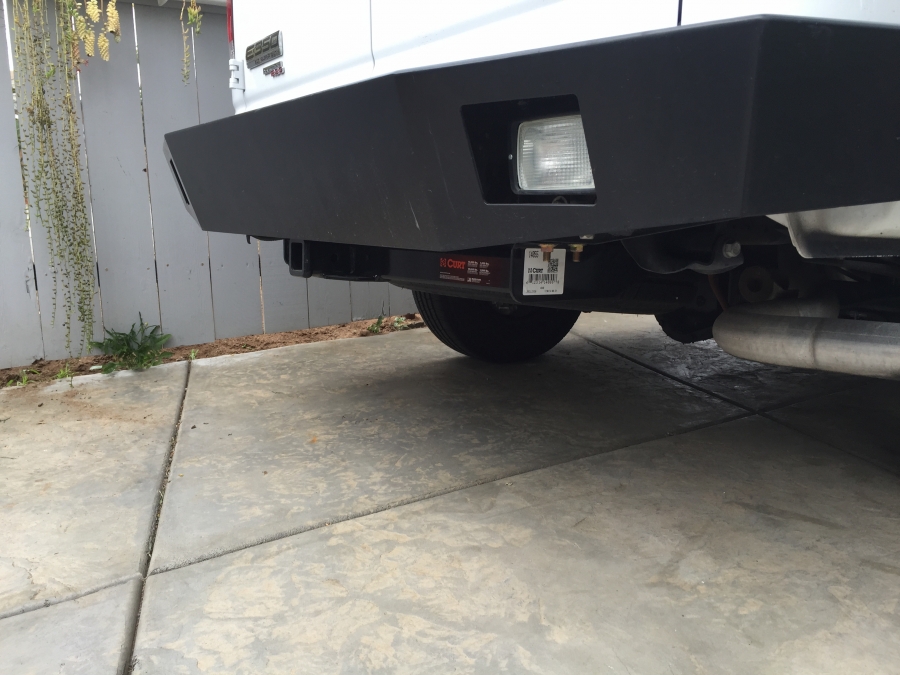 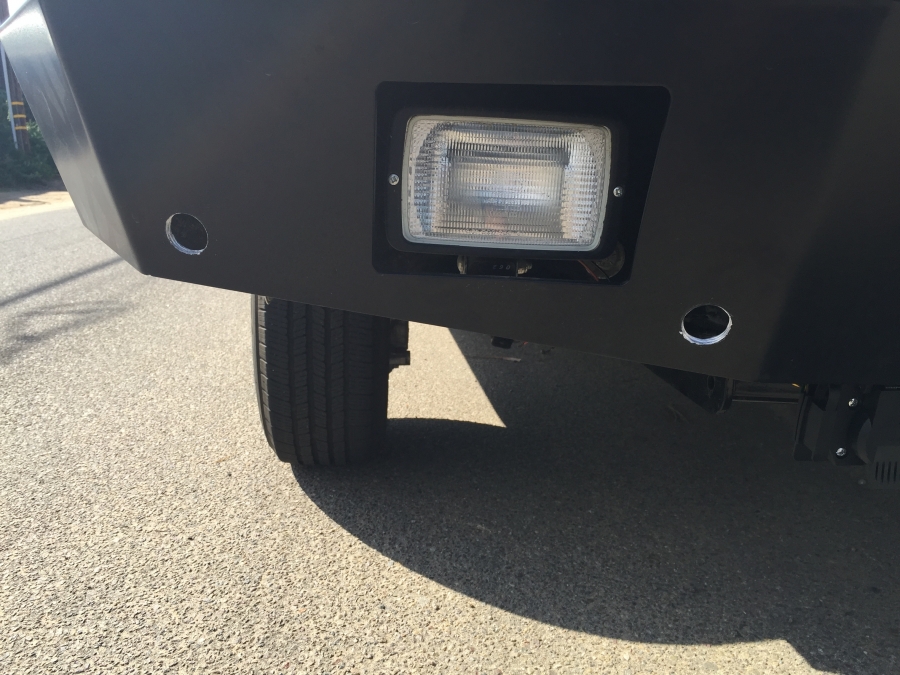
__________________
2013 E350 RB Passenger Van
|
|
|
|
|
04-06-2015, 01:08 PM
|
#18
|
|
Member
Join Date: Jan 2015
Location: San Diego, CA
Posts: 37
|
Re: Wicked Wench van build
__________________
2013 E350 RB Passenger Van
|
|
|
|
|
04-06-2015, 01:18 PM
|
#19
|
|
Member
Join Date: Jan 2015
Location: San Diego, CA
Posts: 37
|
Re: Wicked Wench van build
Pioneer AVH 4000NEX Multimedia DVD Reciever
I usually install my own head units, but after looking at the service manual, it appears that you have to remove a bunch of the dash to remove/replace the stereo. I found a place that would beat the best price I found on this head unit by $40, and install for $80 (including splicing into the factory camera for rearview camera display). Sounded good to me. So I went for it. Install was a little sloppy, so I cleaned up some loose wiring and I rerouted all the phone/ipod adapters to come in at the console instead of the glove box. The hole coming into the glove box was sloppy, with rough edges, and no grommet to protect the wiring. That's what you get for the price I guess. Everything works as it should. No review on the head unit yet, as I haven't had much use.
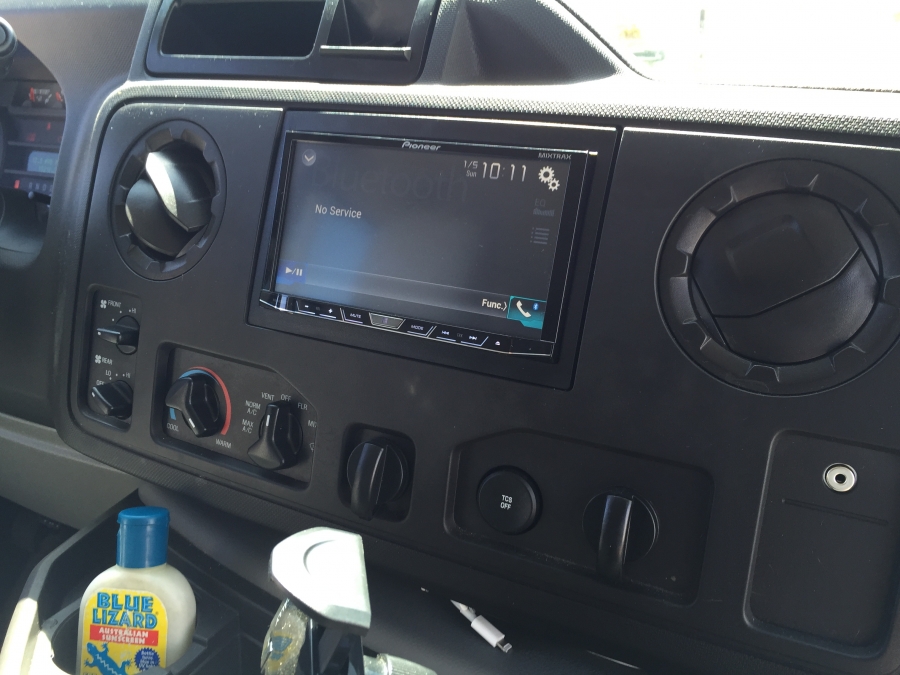
You can see the iPhone plug in peeking through the crack between the dash, and the engine covers. There's actually 3 there, but you can only see one. One is a carplay option which locks out your phone and lets you do everything from the stereo touchscreen. The 2nd is HDMI, which displays your phone screen on the dash in HD (nice for navigation), and the 3rd is an iPod/ipad hookup.
__________________
2013 E350 RB Passenger Van
|
|
|
|
|
04-06-2015, 08:17 PM
|
#20
|
|
Senior Member
Join Date: Jul 2013
Location: So Cal
Posts: 4,072
|
Re: Wicked Wench van build
Bozzy.....curious about what you used to get the backup sensors in the bumper......a unibit? Did you put the "ear" features in each hole as well?...if so, what did you use for that?
__________________
2008 E350 RB passenger 4WD SMB penthouse
2013 KTM 350 EXC
2008 KTM 250 XCF-W
2003 Honda Element
|
|
|
|
|
|
 Posting Rules
|
You may not post new threads
You may not post replies
You may not post attachments
You may not edit your posts
HTML code is Off
|
|
|
|
 » Recent Threads
 |
|
|
|
|
|
|
|
|
|
|
|
|
|
|
|
|
|
|
|
|
|
|
|
|
|
|
|
|
|
|
|
|
|


 Linear Mode