A few months back I noticed a wobble in the steering wheel again. We have just over 50K on the van and I replaced the original ball joints at 32K. I stopped at an auto mechanics shop in Saint George Utah and he thought I could get another 10K out of them before things got ugly. That was 7K ago. We had another trip planned to southern Utah so I thought it may be a good idea to take care of this before we get on the road. I thought that if I'm going to have to replace these ball joints every 20 to 30 thousand miles, I had better learn to do then on my own. The first round cost me over $600 and I found out that that was a good deal. (By the way, I think I'm pretty easy on our van, at 50K the original brakes and tires look to have another 15 to 20 thousand left in them.) I have a friend that use to have an auto repair shop and specialized in 4X4's. I called him up and asked if he could get me headed in the right direction. He came over one Tuesday morning and before I knew it and before I could get my camera out, (that's why you will notice in some of the pics the parts are painted and safety pins are back in place) we had the front end in boxes that were marked as drivers side and passenger side. The most surprising thing he taught me was how you release the tapered fittings of the tie rods and the ball joints. All you need is a 5 lbs sledge hammer and the confidence that smacking the side of these unions was actually going to release them.
As in typical fashion for me, I had every thing pulled apart before I looked into buying the replacement ball joints. Luckily the first call I made was to Dynatrac. I wanted to ask them if there was a brand that I should avoid or insist on. Dan told me that I could us the Dana Spicer ball joints (that is what was originally used on my 06 SMB 4X4 conversion). But since then they have come out with their own ball joints. He said that I could expect to get 100 thousand miles out of them and when they do go bad, I can rebuild them for less then $200 and not have to remove them from the knuckles. I ordered the
DA60-2X3050-A, ProSteer Ball Joint Kit, and had them the next day. I was going to buy this ball joint press from Harbor Freight
http://www.harborfreight.com/four-wheel ... -4065.html. But after I talked to a local automotive machine shop and found out that for the same price as the press they would do it for me, I thought that since I will hopefully never have to remove and install another set again that this was the way to go.
So here is the basic rundown. Get the front end off the ground and remove tires, brake calipers and hubs. Here is a link to a great step by step for that from BadgerTrek.
http://www.badgertrek.com/sportsmobile/ ... ings.shtml The only thing I will add is that I needed 2, 14oz. tubes of grease to finish the job.
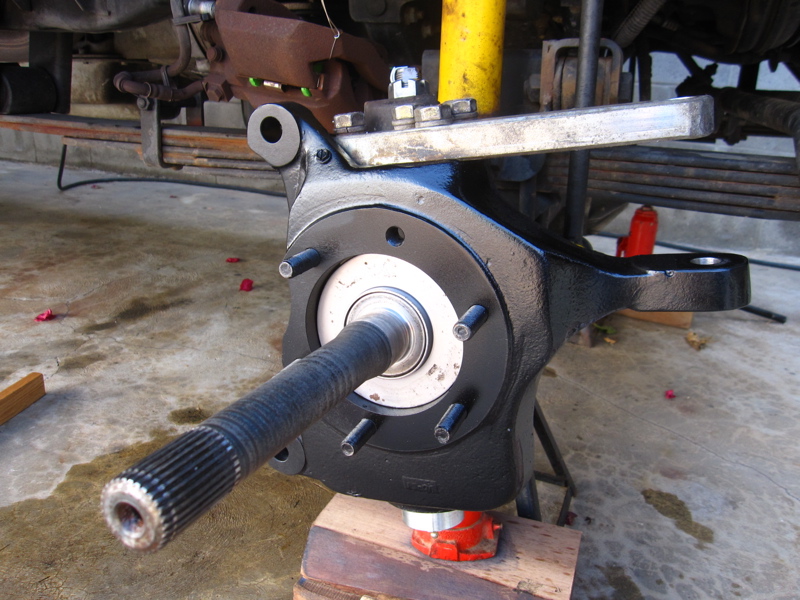
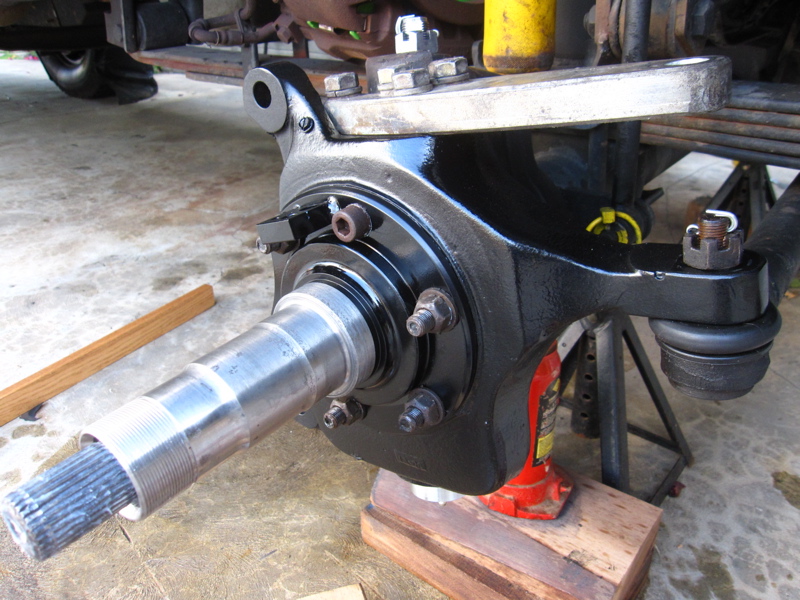
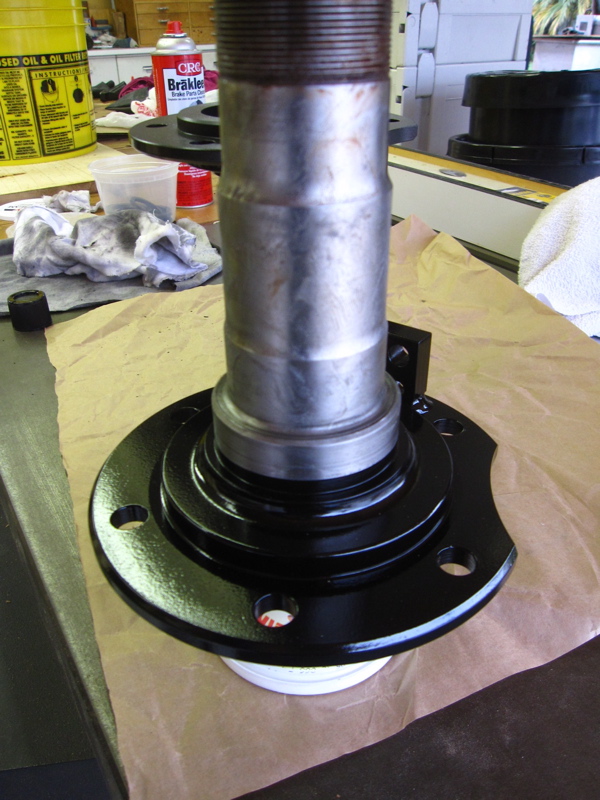
Now remove the spindle, that's done by removing the 5 nut and 1 allen bolt. You will also need to remove the ABS sensor. I was told that these may be left and right specific. I didn't see any marking on them that would indicate that they are so just to be safe, don't mix them up.
At this point you can prepare to pull the axles. First you should pull off the differential cover to drain the gear oil. Otherwise some oil will drain into the axle tubes and you will have to clean it all out before you put it all back together. That's what happened to me and it was a big mess.
The axles will pull straight out but do this carefully and smoothly. There is a seal near the differential that holds back the gear oil, if you're gentle when removing and installing the axles there should be no need to replace these seals.
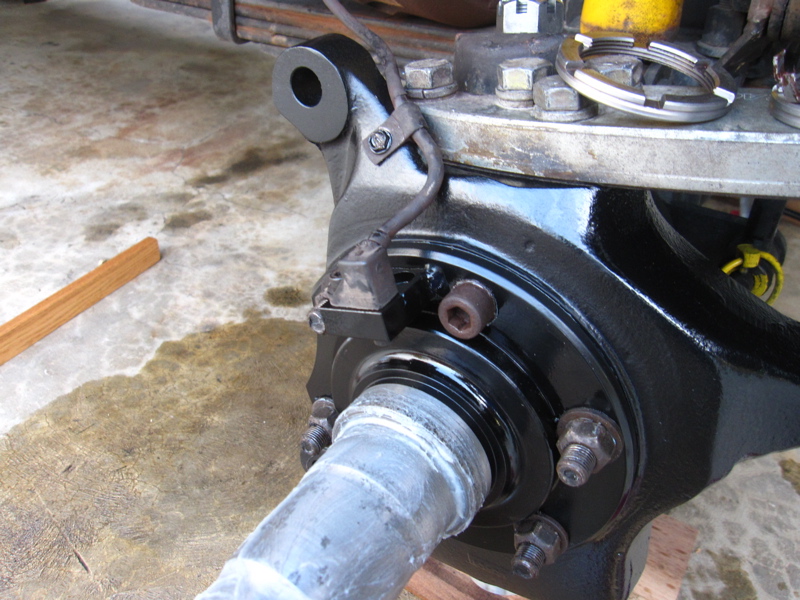
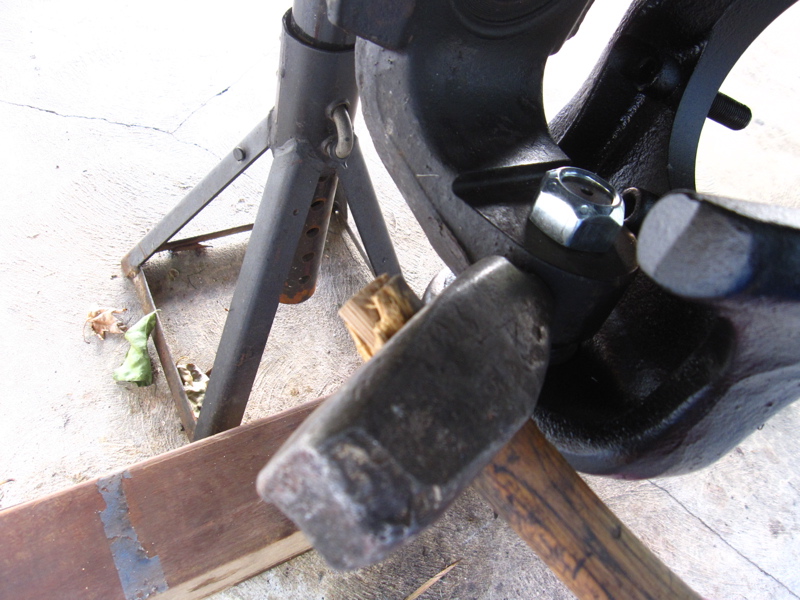
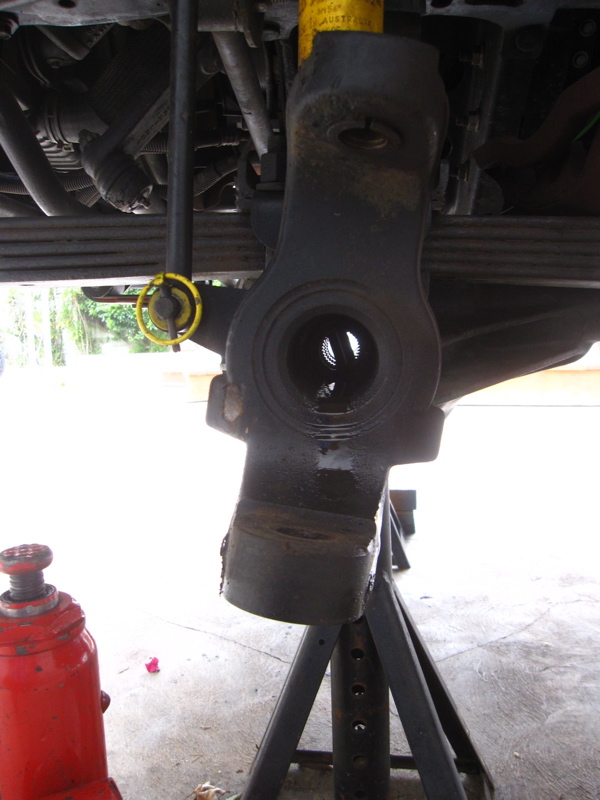
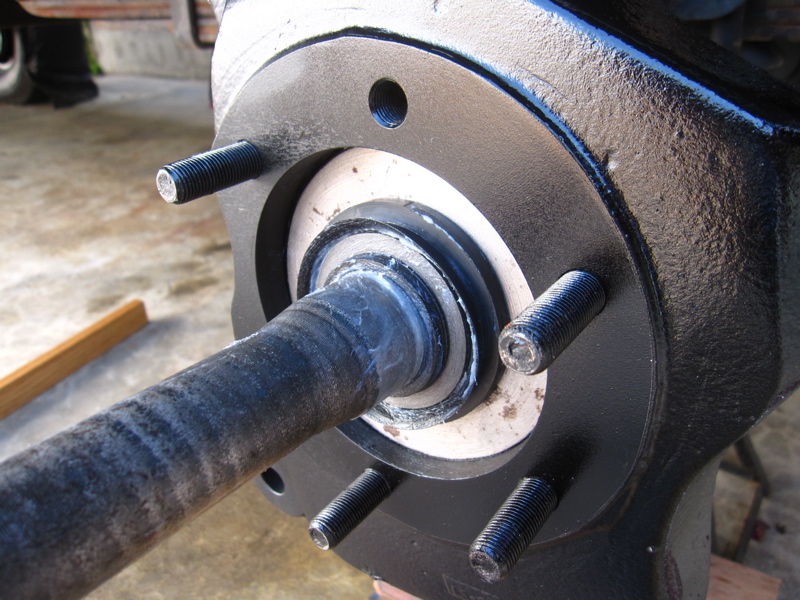
Now it's time to pop the drag link and tie rod. First mark the drivers side with a piece of tape to make sure you put it back the same way. Pull the safety pins and loosen the nuts but don't remove them completely. Now take a 5 lbs sledge hammer and smack the side of forged part of the unions.
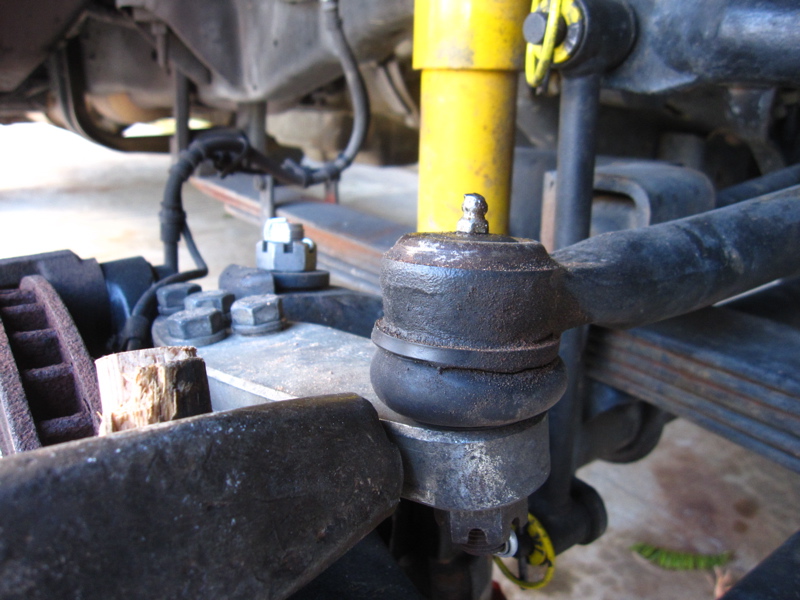

You do not want to hit the top of the threaded tapered bolt, just beat the side as shown in the photos. It takes a couple of good whacks but just when you think this won't work, they drop out. Now remove the nut completely and remove these steering components. (There will be no need to get an alignment after you put this all back together, if everything was running straight before you started.)
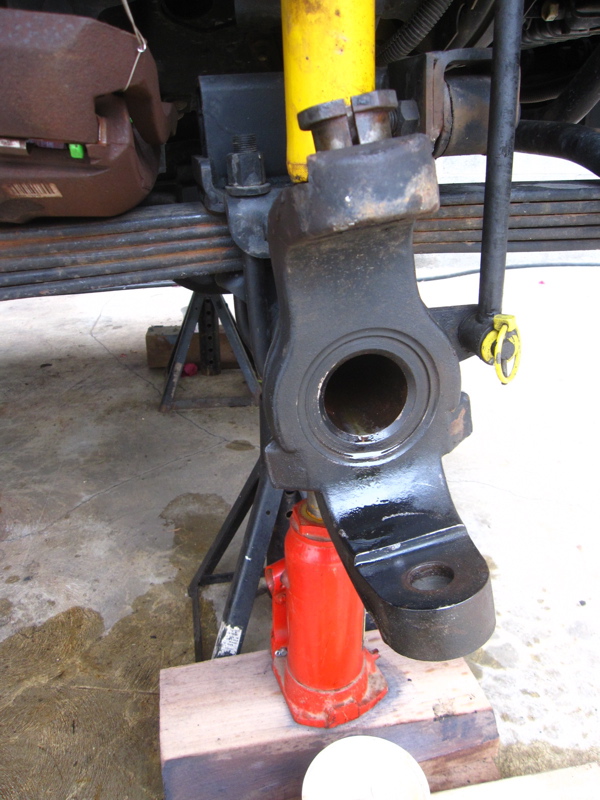
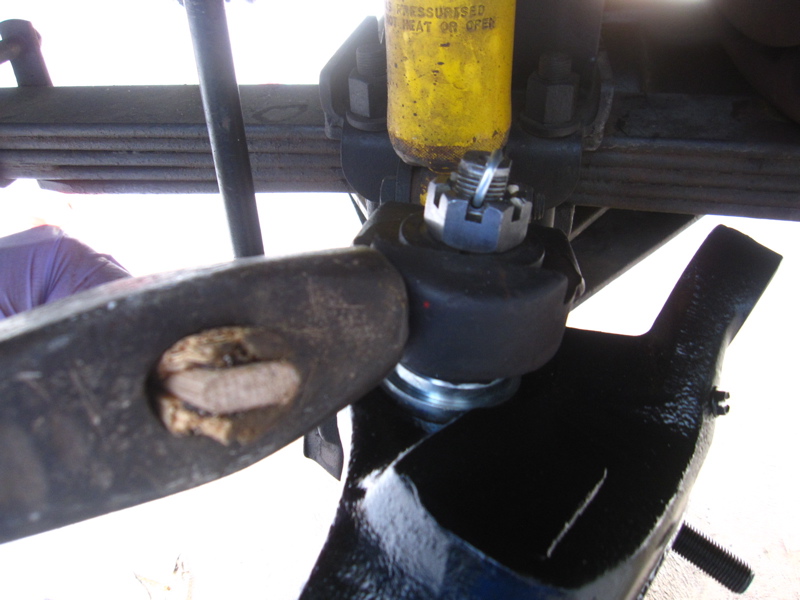
Now loosen and remove the upper castle nuts and loosen the nut of the lower ball joint so there are 3 to 5 threads still on the bolt, this will prevent the knuckle from falling off. Now smack the lower forging a few times and then the upper one. At some point the knuckle will drop onto that lower nut. Lift the knuckle and remove the nut and carefully lower the knuckle off the front end.
(The pics were actually taken when I was putting this back together. That's why the nuts are not loosened and the safety pins are in place.)
I took the knuckles and the box from Dynatrac to the automotive machine shop. The kit came with very good instructions that I wanted the installer to look through. These instructions give step by step instructions to remove and press in the new ball joints using the C-clamp type press I gave the link to above. They also give all the torque specs and procedure to reinstall the knuckles. I'll just give the basics but know that if you buy the kit you'll have more details.
Before you install the knuckles, it is a go idea to try to clean out the axle tubes. There was a lot of grit and sand in mine and you would not want to pick up any of it on the ends of the axle shaft and transfer it into the differential. I used a broom stick that I tightly wrapped in a rag. I inserted it carefully into the tube trying not to touch the inner wall. Then I pulled it out dragging it along the bottom of the tube. I did this several times and got everything very clean.
It's also important to get the tapered shafts and forging taper clean. They suggest to use brake cleaner or acetone. This will help prevent the shaft from spinning during assembly. Place the knuckle into the forging and lightly screw on the ball joint nuts, preventing the knuckle from sliding out. I suggest you use the original lower ball joint nuts, the ones that came with the new ball joints are taller and get very close to the U-joints, like a shy 1/16" close.

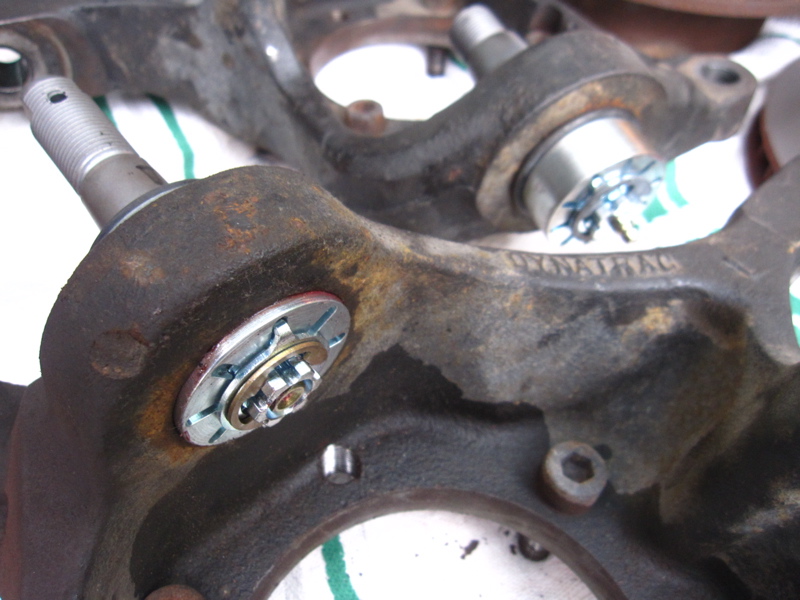
Using a pry bar under the camber bushing ( this is what the upper ball joint tapered shaft fits into) lift the knuckle, this will seat the lower ball joint into the forging taper and allow you to tighten the lower ball joint to 35 ft. lbs of torque. Once the lower ball joint has been tightened to the first torque specification, remove the pry bar from the upper ball joint. Tighten the upper ball joint with an open ended wrench. If the shaft starts to spin, use a second wrench on the flat milled end on the upper ball joint stud. After the castle nut is drawn into the bushing, the upper ball joint may be torqued to 71 ft. lbs, then turn the nut until the next slot lines up with the cotter pin. Insert the cotter pin into the hole and bend the tab over.
Re-torque lower ball joint to 140/160 ft. lbs

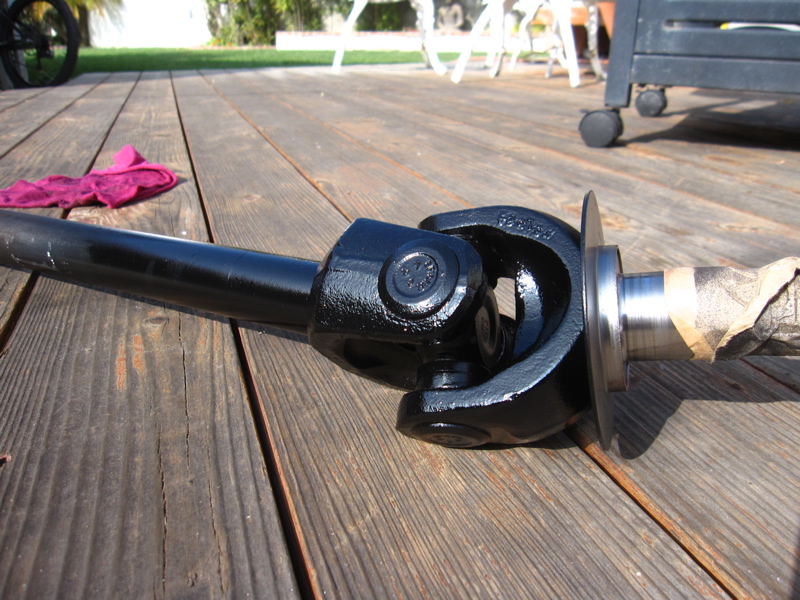
Now, carefully slide the axle shaft back into the tubes. It's a good idea to put a little grease on the splined end of the axle.
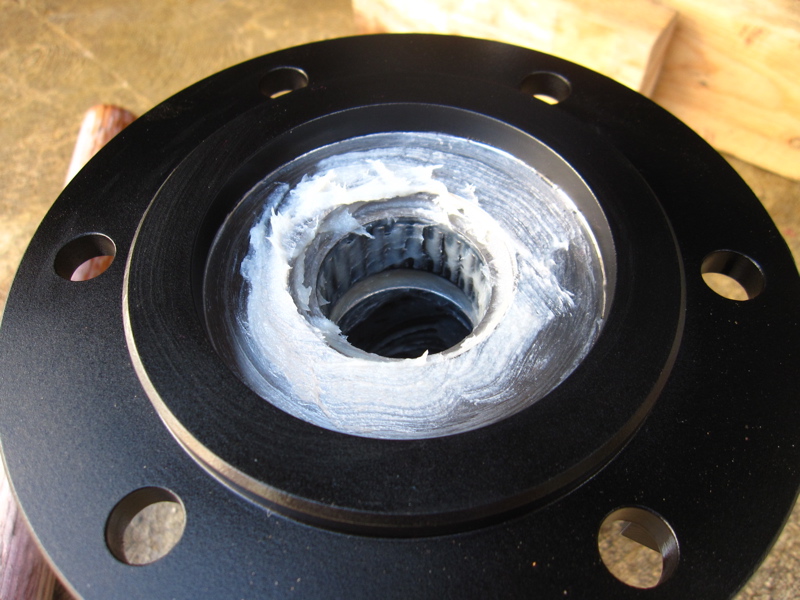
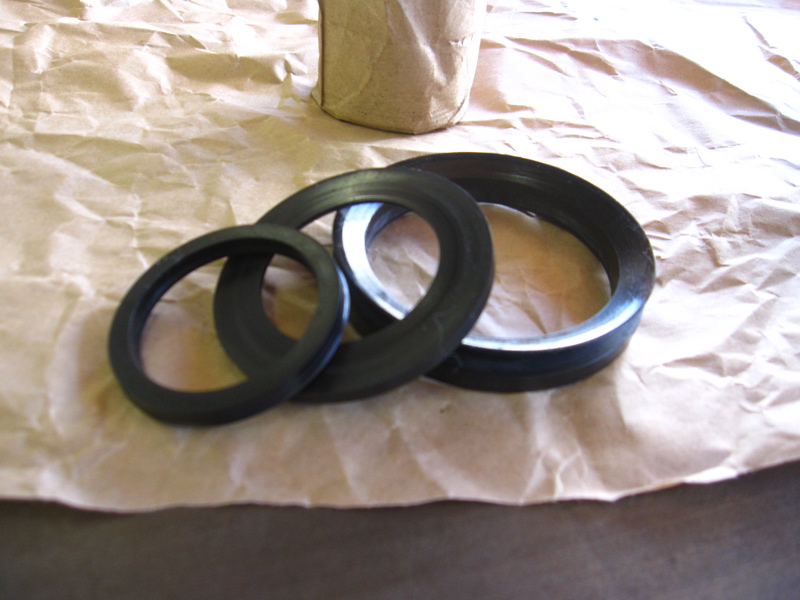
Clean and regrease the needle bearings and the seals on the inside of the spindle and reinstall them. The torque specs for these 6 bolts is 85/100 ft. lbs.
Now reinstall the tie rod. Clean both parts of the tapered fittings and torque them down to 100 ft. lbs. And finally do the same to the drag link.
Reinstall the ABS sensor and refer back to the BadgerTrek link to reinstall the hubs.
Reinstall the differential cover and refill with appropriate gear oil, I used AMSoil severe gear SAE 75W-90
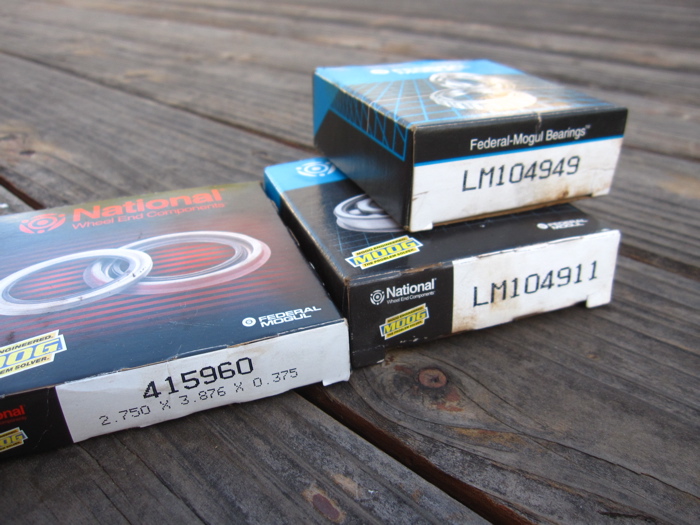
While I had all of this apart, I found that the passenger side bearings had gotten water in them and where in very bad shape. I replaced the bearings and races. This is what I used.
I also did a few extra things like repaint the knuckles, spindles and U-joints. One trick I have learned on the under parts of my van is to use paintable rubberized under coat. This under coat provides a flexible base coat that prevents the paint from chipping away and exposing raw metal when impacted by small rocks. I used this under coat on all the leading edges of these parts.
I also had the rotors turned and installed new brake pads, even though my original pads still had some life left in them. Here is how they looked.
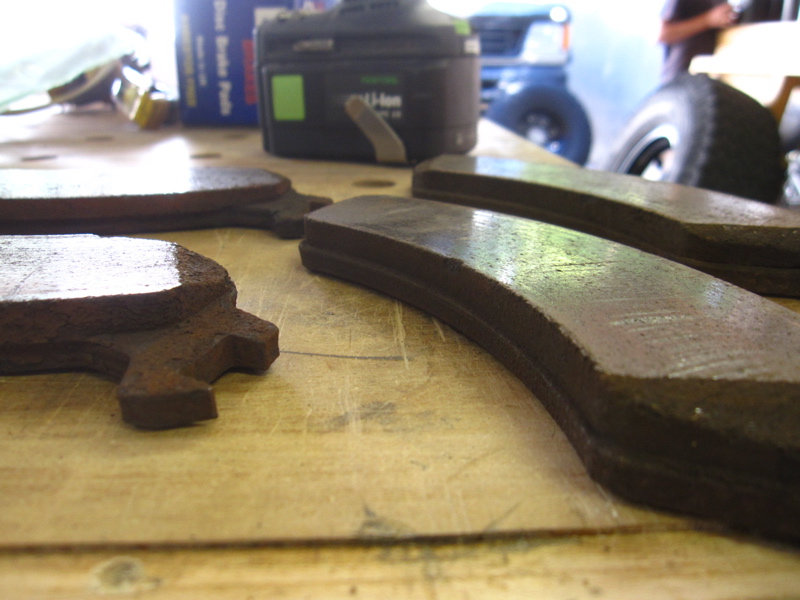
I used these pads on the front
http://www.autoanything.com/brakes/61A3 ... 99432.aspx
And these on the back
http://www.autoanything.com/brakes/61A3 ... 01839.aspx (make sure you get the set for the rear).
I really noticed a difference with these pads. I know they will wear down my rotors faster then the OEM pads but the extra braking power is worth it.
As I was putting the tires back on the van, my wife was loading up the van with all the gear we would be needing for our 10 day trip to southern Utah. I literally put the van back on the ground, put the tools and jack in the back, pulled out of the driveway and didn't stop until we got to Jean Nevada were we parked next to all the truckers and spent the night. I noticed a big difference in the steering and realized how loose it was before. At 80 plus miles per hour and only one hand on the wheel, everything was very stable. Before I did this, I was uncomfortable at 75MPH with both hands on the wheel. I put 1,175 mile on that test drive and everything was great.
I've never pulled apart a front end like this and the whole 4X4 thing was a bit of a mystery to me. This was a great project to get familiar with these components and I feel much more comfortable with how all of this works.

John


 Sportsmobile (AKA Money Pit)


 Linear Mode