Hi all, I also just upgraded my house batteries and wanted to share here since my setup is a little different. Hopefully this will help anyone considering converting on a Ford SMB.
Original set up - 2008 Ford with EB 50 conversion by SMB West. I had a 4D AGM mounted on a tray behind the rear axle, Tripp Lite Inverter Charger, Blue Sky 2000E solar charger, with Sure power Separator.
New set up - 2 100AH Battle Born Batteries, Redarc BCDC 1240D Dual Input Charger and Victron BMV-702 Battery monitor. I kept the Tripp Lite Inverter Charger for now.
A little about why I chose these components
Battle Born Batteries - From what I was able to determine these are extremely well made batteries. They are made in the US and they have fantastic customer service and are willing to work with DIYers. They were really helpful in designing my set up. There is a great video of a tear down of one of their batteries on Youtube.
https://youtu.be/G5E30u-66VI
Redarc DC-DC charger. Again great customer service you can call a US number and talk directly with them in Australia. These chargers are built specifically for 4x4's so they are tested for harsh vibrations, heat, cold and moisture. Take a look at the videos on their website of what they do to test their equipment. This will replace the Blue Sky solar controller (mine had an intermittent fault) and the battery separator. If you are switching to Lithium batteries you really need a DC-DC charger because an alternator is not designed to charge lithium batteries. The batteries won't charge properly and it can fry the alternator. I also liked that this charger prioritizes the solar power first and then supplements with power from the alternator. I opted for the 40 amp because I have a single alternator but they also offer a 50 amp version.
Victron Battery Monitor BMV-702- As stated earlier in this thread you can't use voltage to estimate charge level of a lithium battery because the voltage is very consistent and then drops off a cliff when the batteries reach near zero charge.
I kept the Tripp Lite Inverter/Charger because it should be fine for bulk charging the batteries. It doesn't have a lithium setting and their customer service is terrible, they weren't able to give me any of the specs. for float voltage for the two setting it has and all they could tell me was what is in the manual. This may get changed later when the bank account has some more $$ available.
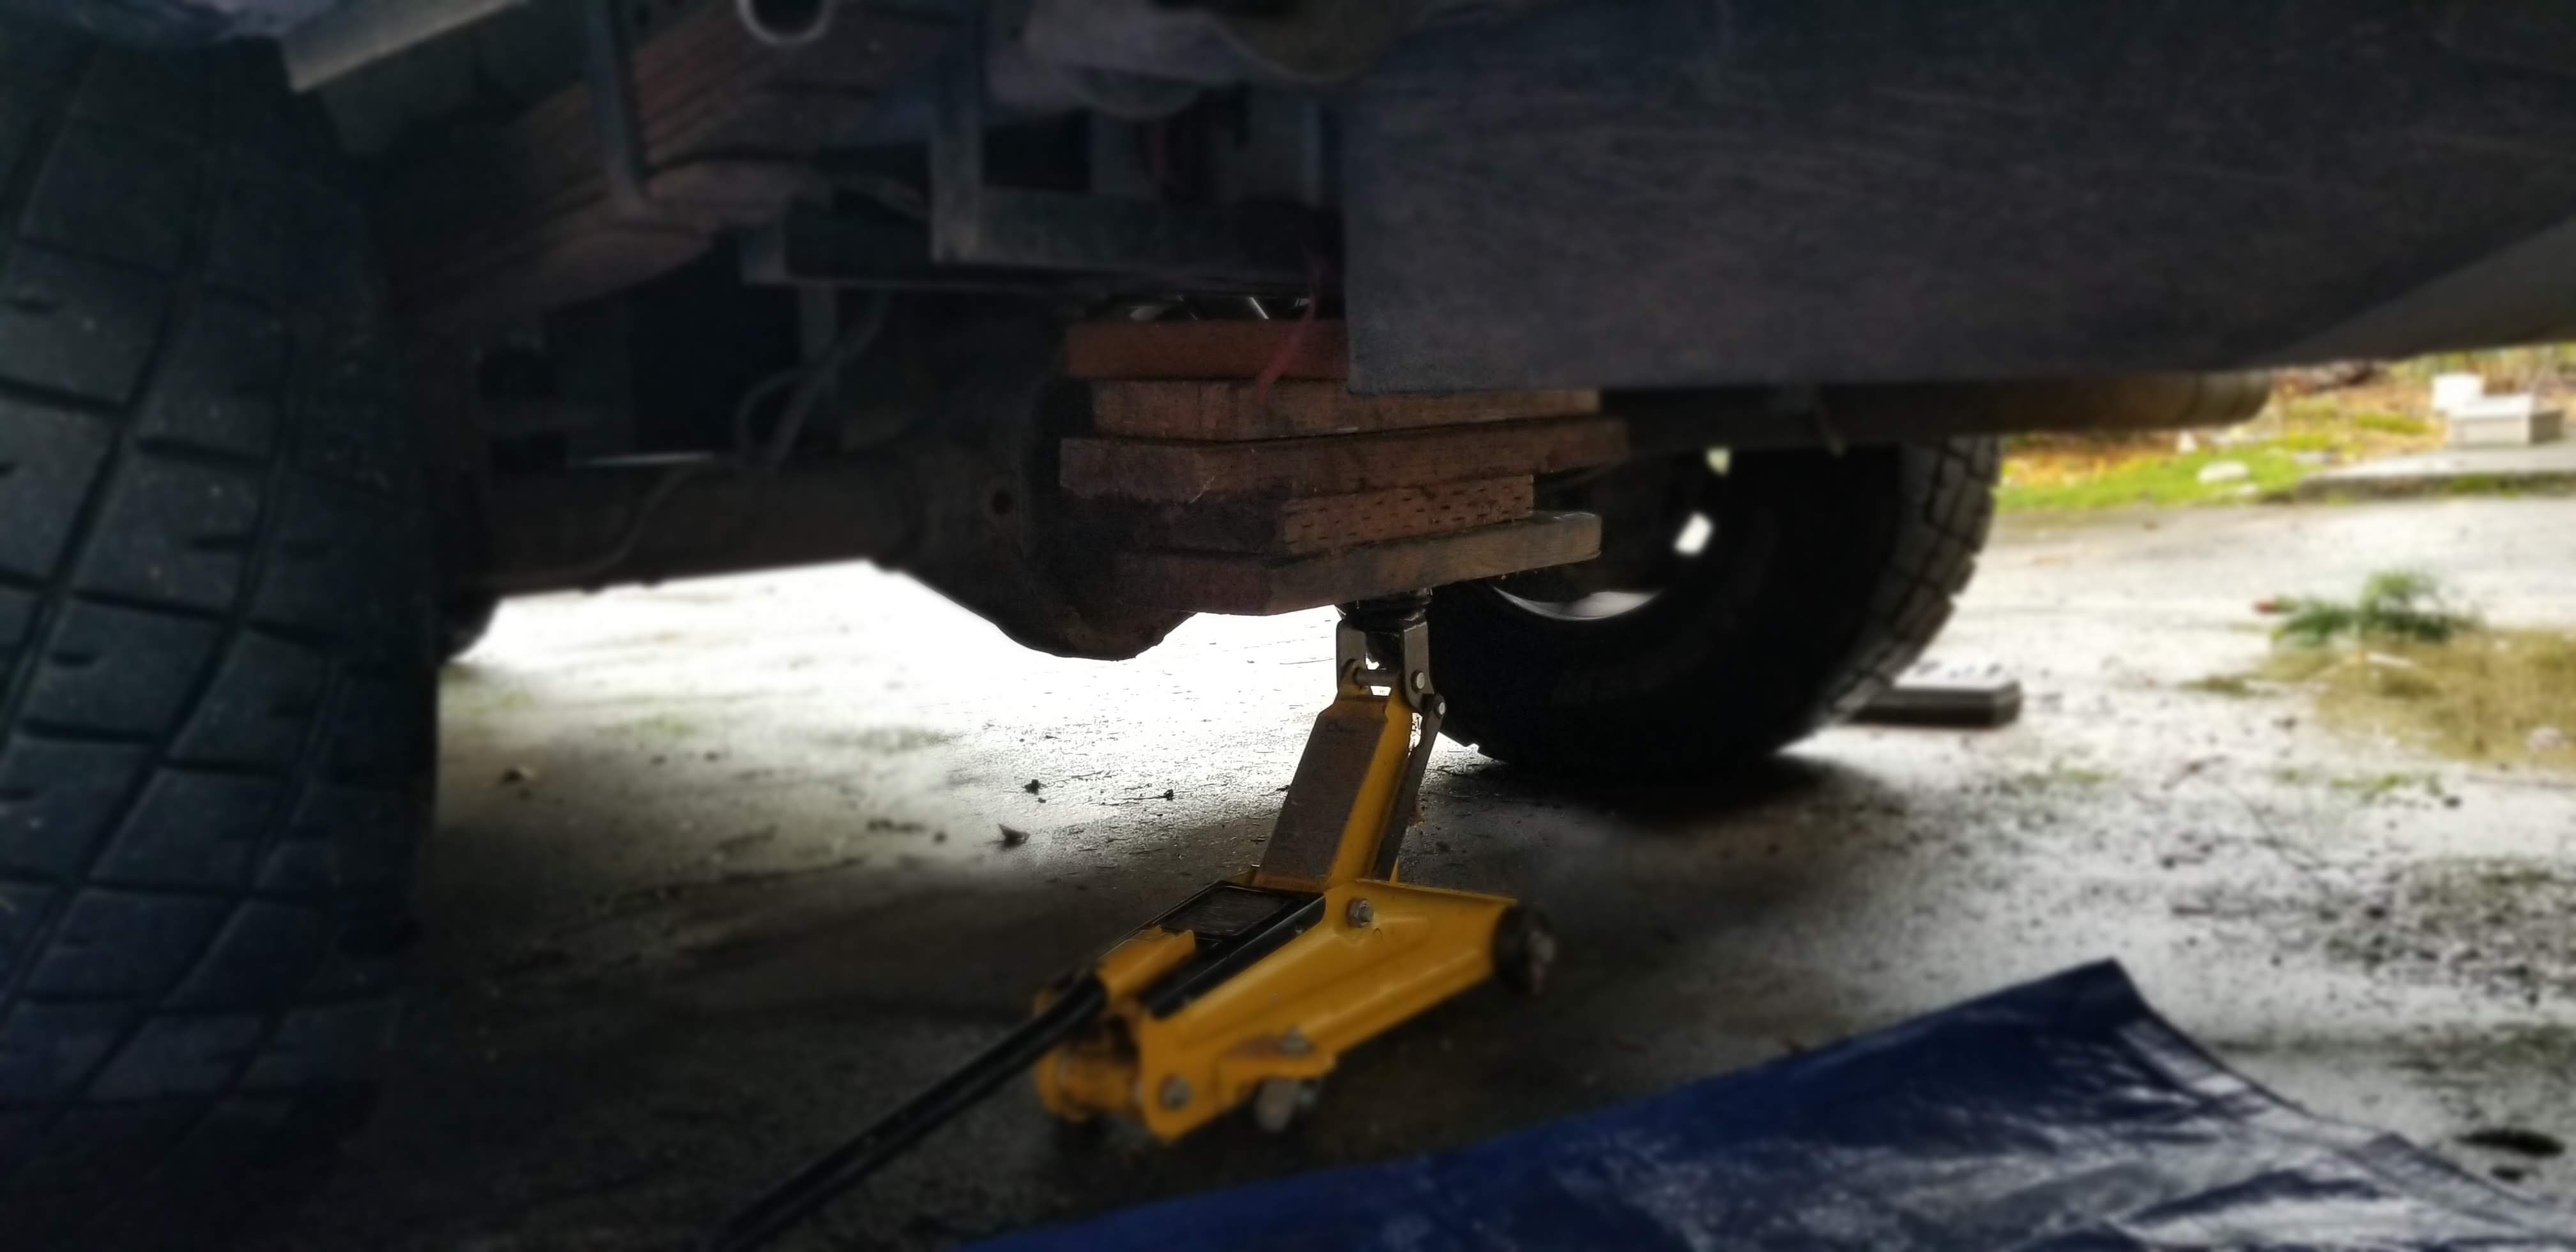
First task - remove battery, I disconnected the terminals while the tray was in place so as to not damage the cables, then used a floor jack with blocks of wood to lower the tray. It was a little sketchy but I really wasn't concerned with damaging the old battery. Just keep your hands and feet clear because the battery weights 100+ pounds.

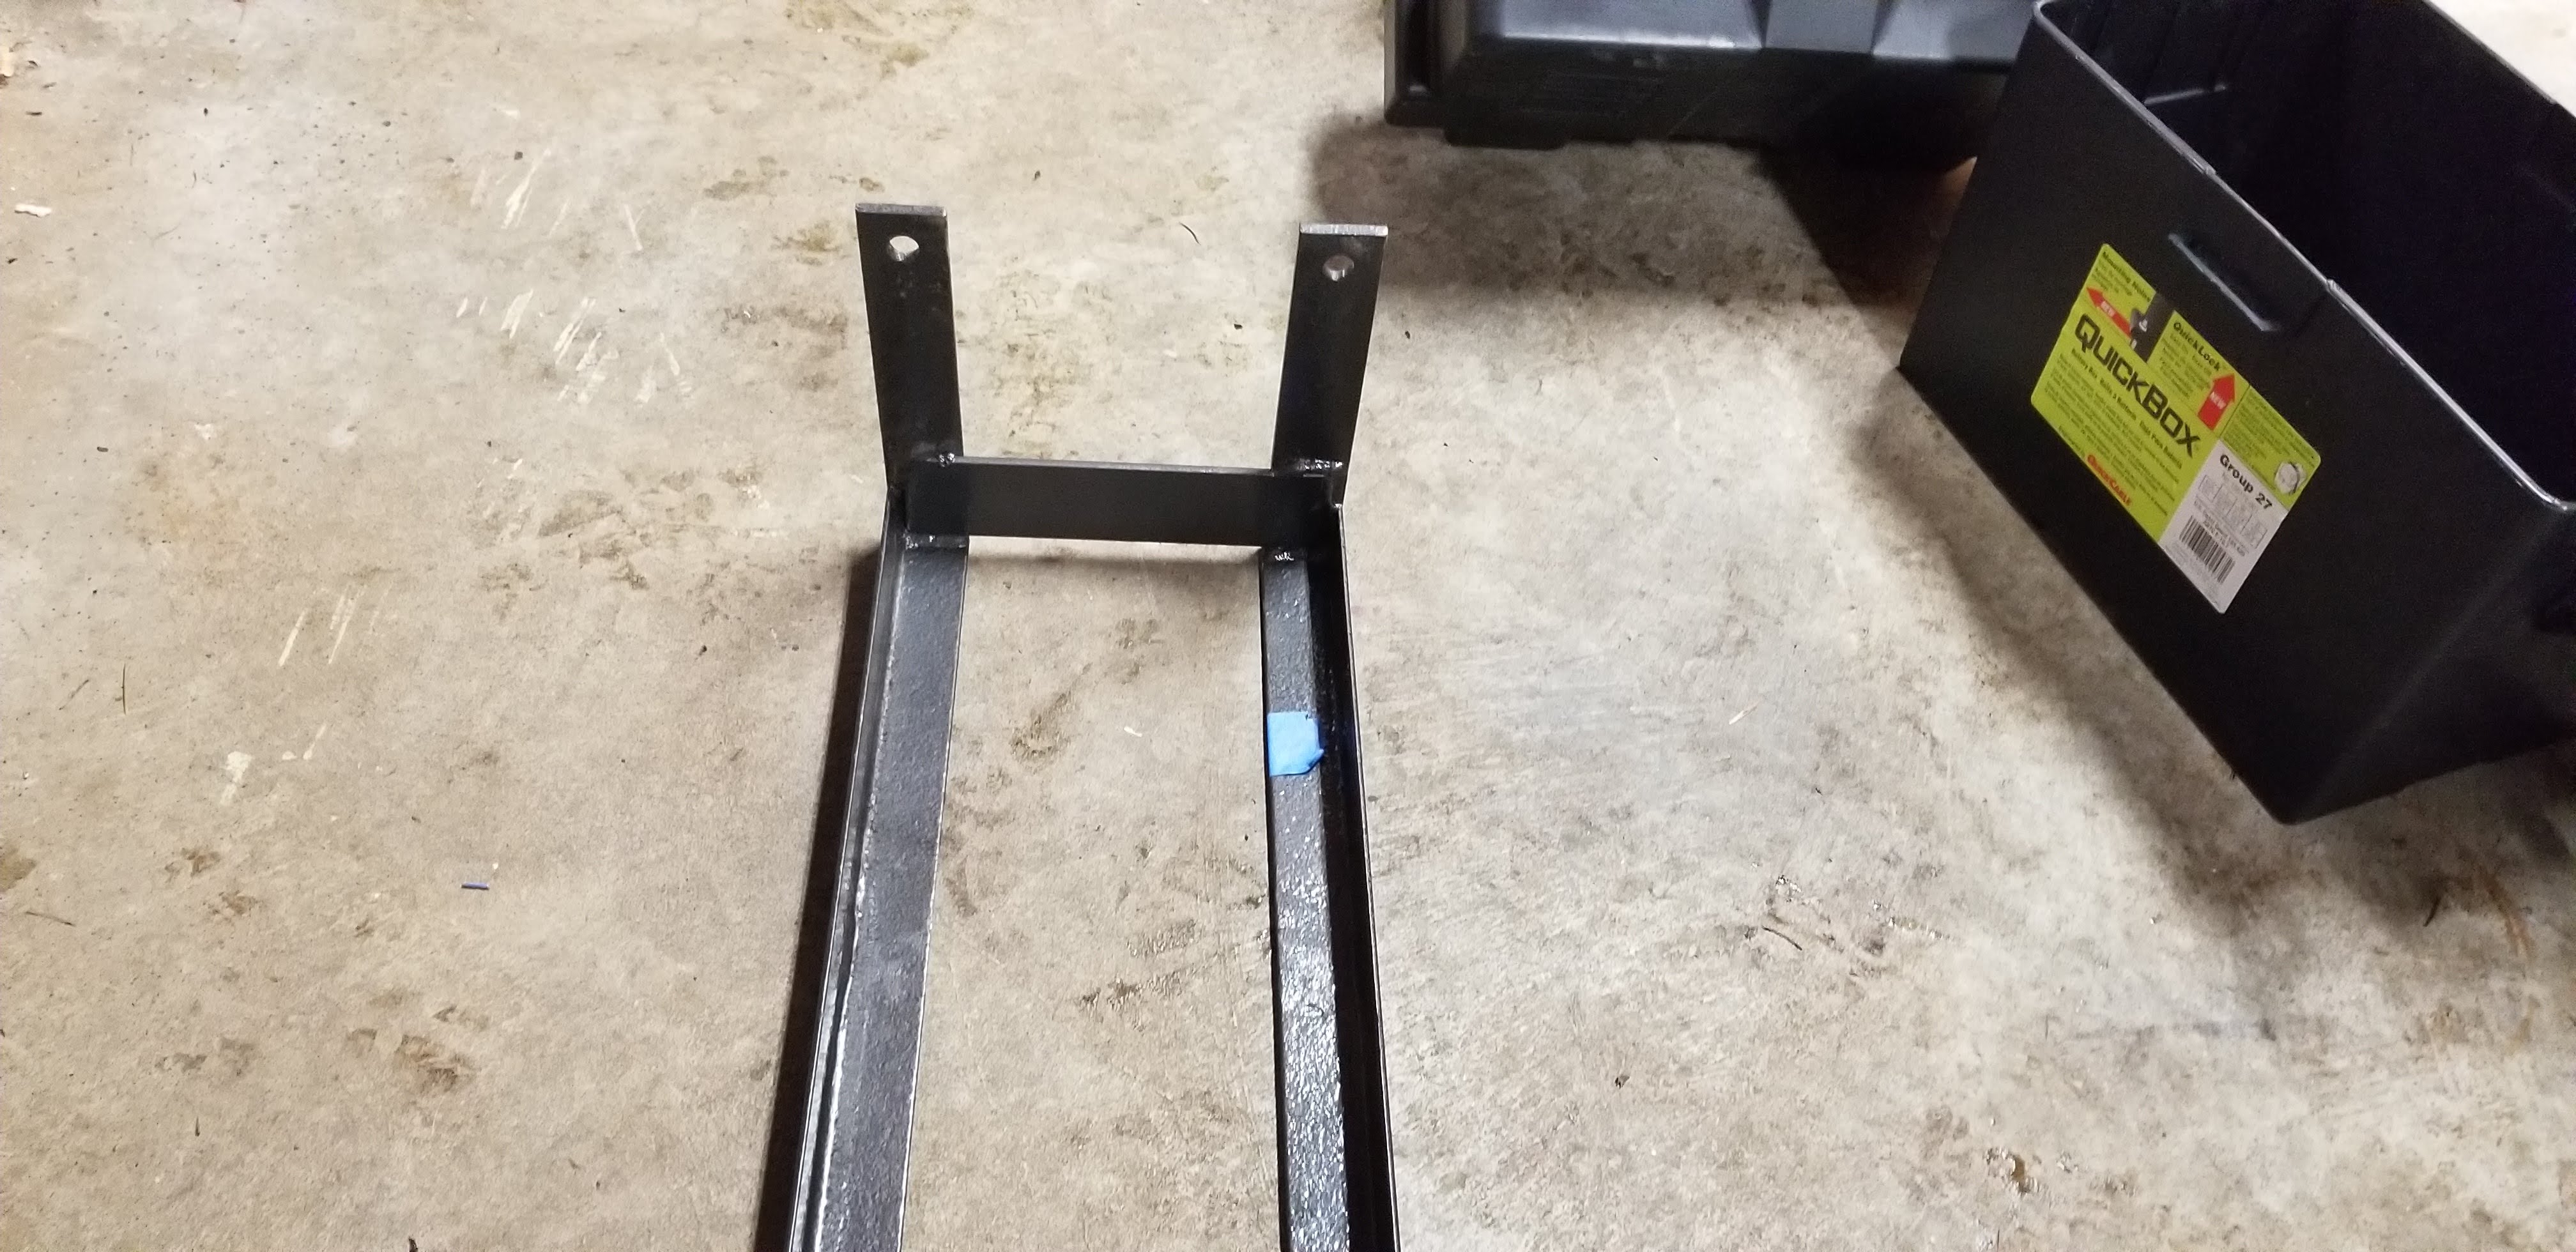
I had to grind the two pieces of angle off the tray that held the old battery in place. I then welded a new piece of flat steel across the drivers side end of the tray for support before cleaning and repainting it.
I found 2 QuickCable Group 27 battery boxes fit in the tray and used pop rivets in the corners of the boxes to attach them to the trays. I chose the rivets because they won't work loose with vibrations and they and low profile and won't wear on the bottom of the batteries. I used a Sawzall to cut the handles off the boxes and tin snips to cut the ends and sides of the tops to allow for the cables to come through. The batteries have a little extra space in the boxes and no way to tie them down so I used foam pad around and under the batteries. This will keep them from sliding around in the boxes plus give them a little insulation.
Ready to go back in:
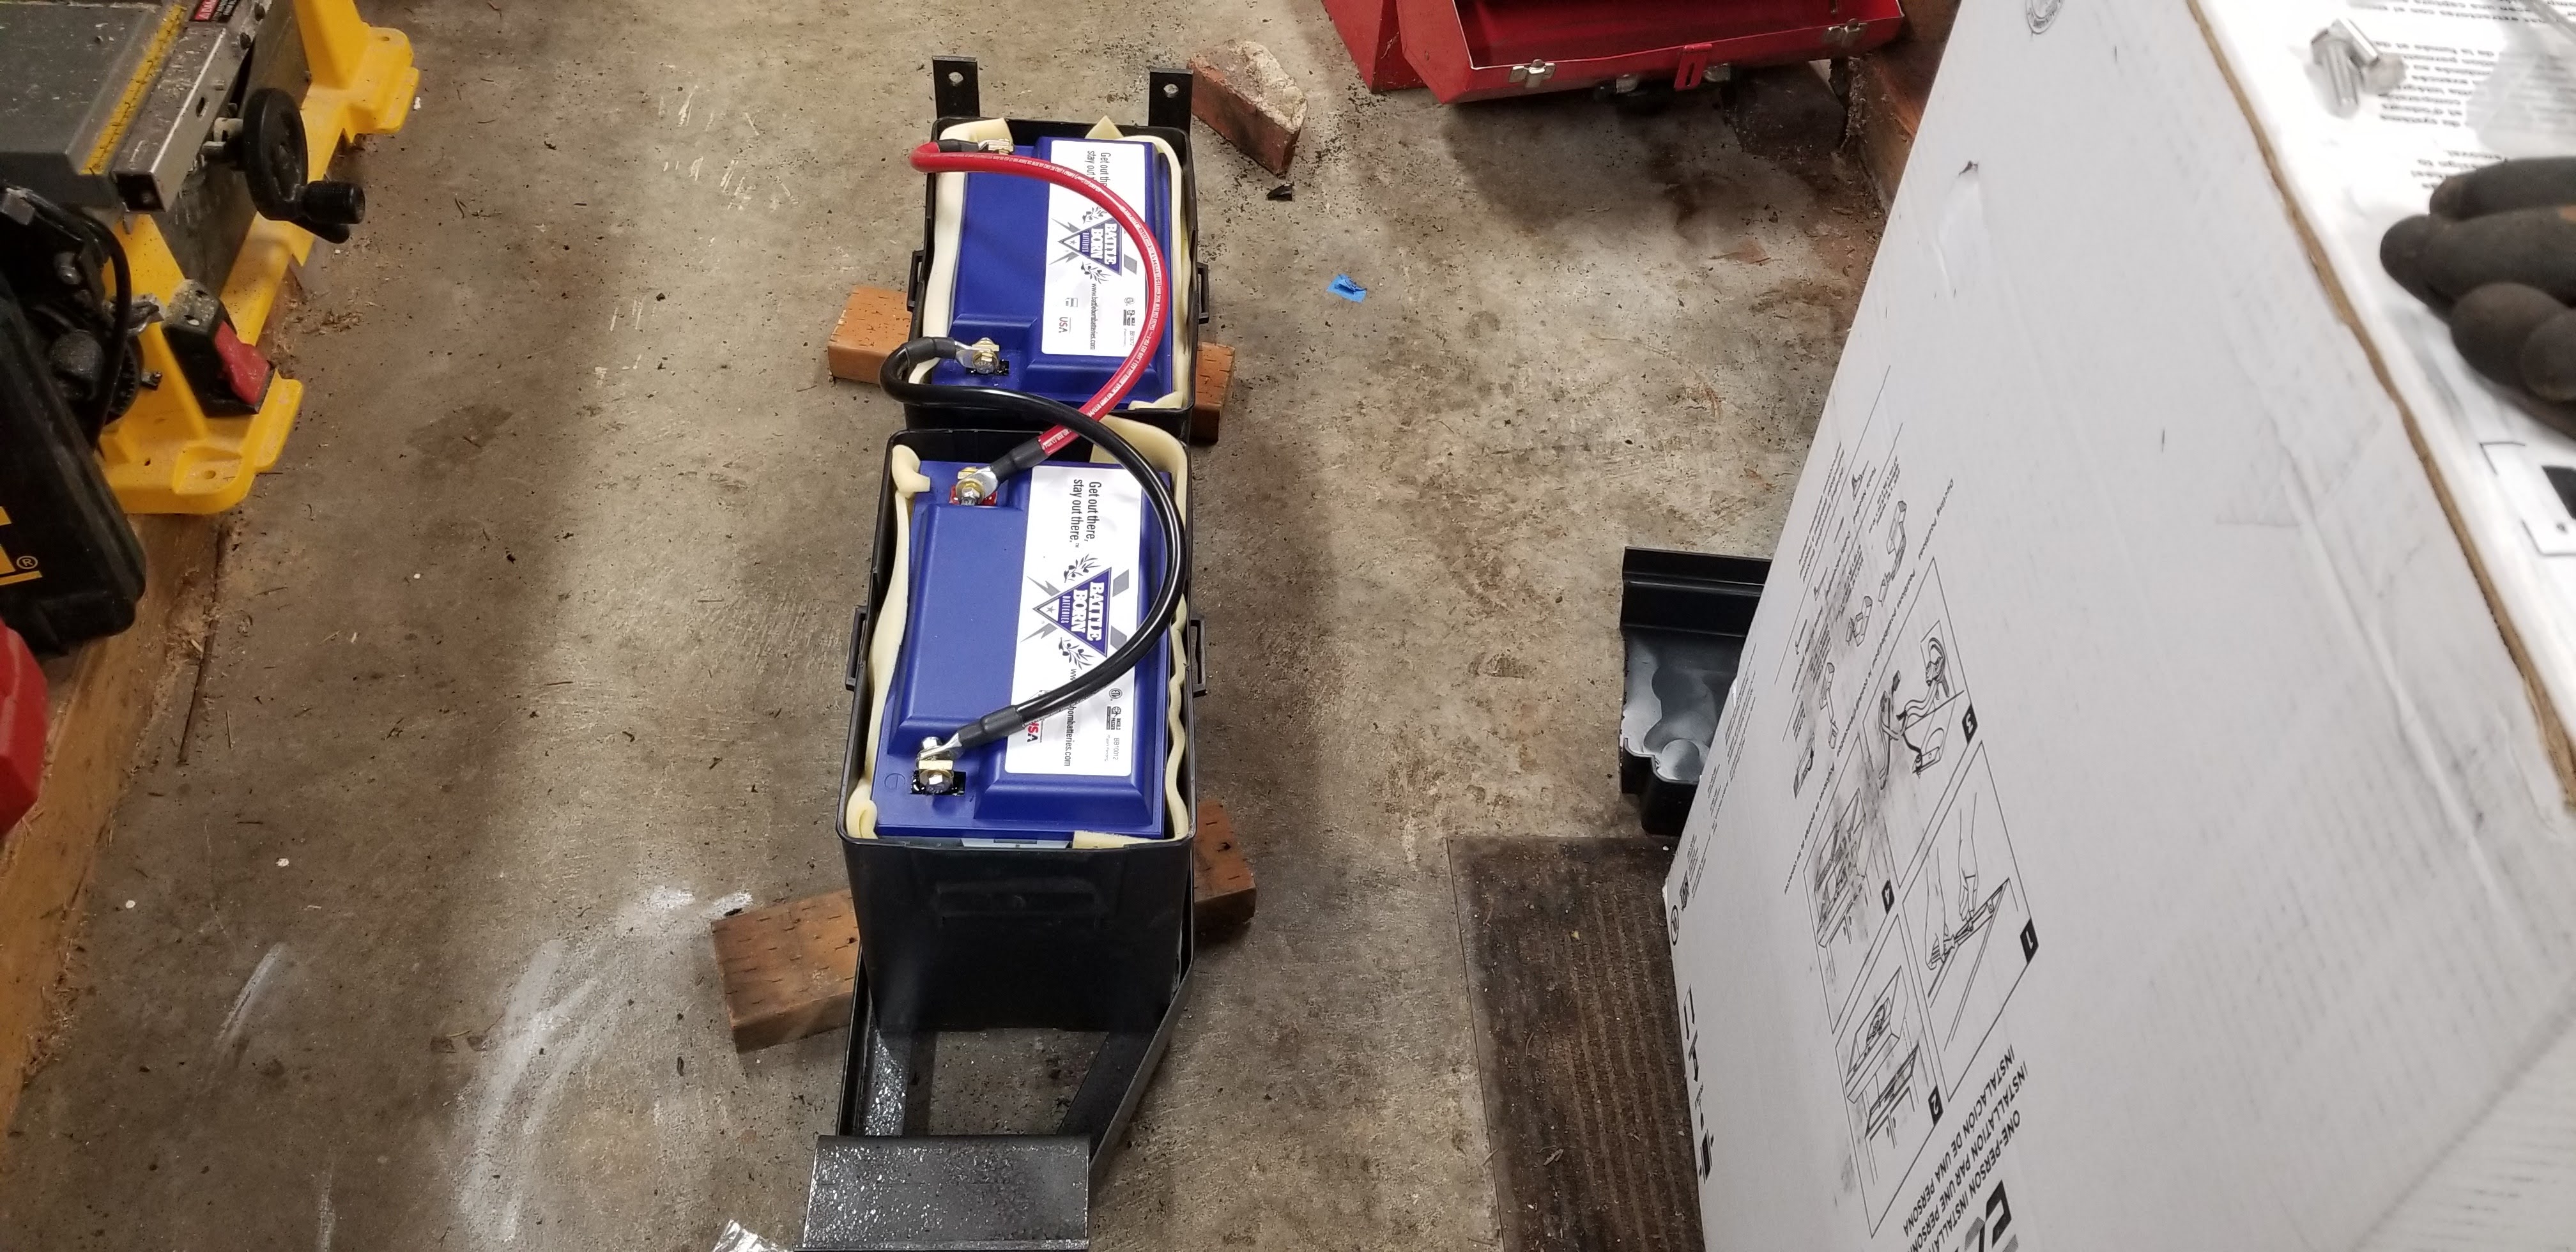
I purchased cables with the batteries from Battle Born and installed split loom on them before installing. I also re-routed the negative cable, from what is shown in the picture, so it wouldn't cross the positive cable. This leaves the negative outside of the boxes but I would rather it chafe on the chassis then short to the positive.
I was able to get the batteries and tray back in without the use of a jack because these are much lighter. I was able to push the passenger side up on to the frame rail then get a bolt in the drivers side to hold it in place. It is better to have two people for this but it is doable by yourself. Once I had it in place I put both bolts in the passenger side with the nuts on just up to the point where the bolt threads came out the back of the nut. Then I lowered the drivers side and propped it on a short (approximately 12") piece of 2x4. This gave me enough room to get the cables connected and the tops on the boxes.
Now for the interior wiring. I completed all of this prior to re-installing the batteries so the only live wire was to the start batteries. First thing is to remove the back seat to get access.
I removed the battery isolator located on the bulk head behind the passenger side wheel well. Be-careful and tape off the live connection to the start batteries so you don't have any fireworks. There are two small gauge wires to the isolator you will not need. One is black and is the negative, I took this loose from the ground terminal on the wheel well and removed it completely. The other runs the the ignition and joined the batteries when starting. I cut this one off and taped the end as it isn't needed.
I then unraveled all of the negative leads. They are all connected beside the inverter in split loom and electrical tape and held together by a clamp nut. I mounted the shunt for the monitor on the wheel well and was able to use all the existing cables. I cut them to length and crimped and soldered eyes so that they were all able to connect to the shunt.
I ran the power for the shunt to the terminal the powers the main fuse block which is right next to the wheel well. Note this is also where the wire from the solar connects, you will need to splice to this when installing the charger.
I mounted the Redarc charger near where the separator was located and crimped and soldered all of the leads together. The only new cable I needed was a 12" piece of #6 wire to connect the ground for the charger to the shunt. The wiring instructions for the Redarc charge are really good and all of the wires are color coded. I mounted the fuse between the charger and batteries next to the charger.
Here is everything done:

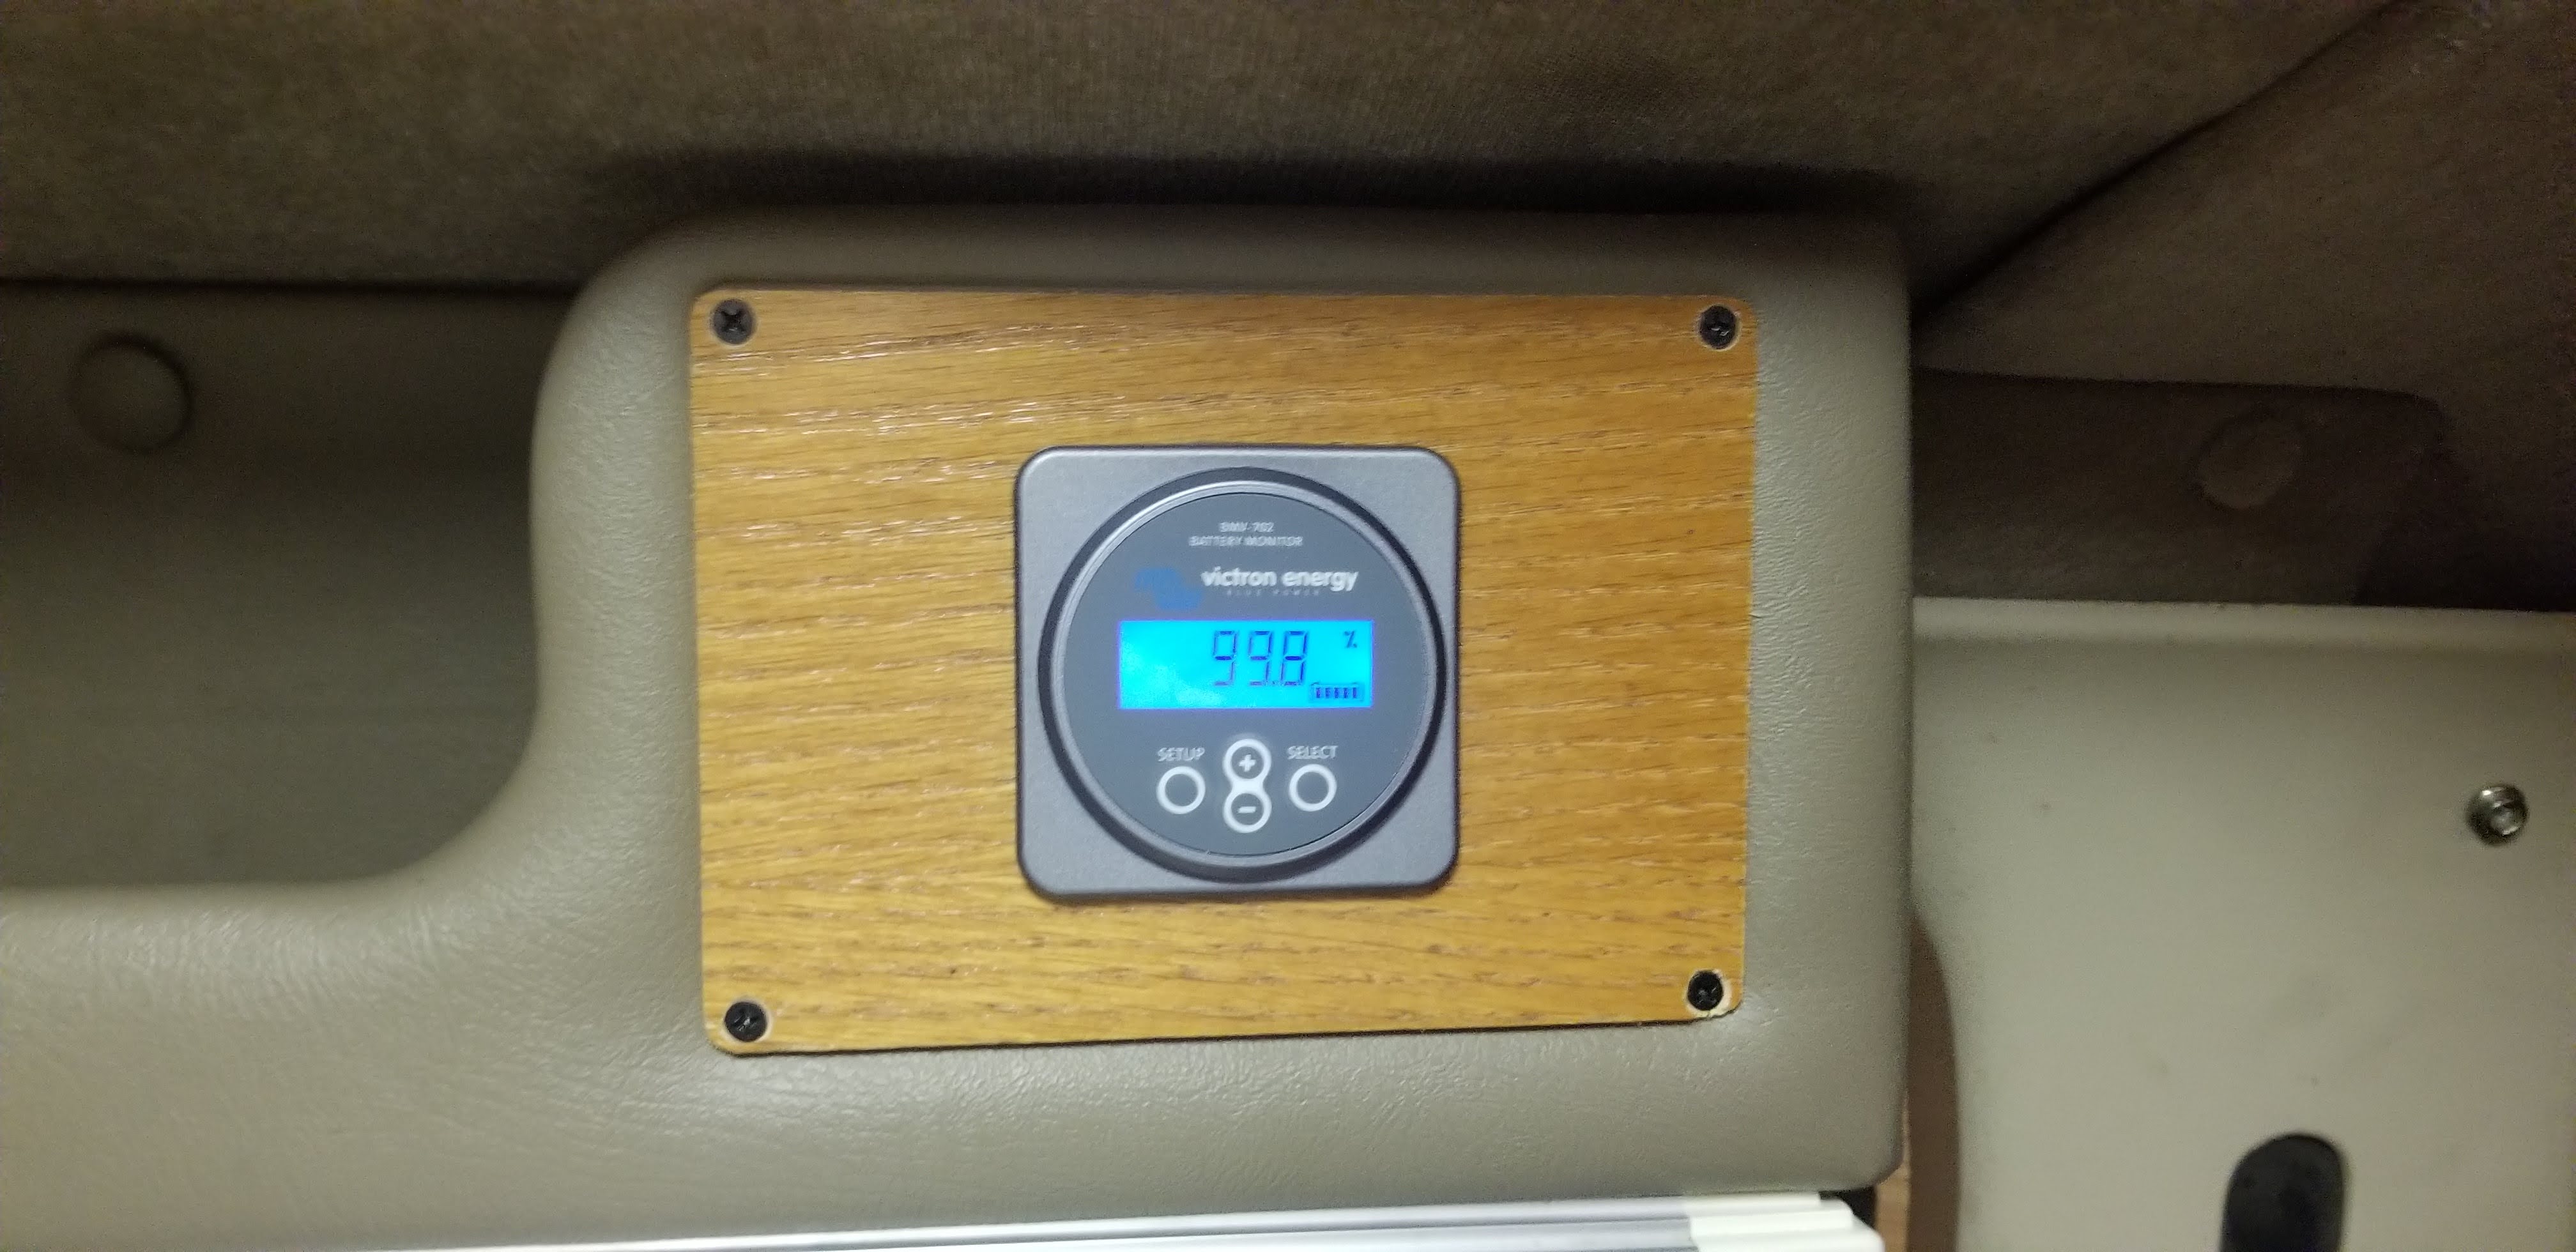
I mounted the battery monitor where the Blue Sky solar controller was mounted behind the drivers headrest. I was originally going to use aluminum plate, but I had a piece of oak cabinet toe kick trim that was the perfect size and thickness, and, since I have "oak" cabinets it matches. I used the face plate of the old controller as a template then cut a hole in the middle with a hole saw for the gauge. I took the back out of the shelf that runs over the counter top (2 screws behind snap covers) and took the back out of the cabinet behind the sink (6 screws plus the shelf rails on one side) and was able to run the Cat 5 cable that connects the shunt to the gauge. I used a couple do door shims to create enough space between the paneling and bottom of the cabinet to push the cable up from below the cabinet.
There was a lot of extra Cat 5 cable and for now it is under the seat next to the shunt. I have the tools to cut and splice new ends on Cat 5 but haven't done it in over 10 years so I need to practice a little before cutting it to length.
Total cost about $2500 with approximately 20 hours of time to complete.
To keep the batteries topped up while the van is parked, I keep it plugged into shore power but turn the inverter/charger off once the batteries are fully charged (there is a switch on the inverter to do this). I have a 1.5 amp battery minder/ charge that I plug into the 120 volt outlet behind the drivers seat with it plugged into the 12 volt plug on the dash. The dash plug is always hot so this keeps the start batteries topped. The Redarc charger turns on when the start battery voltage exceeds 13.2 volts so this will also keep a float charge on the house batteries to make up for the parasitic draw from CO detector and furnace / water heater thermostats.
I hope this helps anyone upgrading to lithium batteries on an older SMB. It really wasn't hard and only special tool needed is to crimp the large eyes on the battery cables. I was lucky enough to borrow one from a friend, who also helped me with the welding. My welding skills are only suitable for wheel barrows and and demo-derby cars.
So far we have done one trip with the new batteries and I am very happy with the results. We camped on the Washington coast with almost no solar for 3 nights. The furnace ran the entire time and we did not conserve on running lights on the morning we were leaving we still had 45% remaining in the batteries. It is nice not to have to worry about running the batteries to low and damaging them or trying to guess the charge remaining by voltage which only really works with no load on the batteries.
I am happy to answer any questions.
Cheers,
John


 Linear Mode


