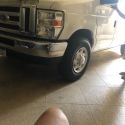
Alright so finally to finish this long overdue post/project. I finally got around to installing my new condenser once I got the appropriate sized one that I originally wanted. First I had to uninstall 3 long ass hoses (2 went all the way to the engine bay, and the 3rd to the inside cabin condenser for the rear AC) A local hose shop was willing to put new ends on my old hoses so luckily I didn't have to buy all new hoses to save some money. Then I collected all the hardware and some galvanized steel plate to mount the new condenser in the center of the vehicle to not get as much mud caked in it like the original design right behind the rear wheel.
I decided to keep the old compressor for now even though I probably wont need it and don't know if it will work but I guess I wasn't ready to ditch it all together and can always replace it at a later time if I want to. I kept it mounted behind my rear passenger wheel and just got an extra hose to move the condenser.
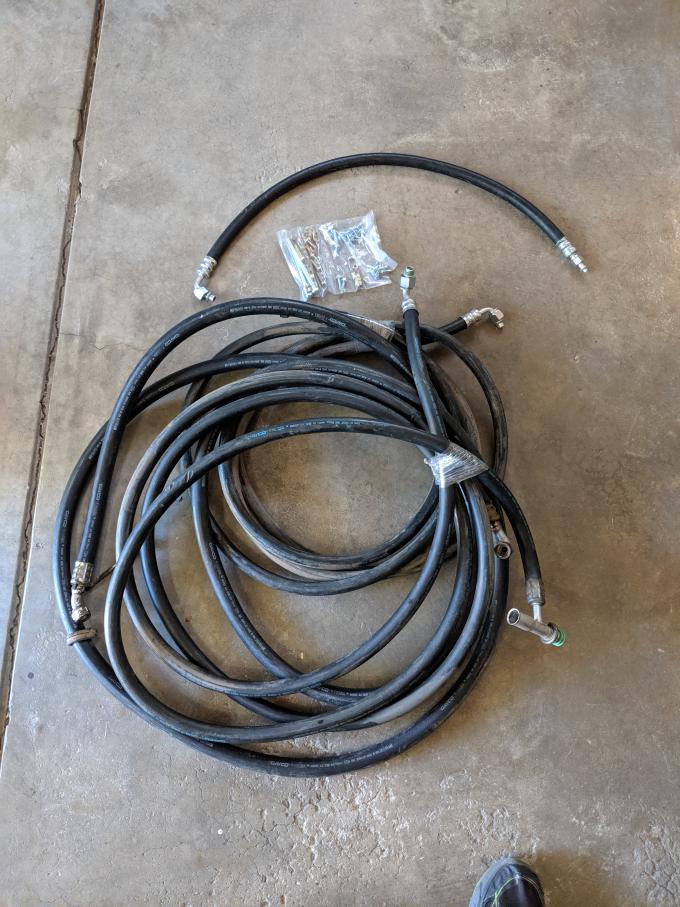
Compressor and the 3 long hoses with new ends:

Old hoses with new ends plus new short hose to reach Condenser relocation:
New condenser plus galvanized plate and angle iron to mount it:

Showing angle of condenser once mounted:

Checking clearance for the new condenser and figuring how to route hoses:

I did end up breaking one of the compressor connections and had to have a radiator shop fix it. I don't honestly even know if this compressor will really work but worst case it will still hold the freon and act as a dummy in my loop so I can still use the rear AC. Then someday if I wan't to spend $600 for a new one (its only good for shore power but I also have a generator) it will be easy to swap it out.

This is how I mounted it since I don't have a welder and had to get creative. I used the galvanized plate across the body ridge and on top of the frame cross rail. It was a tight but perfect squeeze between my generator that is mounted underneath and my aux fuel tank which is right behind my axle.

Finished and mounted: I would have preferred to have the angle the opposite way to prevent even more dirt/mud debris from hitting it but it would have made the hose routing more of a pain. Overall I am very happy with the results. Everything is charged and working as designed. My AC isn't super cold but does cool now for the first time in 3 years, that could be from another reason in this complicated ac system, not sure yet. A shop vacuumed and refilled it like 3 times trying to get it to work better, we tried up to 6.25lb of freon but the pressures were getting too high and in the end settled with about 4lb and added some extra oil.


 1997 Ford E350 EB 7.3L


 Linear Mode