I appreciate this write up and I am sure it will be helpful for people considering this lift kit in the future. I was seeking this type of write up when I was looking to buy as well.
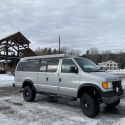
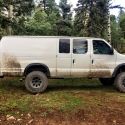
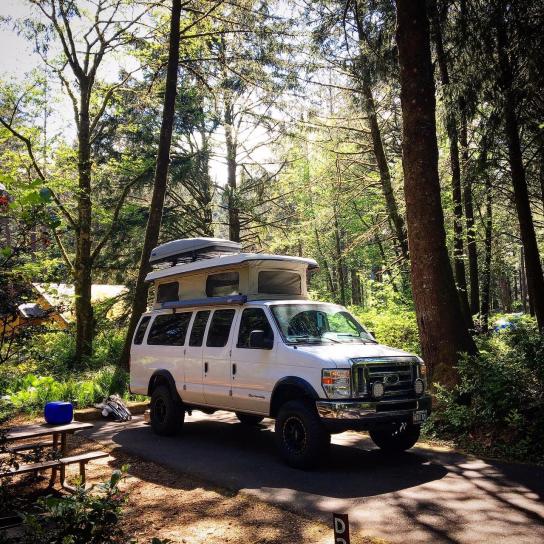
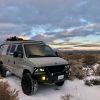
I also ended up with the 6" Weldtec Performance kit on my 2011 e350, and also got the rear springs and went with King shocks instead of the Fox. I absolutely agree that the communication was lacking and here is my 14 cents on the subject:
The first time I called Weldtec, Jeremy answered the phone and he talked to me for 45 minutes. Obviously he has a lot of passion for the product and this was the reason I chose this kit. But after that first conversation, the communication was just not consistent. It was not bad...or shady...it just seemed to take a long time to get basic answers to my (probably dumb) questions. Yes, everyone is busy. But, when someone spends this kind of money for a DIY kit I feel that there should be a built in process for answering lots of questions. I would still recommend the kit for its quality, but just have realistic expectations going into it to avoid frustration.
As for the install, I had a local shop do it just because I work on motorcycles but cars/trucks just overwhelm me and I wanted to ensure the safety of my wife and tiny passengers. The shop installing said this was an excellent product and the installation took one day. They did recommend limit straps too, so I would factor that into an installation.
Like the original poster, we also got the rear springs and it took FOREVER, but they didnt ship the kit until the rear spring arrived so that was nice to just have it all together. The rear springs are, IMHO, a must-have with this kit to avoid axle wrap and to have a super comfy ride. Overall, we are very happy with the end result. The van gets a lot of attention now (not a good thing for some people) and although we have not truly tested it yet it has gotten us everywhere we wanted to go so far. We will add a locker in the future, as well as onboard air.
I am not trying to hijack this thread either, just wanted to supplement this excellent write up with some supporting info to have it all in one place.


 Faultine
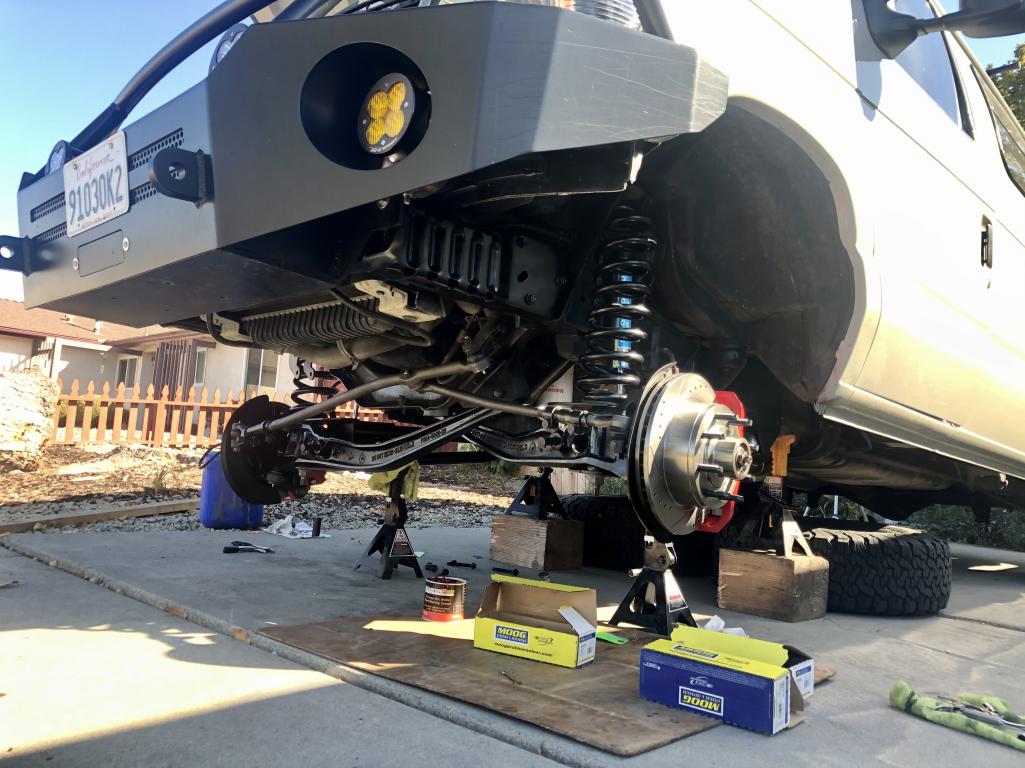
 Linear Mode