Ok I am committing to doing this even though I am pretty overwhelmed with what awaits at the moment.
I would like this thread to be a source of information and discussion for people restoring their penthouse pop-top on their Sportsmobiles in the future. I'm pretty nit-picky so there's definitely going to be lots of questions on my part. Anything you can contribute to the discussion will help.
Thanks to these existing threads for great info:
Re-finishing the PH Top (Raptor Liner)
Roof Leak Repairs Round II - The Front Section
Tee nuts for PH top.
Current Issues
Let's start with a list of the issues with my roof/pop-top and what needs addressing:
1) "Gel coat" is cracking all over on pop-top.
2) Driver's side front corner of pop-top missing a chunk at rubber seal clip.
3) Pop-top mounting hardware rusty.
4) Water seeping into interior probably due to 1) and 3) after heavy rains.
5) Exposed metal on roof in all 4 corners where the pop-top rubs. Thankfully being a California van this hasn't yet caused any crazy rust.
6) A bit of gutter rust on passenger side seeping out from behind sealer in a couple places, and places along the rail I've had to touch up due to awning brackets.
Pictures of current state:
 Rusty old hardware, siliconed to try and stop leaks (I think it helped somewhat). Gel coat has small cracks throughout. Also pictured are siliconed screws that have poked holes through the top.
 Curvature of roof due to tie-down points. Similar in the rear. Normal?
 Awning brackets don't allow the top to sit perfectly centered (pushed driver-side).
 Better view of the way the awning brackets protrude into gutter and hence push the pop-top to the driver's side. I had sand blasted the brackets and powder coated them in white to stop rust. I also put a piece of mounting tape in between it in and the gutter rail. It was previously mounted metal on metal and caused rusting of the rail, mainly on the front bracket. After removing the awning I saw my mounting tape was too soft and although I'm sure it helped seal a bit, it still rubbed through to the metal. I'd have to use some sort of rubber spacer.
 Because the top couldn't sit centered, it hung off the driver's side slightly, pulling on the seal in the corner until it broke a piece off where the rubber seal clips in.
 Better view of the broken off section in the corner.
 The worst of the rail rust. Keep in mind this has already been scraped back, acid treated to remove rust, and painted about 6 months previously. The rust is coming back from beneath the gutter sealant which I did not remove. Today I cleaned this up again with acid and put on a thick layer of touch up paint. There's one more spot like this. The top and outer edges of the gutter rail that I've treated the same way hasn't seen the rust return.
 The top sitting centered after removing the awning (passenger side). It's sitting further over the gutter than before (above).
 The top sitting centered after removing the awning (driver side).
 The top sitting centered after removing the awning (driver side). The difference is small, but it's enough to not have the entire driver side hanging over the edge, especially at the front corner.
To Do
The top sitting centered after removing the awning (driver side). The difference is small, but it's enough to not have the entire driver side hanging over the edge, especially at the front corner.
To Do
1) Remove rubber seal.
2) Wash pop top and roof + gutters.
3) Repair missing chunk with fiberglass kit and drill new hole for rubber seal clip.
4) Remove mounting hardware and rear brake light, plug top holes.
6) Mask off entire van, leaving only fiberglass part of pop-top, roof, gutters, and side of gutter rails exposed.
7) Sand/scuff entire pop-top with 80-100 grit sandpaper or sander.
8) Fix/fill in hole in pop-top caused by poking screw.
8) Sand/scuff roof, gutters, and top and side of rails.
9) Wipe down everything that was sanded to get rid of dust.
10) Plug holes for rubber seal.
11) Spray pop-top, roof, gutters, and rail with white-tinted Raptor Liner.
12) Install Gooseberry's pop-top bolts.
13) Reinstall rubber seal.
14) Remove masking.
15) Enjoy leak-free rust-free SMB experience.
Questions Before I Even Begin
Rust and paint
What worries me most is the roof and rail rust. It's pretty scary what this can turn into.
Is my roof still in good enough shape to just scuff up and paint over with Raptor Liner? Is that even a good idea in general or will I still have rust issues? The idea is that it would be tough enough to resist the rubbing from the pop-top and seal well enough to prevent water getting under the gutter sealant.
Should I spray primer on the parts that end up bare metal? This would be the roof corners and sections of the rail that I've already scraped off, acid treated and touched up with paint.
Seeing as I'm planning on spraying the full length of the gutters and rear roof corners, should I spray the entire front roof section as well, or tape off a line a little past where the pop top sits?
Are there alternatives to the Raptor Liner that is as good? What about out-of-the-can bed liner (ex by DupliColor)?. It would make it a lot simpler than having to rent a compressor and spray on the Raptor Liner. Obviously if the Raptor Liner is a lot more durable I'm still doing that. Comments?
Work conditions
Unfortunately it looks like I'll be doing this outside. I'll have to wait for a week that doesn't have rain forecast. It's been a strange summer in Toronto, raining almost every day. I'll have to have a tarp to throw over the top in addition to all the plastic masking, as I'm sure this will take me more than a day.
I don't really want to stand up on the roof while spraying, though I might crawl along while sanding. Do you guys think I can do this off of a ladder?
Awning
After all the issues it's caused, I'm not likely to put the awning back on. I have never even used it, but it would have been nice. Has it caused similar issues for you guys? Are yours mounted differently?


 . Roof Vent as I call it (like when someone names their tumor) wasn't really thought out well and is kind of scar on a very expensive PH roof. But it's part of the van at the moment so acceptance is the key
 . Anyway vent fans aren't the topic here.
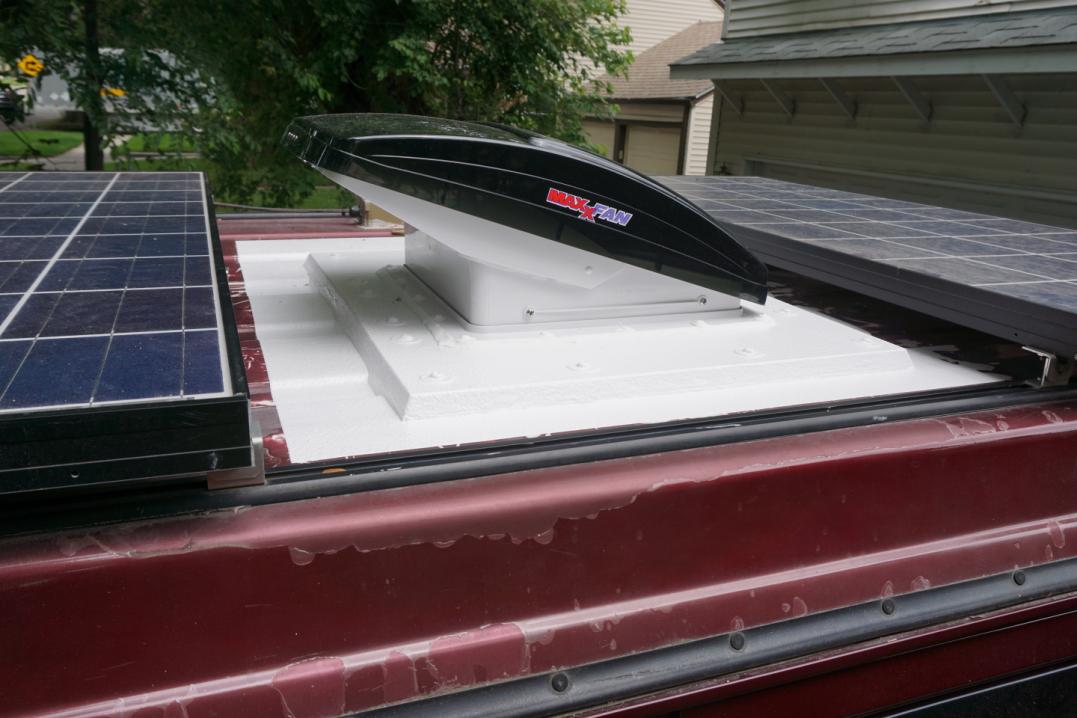

 .
. 


 Linear Mode


