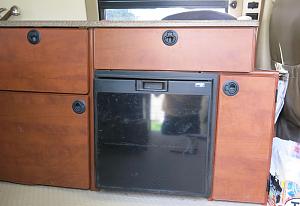
Our 2010 Ford E-350, Moby, has the very common EB-50 layout. It came with a cupboard door to the right of the fridge, behind the drivers seat.
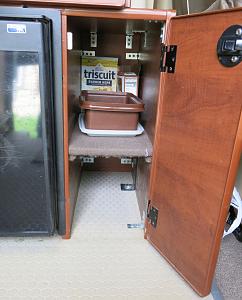
Opening the door reveals a shelf that divides the space in half.
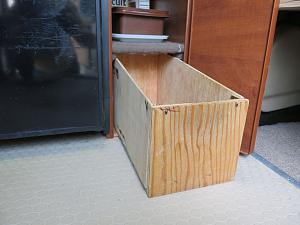
This post shows my DIY slide out drawer I made for the lower half of that cupboard. Of course one could buy drawer hardware, the ball bearing slider rack sort of things. But they generally eat up a lot of the available space. This DIY drawer utilizes almost all the volume of the lower space. Craftspersons with better skills and tools could no doubt make a much nicer looking drawer. But this one has held up for years and still works great. And we live in our van 100+ days a year, so it has had a lot of use. Especially since I keep snacks in that drawer, and I frequently access it while driving down the highway.

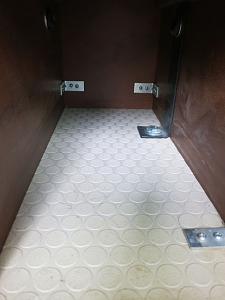
The bottom of the cupboard is not flat. On the right side stick up screws and a large nut that help hold the entire cabinet to the floor. But this makes the sides of the space of unequal height.

So to make the base flat I took a piece of 3/8 plywood and chiseled out some wood (white circled area) to the depth of the screws and nut.
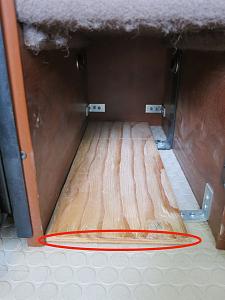
Once flipped over and in place the plywood sheet levels the floor, and gives a smooth surface for the drawer to slide on.
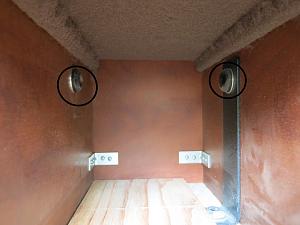
On each side toward the top of the space are two large bolts with black plastic covers. (Circled in black) The back edge of the drawer tended to catch on these when it was slide back in after being pulled out all the way.
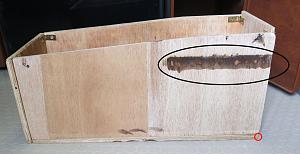
So I took my grinder (I know, a router would have been classier. But I dont own one any more) and ground out a groove (black circled area) to match the height of the black bolt covers. This allows the drawer to slide easily in and out. I intentionally made the front lower than the back to make it easier to get things out of the drawer. Im not THAT bad of a carpenter.

I used 3/8 plywood for the bottom of the box, and thinner 1/4 for the sides.
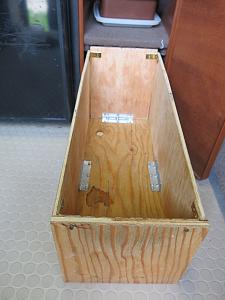
I used a variety of inside L-brackets and wood glue to hold the drawer pieces together. This kept the outside smooth so as not to get hung up going in and out. Also, bevel the front edge of the floor spacer and the back edge of the drawer (red circled areas in previous photos) so they wont catch when sliding in.
Now almost all the volume of the space is usable, but you dont have to dig everything out of the way in front to reach the stuff you want in back. Just be sure to keep the best snacks in front on top.


 2008 GMC 3500 SMB
 AWOL
AWOL


 The Wayward Bus
 Linear Mode