|
|
 05-21-2018, 10:32 AM
|
#121
|
|
Senior Member
Join Date: May 2017
Location: San Clemente, CA
Posts: 428
|
forgot the pictures
|

|

|
|
05-21-2018, 10:49 AM
|
#122
|
|
Senior Member
Join Date: May 2017
Location: San Clemente, CA
Posts: 428
|
Next step was to attach the canvas to the van. We lifted the top back up, and I laid down a layer of butyl on the roof of the van where I wanted to attach the canvas. This was easy in the back since I barely had enough room between the hole and the brake light, and the width was easy as well. I took a peak at bemerritts top to see where to position the front. once I had the butyl down I placed the rubber gasket/bulb seal. This is the same way sportsmobile does it. I then placed another layer of the sticky butyl on top of the bulbed gasket, which will seal against the canvas.
And this is where I deviated a little bit. I didn't use the wood paneling to compress the canvas onto the butyl. I just used screwed and washers and put them pretty close together. looking at my brother's, it didn't seem to do a whole lot and made it look not as nice. In hindsight I probably should have done something else and not skipped that entirely.
Same as attaching to the shell, i started on the front corner and then worked my way down one whole side. Then I attached the back corners and lastly, the front left corner. Damn that last corner was hard. the problem was that you need it to be really tight, but the drill can't go vertical because the canvas is in the way so you end up trying to put a screw through the roof at an angle which is impossible. It took many attempts... After all the corners were done I went down the opposite side and front. To attach the canvas to the roof i used varying lengths of self drilling screws (some spots needed longer ones) and washers. For the corners i used giant fender washers (2" in diameter. the screws would go through the canvas, both buytl layers , the silicone gasket, and the roof. I did a screw about every 3".
Last step for the canvas was to wrap the bungee cord around the outside, tighten it and tie it off!
|
|
|
|
|
05-21-2018, 10:59 AM
|
#123
|
|
Senior Member
Join Date: May 2017
Location: San Clemente, CA
Posts: 428
|
Next step was to attach the latches in the front to hold the top down while closed. I positioned the rings on the cross beam as wide apart as possible. I then pulled the top all the way down and and located the latch portion through the headboard and fiberglass shell at a location where the hook was extended as far as possible. That way once it was bolted down I could make it tighter.
One thing I didn't appreciate was the hole location on the top of the roof... My fiberglass has channels running through it and in order for the big butyl washer to seal it would need to be on a flat section. Well I got lucky and drilled the holes without looking and ended up outside a channel. The big washers overhang onto the channel but I definitely could have gotten screwed and been inside or on the edge of one of the channels and had a tough time getting a seal on the top of the roof. I thought I took a picture of this but I can't find it anymore.
So with the clamps attached I was able to shorten up the hooks and really get a good "cinch" of the shell onto the roof of the van.
I did not attach the back clamp. The back of the roof is just thin sheet metal and flexes quite a bit. I plan to add my own cross beam to support the rails on the back and then attach the 3rd, back clamp on that cross beam. It wouldn't do any good attached through just the sheet metal of the roof.
|
|
|
|
|
05-21-2018, 11:01 AM
|
#124
|
|
Senior Member
Join Date: May 2015
Location: San Clemente, CA
Posts: 552
|
with 3 days to spare!
|
|
|
|
|
05-21-2018, 11:09 AM
|
#125
|
|
Senior Member
Join Date: May 2017
Location: San Clemente, CA
Posts: 428
|
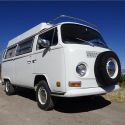
So yeah the top is basically done! I drove it to work today going over 80mph on the freeway with no issues. It takes a lot of force to push it up manually, and with the clamps in the front I am not worried. I do need to do something about the springs flapping in the rail channels and making a bunch of noise. I think bemerrit put some foam in his channels to prevent that, I will see if he has some extra.
Overall I am really pleased with the result. It certainly isn't perfect, and if you look closely you can tell the canvas isn't attached perfectly symmetrical and the gaps with the windows aren't the same all around. I also think I might have pulled it a little too tight when I screwed it down, but bemerritt assured me it will relax a little over time and it can't really be too tight.
I have a couple loose ends to tie up with it, but the thing is going to yosemite! I think it is also supposed to rain so we can truly test it out. I will definitely be bringing some extra butyl and screws in case I need to fix some leaks haha!
After 10 months, and probably a dozen different instances of thinking I was never going to finish or make it work...
|
|
|
|
|
05-21-2018, 11:12 AM
|
#126
|
|
Senior Member
Join Date: May 2017
Location: San Clemente, CA
Posts: 428
|
So yes, you can put a 1979 poptop on a 2003 van.
|
|
|
|
|
05-21-2018, 11:20 AM
|
#127
|
|
Senior Member
Join Date: May 2015
Location: San Clemente, CA
Posts: 552
|
|
|
|
|
|
05-21-2018, 12:19 PM
|
#128
|
|
Senior Member
Join Date: May 2017
Location: San Clemente, CA
Posts: 428
|
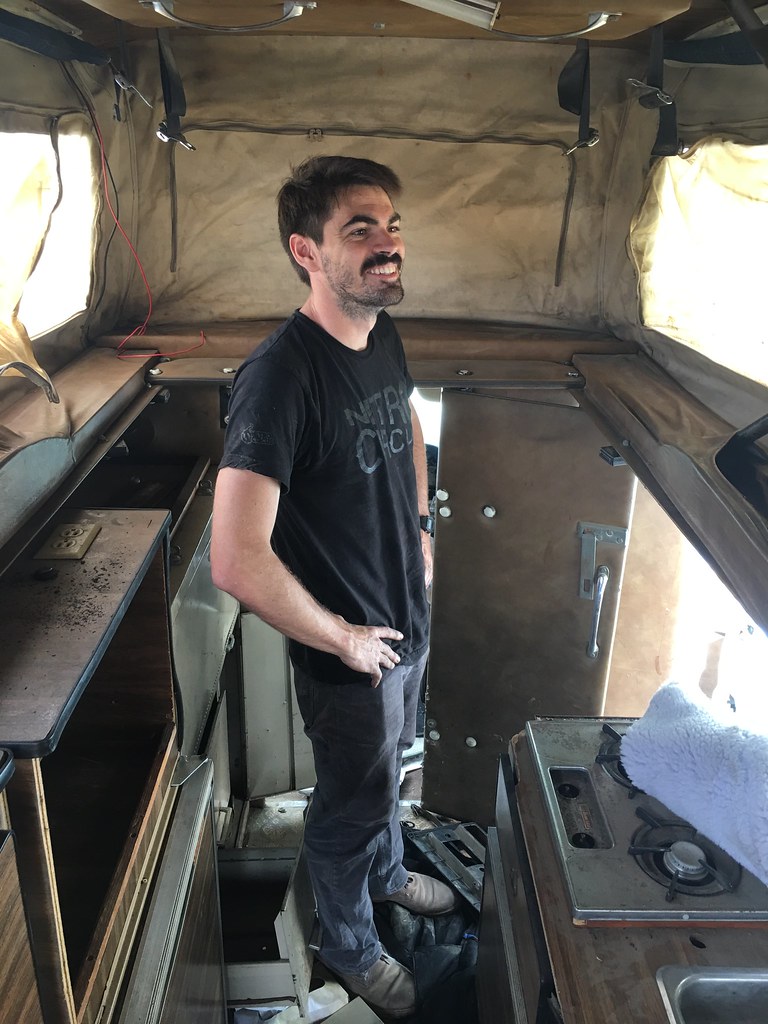
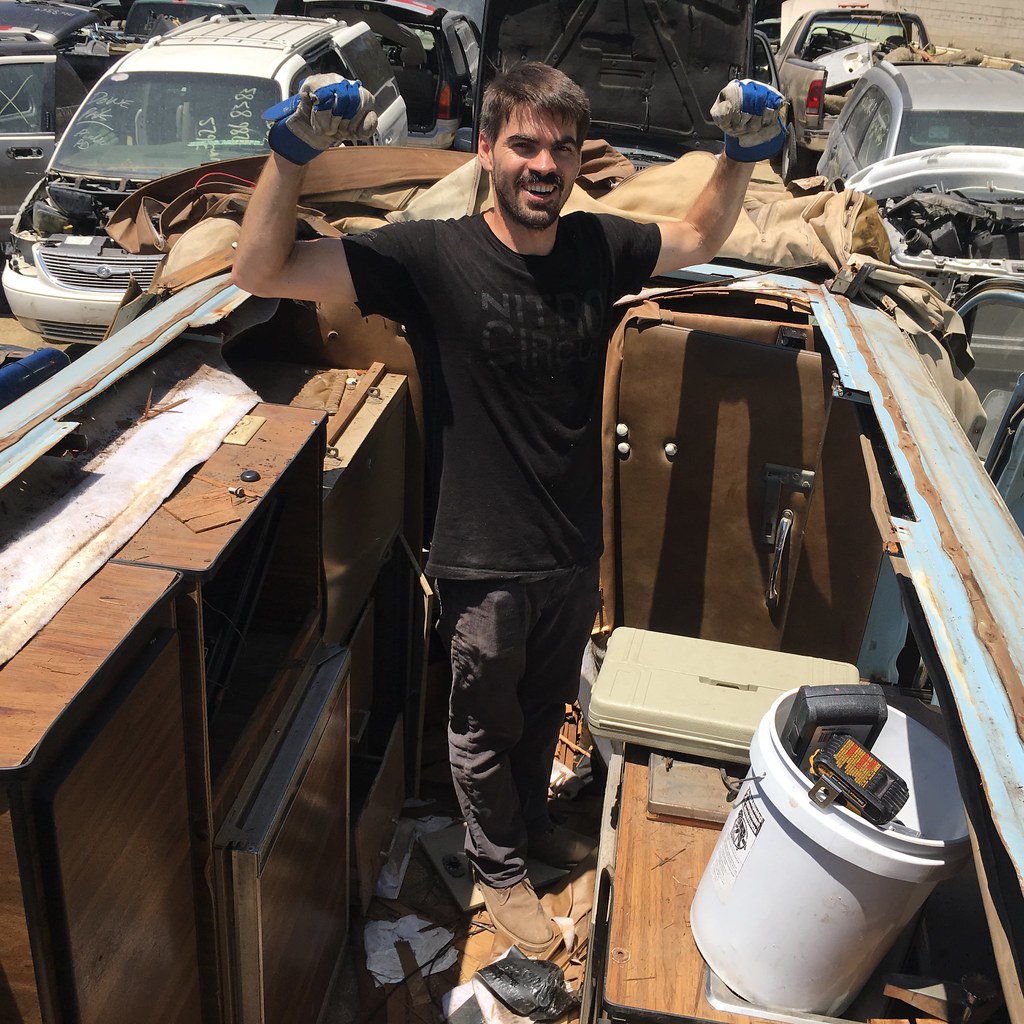
$70 and a dream... turned into $2k, months of despair and doubt, and finally a sense of pride and accomplishment.
|
|
|
|
|
05-21-2018, 01:24 PM
|
#129
|
|
Senior Member
Join Date: Oct 2015
Location: Sonoma County
Posts: 790
|
Great win! The sense of accomplishment has to be huge. How much time do you think you have into the top?
__________________
2003 Astro AWD
2005 Tacoma Access cab 4x4
1999 E350 RB 7.3 "Al B. Tross" aka "Exxon Valdez"
|
|
|
|
|
05-21-2018, 03:36 PM
|
#130
|
|
Senior Member
Join Date: May 2017
Location: San Clemente, CA
Posts: 428
|
Quote:
Originally Posted by SteelheadJones

Great win! The sense of accomplishment has to be huge. How much time do you think you have into the top?
|
Thats a tough one. Probably around 50 hours if I were to ball park it. Usually I was working on other van projects while also working on the top stuff so it is hard to isolate only the pop top time.
|
|
|
|
|
|
 Posting Rules
|
You may not post new threads
You may not post replies
You may not post attachments
You may not edit your posts
HTML code is Off
|
|
|
|
 » Recent Threads
 |
|
|
|
|
|
|
|
|
|
|
|
|
|
|
|
|
|
|
|
|
|
|
|
|
|
|
|
|
|
|
|
|
|


 Linear Mode