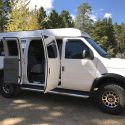
I finally had time to do more work on the inner walls of the van. As every E-series van owner knows, there is not a straight, flat, or coplanar surface anywhere on the interior of the van. It appear the van narrows and tapers down towards the rear of the van. This made it very difficult to get a good fit and I probably put on 3 miles of walking between the van and the saw in the shop.
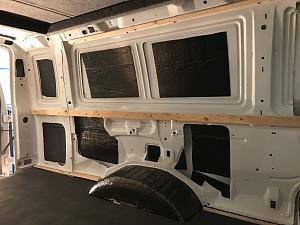
I started by adding some horizontal wood stringers to the walls. The bottom wood piece was screwed to the bottom of the pinch weld. The middle was screwed to the inner van wall and the top was bolted to the upper part of the wall using some nutserts. Since there are some wires that run through the top chamber of the wall, I did not want sharp screw points risking damage to the wires. I dont think it is a big risk, but why take chances. I also had to remove the wood pieces a few times, so I was glad to have machine screws.
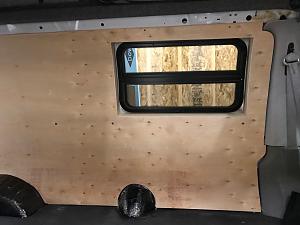
Next was cutting the walls from some 3/16" plywood I had. I plan on covering the walls with padded fabric, so it did not matter what the walls looked like. First step was building templates to capture the profile of the wall interface with the B-pillar trim, gas fill hump and wheel wells.
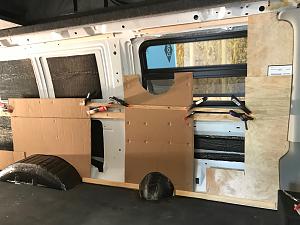
I made 3 separate templates, and then connected them with some wood strips. This gave me one template that would fit on a 4x8 sheet of plywood, and keep the 3 templates in the right place.
Once the template was ready, I traced the shape on the plywood and cut it out with the jigsaw.
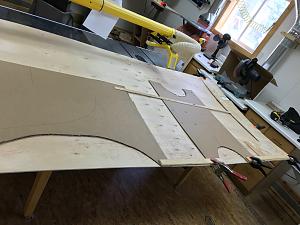
Of course the first cut was not quite right, so it was many trips back to the shop to fine tune the fit.
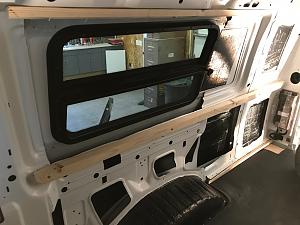
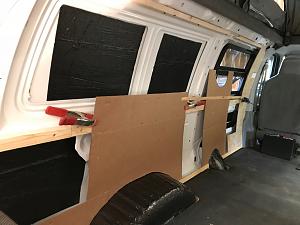
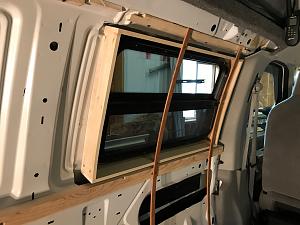
I framed the windows with some 1/2" poplar. After building the frame I held the frame around the windows and scribed the outer van wall to the frame.
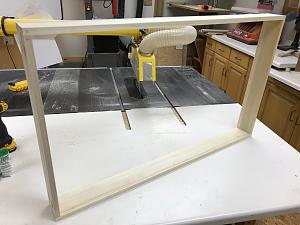
I cut the outer wall profile on the window frame with the bandsaw. It took two times to get a tight fit to the wall. I used some double-stick tape to hold the frame in place and scribed the inner was profile, using a thin piece of wood as a batten to mark the profile.
Attachment 21474
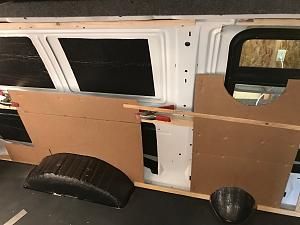
This worked pretty well and I am happy with the fit.
I attached the frame to the metal outer wall with some Lexel silicone. With the window frame mounted I attached the plywood walls and used a flush trim router bit to cut the opening in the wall for the window.
To be continued


 MCSporty


 Linear Mode