Journey with Confidence RV GPS App RV Trip Planner RV LIFE Campground Reviews RV Maintenance Take a Speed Test Free 7 Day Trial ×


Reply
 
Thread Tools Display Modes
 
Old 10-13-2016, 04:28 PM   #131
Senior Member
 
Flux's Avatar
 
Join Date: Aug 2016
Location: Reno, NV
Posts: 1,420
Quote:
Originally Posted by bemerritt View Post
Sent a PM with some Shop4Seats questions. I originally looked at them and moved along, but the duchess looks good and would definitely fit the bill.
Reply sent and I guess I will find out in a few short weeks!

Flux is offline   Reply With Quote
Old 10-17-2016, 10:53 AM   #132
Senior Member
 
bemerritt's Avatar
 
Join Date: May 2015
Location: San Clemente, CA
Posts: 552
Finally got my swivel seats in, wow, totally a game changer


Recovery gear acquired


Floor sample came in, much more durable than current


Now that I have the swivel seats in, i can get an accurate floorplan because I know how much leg room i want for the driver swivel seat. Also, The espar D2 comes this week, so i need to install that before I drop off the van to get the fuel tank upgrade and other fuel maintenance items done that will hopefully get Clif back on the road.
bemerritt is offline   Reply With Quote
Old 10-19-2016, 11:28 AM   #133
Senior Member
 
bemerritt's Avatar
 
Join Date: May 2015
Location: San Clemente, CA
Posts: 552
For those solidworks guys out there. Getting closer to an accurate model to try and figure out how much 80/20 I need.


This is designed for a Shop4seats duchess sofa bed 52" wide and 70" long when in the down position.
bemerritt is offline   Reply With Quote
Old 10-25-2016, 02:52 PM   #134
Senior Member
 
bemerritt's Avatar
 
Join Date: May 2015
Location: San Clemente, CA
Posts: 552
does anyone happen to know the owner of this rig?


Would love to ask them about the specifics of it. Thanks!
bemerritt is offline   Reply With Quote
Old 10-25-2016, 07:01 PM   #135
Senior Member
 
Join Date: Apr 2007
Location: Western Colorado
Posts: 1,228
That's Blackeye's rig here on the forum, or used to be. I'm looking to try and find out what window that is on the passenger side.
__________________
Desert Solitaire
2003 7.3L EB 4x4
Timberline 4x4 conversion
saline is offline   Reply With Quote
Old 11-15-2016, 09:54 AM   #136
Senior Member
 
bemerritt's Avatar
 
Join Date: May 2015
Location: San Clemente, CA
Posts: 552
Before I get to the next part of the build, pics!

Spent the weekend in Pismo and had a blast. First time airing down and seeing what this thing is made of. Never got close to being stuck, and as seems to be the norm on this forum, helped two others get un-stuck. My brother gave me a hard time for the grin that came accross my face when the first truck owner came over for help.


Overall trip went great. Airing down with the Stauns went as planned and airing myself and my buddy up with the onboard air was a breeze. Next trip we are going to get acquainted with the winch. Never used the Maxxtrax, but will never be leaving home without those.
bemerritt is offline   Reply With Quote
Old 11-15-2016, 10:05 AM   #137
Senior Member
 
bemerritt's Avatar
 
Join Date: May 2015
Location: San Clemente, CA
Posts: 552
Now onto the build portion.

I have until December 23rd to have the van prepared for a week long trip to Utah between Christmas and New years (Any recommendations?!?!)

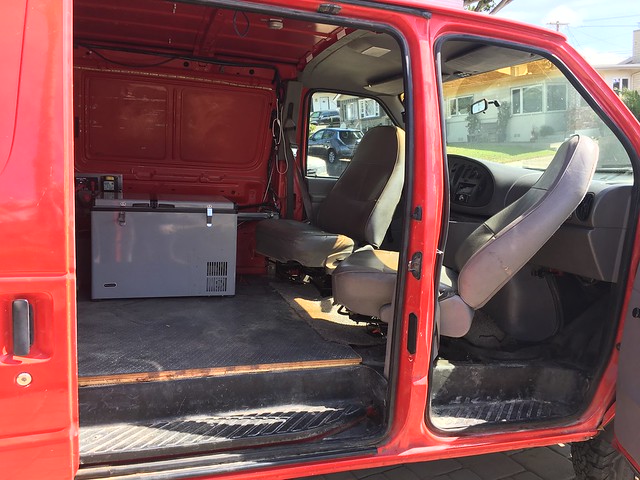
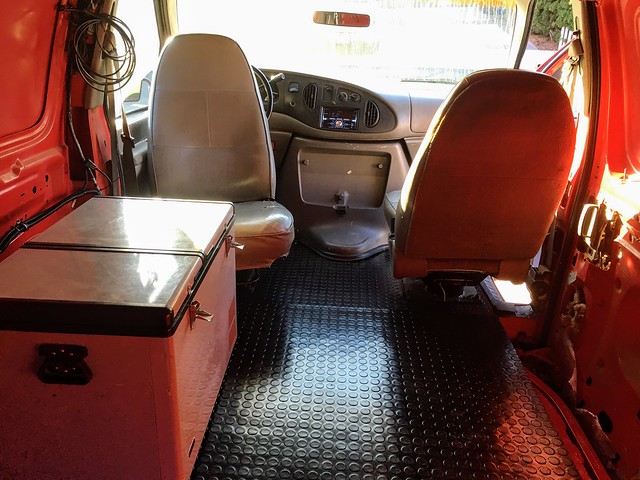
So tonight I am tearing out the existing interior, sans wood floor

Plan is
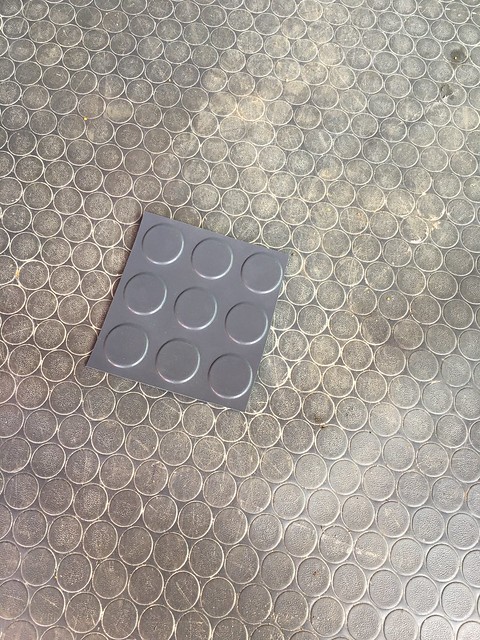
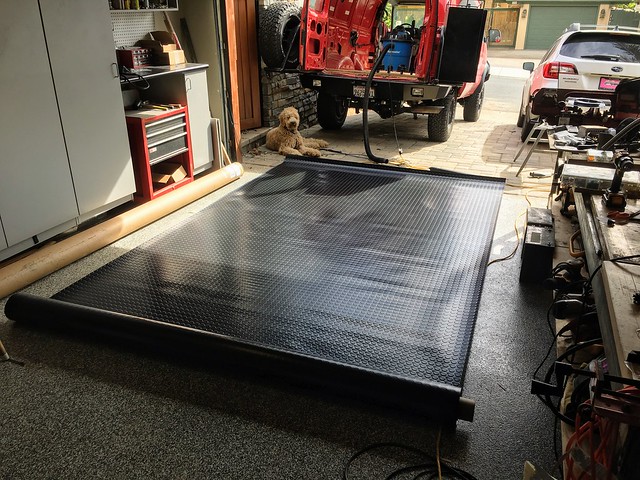
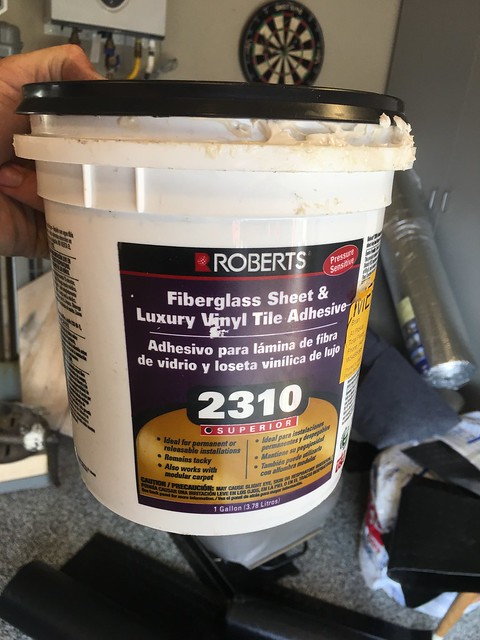
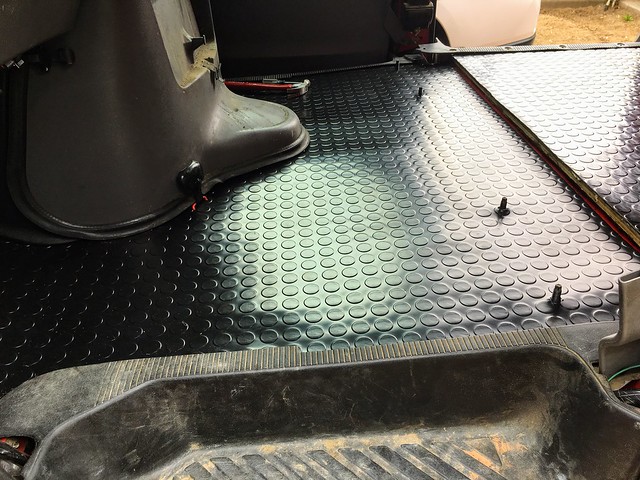
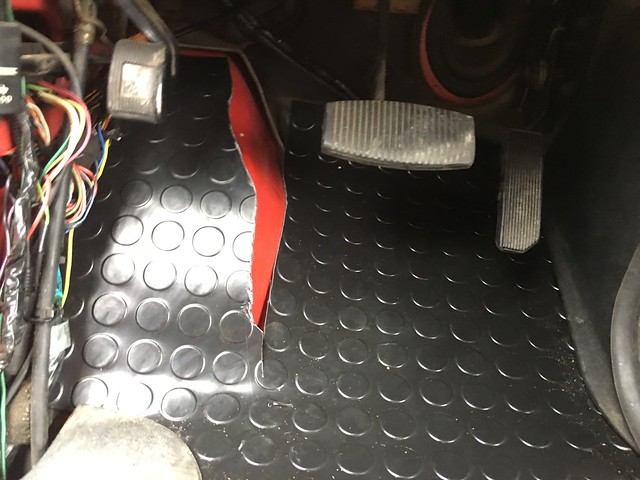
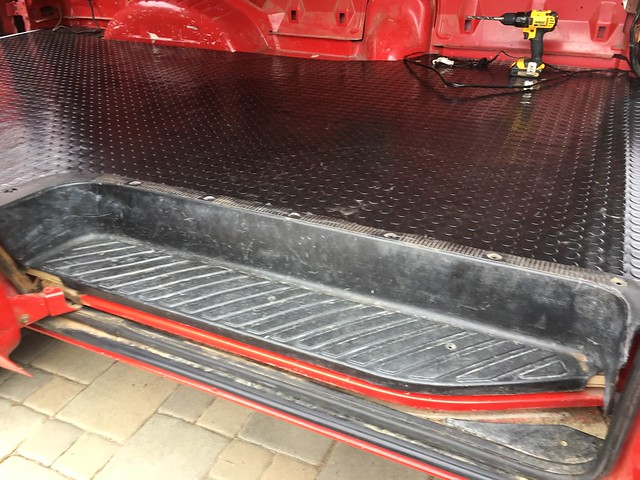
- Install industrial dot flooring. I will have a piece 10'x8' left over if anyone wants to buy it.
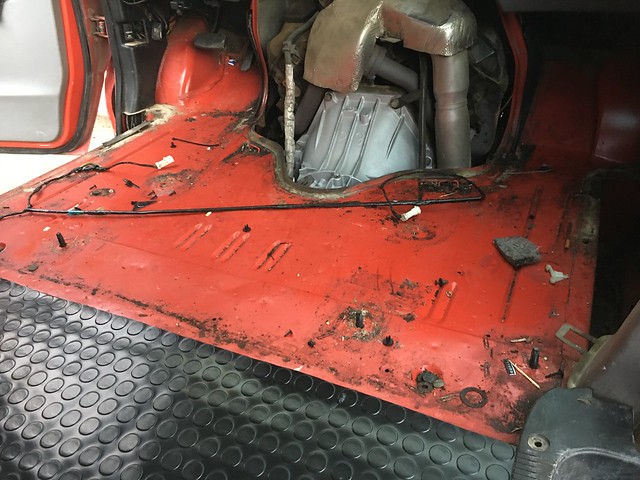
- Install D2. Fuel pickup and pump already installed when I had my new 43 gallon tank installed. Now to install the heater. According to the install instructions, It is better to install it to a flat surface, which obviously makes sense:


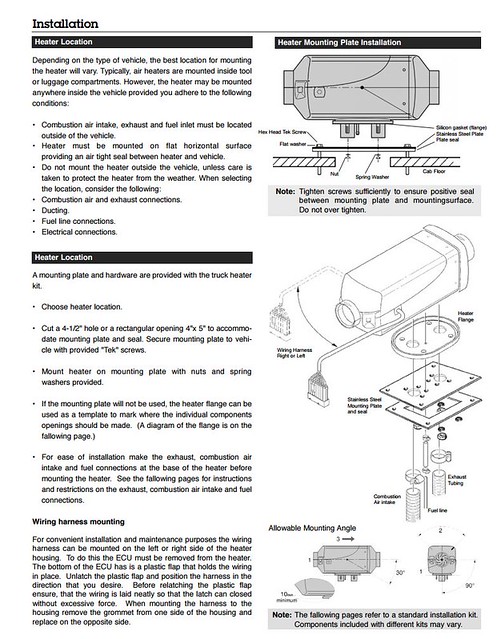
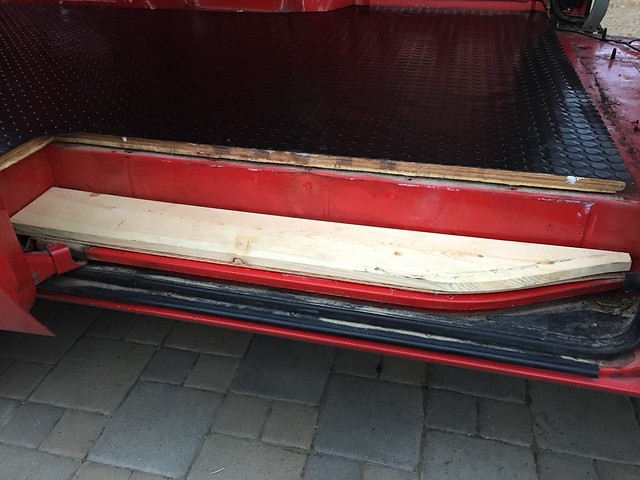
So my problem is if i install it ontop of my wood sub floor, I do not have a good seal to the underside of the van and would need to seal it off somehow. I have no problem removing the wood subfloor, but most of the back of the van is not flat to get a flush mount. Behind the driver could possibly work, but there is not clearance under the van right there to run the needed tubing/ducting. Any ideas? I forget where the flat spots are in the back. I remember behind the rear wheel wells, but I feel like the hoses would get crazy dirty back there.

- 52" Duchess sofa on order, to be picked up hopefully next week
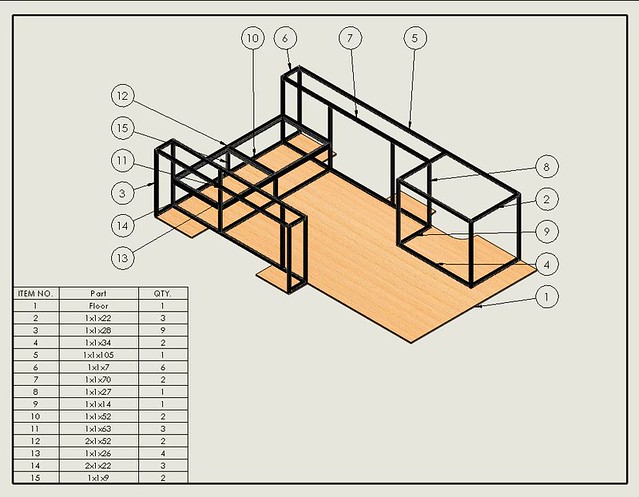
- 80/20 interior
- Use speakerbox carpet where possible

Still figuring out my order of operations for sound proofing and insulation. Id does not need to be perfect as it really just comes down to how much the D2 will need to run, but want the overall look to be simple, utilitarian and clean.
bemerritt is offline   Reply With Quote
Old 11-15-2016, 11:53 AM   #138
Senior Member
 
Flux's Avatar
 
Join Date: Aug 2016
Location: Reno, NV
Posts: 1,420
Mine will go behind the driver's side rear wheel. Nice flat spots on both sides there. I purposefully left out the plywood back there so I can mount on the metal deck. Didn't think about the dirt factor.
Flux is offline   Reply With Quote
Old 11-15-2016, 11:58 AM   #139
Senior Member
 
bemerritt's Avatar
 
Join Date: May 2015
Location: San Clemente, CA
Posts: 552
Yeah, I think that is the best spot. I'll just be sure to hose it down often. What are you going to use to secure your rubber flooring to the wood subfloor? Last time I used double sided fiberglass tape which worked good enough, but spots would bubble up when in direct sunlight. This time I want 100% coverage by some adhesive.
bemerritt is offline   Reply With Quote
Old 11-23-2016, 11:33 AM   #140
Senior Member
 
bemerritt's Avatar
 
Join Date: May 2015
Location: San Clemente, CA
Posts: 552
So one month until we leave for the trip, making good progress.

Floor is in:

Pup is not amused. The floor actually laid pretty flat right away


What 18 years of grime looks like


What i used to attach flooring to plywood


It laid down fine over the hump. No heat used.


Footwells suck


Supporting the side step


Step now sits flush


Glory Shot


Additional Notes:
- Originally planned on the front section to be used as a template, but it turned out decent enough to where I am going to put some floor mats upfront and see how it looks
- Need an edge protector for the 1" lip between the cab and the back
bemerritt is offline   Reply With Quote
Reply


Posting Rules
You may not post new threads
You may not post replies
You may not post attachments
You may not edit your posts

BB code is On
Smilies are On
[IMG] code is On
HTML code is Off
Trackbacks are Off
Pingbacks are Off
Refbacks are Off

» Featured Campgrounds

Reviews provided by

Powered by vBadvanced CMPS v3.2.3
Disclaimer:

This website is not affiliated with or endorsed by Sportsmobile SIP or any of its affiliates. This is an independent, unofficial site.


All times are GMT -6. The time now is 04:03 AM.


Powered by vBulletin® Version 3.8.8 Beta 4
Copyright ©2000 - 2024, vBulletin Solutions, Inc.