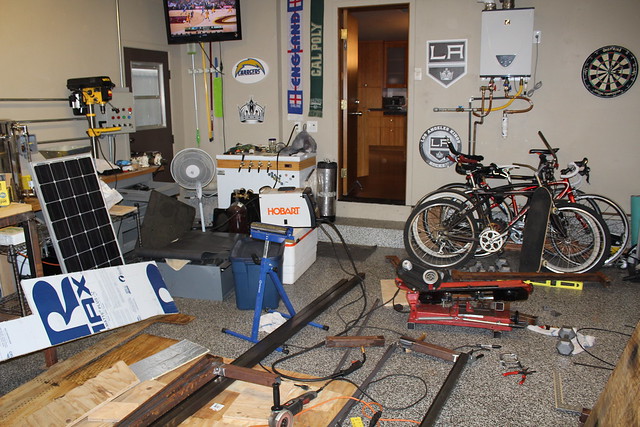
Also installed my solar panel
- Solar
100 watt renogy panel
100 ah wet cell from costco
1000 watt inverter
pwm windy nation controller
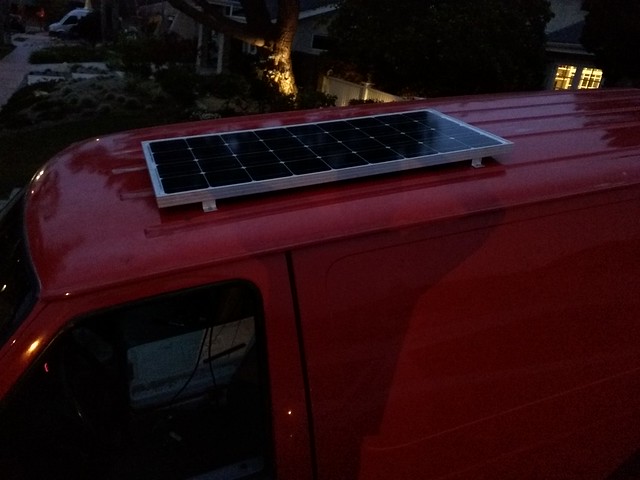
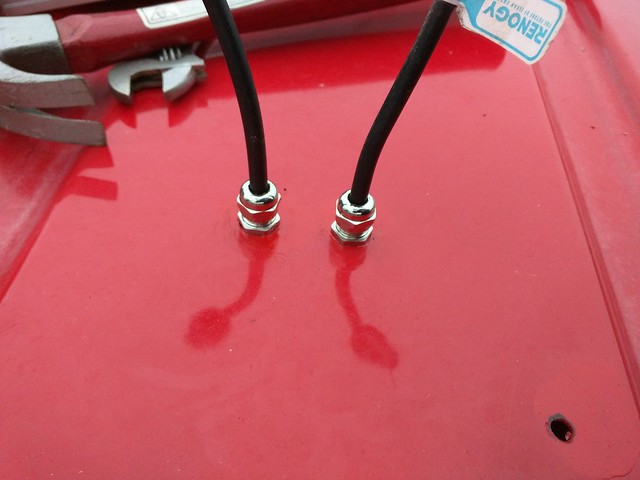
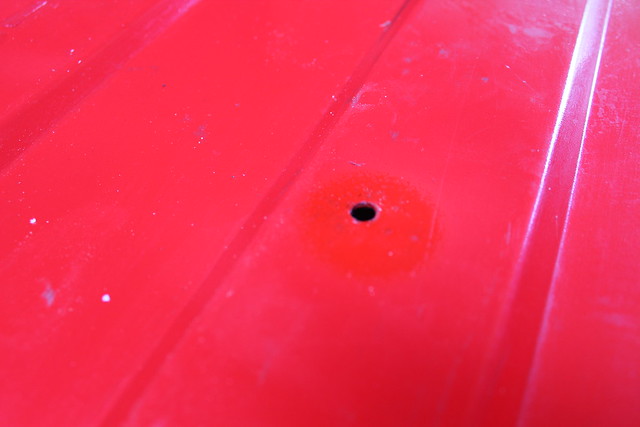
Ended up bolting the panel to the roof. used thse washers to help make the seal water tight.
http://www.mcmaster.com/#93783a029/=xnwwan
Used these for the two cables
http://www.amazon.com/gp/product/B00AOB ... ge_o04_s00
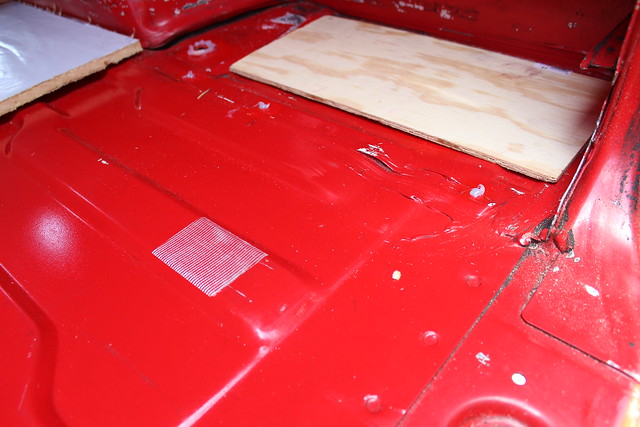
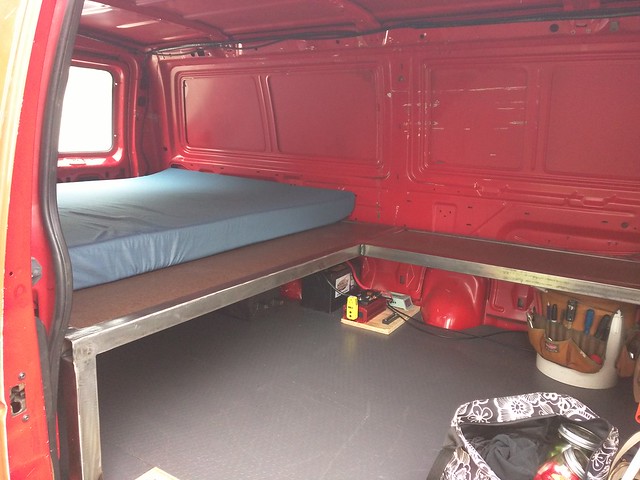
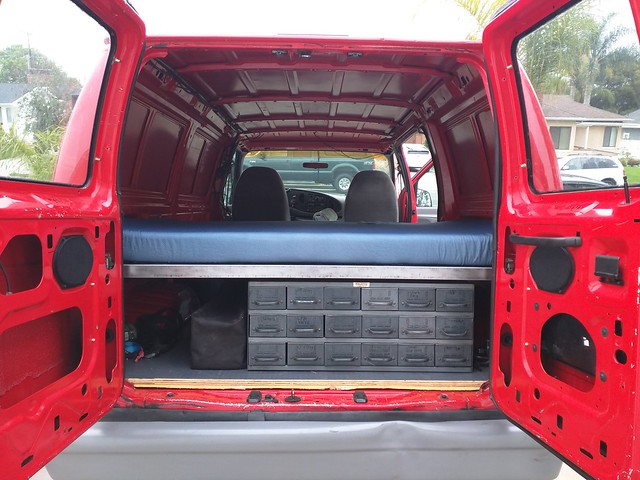
Right now I have all of the electronics right infront of the left rear wheel well.

Couple of comments/questions on this
- Yes, I have a larger gauge wire to the DC fuse block than the inverter. The cable to the Fuseblock is definitely overkill and I will probably use this cable to attach a second battery and get a properly sized cable for the DC fuseblock. The cable for the inverter is larger than the one that was provided and should be fine for the 1000 watt inverter
- Is it ok to connect the solar charger to the dc fuseblock instead of straight to the battery? The fuseblock is rated at 130 max amps, so i should be fine.
- Battery venting. I am still looking into this, and ultimately want two 100 ah wet cell batteries mounted under on the driver side. But in the meantime, It should be fine with how open it is, right? Still researching this, but any insight is welcome.
- Ultimately my final setup will be another battery and panel, with the main draw being a fridge of some sort between the two front seats. Still deciding if/how i want to connect the house batteries to the van batteries.
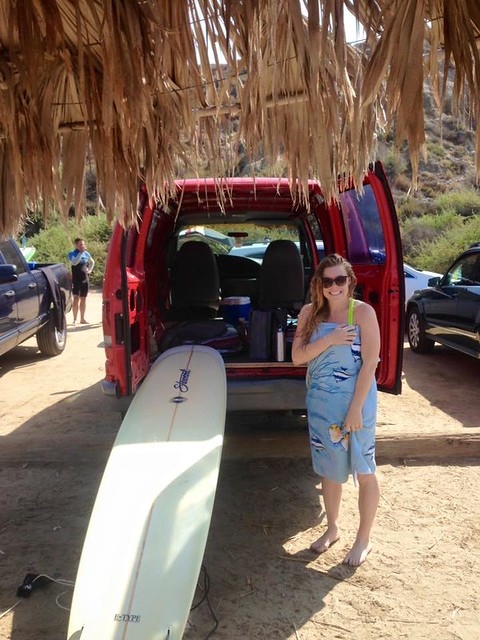
My first trip with the van is this weekend with some guy friends. But next weekend I want to surprise my wife with some boondocking around so cal. I have never been on such an adventure, so any tips/tricks/locations are welcome. I understand you probably hold these spots near and dear to your heart, but anything you can share in a pm would be awesome.
Thanks!


 Linear Mode