Been a while since I posted any updates on the build, I am a bit behind. We have been on a few camping trips in its uncompleted stage (are they ever completed), and all has worked well. I also took the van on a trip to Iowa to see my ailing dad, and Kansas City to see my brothers. It would also be the last Nascar race I attended at Kansas City. Years ago, I purchased rights to very nice seats at the speedway, row 35 start finish line. This was so I could take my dad to a race every year. I also have brothers that live in the area so it was a good all round family get together. My dad is to ill to make the event anymore, so I decided to now longer do the race track thing.
While the drive was solo and really just to get from point A to B, the Transit performed great. I only stopped at rest stops to sleep at night. First having a bathroom on board that I can walk into, and standup is just fantastic. My rest stop procedure was to usually stop ands immediately turn the seat around so I could access my table, then if it was coffee time, I would fire up the Keurig for a cup of coffee. Then I would use the facilities if needed, take a bit of a walk to get the circulation going. Upon returning I would grab my cup of coffee, sit down at my mobile desk and check emails and things on the computer. If it was breakfast, lunch, or dinner time I made something to eat. All I can say it made a couple of hard days driving very enjoyable.
Upon returning from the Midwest I finally got Covid, I had all my vaccinations and really only felt really bad for a day, but looking back I was very tired for a couple of months. That and other household task got in the way of any serious van work. So now if weather permits, I am back at it. This was done before my fall trip so as I said Im a bit behind.
I have had the refrigerator temporarily installed for a while; this allowed me to use the van as it went through stages of the build. The time had come to make something permanent, as it would ultimately hold the stove I was installing also. For a stove I chose a Furrion 17 3 burner gas burner oven range.

This will give us a small oven, that I can envision making biscuits or scones on one of our winter Oregon coast trips. This was a tuff decision that took more input from the wife, as I enjoy baking in the Dutch Oven

This cabinet was one of the stronger ones I made, I used ¾ or 18mm for the side. The back was bolted into the side of the Transit using existing threaded holes or new ones with rivnuts. I also used some
L brackets to mount the cabinet through the floor.
The countertop was the same wood block that I used for the sink cabinet. I did router out the back side a little bit to reduce some weight. This top would move forward and cover my garbage recycle center and refrigerator. I mounted the refrigerator facing forward. This allows access to the refrigerator from the outside the vehicle. I am sure I will hear how bad an idea this is as the door could open and unleash the insides. I had it temporally like this over a year, I hadnt even installed a secondary latch and had no issues. I will probably install a strap system for use while driving.
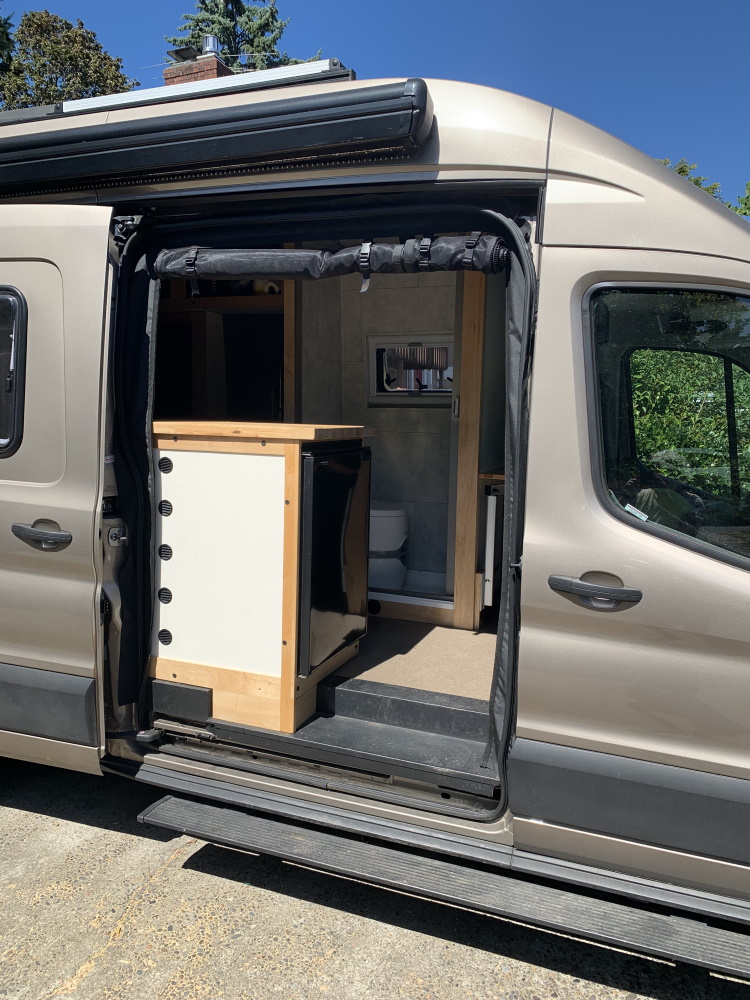
I decided to put some rivnuts on the sides of the refrigerator, these would allow me to a solid mount of the refrigerator.

The refrigerator is a
TruckFridge TF130DC unit. I have a separate compressor speed control and digital thermostat, the Guardian by Coastal Climate Control. Along with that thermostat, I have added a control board called the
Merlin II. This board controls the rpm that the compressor is running, it has a ramp on sequence at start up, it will try to run the unit at the lowest possible RPM. The merlin II will also provide a fault blink indicator if something goes wrong with the Danfoss/SecopSeacop compressor unit.

The Thermostat unit is no longer available but the replacement is a
Coastal MK3 Digital Thermostat.
While the control has a built in displayable thermocouple inside the unit I also added a
rUUVi Bluetooth temperature sensor inside the unit.
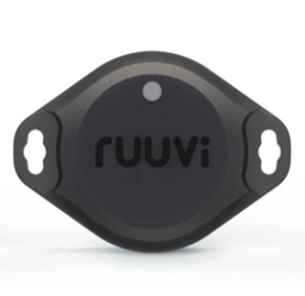
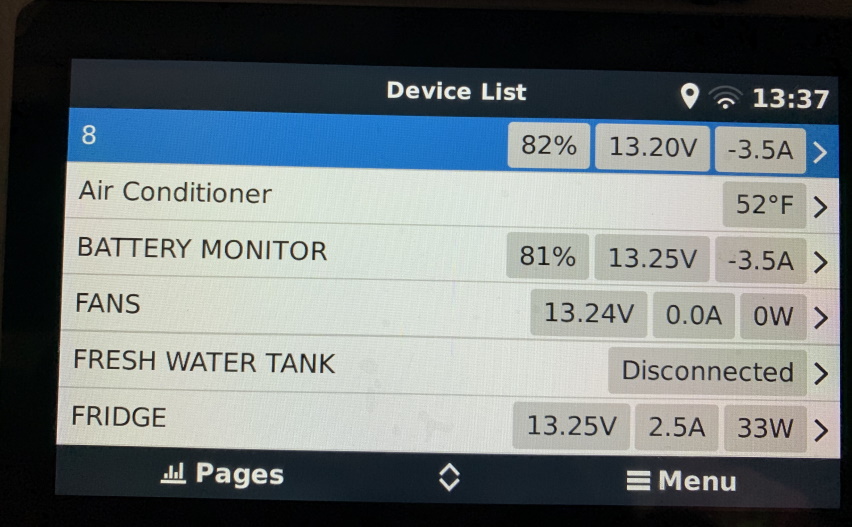
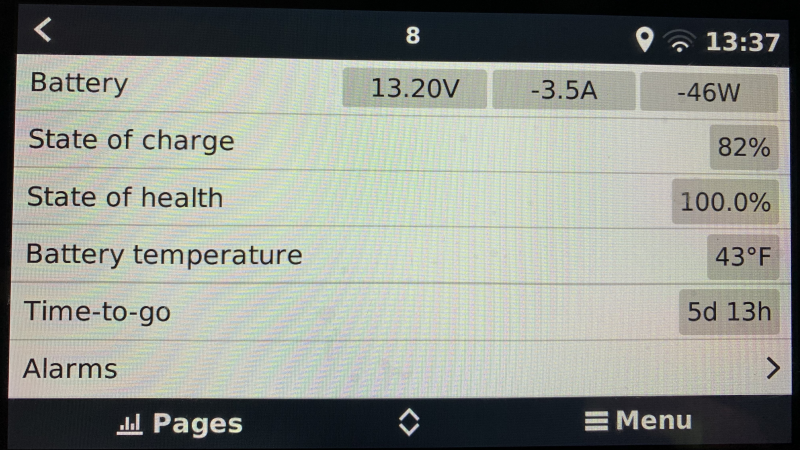
This allows me to monitor the inside temp of the refrigerator via my
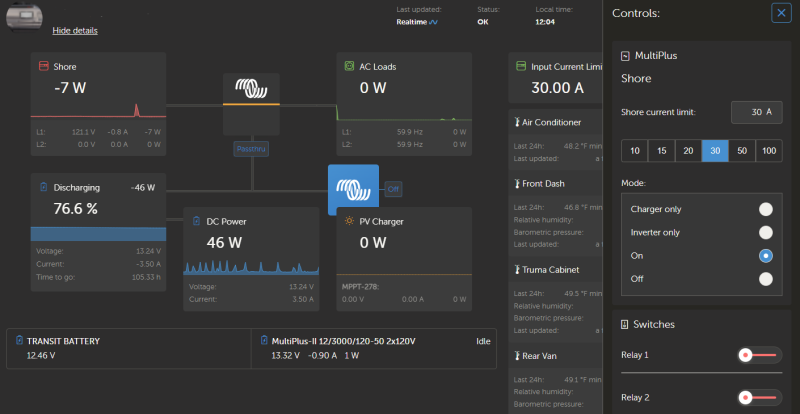
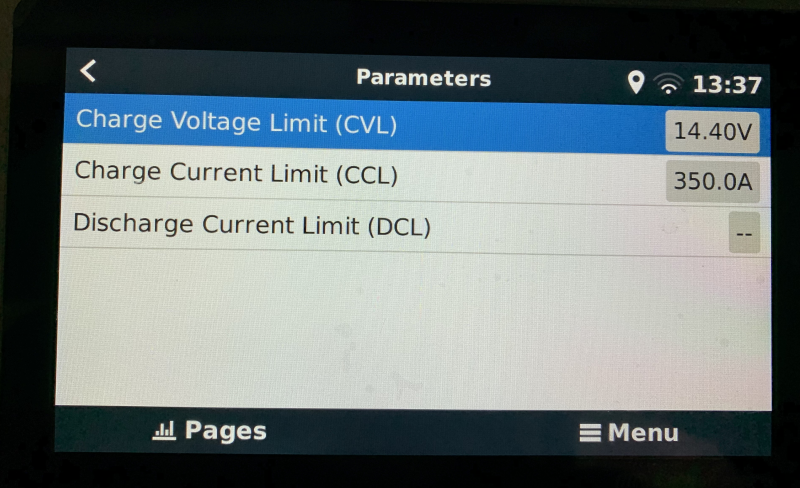
Victron Cerbo GX. I also use a separate
Victron Smartshunt to monitor the power for just the refrigerator. The Smartshunt is pretty primarily used as a battery monitor, but can be used just to monitor loads , especially with the Cerbo. It is one of my hopes that Victron develops some smaller more economical smart shunts. This allows me to monitor the temperature of the refrigerator and power usage along with other variables in the van.
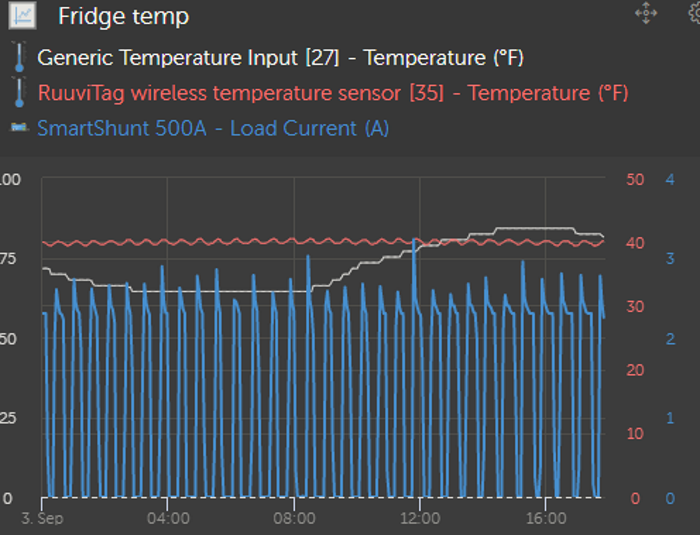
This is a nice reasonably temperature day, as the temperature gets higher the duty cycle of the refrigerator power changes.
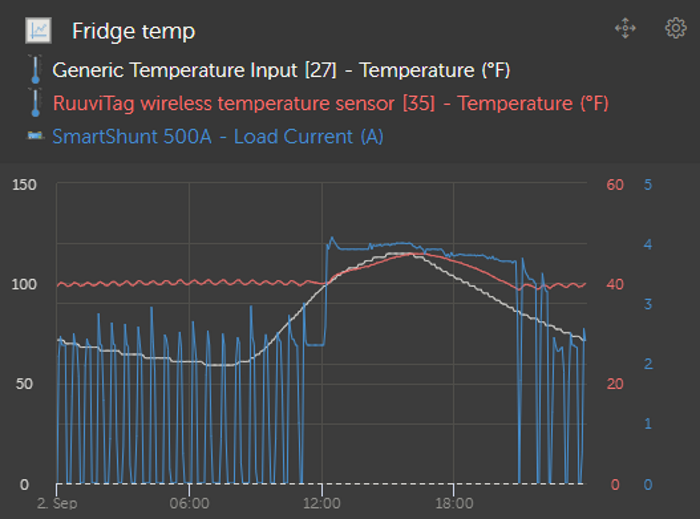
This is where we lose control of the refrigerator, as temperatures go above 100°F the compressor is at full speed but not able to keep the temperature at set point.

I recessed the cabinet in a little bit, as I did not want the knobs protruding much. The stove comes with a glass panel cover that is used as a back splash when in use. It doesnt rattle to much while in travel, but I usually still deploy a towel underneath to prevent. The stove takes a 12 volt hook up to power the oven light and knobs. Also, as a safety feature if a valve is on, it turns red. Now I just really need the propane tank.


 AWOL
AWOL


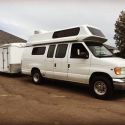
 2008 GMC 3500 SMB


 Linear Mode