It has been a while from my last update, luckily there has been some work progressing. I am pretty much getting close to finishing up the rough electrical wiring. Much of this wiring will be behind the walls and as such needs to get done before finishing insulation and such. The basic electrical layout is to have 3 DC fuse blocks, the primary is close to the battery on the left rear. A second fuse block will be on the right side, just forward of the wheel. And finally, the third fuse panel will be up front in the overhead console area. The goal will be to provide a house battery power both controlled and uncontrolled. This will be for both the overhead console and the dash area.
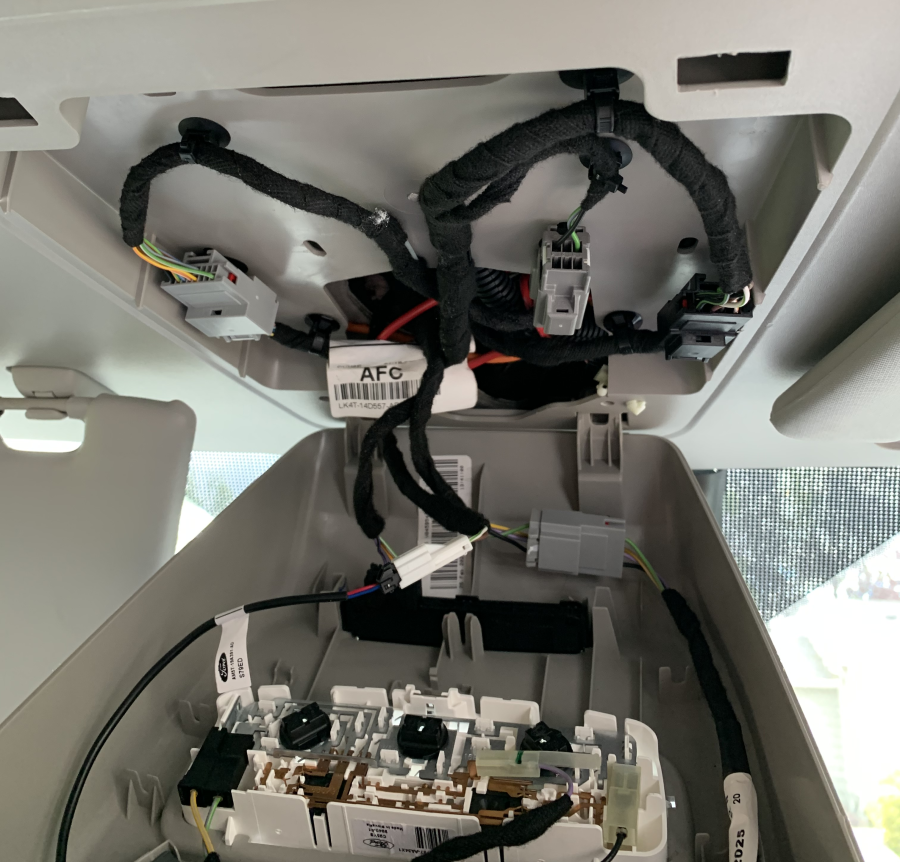
It was time for some work on the front dash and headliner area. This meant pulling down the existing headliner. I was aided by this nice write up on removal from mauithevan.com. The first thing that needs to be removed is the existing console from the shelf. It is easily removed by using a trim tool to push back the two clips in the front.

This is also a good time to remove the existing harness from then shelve. Take pictures it will make reinstallation easier.
Now we move to the shelf and the obvious screws on each side of the unit. These can be removed with a 7mm nut driver.

5 more screws to go, the first one is behind the console, after pushing the wire harness to the side you should be able to get the 7mm screw.

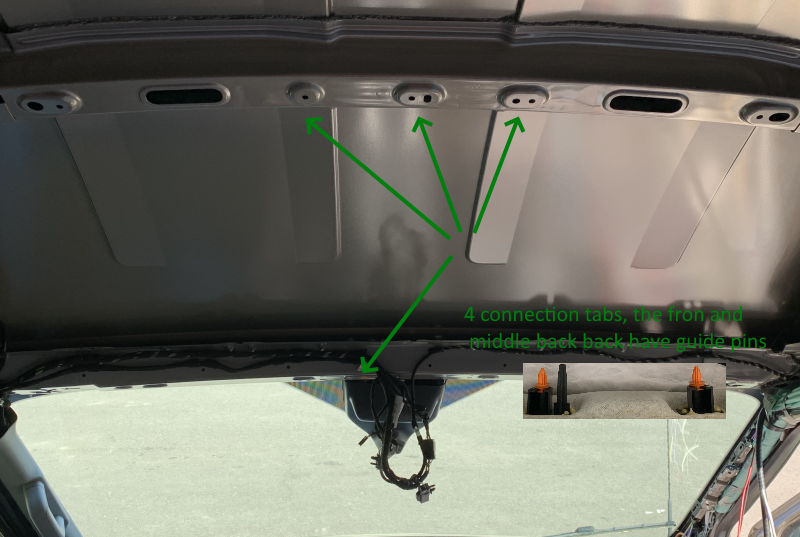
The remaining four are probably the hardest to access. They are hidden behind the plugs in the front of the shelf piece. The easiest way to get these plugs out was from above, seems like their would be a simpler way, but I couldnt really find any tool to get the plug out from below. Once the 4 plugs are out you have access to the screws.

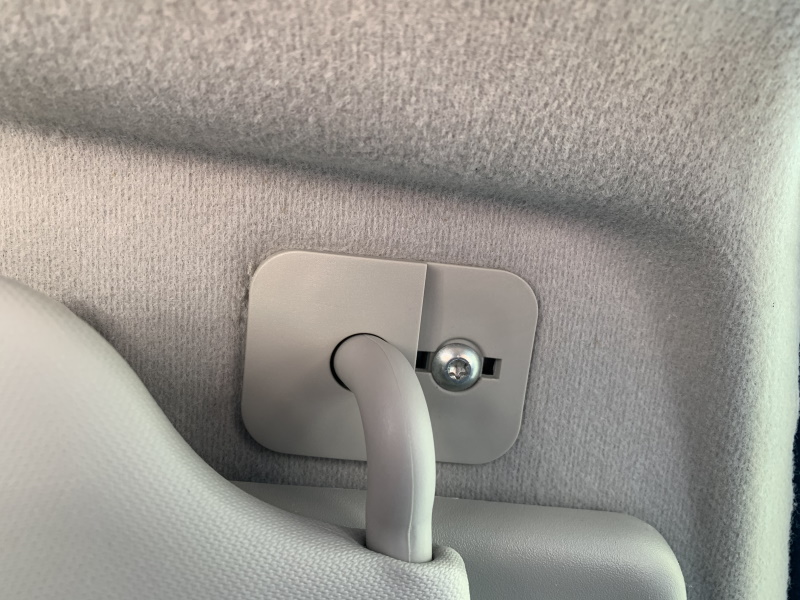
Now if you already have not, it is time to remove the visors. The visors kind of help hold the shelve up while removing all the screws. For this reason, I took them off last and install them first. If you look closely, you will see the cover lines. The cover comes off with a small amount of force to the indentation on the end.
After that there are 4 orange clips to pull out, using a automotive trim removal tool you should be ablet to pop them out. They may come out of the holder but can be easily put back in for installation. There are three at the top and one at the front.
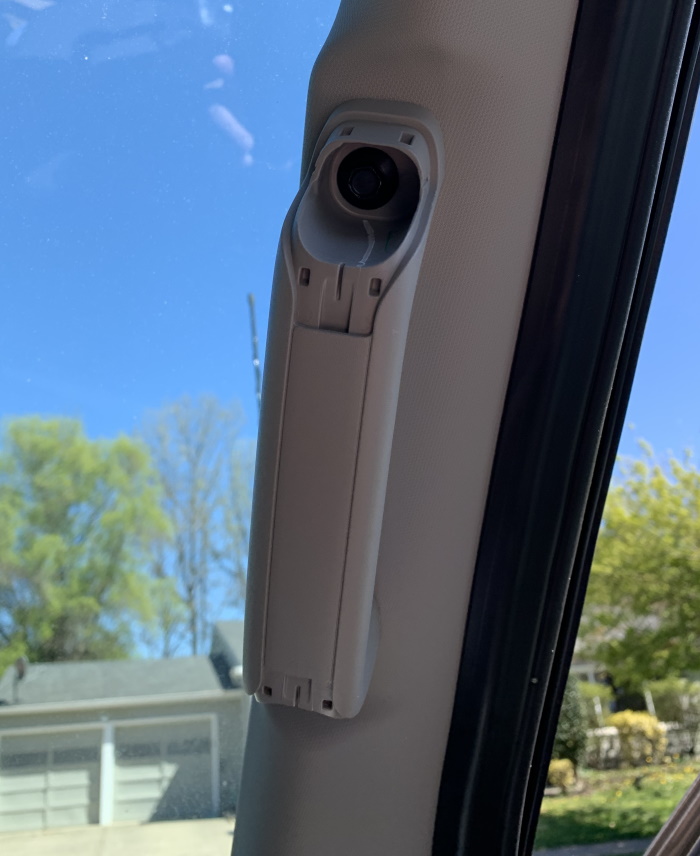
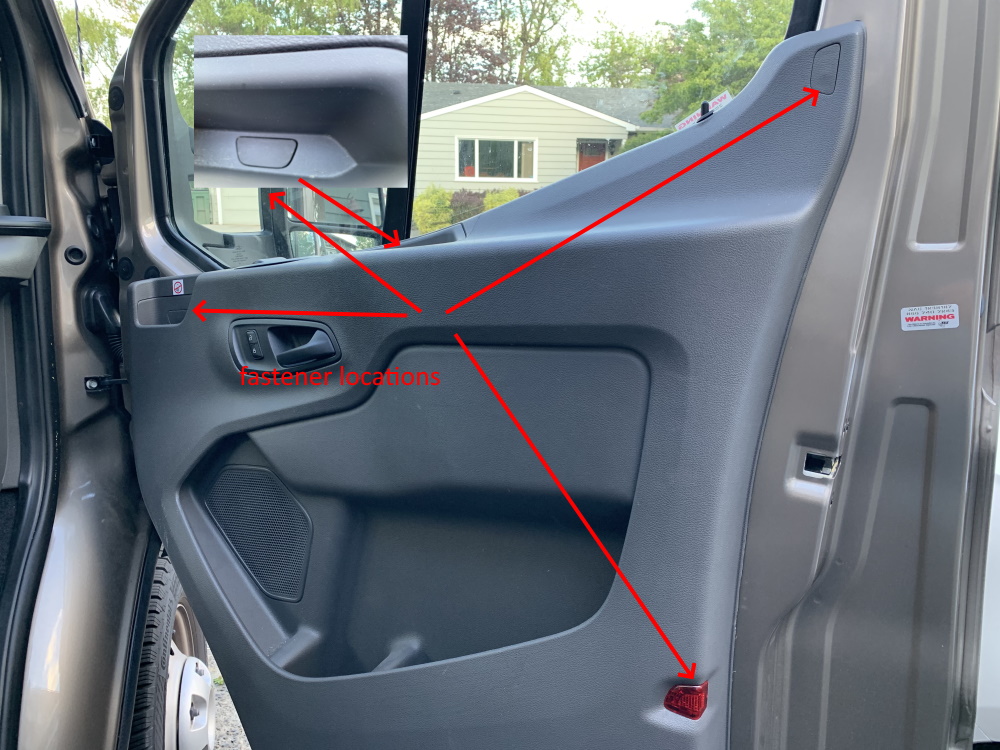
The next thing I needed access was the A pillar, as I wanted to see how I could run some wires to the back of the van. Remove the covers and you have access to the bolts holding grab handles. After that it was just gently pulling back on the cover.
Removing this exposes the side airbags and a small cable trough towards the windshield. I will be using this to pass power from the newly installed front fuse blocks, and for some communication lines from the High Specification Vehicle Interface Connector option that I ordered for my van, this will give me access to various signals from the van, engine run, turn signals, lock status, etc.
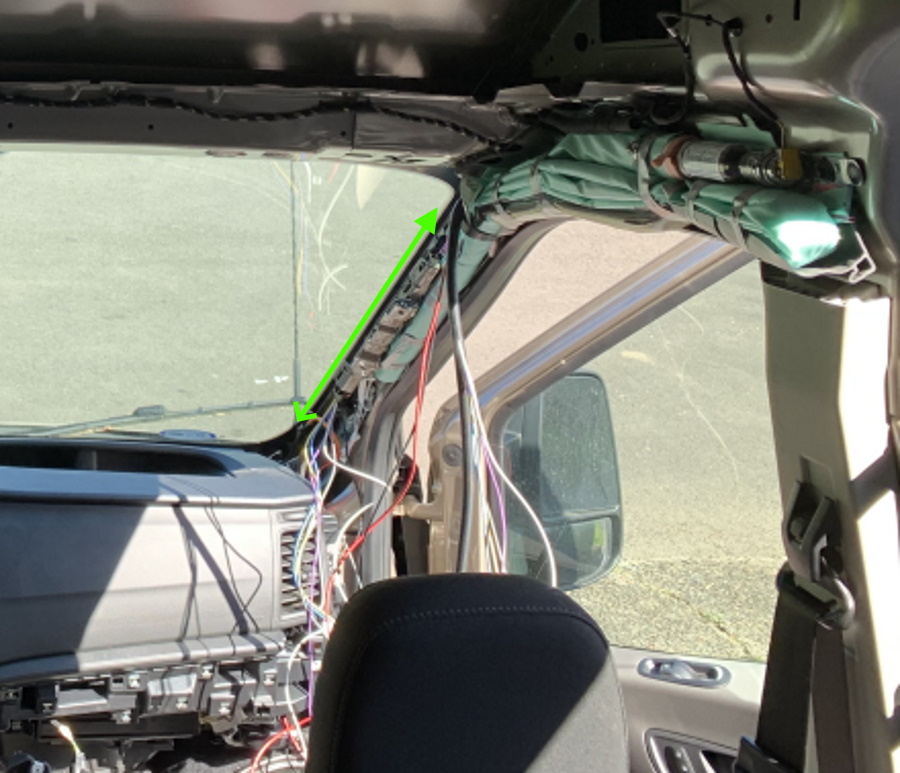
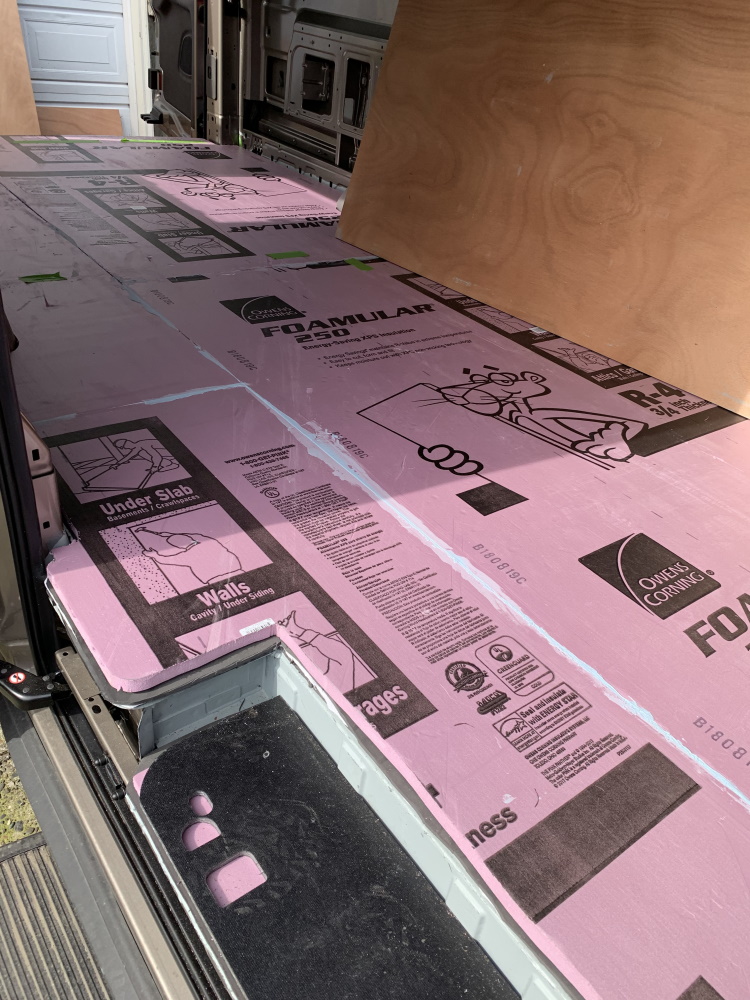
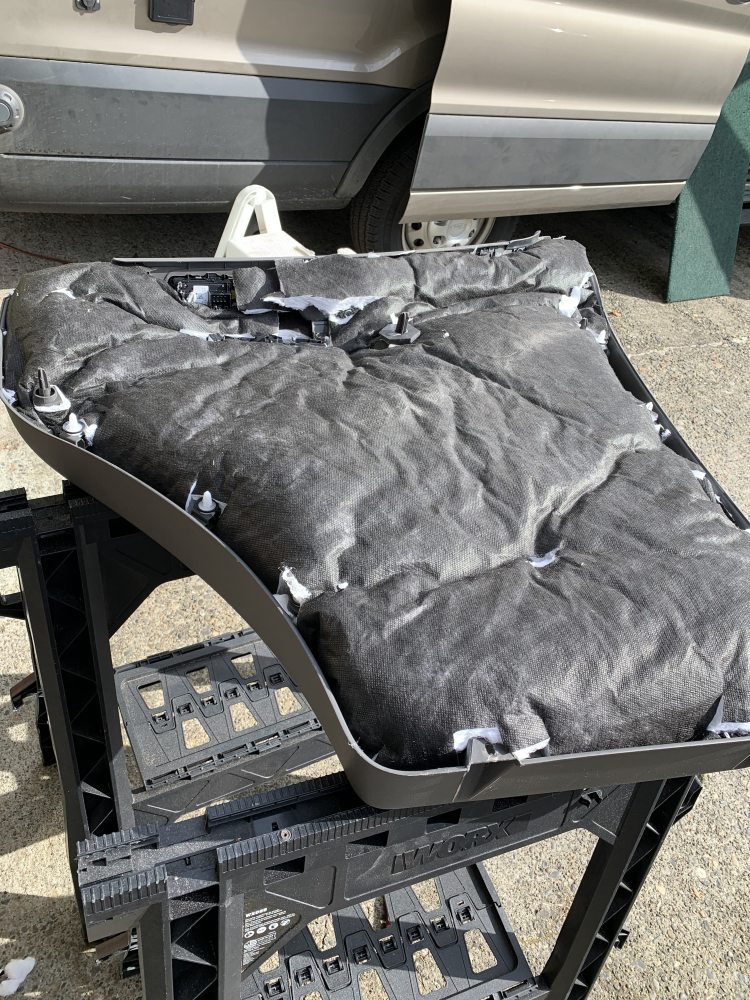
I ran about 8 wires back to the van. I also took the time to run a USB cable from front to back, and a couple of power cables from the newly installed overhead fuse blocks. But wait before we get there I need to insulate the top while I am here.

I glued the insulation to the top, and stuffed some pieces into the sides and roof support beam. I also added some additional cables to the front. One is a cable for my 8-inch Xenarc monitor, this will be used for a camera system and possible computer screen in the future. I also ran two cable harnesses to the front; one is eight 18 awg wires and four 14 awg wires for future uses. I pre-installed Deutsch DT and DTP series connectors. This will allow future updates while minimizing having to take a lot of things a part.
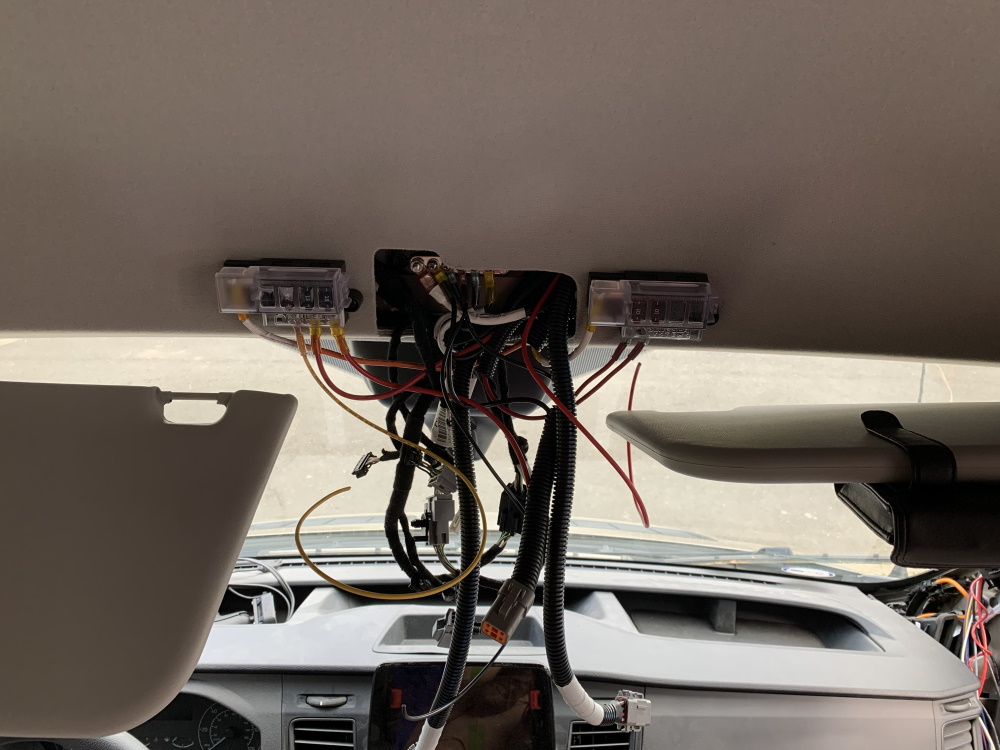
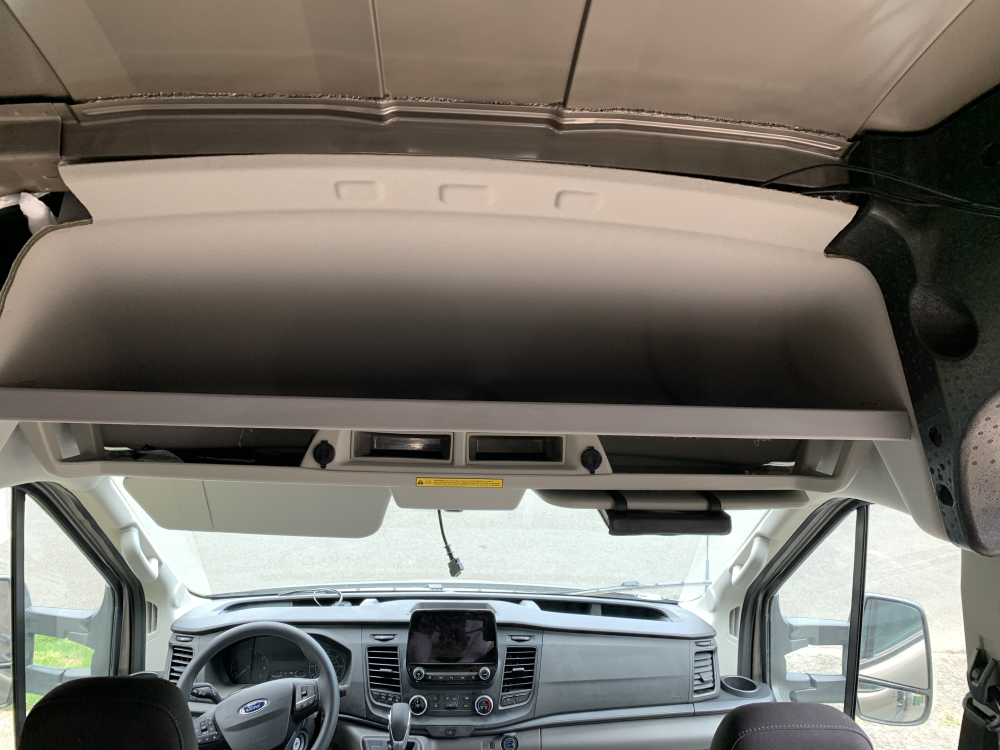
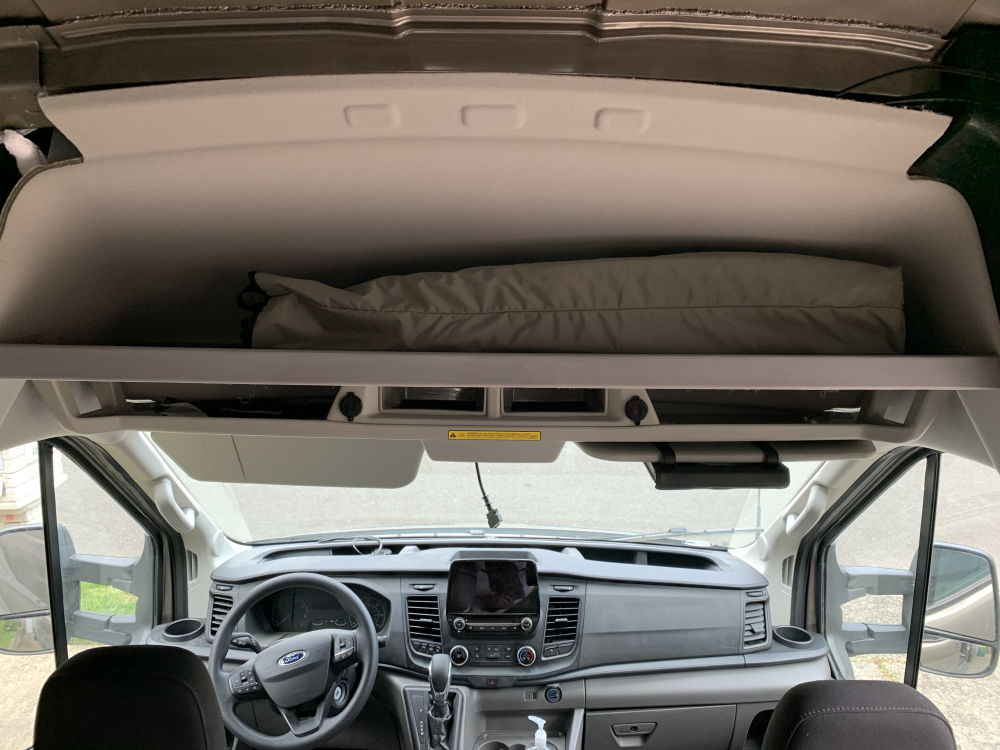
I have installed a ground bus bar and two Blue Sea ST Blade Compact Fuse Blocks - 4 Circuits #5045. One will be straight house power, the other will be controlled via engine run signal. The busbar was mounted to the actual van, the fuse blocks attached to the headliner. To do this I needed to trim the rear of the overhead shelf. While there I also added some USB Chargers. After this it was time to put it all back together, tucking my extra wire out of the way, and basically going in reverse. It is very helpful to install the visors before the shelve. They will aid in holding it up before reinstalling. Once you get the shelf back in you need to install the light console, and hook everything back up. Notice: if you hadnt noticed your key fob hasnt work since you removed this piece. This is where it is helpful to have taken a before picture to aid in how everything goes back in. If you are like me, I do not have lighted visors, you will have one on used connector.
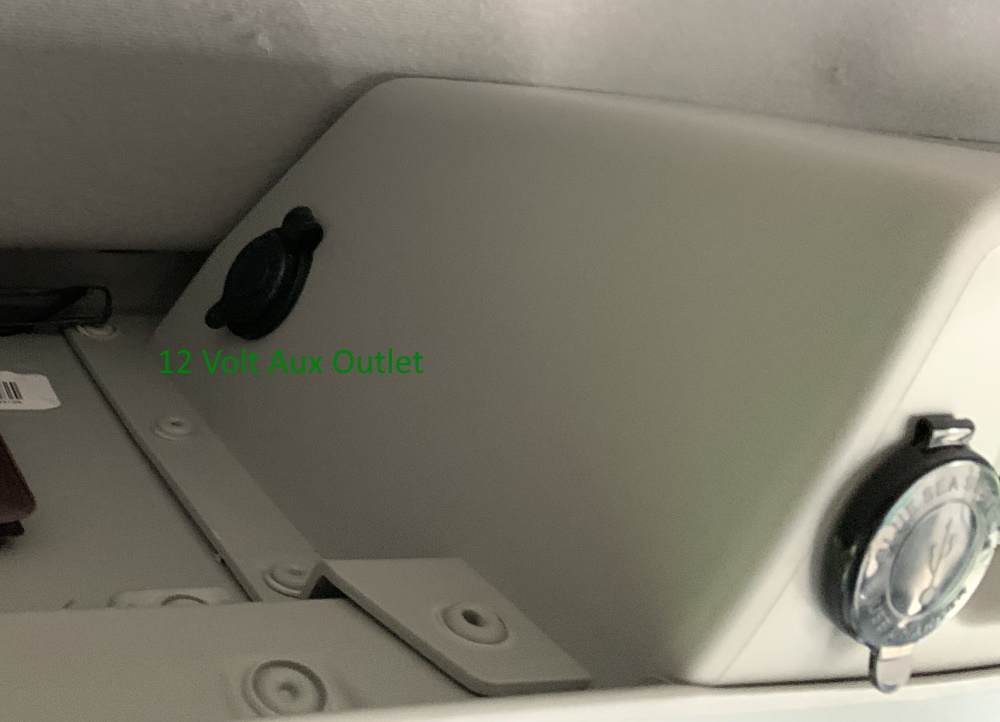
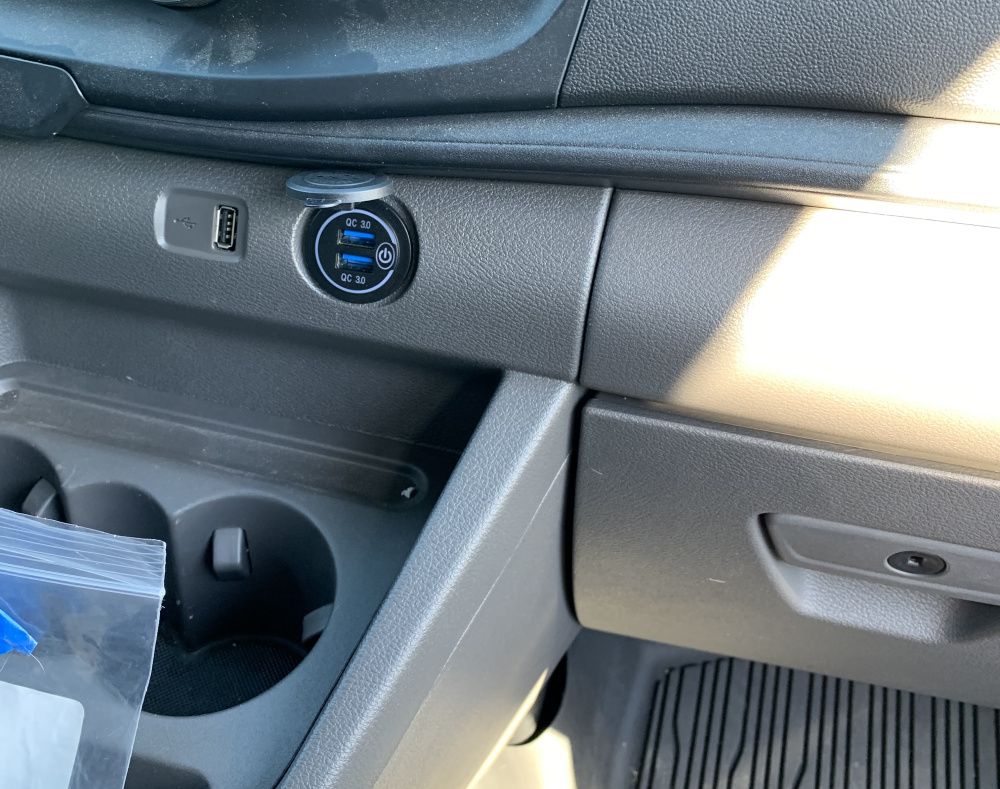
The finished project now has two USB chargers, a 12 Volt Aux port in the driver side console, and a cable for the monitor. You will also notice a larger shelf was installed above the stock ford overhead shelf.

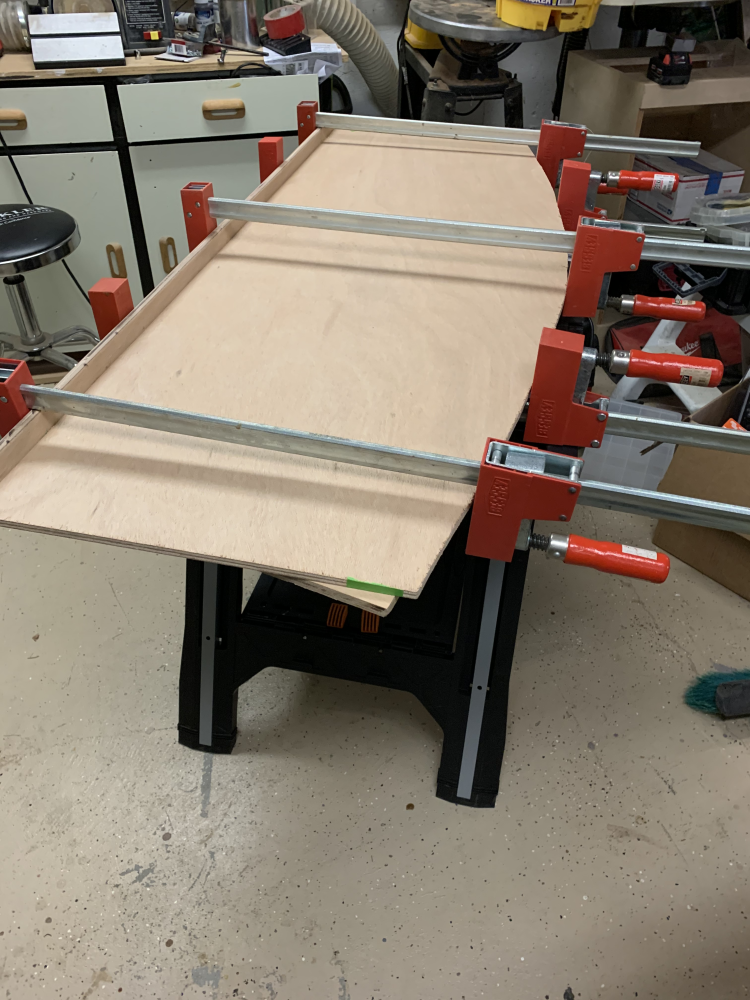
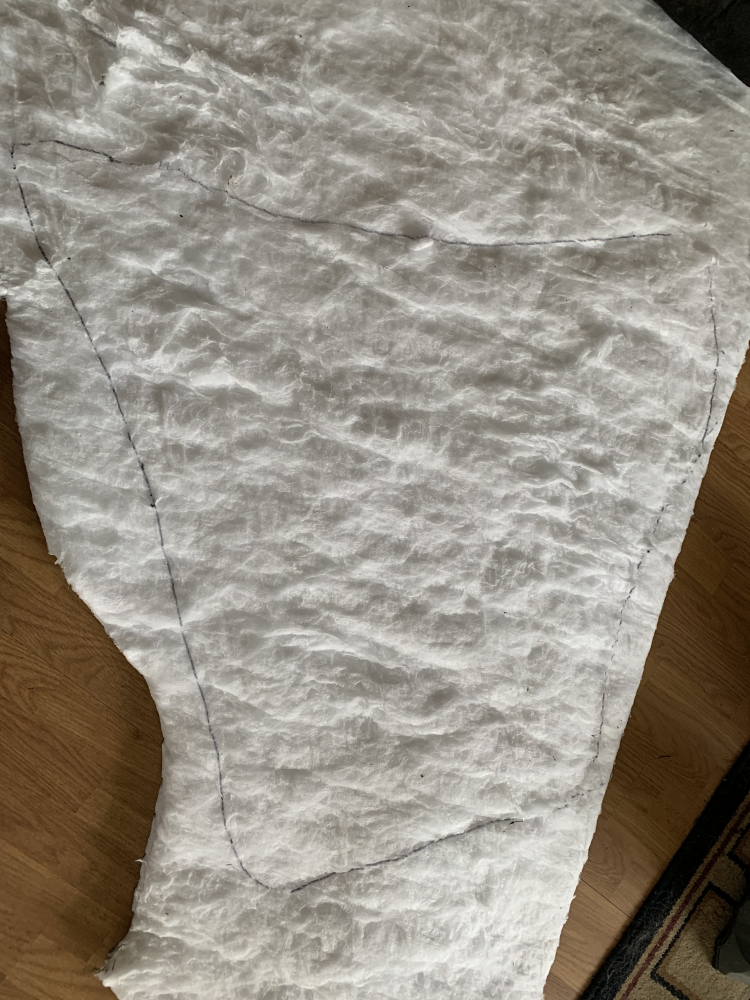
Now was a good time to finish the install of my Vanxillary.com overhead shelve kit. I had seen some well-made but expensive shelfing options. In my search I cam across Vancillary.com. They make a kit that provides the brackets and hardware to install. They also provide full size templates so you can cut out your own shelf out of wood. I used 9mm Okume plywood, for the cross piece I used 12mm. They generally recommend ½ in ply, but I went with 9mm. I also made the cross piece a higher so that I could provide a dado, I also was going to cover with superflex automotive carpet. Here is a picture of the shelve being glued up.
After it was dry, I finished the cross peace with many coats of Seal-Once nano-poly tinted wood sealer (coastal Grey.) I glued both the top and bottom with Superflex (Silver 2051) using Weldwood Landau Top & Trim HHR contact cement.

The Vancillary brackets easily install between the stock Ford Shelf brackets, they provide the other hardware to install the shelf to the bracket although it doesnt fit with my double layer of carpet on each side.


All in all, I am happy with the color matches and overall look. I also added a house powered USB charger to replace the factory 12-volt aux.
The perfect spot to hold the windshield and front window shades
-greg


 2008 GMC 3500 SMB
 AWOL
AWOL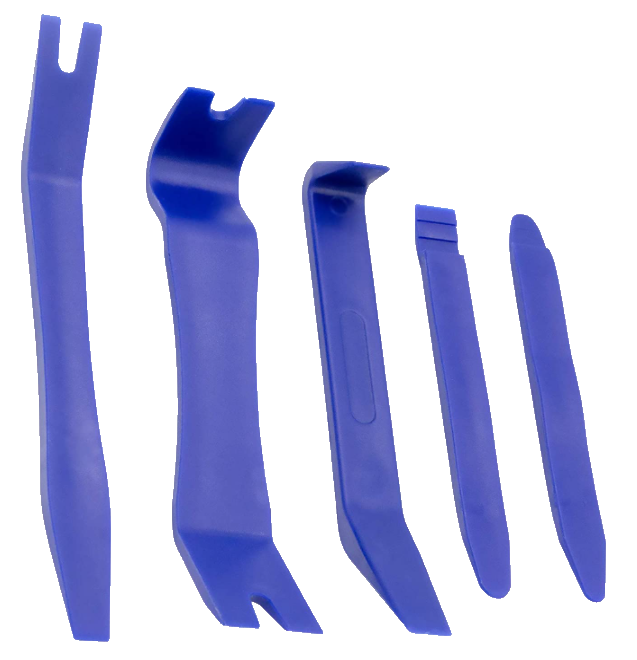


 Linear Mode