Been doing a little bit of work here and there. We got the lift and tires on. We went with the 2" Maxx lift spacers for ease and cost. It is enough to clear the 265/75-16s easily and hopefully the bumper with act less like a plow come winter. The install is pretty easy, except the van has larger bolts than any of my other vehicles and the kit was SAE while the van is metric. A few days and a few trips to harbor freight between shifts and she's looking pretty good.
The suspension bolt is a 30mm btw... my impact drivers didn't go up that high so I now have two new sockets.

With the lift:
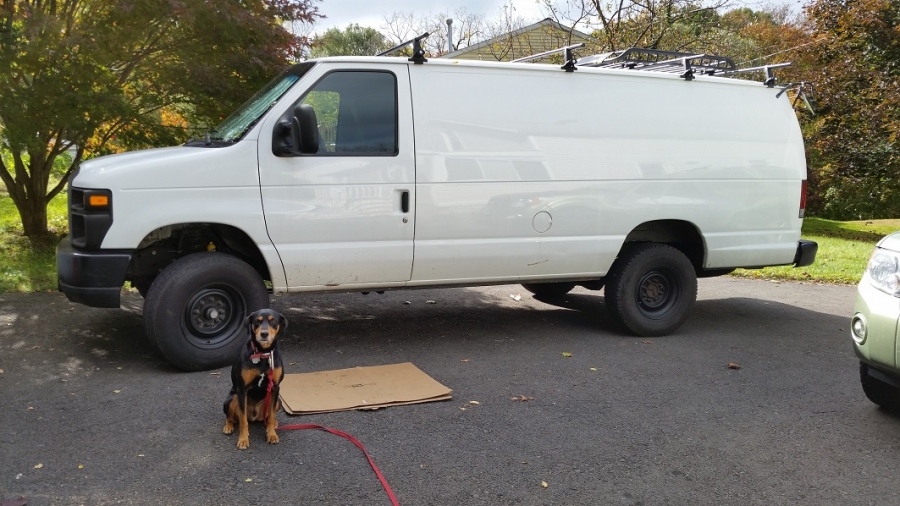
With new tires:
We also made it out to the junk yard and scored some doors with windows. We were just going to instal the windows but for $45 this is much easier and the doors are in pretty good shape. We even scored a pop out window for the larger one. When we bought the van it was used to haul paper for shredding so it has a weird proprietary lock that is a PITA, so as an added bonus that will go away too.
They are in surprisingly good shape for a 1994.

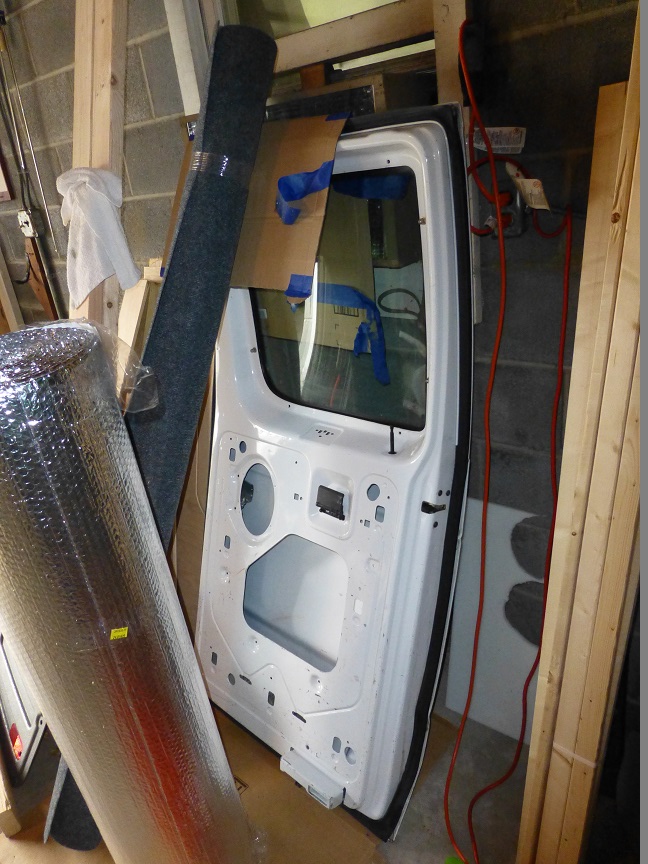
I also got the rear doors ready for the new panels. Fatmat, fiberglass and refletix.

On the other door I want to make a small storage pocket. How are people doing this? I was thinking about cutting out a larger hole and making a "box" with foam board (making the opening in the panel smaller to create a storage cubby) but I'm not sure of the best way to make the box within the door.

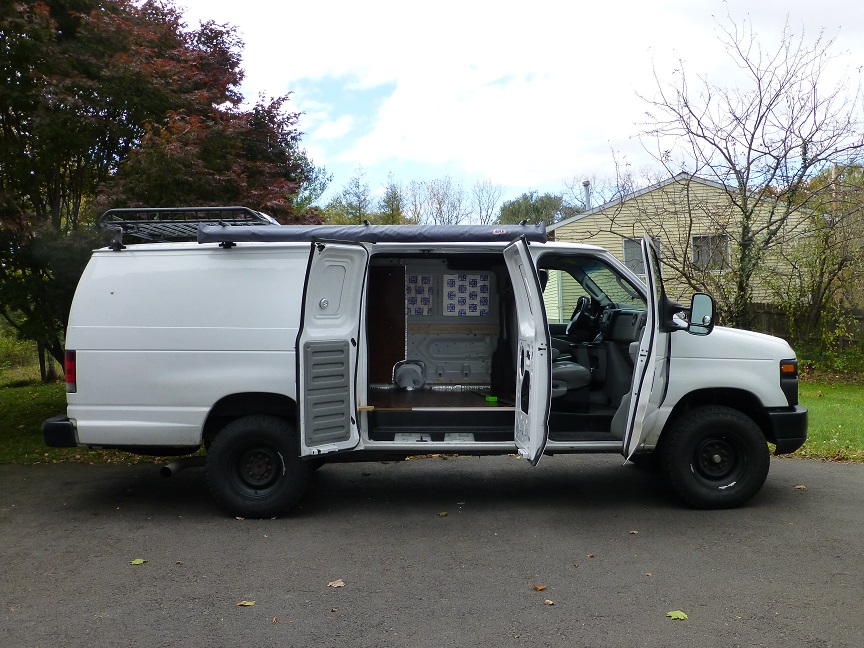
We also trimmed out the floor since that is finally complete.

She is coming along. Its starting to get cold so I want the big stuff done soon. I'm working on finishing the walls, building the closet and electrical storage and starting to plan for the sink/ cabinets. One it's snowing I'll start dealing with the wiring since I can do most of it with the door shut.
Jeff


 Linear Mode


