Journey with Confidence RV GPS App RV Trip Planner RV LIFE Campground Reviews RV Maintenance Take a Speed Test Free 7 Day Trial ×


Reply
 
Thread Tools Display Modes
 
Old 12-11-2012, 11:15 AM   #301
Senior Member
 
Zaskoda's Avatar
 
Join Date: Sep 2009
Posts: 421
Re: Polar Bear 1

So my girlfriend (Jen) returned from Peru and was able to help me for a couple of days. We focused on covering a lot of the existing panels and I fabricated a few more just to finish off some edges. It's still not done, but we've crossed some kind of threshold where you can tell how she's starting to come together inside:

Jen took particular care with the two main panels and inlaid a polar bear. We went back and forth over colors and shapes for a long while before both aesthetics and our lack of materials. I'm very happy with the results. I was expecting one single flat color.


We also used some heavy duty hinges to build hatches into the two rear pillars creating a handy little storage space (complete with false floor). The inside of the storage space will most likely remained unfinished.


Finally, here's a pan of the rear:

Zaskoda is offline   Reply With Quote
Old 12-11-2012, 04:40 PM   #302
Senior Member
 
buckkiller's Avatar
 
Join Date: Oct 2012
Location: Yakima WA
Posts: 673
Re: Polar Bear 1

Van looks great bud congrats!!
__________________
"The Redneck Mexican"
2002 E350 EB 7.3 Clydesdale 4x4 w/8' lift,
Colorado Camper Van pwr top,
Van Specialties build out
buckkiller is offline   Reply With Quote
Old 12-11-2012, 07:35 PM   #303
Senior Member
 
rockbender's Avatar
 
Join Date: Sep 2010
Location: Bend, OR
Posts: 800
Re: Polar Bear 1

I really like the way that is finishing out, Z! Those carpeted panels ought to help in doing a bit of sound damping too.
__________________
Josh
2009 Express AWD, CCV Top & 50-ish home build. Daily driver/camper/kid hauler
rockbender is offline   Reply With Quote
Old 03-20-2013, 08:44 PM   #304
Senior Member
 
Zaskoda's Avatar
 
Join Date: Sep 2009
Posts: 421
Re: Polar Bear 1

No pics yet, but before I forget... I FINALLY got the rear glass replaced with pop-out windows. While I am impressed at how well these old rubber seals work, the project turned out to be one of those real frustrating challenges mostly tied to me losing a part. But, they're installed and it's freaking awesome.

I am having some transmission concerns. I have 3 weeks left on the warranty to I'm going to bring it in. I might just be paranoid, but I swear that thing isn't right.
Zaskoda is offline   Reply With Quote
Old 03-27-2013, 09:40 PM   #305
Senior Member
 
Zaskoda's Avatar
 
Join Date: Sep 2009
Posts: 421
Re: Polar Bear 1

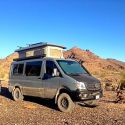
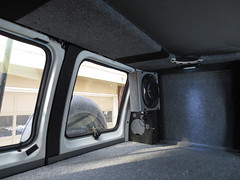
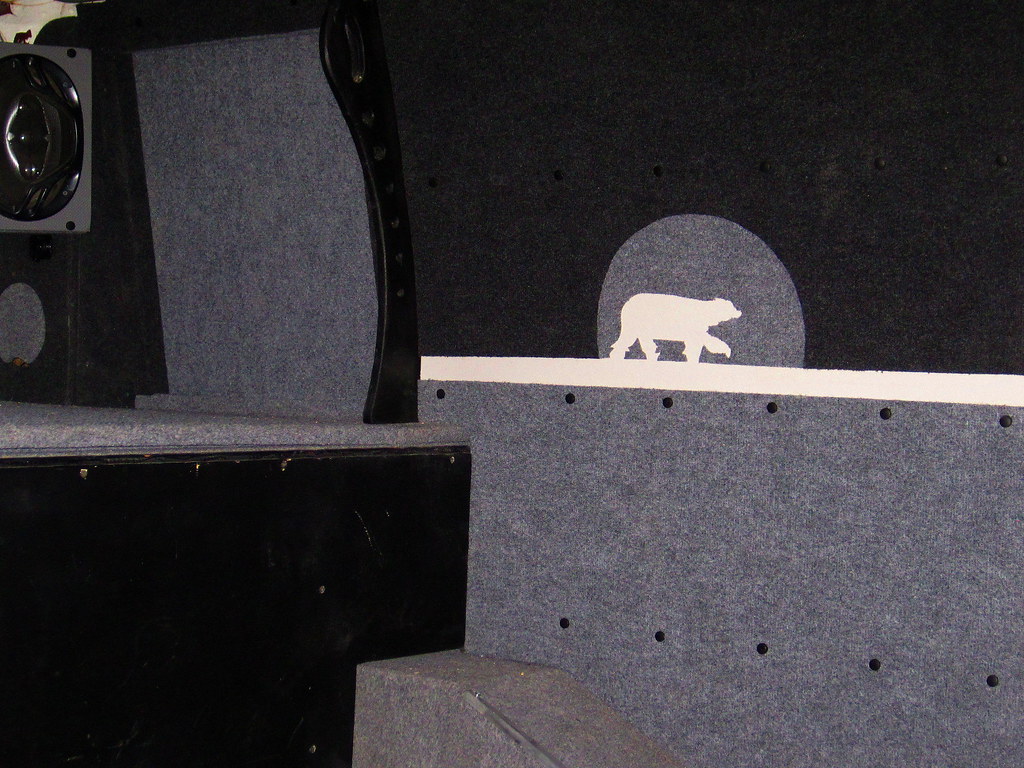
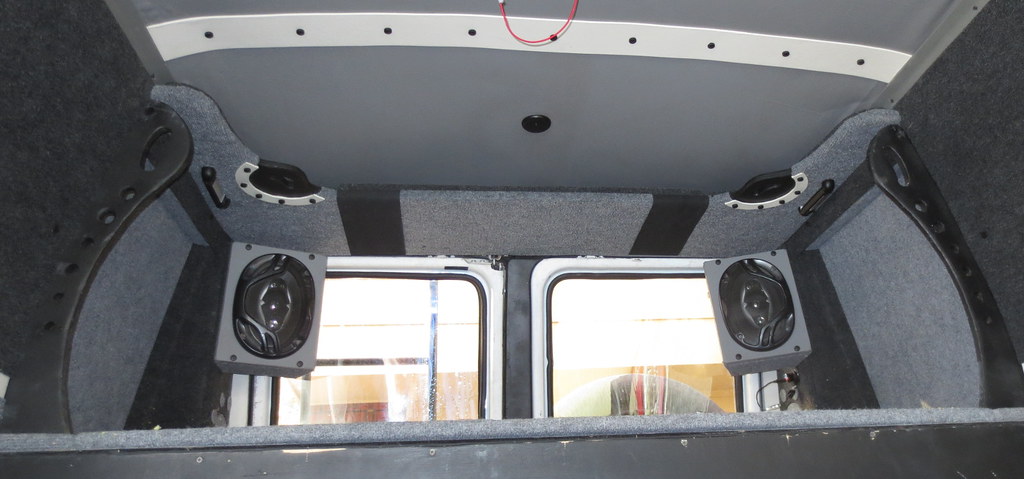
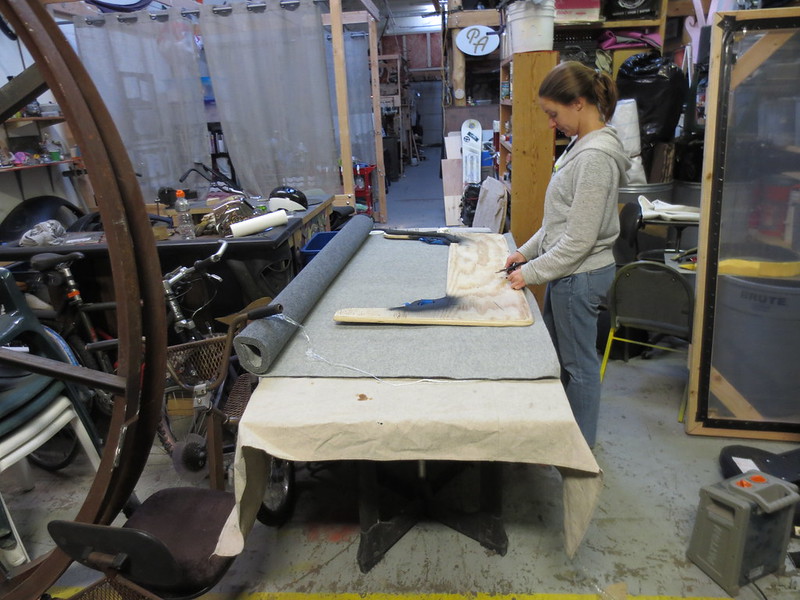
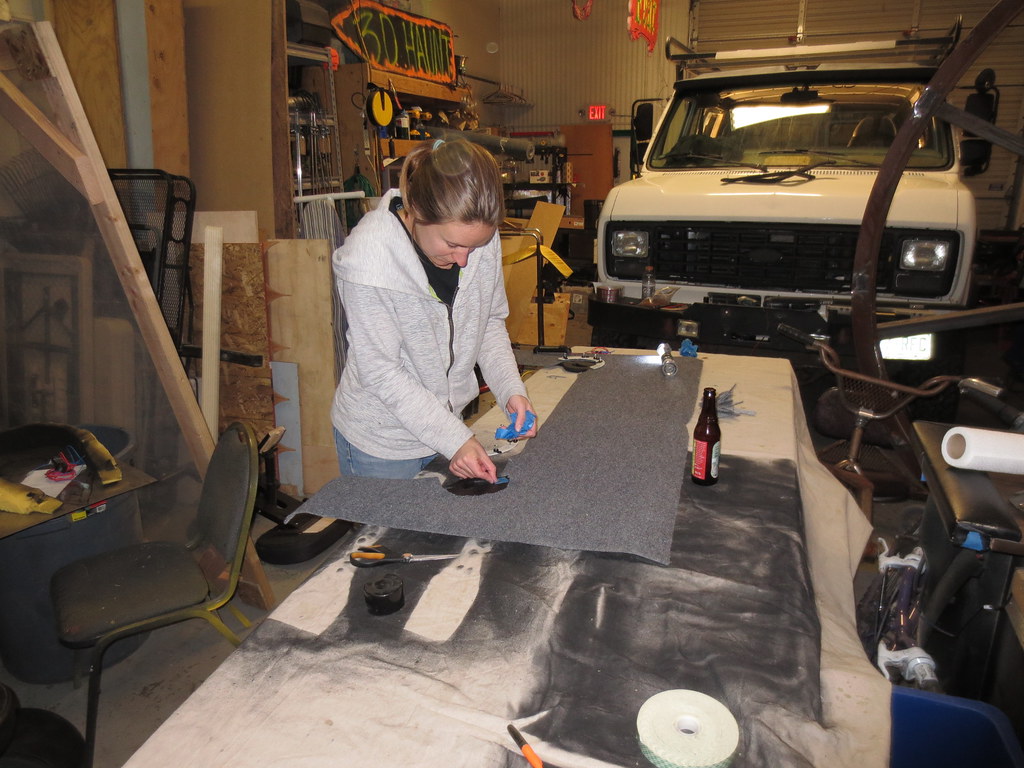
Alright, I've got a new camera and I'm able to take some reasonably decent photos of the new overhead shelf the girl and I finished off a few days ago.


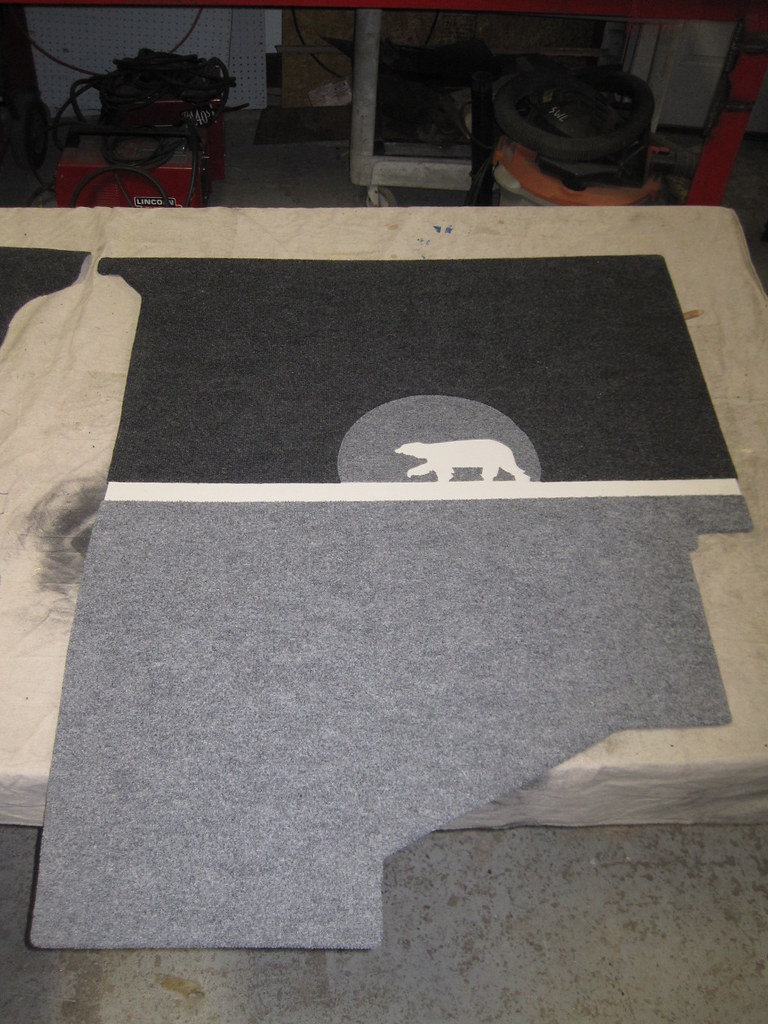
I'm happy with the finish work. We've continued the exposed black handle theme and I hope it plays through the rest of the build nicely. The carpet is recycled bottles, by the way.

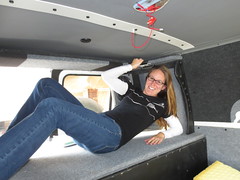
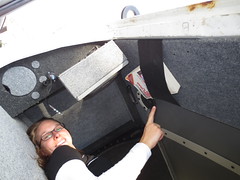
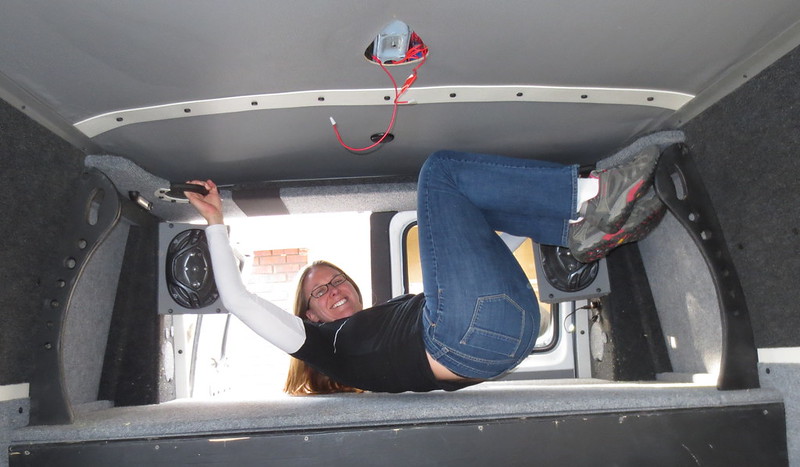
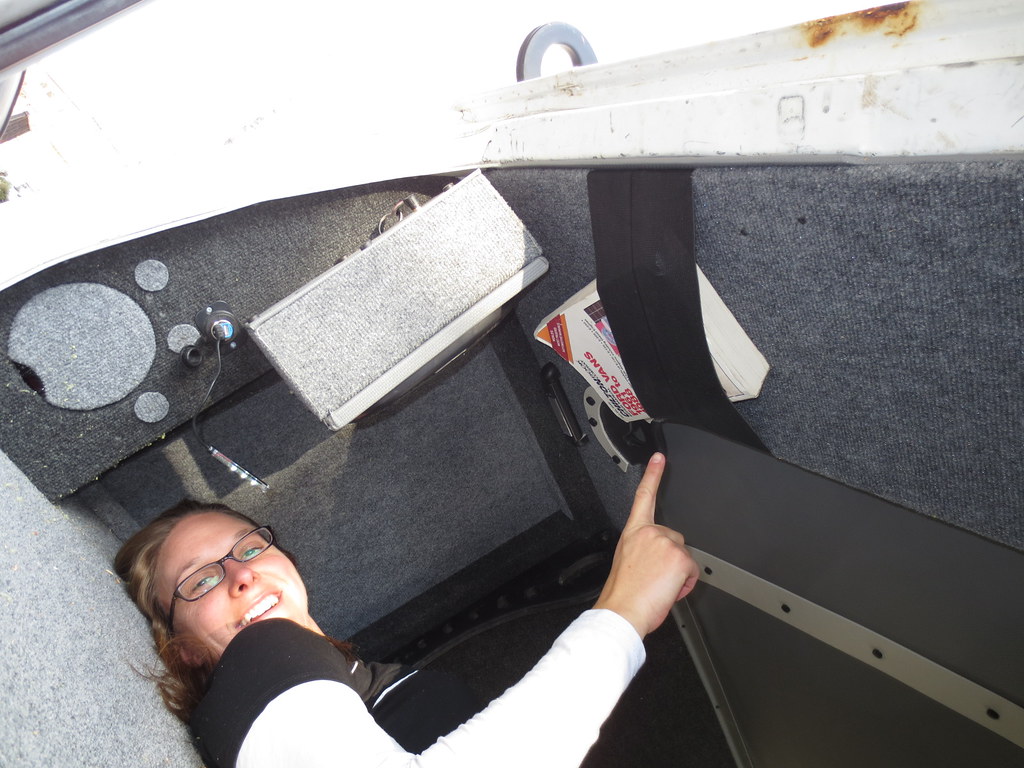
So those back handles are fairly strong. She tried to hang completely off of them:


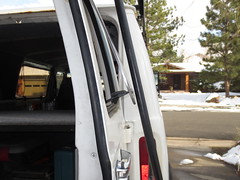
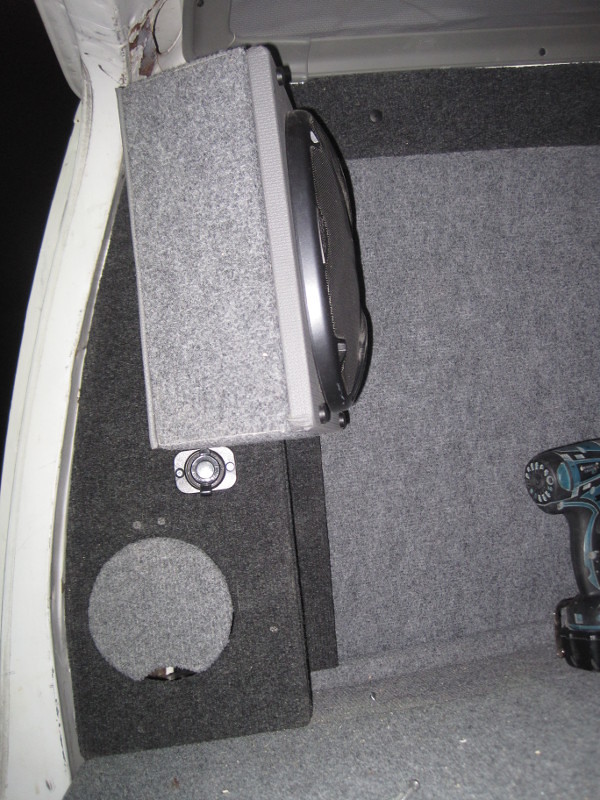
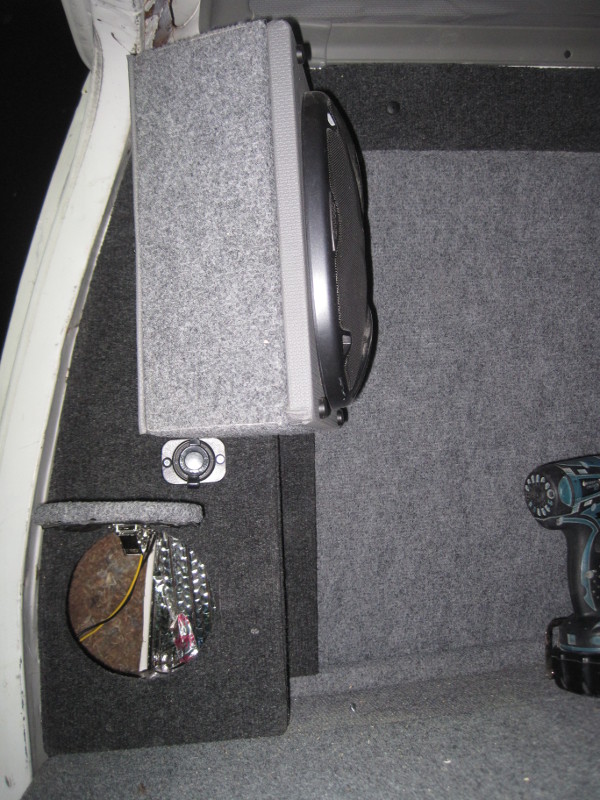
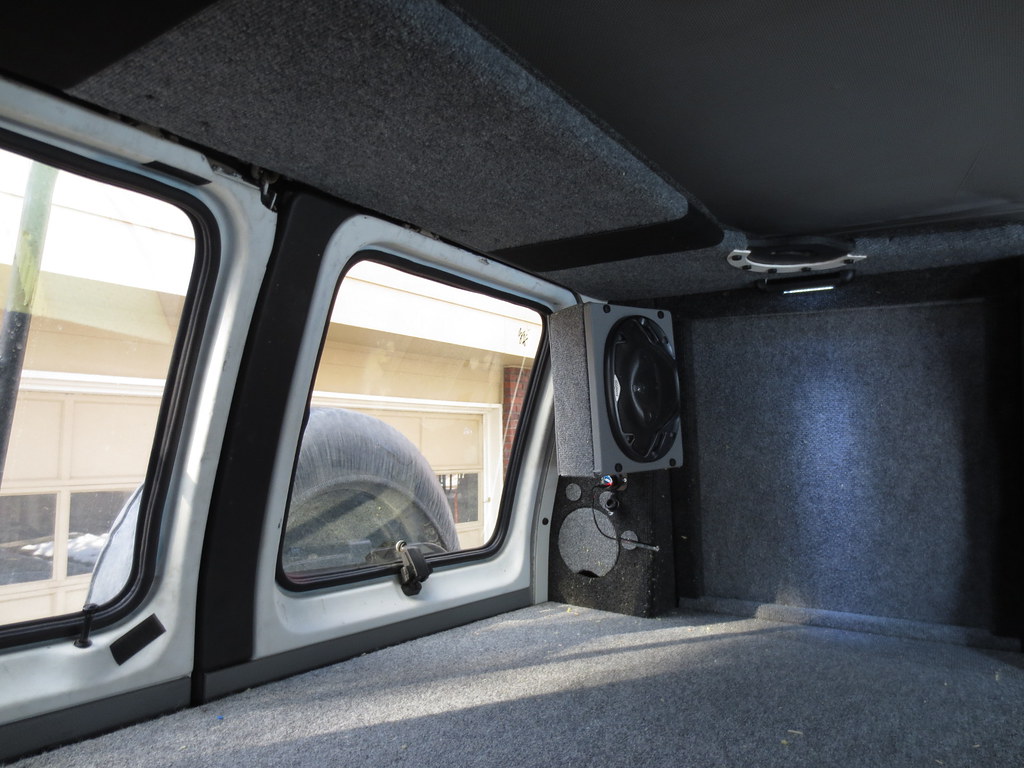
While I'm showing off the rear, here's the popout window we installed a bit longer ago:


We came into a bunch of super wide elastic at the shop. No idea where this stuff came from, but we decided to put some on the shelf. We think this will end up being handy if it doesn't stretch out too bad:


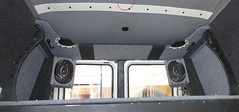
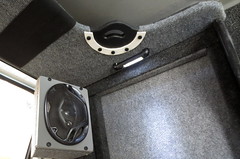
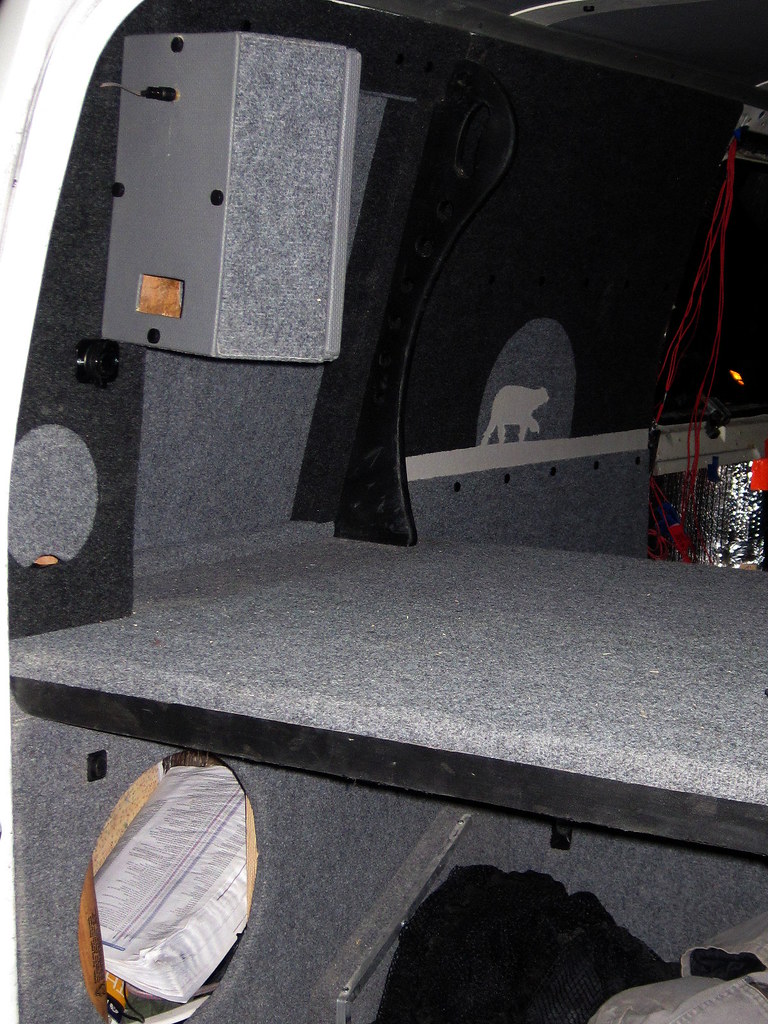
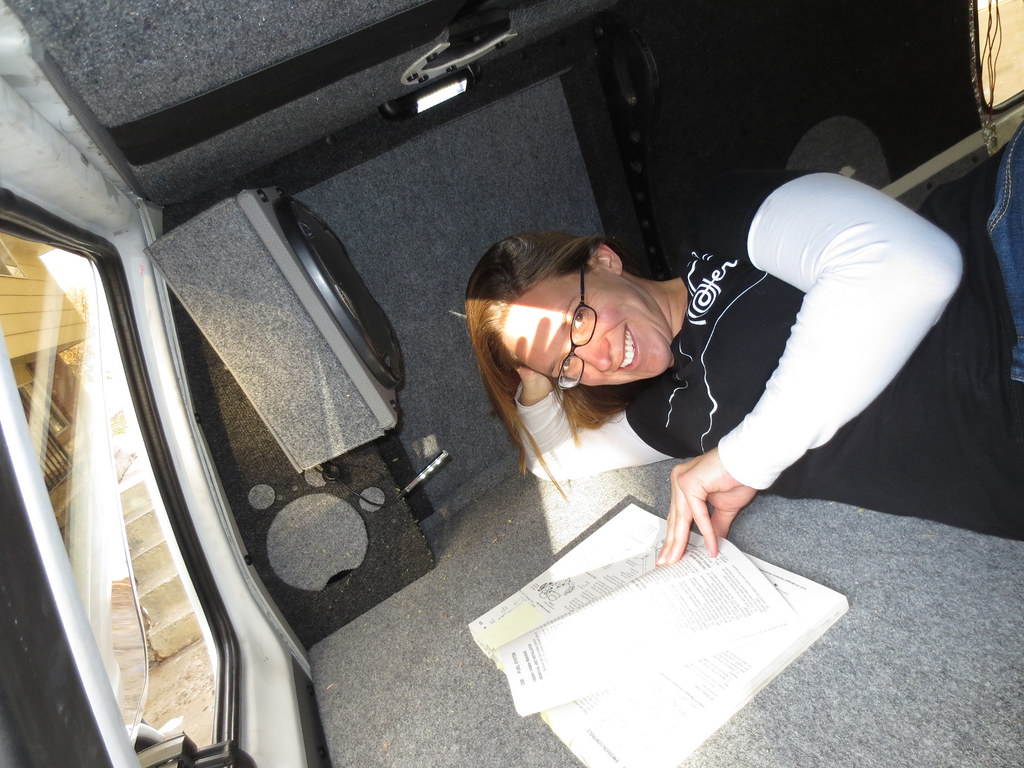
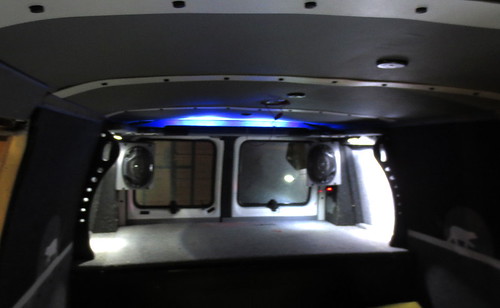
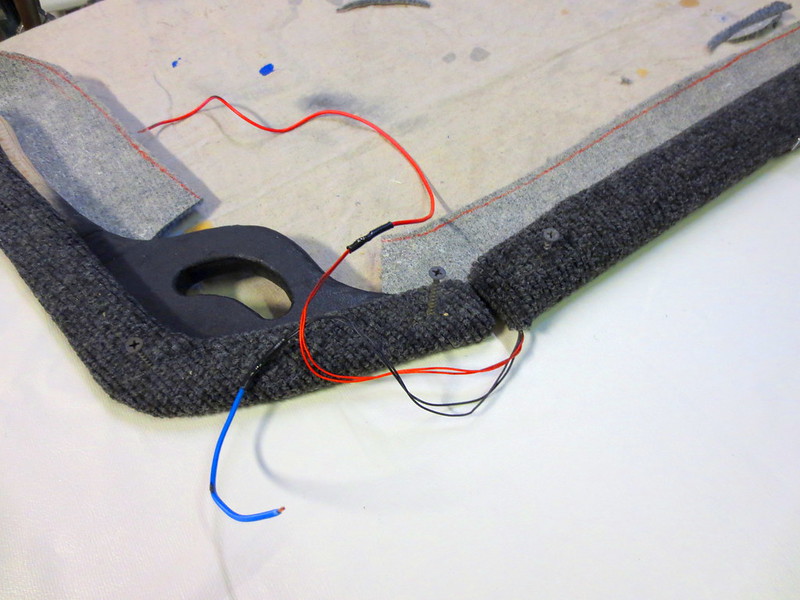
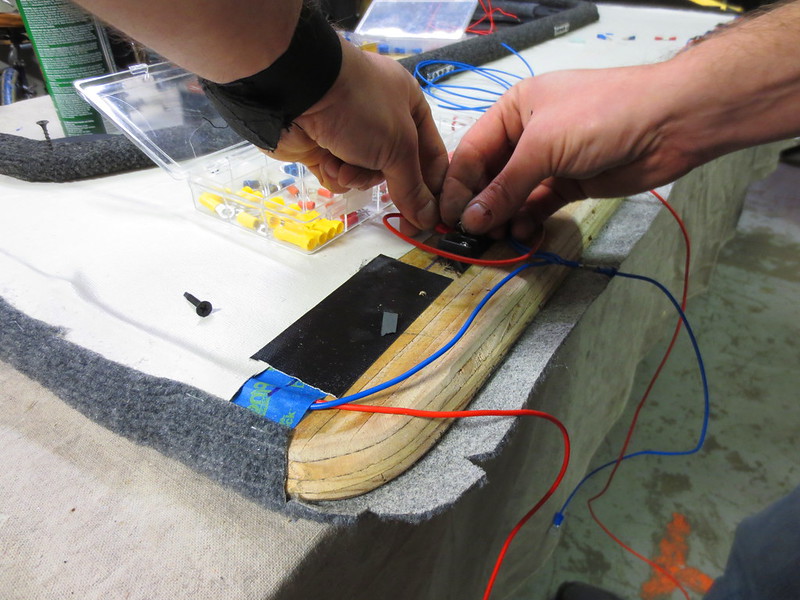
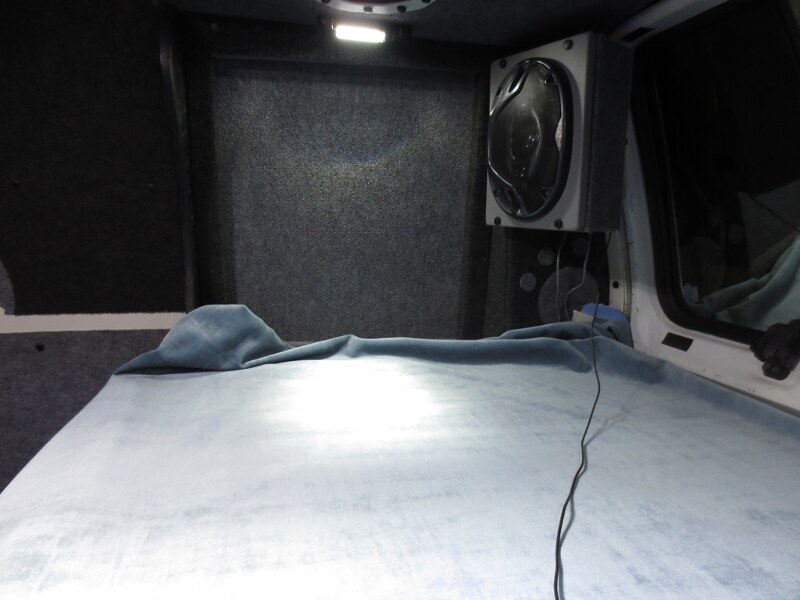
And, finally... The lights on the rear shelf are all installed and mostly wired now. I put a blue light on the shelf and those two white lights are adjustable and have switches on them:


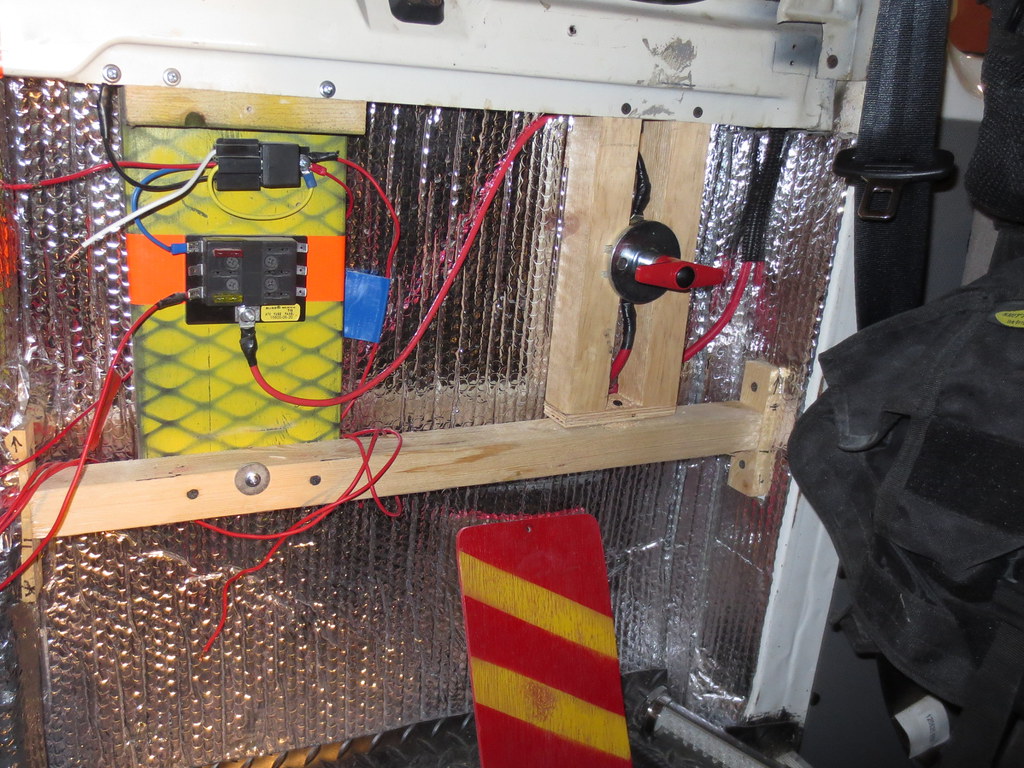
The blue lights will be all through the van and on the same relay. There will be a master switch to turn them on and they'll also come on when the dome lights come on. The wiring takes time, but the end result is very satisfying.

The rear of the van now has a really "finished" feeling to it... the center of the van has barely begun!
Zaskoda is offline   Reply With Quote
Old 03-27-2013, 09:54 PM   #306
Senior Member
 
AndrewST's Avatar
 
Join Date: Sep 2008
Location: Switzerland soon back to Oregon
Posts: 733
Re: Polar Bear 1

Nice work and the good thing when working in the center part, you look back and gain motivation of how it will look
__________________
2009 E350 window RB 6.0 PSD Quadvan 4x4 with EB pop top
2003 E350 ambulance 7.3 PSD Quigley
2007 Jeep JK for local offroad
AndrewST is offline   Reply With Quote
Old 03-28-2013, 11:52 AM   #307
Senior Member
 
Zaskoda's Avatar
 
Join Date: Sep 2009
Posts: 421
Re: Polar Bear 1

Quote:
Originally Posted by AndrewST
Nice work and the good thing when working in the center part, you look back and gain motivation of how it will look
Totally true... looking at what's done is inspiring for sure. =D

Here are a few shots from building the rear shelf:


Zaskoda is offline   Reply With Quote
Old 04-03-2013, 01:05 PM   #308
Senior Member
 
Zaskoda's Avatar
 
Join Date: Sep 2009
Posts: 421
Re: Polar Bear 1

I've sketched up the general direction I expect to take on the passenger side. I have to figure this out to complete the heater install. Gotta decide where I'm drilling hole sin the floor.

Zaskoda is offline   Reply With Quote
Old 04-05-2013, 10:23 AM   #309
Senior Member
 
Zaskoda's Avatar
 
Join Date: Sep 2009
Posts: 421
Re: Polar Bear 1

So I need to get the wiring done to move on. One of my big issues was getting a good solid power cable from the house battery into the cab with me. I took care of that yesterday. The truth is, I thought I would get a lot of lights wired up yesterday, but just running the main power cable wiped out most of the day. Here's the end result:


I used the same charging cable that came with my dual battery kit. There was enough left to punch through the firewall and up and over the driver door. In this pic you can see some of that black flex tubing stuff. I used it to route around the last few corners that might could pinch the cable. I used a rubber grommet in the 1/2 hole I punched in the floorboard for the cable. I might go ahead and put a little bit of sealant in there as well. I ran a 60amp inline fuse on the main power cable. I placed it very close to the battery. I'm real worried about being forgetful and some day tapping that power lead with a screw or drill bit.

I picked up a big master power switch from harbor freight. I can now shut down the power to my fuse panel quickly and easily. This should make the rest of my wiring easier and I will always be able to shut down all the power in the van in case I have a draw on the battery or something.

Right now I have the new sub woofer (not yet pictured) and most of the interior lights run to this one big switch. I tell people it's my "awesome" switch... I can flip one switch and all the lights come on as well as the sub... it's kind of awesome.
Zaskoda is offline   Reply With Quote
Old 05-18-2013, 11:53 PM   #310
Senior Member
 
Zaskoda's Avatar
 
Join Date: Sep 2009
Posts: 421
Re: Polar Bear 1

Bought some fabric for the cushions.


I've also got a lot done on a new evap cooler design. More to come on that later. Hoping to get the cushions cranked out for my next trip. Wish me luck =D

~Koda
Zaskoda is offline   Reply With Quote
Reply


Posting Rules
You may not post new threads
You may not post replies
You may not post attachments
You may not edit your posts

BB code is On
Smilies are On
[IMG] code is On
HTML code is Off
Trackbacks are Off
Pingbacks are Off
Refbacks are Off

» Featured Campgrounds

Reviews provided by

Powered by vBadvanced CMPS v3.2.3
Disclaimer:

This website is not affiliated with or endorsed by Sportsmobile SIP or any of its affiliates. This is an independent, unofficial site.


All times are GMT -6. The time now is 02:50 AM.


Powered by vBulletin® Version 3.8.8 Beta 4
Copyright ©2000 - 2024, vBulletin Solutions, Inc.