|
|
 02-02-2014, 11:42 AM
|
#31
|
|
Senior Member
Join Date: Jul 2013
Location: So Cal
Posts: 4,070
|
Re: Popping my top
Continuing on......(since I how have a van and I know what color the top needs to be)
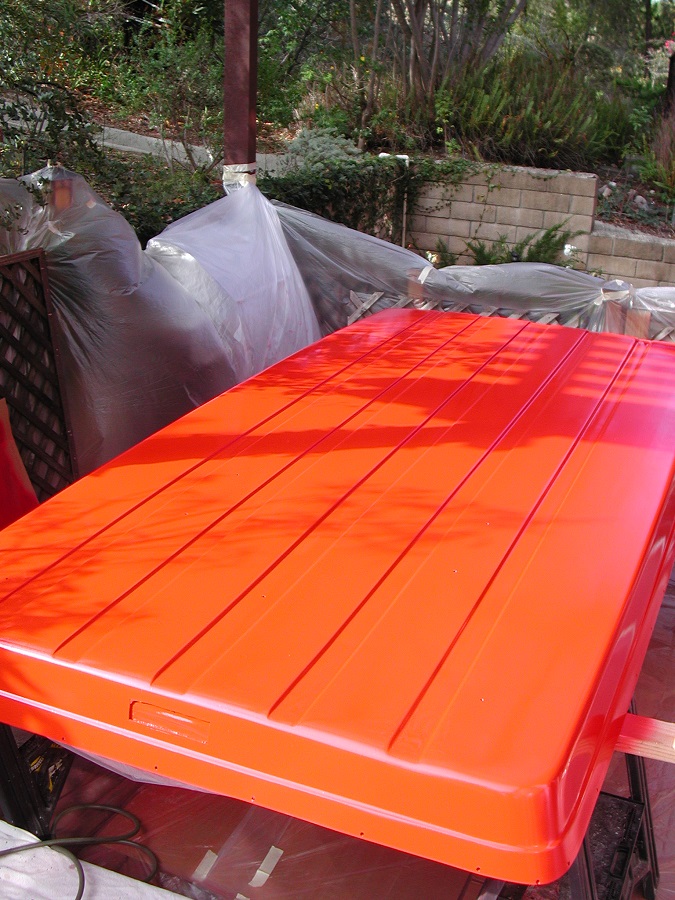
Just primered the top.........yes the primer in this case is bright red. The base coat will be the van color, Dark Toreador Red paint code JL.
Letting it dry, then dry sand with 600 paper, then base coat, then clear coat.
The sequence is:
Buy the paint supplies: Quart of basecoat, quart of clearcoat, quart of primer, activator, hardener, reducer, tack rags, etc etc $270 (ouch!)
I bought solvent based paint; water based product is also available but it's a lot more $$ (is that even possible?) and possibly tricky to work with.
dry sand the top with 220 paper. I tried wet sanding, but dry sanding worked way better.
wipe with tack rag
mix up and spray primer
I suspect the fisheyes that I see are from mold release when the top was made.
__________________
2008 E350 RB passenger 4WD SMB penthouse
2013 KTM 350 EXC
2008 KTM 250 XCF-W
2003 Honda Element
|

|

|
|
02-23-2014, 08:20 AM
|
#32
|
|
Senior Member
Join Date: Jul 2013
Location: So Cal
Posts: 4,070
|
Re: Popping my top
Another update:
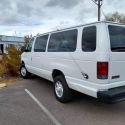
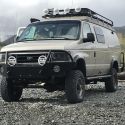
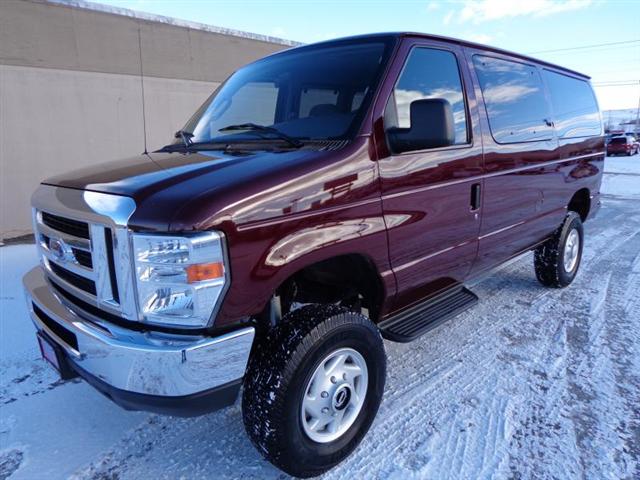
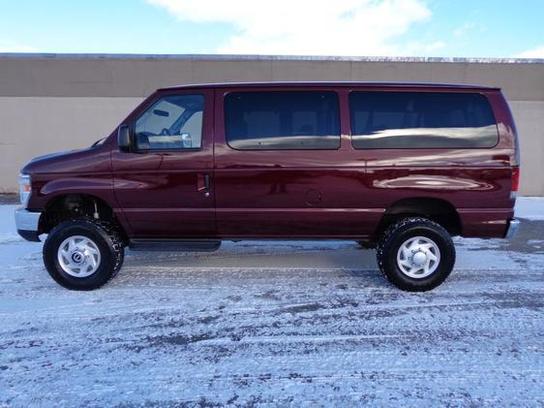
Here are a couple of pictures of my van in case anyone missed all of the gory details about it in the 4x4 section last month when I was buying it.
I purchased it 1/2/14 in Wyoming and drove it back to So Cal.
This is what it looked like when I bought it:
The painting of the top is just about complete, it only took about $500 worth of supplies and around 183 man-hours  priming, painting base coat, clear coat, wet sanding and buffing. That's not including the hours spent fixing fish-eyes, alligatoring, etc.
I learned a lot painting this, like modern catalyzed clear coat is harder than woodpecker lips when dry, and it's tough to remove the wet sanding scratches without power tools. Hand wet sanding didn't stand a chance, and using a palm sized orbital buffer didn't work either. I ended up using a 7" spinning wool pad buffer with 3M rubbing compound from the auto paint supply store. It's amazing what the correct tools and spending some time watching Youtube can do.
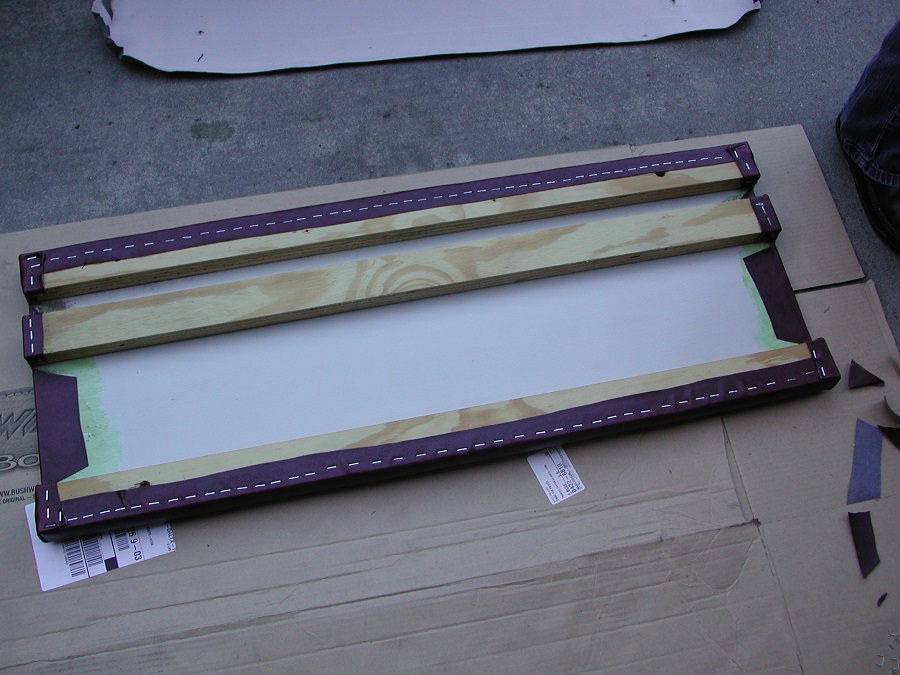
Here is a picture of the top sitting on my deck this morning, almost done. It was still a little dark when I snapped the pic.
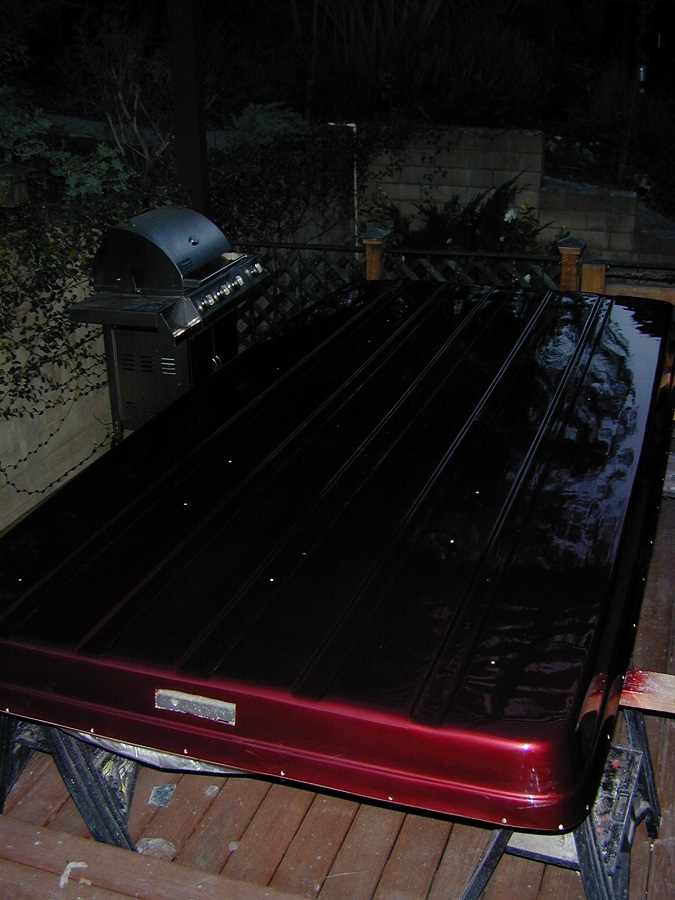
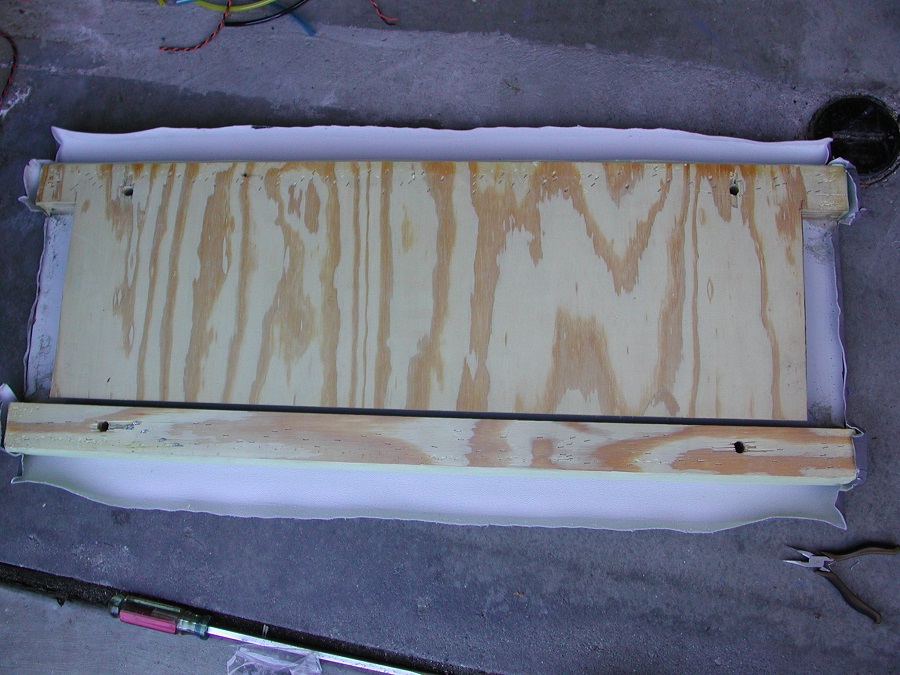
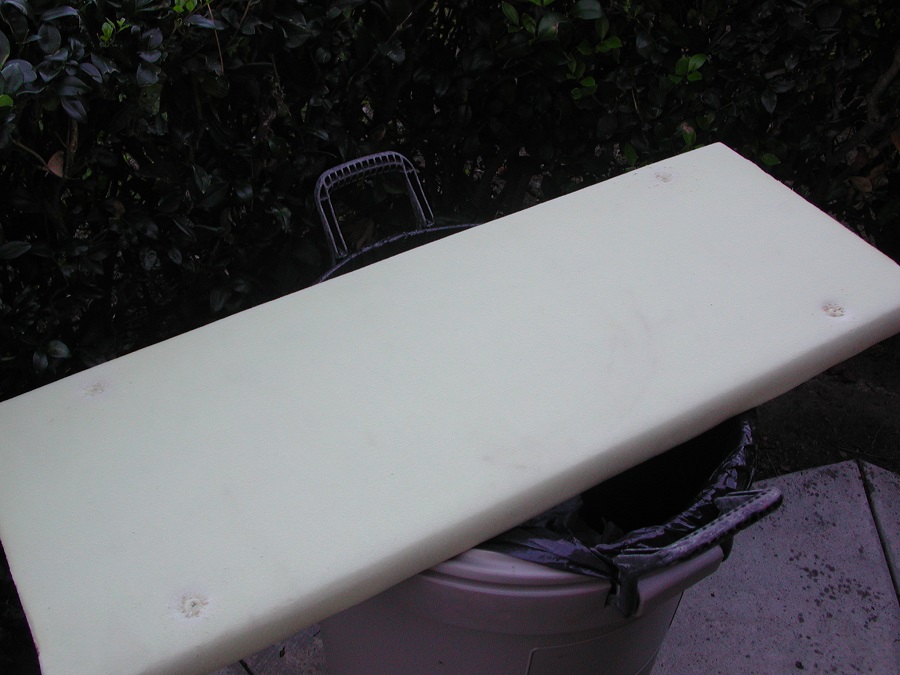
The lift block thingies were also recovered in a "sherry" faux leather (pleather!). One thing to note here is that the SMB grey vinyl is not glued to the foam, so recovering is very straightforward.
For some reason my camera makes the color look more purple than it is in real life (white balance?).
I've also installed a discount van & truck swivel passenger seat base, sold/traded my chrome grille and bumpers for black ones, and picked up some used 2" spacers for the rear wheels (thanks Surfgeek!)
I'll hopefully post more progress later today or tomorrow.
__________________
2008 E350 RB passenger 4WD SMB penthouse
2013 KTM 350 EXC
2008 KTM 250 XCF-W
2003 Honda Element
|
|
|
|
|
02-23-2014, 10:12 AM
|
#33
|
|
Senior Member
Join Date: Jan 2009
Location: Boulder, CO.
Posts: 2,554
|
Re: Popping my top
Looking good, nice van. I replaced my 3rd brake light on the pop top with a sealed LED with a rubber grommet like one of these instead of getting another one of the SMB non sealed units that rotted out on me, and others. Had to ream out the opening a bit, but looks like you can handle that...Found one at at NAPA, but this is similar
http://www.amazon.com/Blazer-C561R-Oval ... HBMP499DCF
__________________
'03 Ford E350 7.3L Diesel
(de)SMB'd Custom RB-50
Quigley 4X4 w/Deavers & Agile Offroad's R.I.P. package
CCV High Profile Pop Top
|
|
|
|
|
02-23-2014, 12:04 PM
|
#34
|
|
Senior Member
Join Date: Jul 2013
Location: So Cal
Posts: 4,070
|
Re: Popping my top
Thanks REF! I already bought the SMB replacement light, and, knowing what I know now, perhaps a sealed LED solution would be better.
My latest issue is my new (used) 2" wheel spacers don't fit over the hub portion of my FF axle. The ID of the spacers is small by a smidgen. They go part way on, but the draft angle of the hub casting makes the hub larger back near the rotor.
I have a tiny Harbor Freight lathe but there is no way these will fit there. I also have a giant rotary table for my mill, but finding the center may be a bit tricky.
EDIT: After giving it a few minutes thought, my rotary table should work fine, as I don't need to find the center of the spacers.
__________________
2008 E350 RB passenger 4WD SMB penthouse
2013 KTM 350 EXC
2008 KTM 250 XCF-W
2003 Honda Element
|
|
|
|
|
02-23-2014, 01:27 PM
|
#35
|
|
Senior Member
Join Date: Sep 2011
Location: Rancho Nuevo (Cabo/Todos Santos) B.C.S. and San Diego, CA
Posts: 1,952
|
Re: Popping my top
Why do you want to put 2" spacers (4" wider track width) on it?
__________________
Four time Baja 1000 winner, four time Baja 500 winner. Solo'ed the Baja 1000 to LaPaz/Cabo twice.
4-Wheeling since 1972, Desert Racing since 1989.
AgileOffRoad.com
|
|
|
|
|
02-23-2014, 03:41 PM
|
#36
|
|
Senior Member
Join Date: Jul 2013
Location: So Cal
Posts: 4,070
|
Re: Popping my top
Quote:
|
Originally Posted by BajaSportsmobile
Why do you want to put 2" spacers (4" wider track width) on it?
|
2 reasons....
The fronts have about 3/8" spacers for the stock steel wheels to clear the calipers on the Advanced 4X4 conversion. I understand from another member here with the same conversion that alloy wheels (at least in his case, same axle, brakes, calipers) may not need the spacers. So between the Dana 60 front and the additional spacers, the track widths are quite different front to rear.
.......and with the fender flares, the rears are tucked way in (at least the stock rims with 265/75-16's)
I'm assuming it won't be too stressful on the FF axle, and the used ones I picked up were cheap, so it's not a big deal if they don't work out.
__________________
2008 E350 RB passenger 4WD SMB penthouse
2013 KTM 350 EXC
2008 KTM 250 XCF-W
2003 Honda Element
|
|
|
|
|
02-23-2014, 05:23 PM
|
#37
|
|
Senior Member
Join Date: Jul 2011
Location: TN
Posts: 10,242
|
Re: Popping my top
Looks very nice! I'm trying to decide whether to get spacers or not too so I'll be paying close attention.
Your paint looks like it came out really great for a first timer. My first job didn't go that well, but I attempted to paint the top ON the van using scaffolding etc. Never again. I can't wait to see yours mounted. Oh, and yes. Paint supplies are outrageously expensive. It takes a LOT of extras too to get a job done right.

|
|
|
|
|
02-24-2014, 07:06 AM
|
#38
|
|
Senior Member
Join Date: Jan 2009
Location: Boulder, CO.
Posts: 2,554
|
Re: Popping my top
Here's where I got mine on recommendation from everyone here on the forum, as well as other forums http://www.wheeladapter.com
I think I read a post that Agileoffroad also has them, and he's a member.
I went with aluminum, on the recommendation from the guys, or Fred himself, at wheel adapter, saying that they were as strong as their steel ones, they use high grade aircraft billet aluminum, have not had any issues and improved the van tracking and stability quite a bit, plus it looks much better than having the rear wheels that far inside the fender flares.
__________________
'03 Ford E350 7.3L Diesel
(de)SMB'd Custom RB-50
Quigley 4X4 w/Deavers & Agile Offroad's R.I.P. package
CCV High Profile Pop Top
|
|
|
|
|
02-25-2014, 09:52 AM
|
#39
|
|
Senior Member
Join Date: Mar 2008
Location: McKinney, TX, North of Dallas
Posts: 107
|
Re: Popping my top
Did you have any problem ordering the swivel base from Discount Truck N Van? There have been issues posted about ordering seats from them in the past.
Does the swivel base you got match the bolt holes for the OE base; or, are you going to put new holes in? I've heard most swivel base bolt patterns are 7.5" x 7.5" versus OE of 8" x 11". Is your passenger seat manual or electric?
I'm going to put a swivel at least on my passenger side and want to buy the best that works. Maybe I can follow your footprint here.
__________________
JC
1999.5 E-350 RB cargo 7.3
|
|
|
|
|
02-25-2014, 10:24 AM
|
#40
|
|
Senior Member
Join Date: Jul 2013
Location: So Cal
Posts: 4,070
|
Re: Popping my top
JCtex: The discount van & truck base matched my hole patterns on both the seat and the floor. Since I have a 2008, the only PITA was relocating the passenger seatbelt sensor box from the floor to the top of the base.
I can post a few pics of this if anyone is interested.
The other annoyance is that the swivel base lower mounting plate is smaller than the stock seat base so the large holes in the carpet are showing in the corners. I'm planning on creatively trimming this out.
When you are on the Discount Van web page, be aware the there are several choices for bases. They have bases for OEM seats (what I bought) and bases for aftermarket seats. If you have aftermarket seats, you will most likely also need the piro adapter for the seat belt tensioner. You don't need this with the OEM seats, as it's part of the seat.
__________________
2008 E350 RB passenger 4WD SMB penthouse
2013 KTM 350 EXC
2008 KTM 250 XCF-W
2003 Honda Element
|
|
|
|
|
|
 Posting Rules
|
You may not post new threads
You may not post replies
You may not post attachments
You may not edit your posts
HTML code is Off
|
|
|
|
 » Recent Threads
 |
|
|
|
|
|
|
|
|
|
|
|
|
|
|
|
|
|
|
|
|
|
|
|
|
|
|
|
|
|
|
|
|
|


 Linear Mode