Journey with Confidence RV GPS App RV Trip Planner RV LIFE Campground Reviews RV Maintenance Take a Speed Test Free 7 Day Trial ×


Reply
 
Thread Tools Display Modes
 
Old 05-22-2016, 07:57 PM   #1
Senior Member
 
86Scotty's Avatar
 
Join Date: Jul 2011
Location: TN
Posts: 10,243
Rusty rebuild..........rebuild

Well, whenever I bought Rusty I started the build thread in the General Sportsmobile section, but at this point it's hardly a Sportsmobile. I guess technically it is, but I have pretty much remodeled it again with lots of mods so I'm going to put it where I think it will be a little more helpful to builders like me. Obviously some folks have found it since it has over 20,000 views, but since it has gone home to it's new owner Slacker I would like to preserve it's memory and build in a place easier for new folks to find it.

So, here goes. In case you're really bored and want to see a neglected SMB brought back from the dead you can read the first half of the saga here:

http://www.sportsmobileforum.com/for...sty-10698.html

I'll be posting all the new info and pics on this thread from now on, and perhaps Slacker will carry on the flame. He has a lot of plans for Rusty including some Pan American travel soon.

A little more backstory. Rusty served me and my clan of 4 well over the last few years. I bought it with only 19,000 original miles at 18 years old and quickly racked up about 25,000 more. It has taken us on a few 5,000+ mile trips all the way to Seattle and other points west where we prefer to roam. It was too small from the start though, and at first I figured I would rehab it and flip it. It's turned into 2 rehabs now since Jim wanted it set up a little different than we did. It worked awesome for us but I'm ready for the next project and it's going to be a little bigger probably. The only thing I could compromise on is a daily driver AWD Chevy 1500 (think Accrete) but that's a story for another time. I completely loved virtually all of Jim's ideas for Rusty and it is a much better all around overlanding rig now that I've finished. He will be doing a few more things but the main build is done and it's gone home with him.

So, on with it. Many of you may remember that I had a helluva trip with Rusty last summer. It was running hot, not overheating but way up the temp gauge, on most of my 20 yr. anniversary trip with my wife, and then the fuel pump fooled me into thinking I had a bad coil or ignition. Over the summer and mostly during that trip I replaced everything having to do with the cooling system and was deathly afraid I had a blown head gasket. Several mechanics told me NO WAY, most likely not. Apparently you really have to abuse a 460 to have head gasket trouble. This was good news but the problem wasn't solved yet and had me on pins and needles all through the fall. Well, the fuel pump problem solved itself when it died for good 50 miles from Page AZ last July, ambient temperature about Hell and a half. AAA towed us to Page and we had an unplanned stay for a few days.
We made it home after and finally, just as Slacker and I were starting to talk earlier this year, I finally diagnosed it as a bad fan clutch. I had replaced the original with a faulty one so it fooled me for a long time. It now has a severe duty one (Hayden) and is cooling properly. I added a nice MaxTow temp gauge to go with the tranny temp I already had on the pillar.


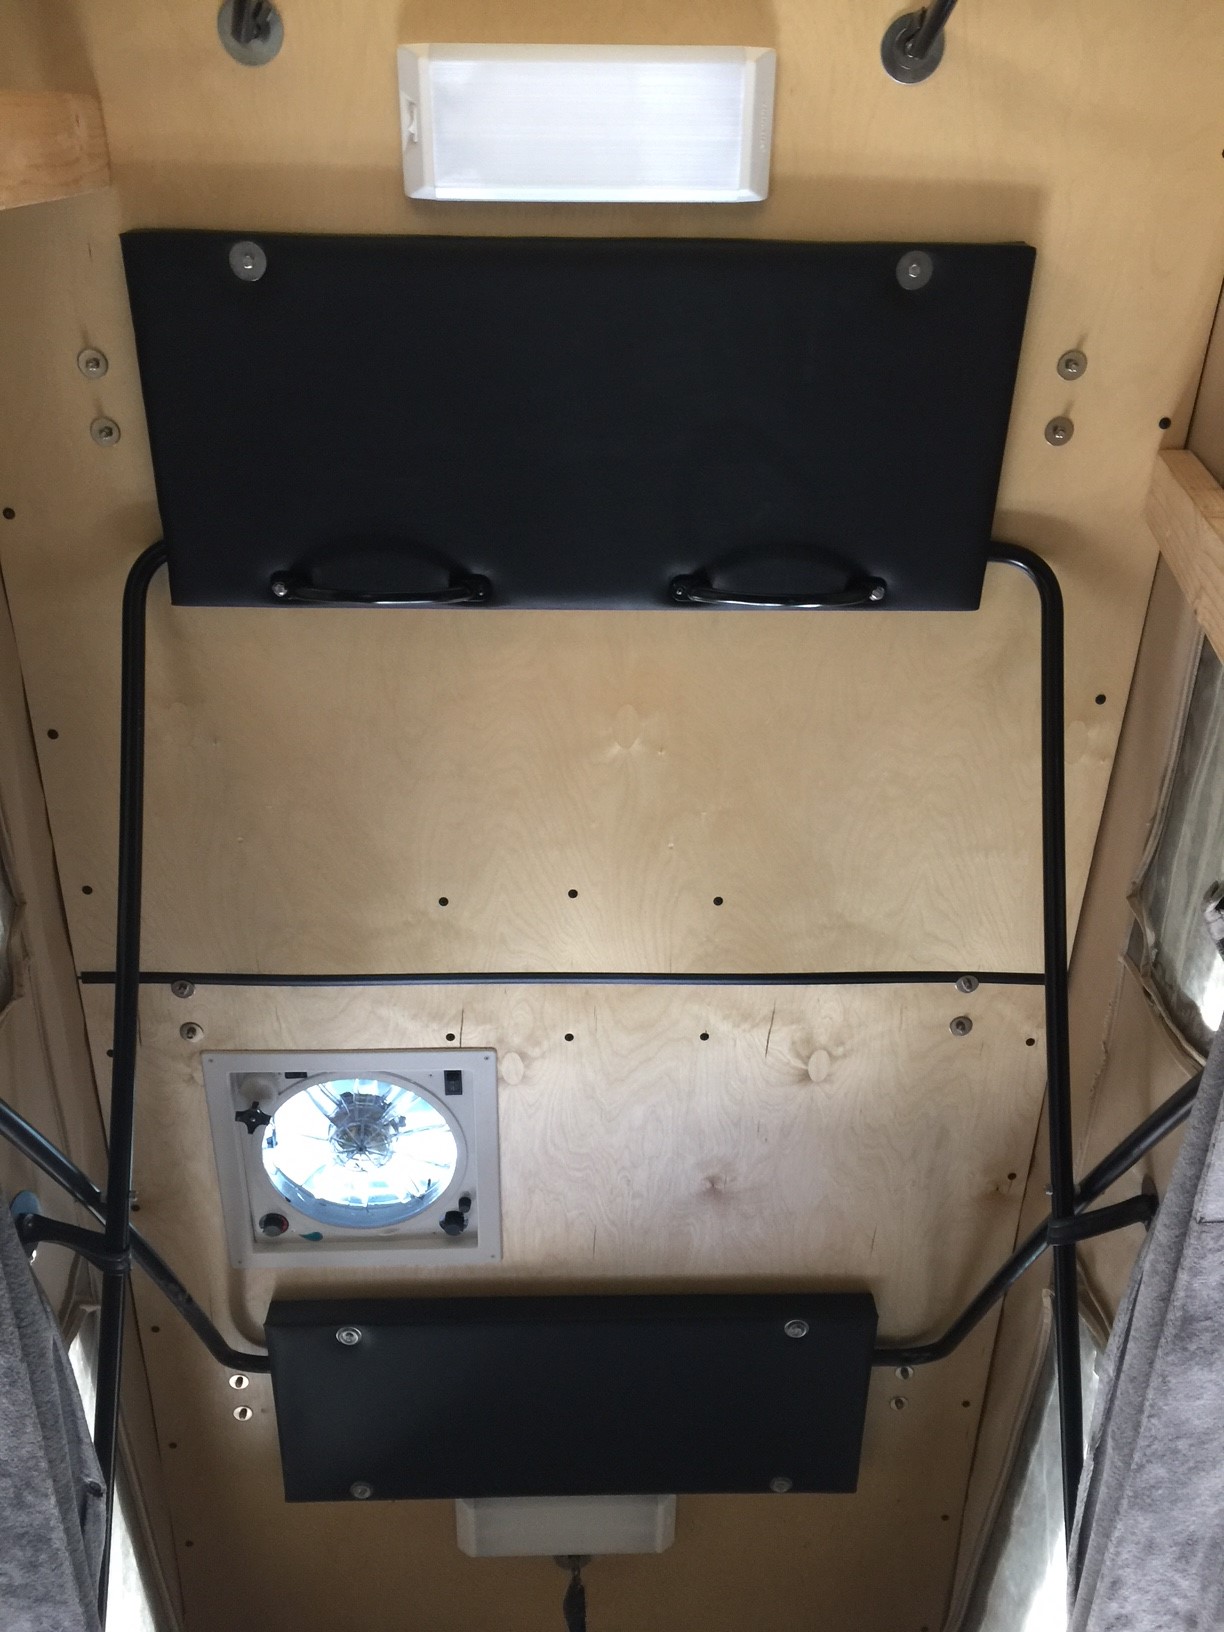
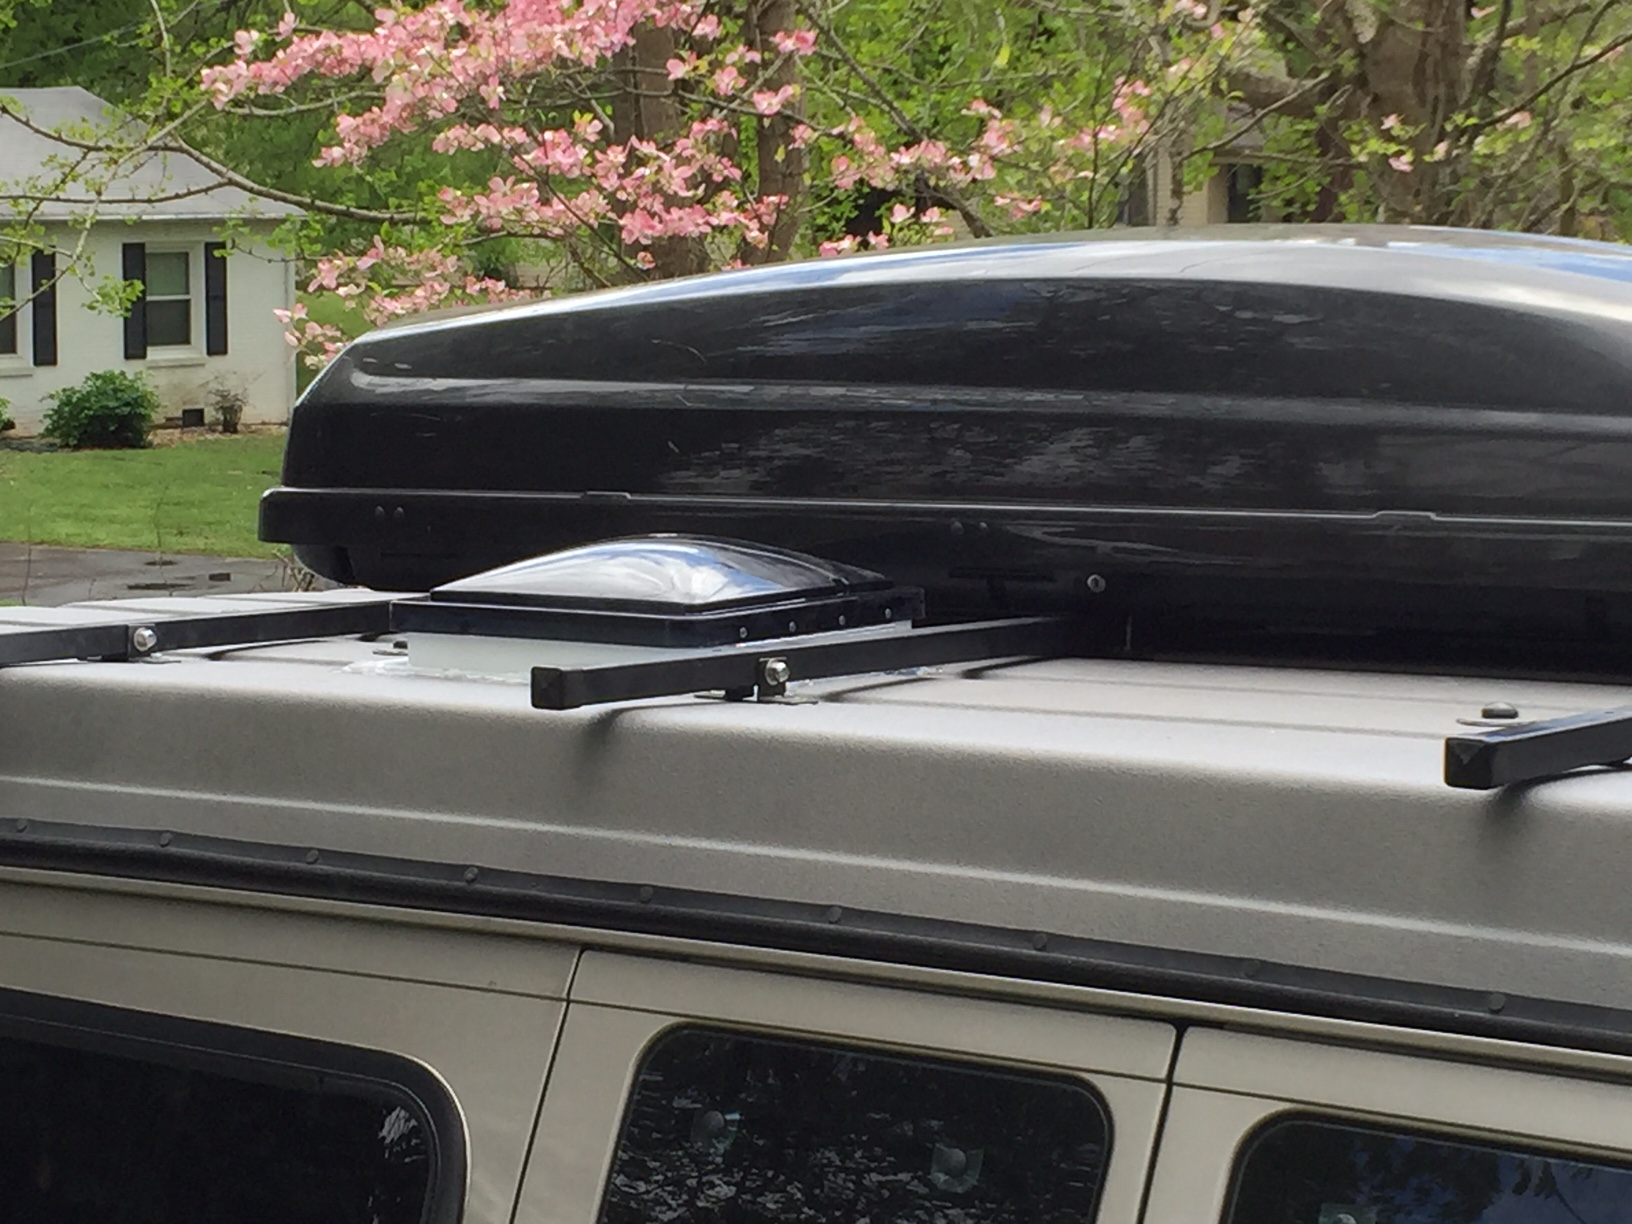
Slacker wanted several things done, including the ability to stealth camp with the top down, so I added a Fantastic Vent for him. You can read about that install here

http://www.sportsmobileforum.com/for...nty-17265.html

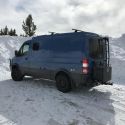
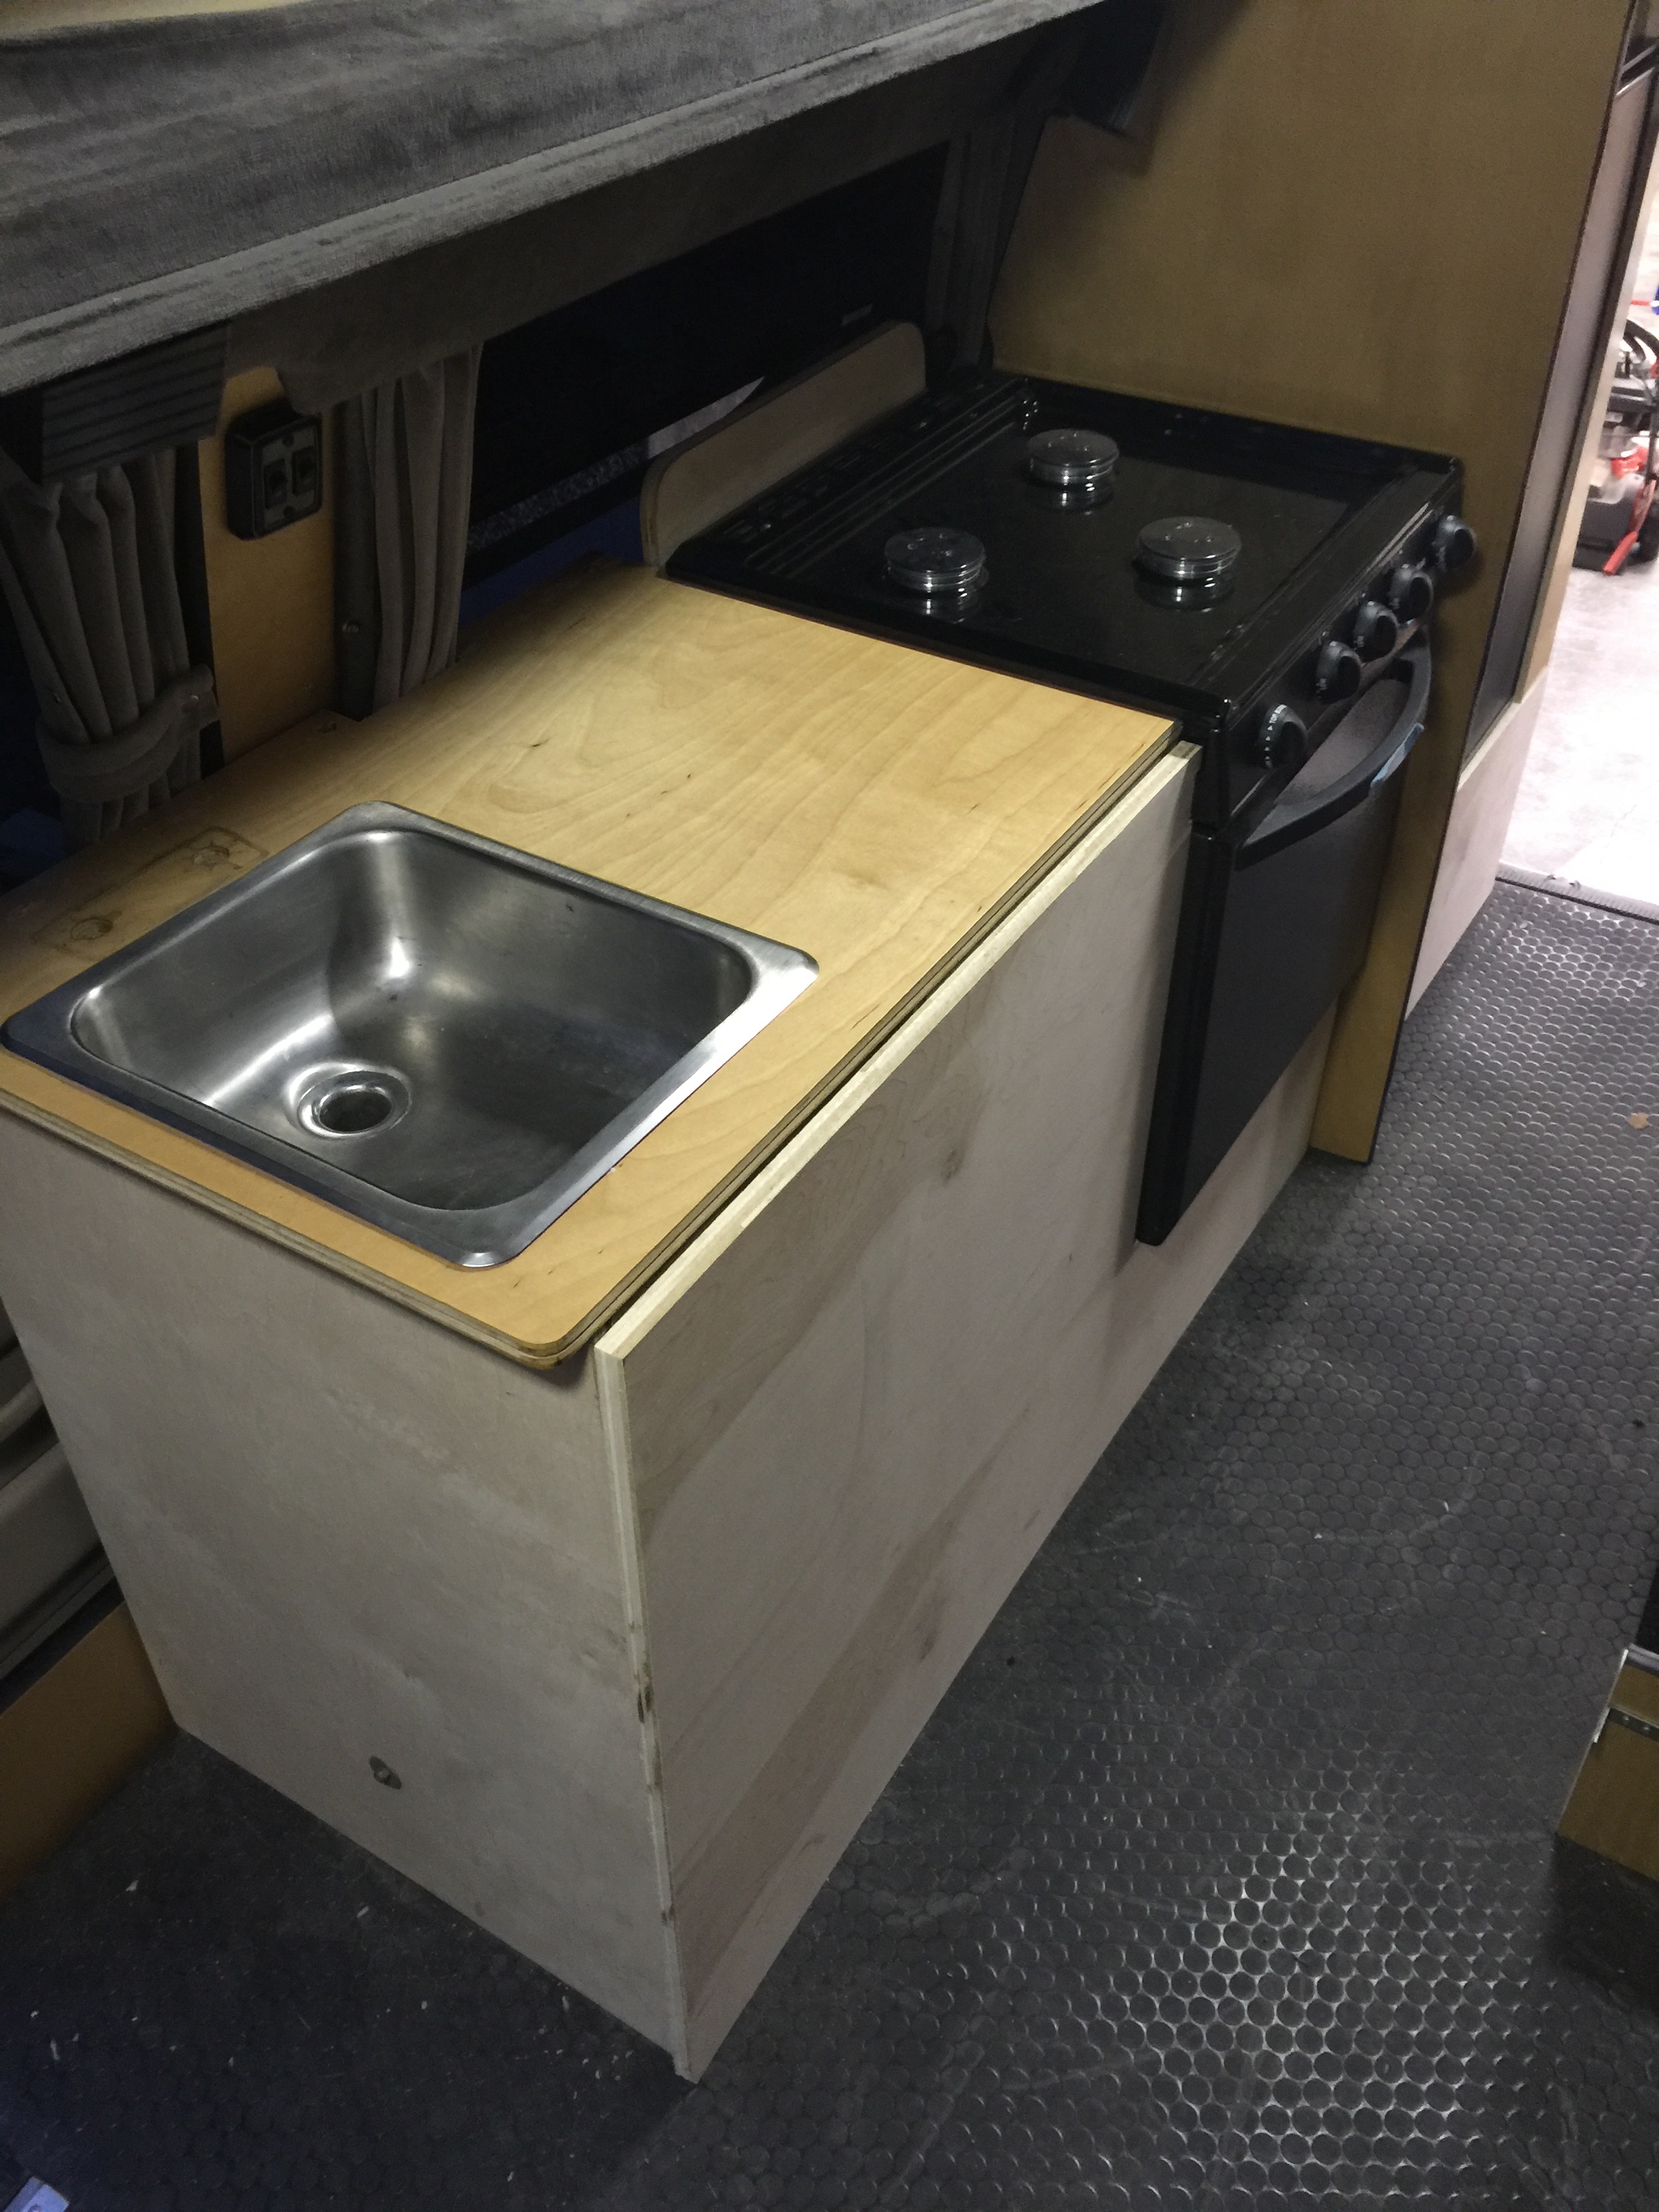
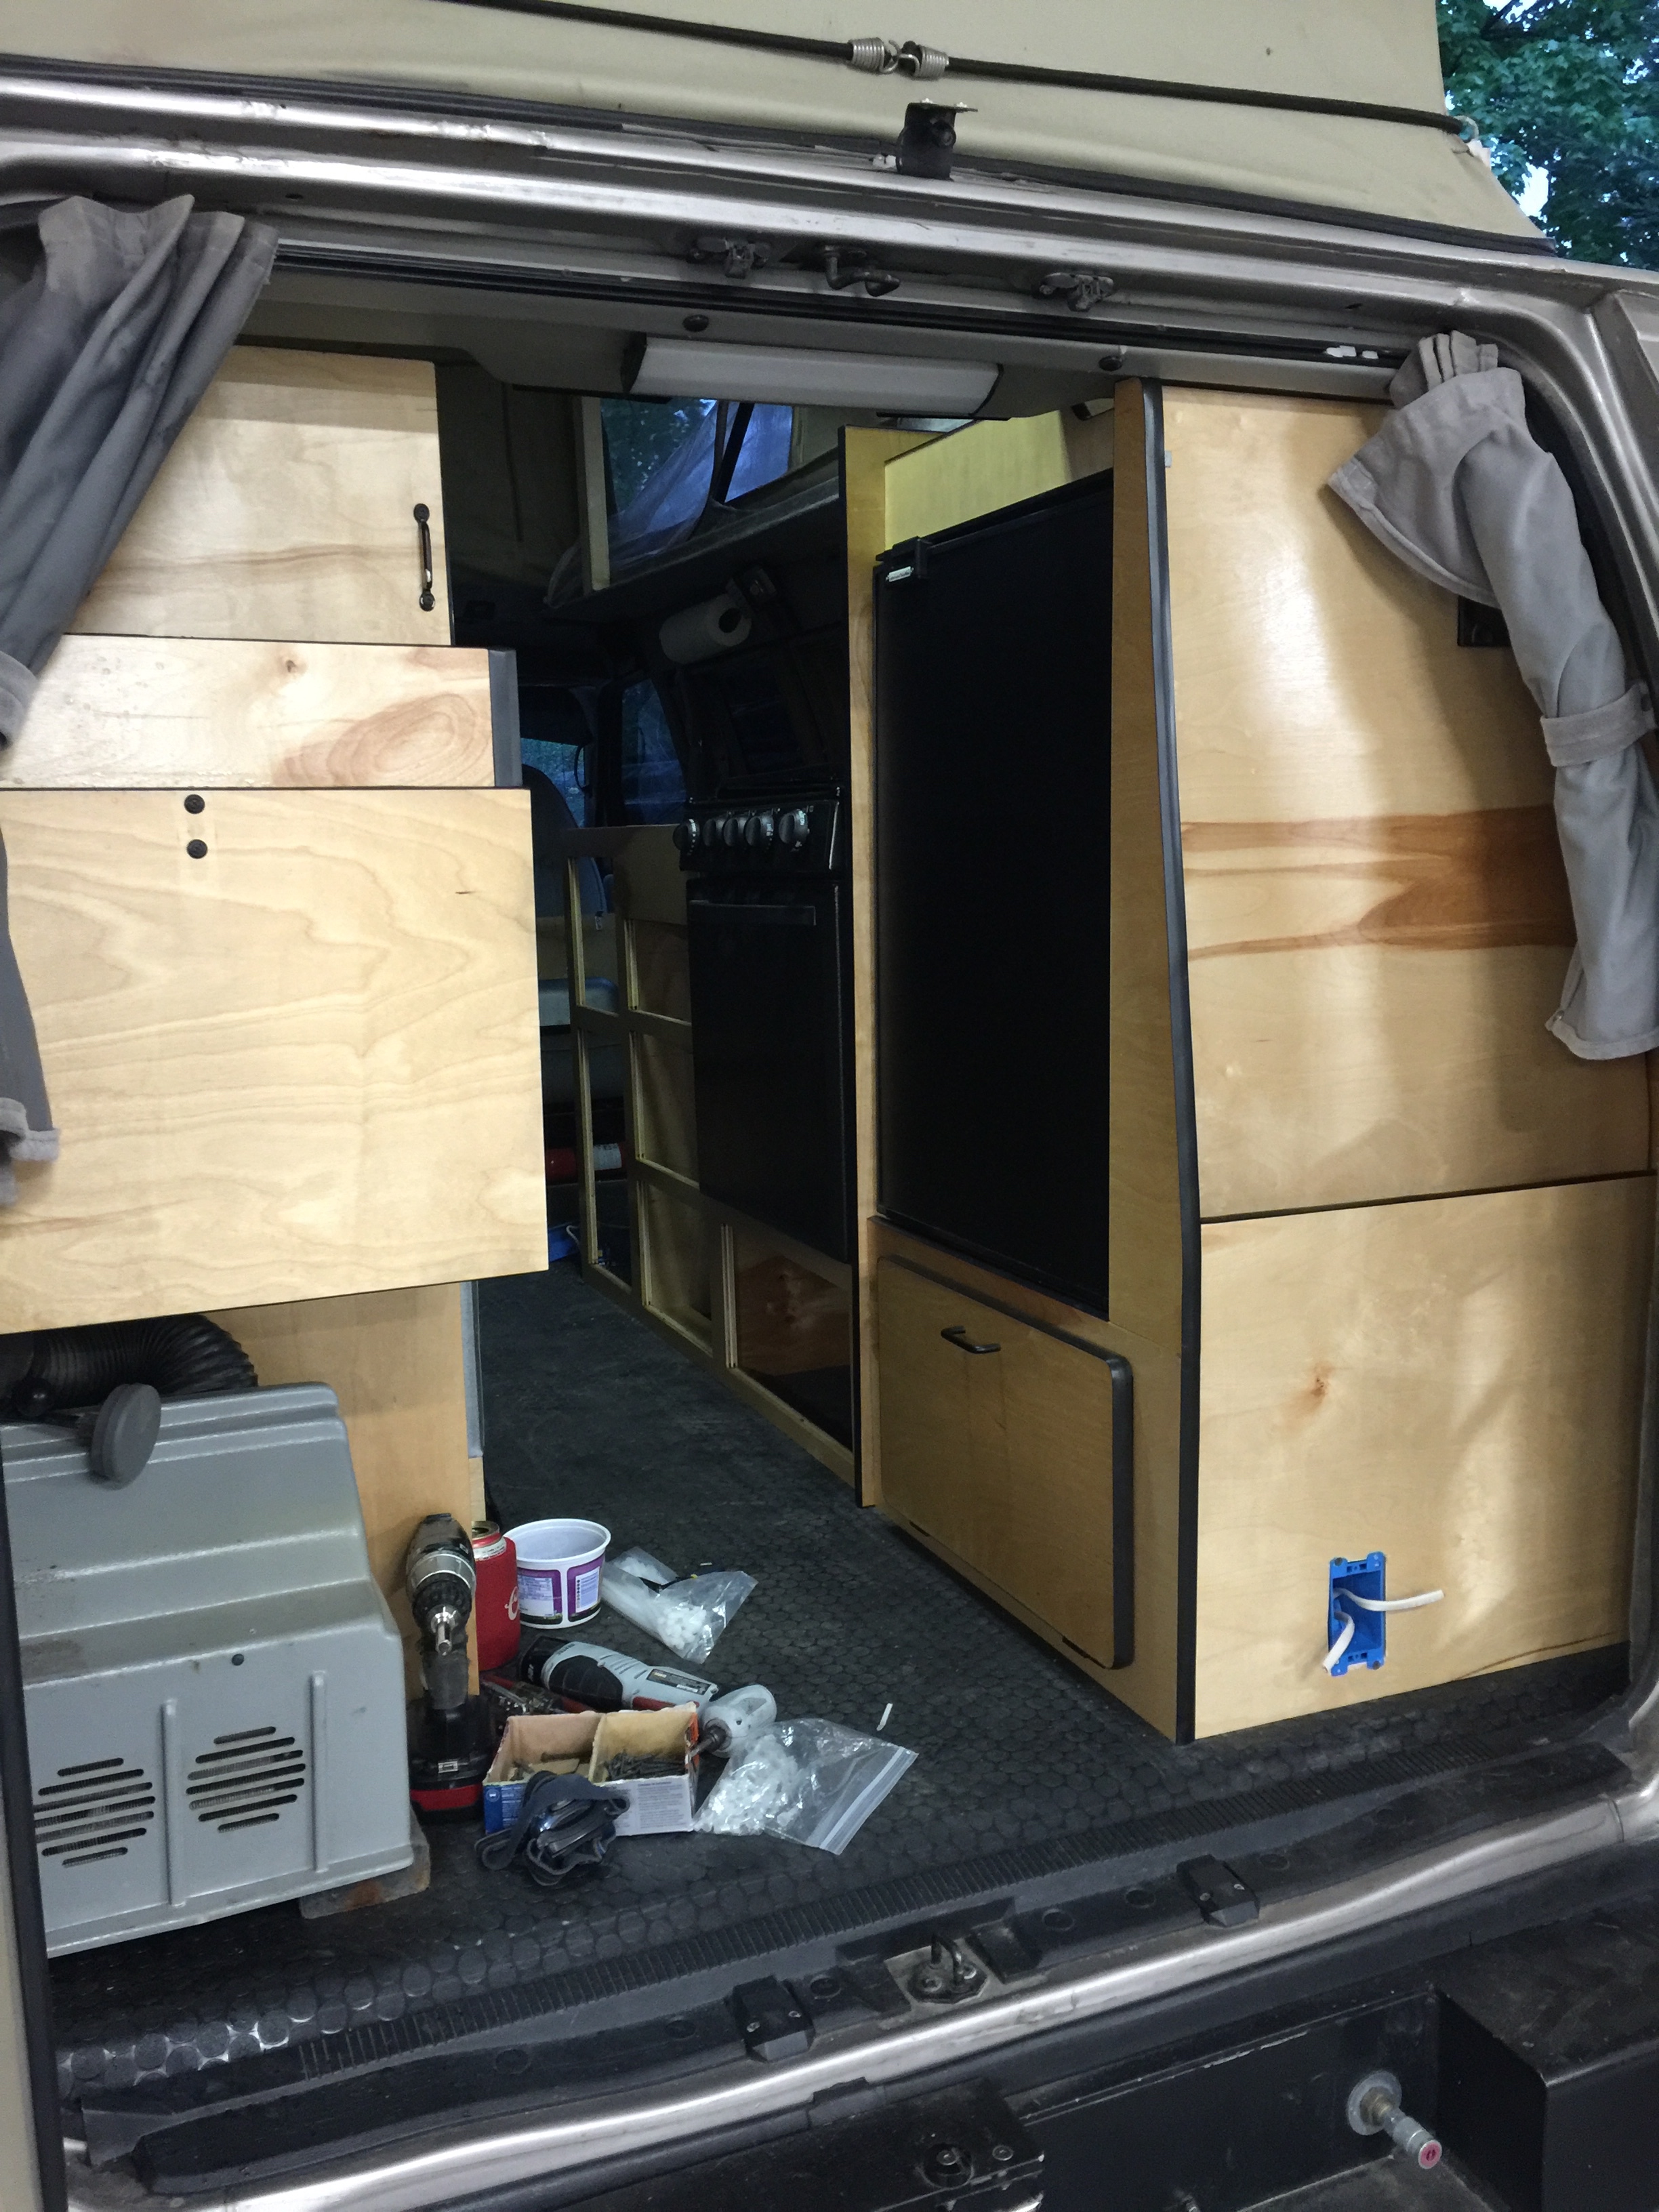
Since the only original paneling left from SMB was that old off-white laminate stuff in the PH top I recommended redoing it with stained birch to match the walls and cabinets. It turned out to be a good bit more than I bargained for. This turned out to be a good time to go ahead and Raptor Line the roof too and add new lights, more solar and well, everything! Why not just pull the top off and redo it all!

Original ceiling, which had seen better days


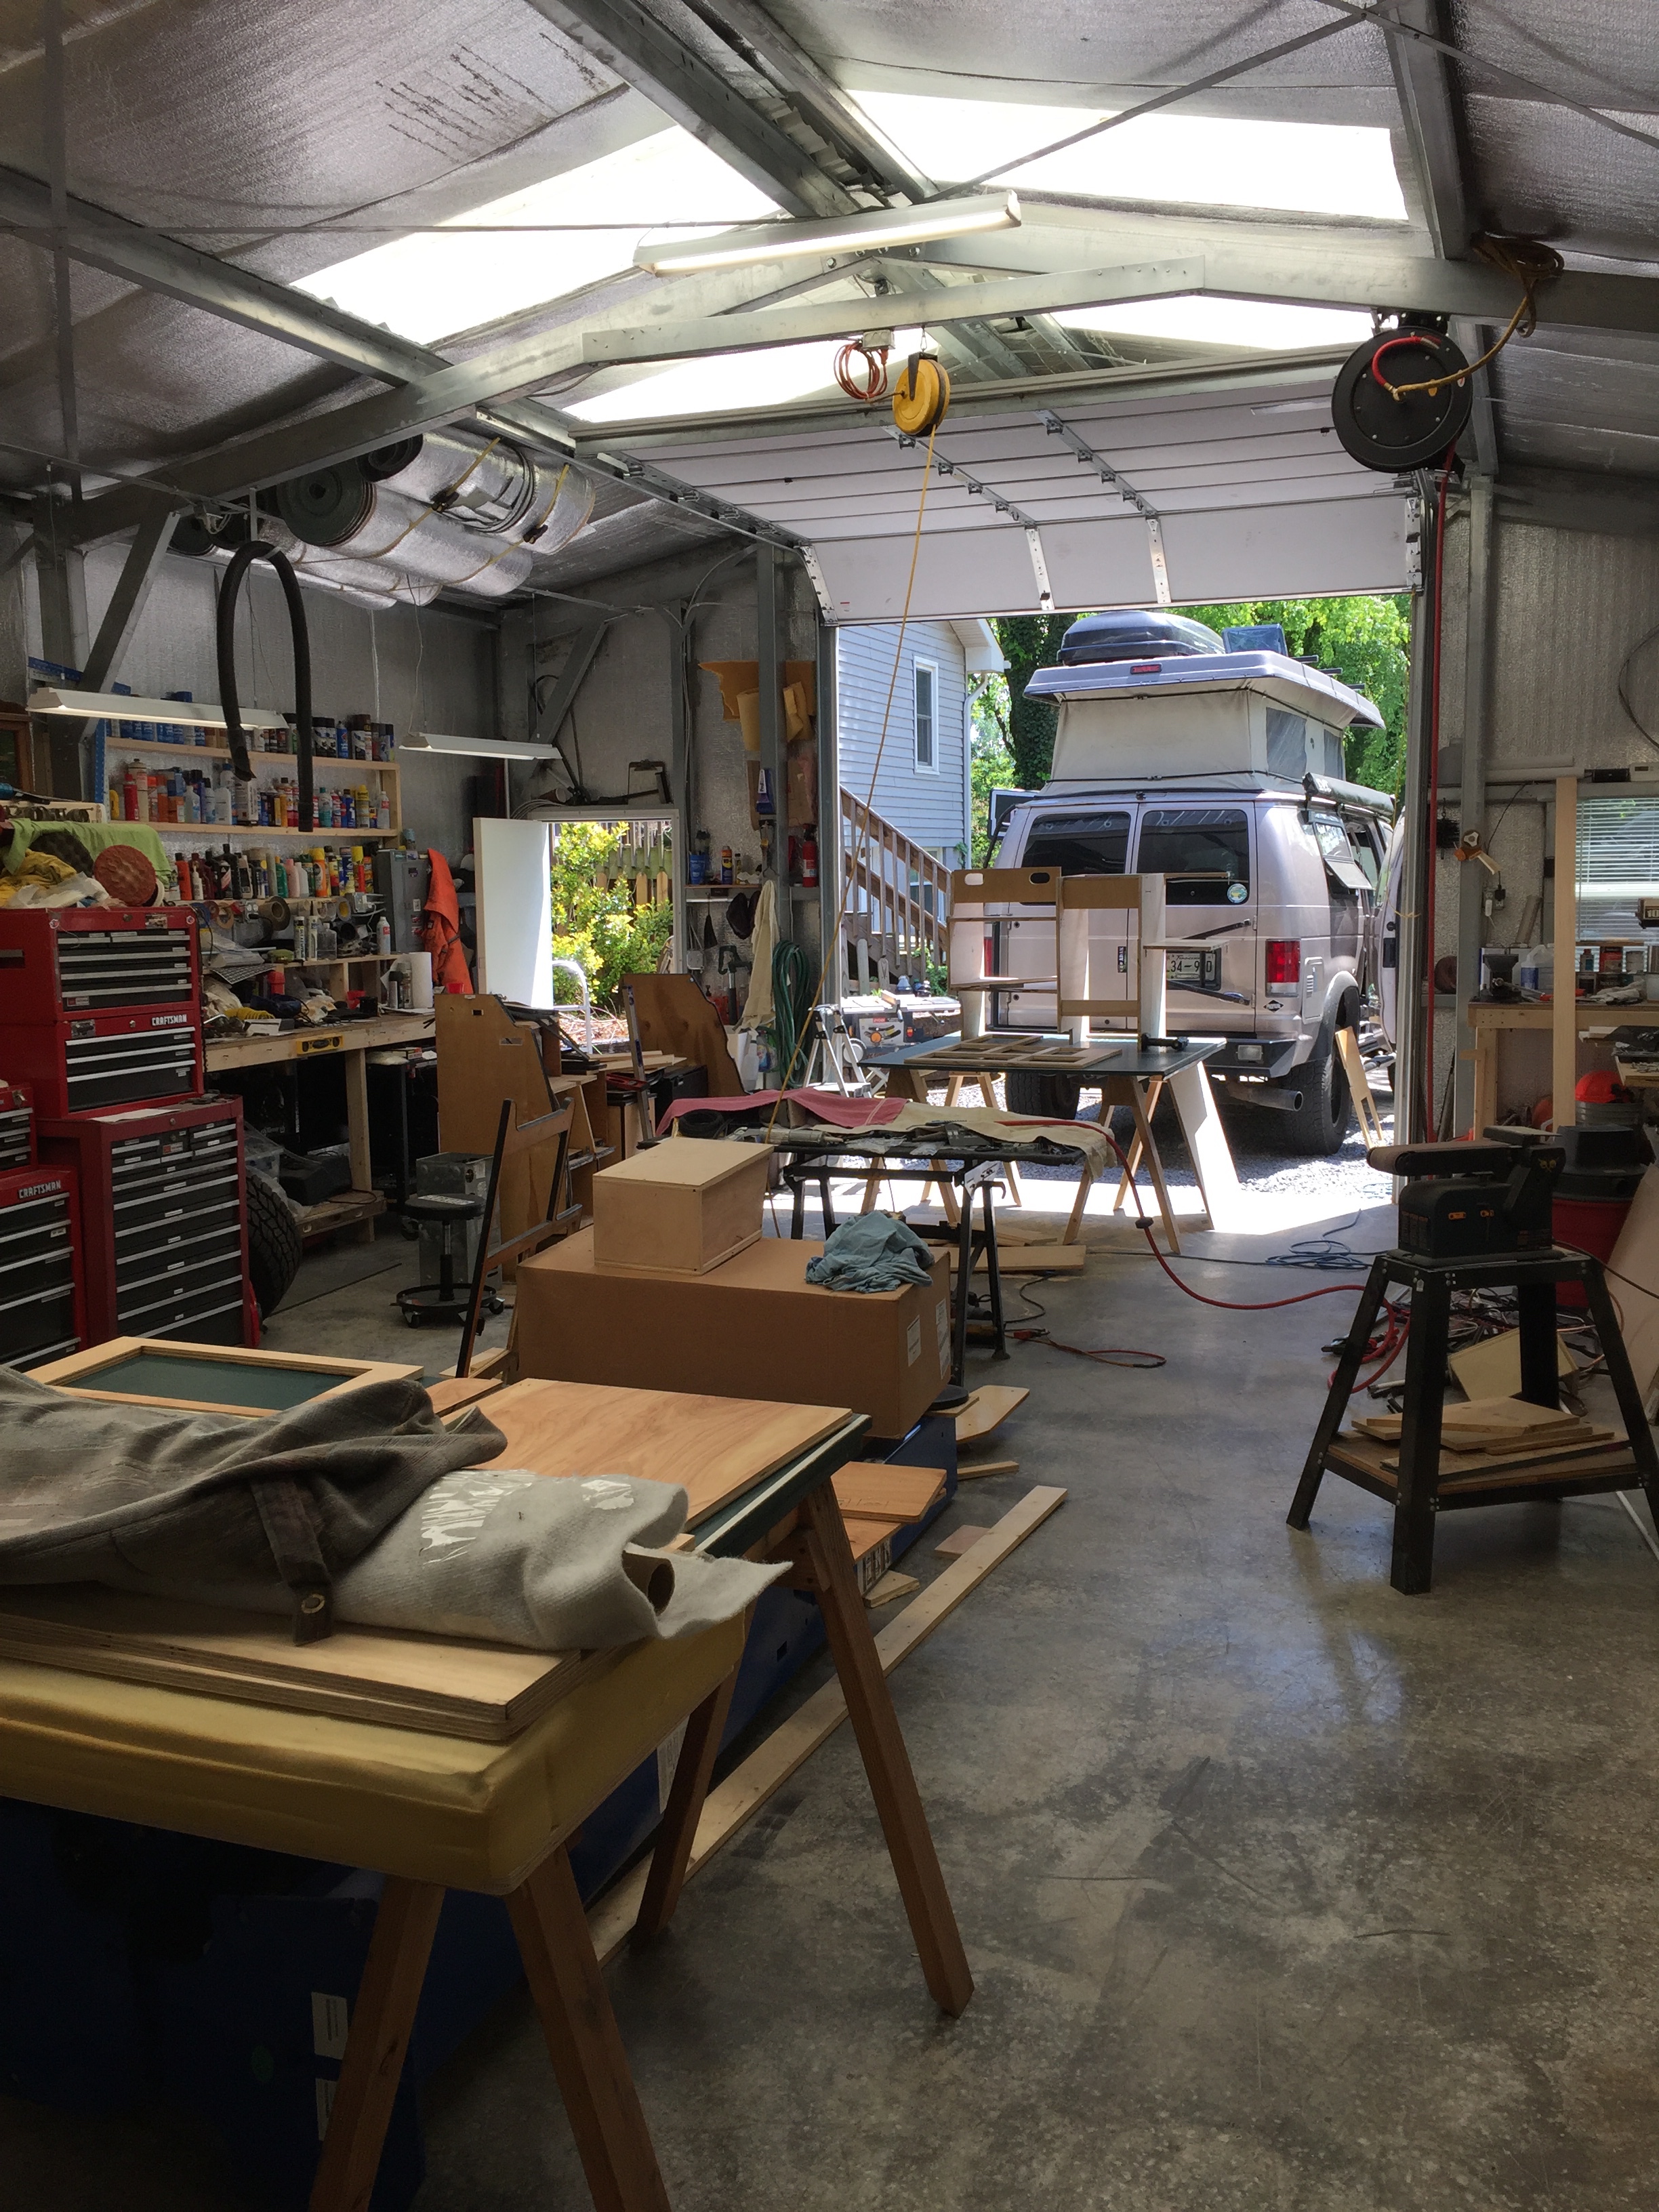
Last pic of the finished old interior, and then one of what a glutton for punishment I am.


Just wait........it get's a LOT better!


86Scotty is offline   Reply With Quote
Old 05-22-2016, 08:27 PM   #2
Senior Member
 
86Scotty's Avatar
 
Join Date: Jul 2011
Location: TN
Posts: 10,243
It's actually not very hard to remove an SMB pop top. The hardware is definitely more tricky but anyone with a helper could pull their top off and have it on sawhorses in an hour or two. If you need paint this is the way to do it! My 13 year old son and I pulled it down with little drama using a 2x4 across the back edge of the rear doors as a resting step halfway down. It went back up almost just as easy.


I started filling and fixing oxidized spots as well as unneeded holes and quickly realized a homemade paint booth was in order.


Among several things Slacker wanted to add was a real hot water heater, far superior IMO than the tankless I previously tried. The door and trim are what you see hanging here after primer.


For some reason in my head I thought the best way to Raptor Line the top and maintain the smooth side view of the van would be to paint the edges with base and clear coat, then tape off the flat part of the roof and Raptor Line it only that. As you can imagine I was clearly doing a LOT of extra work. Had I known then how easy Raptor was to use I would've saved the paint and time and just shot the whole thing first. Oh well, 2 days lost and a lesson learned.

Smooth painted edges


Then after a wake up call a complete Raptor Lined top, MUCH easier! All stainless hardware was used in this build except the original monster SMB washers on the top, so I sandwiched a thick gob of Butyl tape under each one and cranked it down with the old throw-away hardware for the Raptor shoot.


Man, I love this stuff. The base coat to add to the tintable Raptor liner was only about $25 bucks making it a pretty good deal all around. The match turned out great. All van roofs should be done with this stuff. I know that many of you know this, but now that I've got some experience with it I'm a believer.


About now would be a good time to look at the Fantastic Vent install if you want to see the progress more consistently, but here's the roof back on, stainless hardware and old roof rack on, starting to come together.


New birch roof panels inside, Thinlites from SMB and reupholstered boxes in the roof finished.


Here's the finished top with Fantastic vent, roof bars and box back on and 100 more watts of solar added for 200 total. I had an aluminum frame fabbed up for both panels and Slacker went for a 48" LED bar hanging just beneath the forward one. Yes, this is an unconventional setup with the solar hanging over the front but we were fighting for real estate up there and it turned out awesome. There is no more wind noise up top than there was before.


Yeah I know the 1995 headlights look super yellow and old when compared to the new bright white LED bar. I think Slacker plans to upgrade them soon.

More to come

86Scotty is offline   Reply With Quote
Old 05-22-2016, 09:32 PM   #3
Senior Member
 
86Scotty's Avatar
 
Join Date: Jul 2011
Location: TN
Posts: 10,243
The next little mod I did was to move the backup camera down from the PH top and much more simply install it in the rain gutter. I like these little $20 Esky cameras but the sun killed the last two so I made a little hood for this one and mounted it where it clears the PH. Time will tell if it stays cooler and lasts longer without direct sun on it.


Slacker opted for Lincoin flooring which I absolutely approve of! Beware that is cuts and scratches easily though. One slide of a piece of plywood and you'll have a nice cut in it. Ask me how I know. I saved a little time by keep all the electrics on the old carpet and cutting around it. It will be under a couch so it will look fine. More on that later.


Lincoin laid but not finished in this pic.


Next was the water heater. First, I hate cutting holes in good bodywork. Plan, plan, plan, calculate and then get out the saws and drill and just hope it goes well.


No more pics of this but it went fine. It just took awhile to figure out the spacing for the outer flange against the Bushwacker flare and getting the hole perfect where the water heater could sit flat on the floor inside. This is a super tight part of the layout with a fridge above it so I had NO inches to lose.


I rolled up Reflectix and stuffed it in the cavities between inner and outer skin here, then taped it off with some HVAC tape. It's solid but not exactly pretty.


What I couldn't get a picture of very easily was the gas line and plumbing I had to run, but most everything has been moved from midship driver's side to rear passenger side. I got a flare tool and added some T's and bends to route the gas line safely, putting it inside an old garden hose under the van. I hate how it's just left out in the breeze by RV companies. The PEX for the water lines was simple since I moved the water tank to the old spare tire location under the rear not too long ago. Pretty short runs on all the PEX now.

Anyway, here's the flange in place hiding all those scary holes and cuts I made, after applying liberal silicone around the HWH and inside the flange.


And here's the finished product on the outside. The spacing worked out perfectly.


More to come

86Scotty is offline   Reply With Quote
Old 05-22-2016, 09:49 PM   #4
Senior Member
 
86Scotty's Avatar
 
Join Date: Jul 2011
Location: TN
Posts: 10,243
So, Slacker wanted a real stove and oven. Yep, this will be one of the few vans around with an oven. The cabinet layout gave us lots of room for this, though, and I'd definitely do it again. I see no downside if you like to cook. They aren't that expensive and you can store lots of stuff INSIDE the oven. Of course the pilot doesn't stay lit so it isn't exactly going to turn on and torch anything. Here are a few shots of the layout coming together, galley down the passenger side and long gaucho behind the driver's side. It's a popular floor plan that works well. I kept my driver's side rear cabinet where the furnace, microwave and rear air were already.


I reused my door galley as well, but all other cabinets new.


The wood countertop is just a mockup. We went for granite and it turned out amazing. Here's the color.


She who brings me Mcdonald's coffee can do no wrong in my eyes. Apparently I've done something wrong here though. Not sure what the heck she's looking at but it couldn't be good.


I really wanted a solid wall from floor to ceiling in the rear right corner but had to stagger the fridge over a little in the end. It made for a neat little cubby in the back, about 6" deep.


More to come

86Scotty is offline   Reply With Quote
Old 05-22-2016, 10:14 PM   #5
Senior Member
 
86Scotty's Avatar
 
Join Date: Jul 2011
Location: TN
Posts: 10,243
Starting to lay out the 76" gaucho on the driver's side. LOTS of storage underneath, with sub and amp and a divider wall to give the inverter and electronics room to breathe.


Making the bed wider took some consideration but it paid off. The old bed sides which came together for a wall to wall bed were way too narrow for a bed down one side, so the backrest had to be made bigger and all wood and foam worked out before it made any sense to the upholsterer.


This strange little backsplash was all I could come up with to still keep the window crank usable. It looks very odd here but better in the finished cabinet.


Fully mocked up galley side


I haven't mentioned it really but I built a new shop this year. It's nice to have room to do woodwork and space to move around. Under all of the cabinetry you can kind of make out a 10k 2-post lift I just got. Maybe I'll get it installed before winter?


Galley front starting to take shape.


A strange little wavy, hippie guy in the wood grain kept visiting me when I was staining.


My late night companion. Never tired. Surprisingly he's actually chewing a dog treat here instead of plywood. He loves plywood.


Plumbing time before final cabinet install.


And about a week later after staining, sanding, staining, sanding, staining sanding until you see people in the wood...........


You can see the Tripplite aux switch I added up by the solar gauge and thermostat. Much easier than digging below.


Sub enclosure and wiring finished on the driver's side.


Outside access for lower pantry, there's an identical door on the other side accessible from under the sink.


More to come!

86Scotty is offline   Reply With Quote
Old 05-22-2016, 10:42 PM   #6
Member
 
maxx's Avatar
 
Join Date: Mar 2016
Location: SLC
Posts: 71
Garage
Wow great work, wish I had some of your skills Looks solid!
maxx is offline   Reply With Quote
Old 05-22-2016, 11:35 PM   #7
Senior Member
 
gcvt's Avatar
 
Join Date: Jul 2014
Location: Longwood, FL
Posts: 1,562
Quote:
Originally Posted by 86Scotty View Post
She who brings me Mcdonald's coffee can do no wrong in my eyes. Apparently I've done something wrong here though. Not sure what the heck she's looking at but it couldn't be good.

Haha! The old hands-on-the-hips stare. Just ask her what's wrong. They never just say "nothing", of course. Even funnier with that shirt!

Good luck
__________________
Greg
Old van: 1997 E250 EB30 (Stolen)
New van: 2003 E250 EB10
gcvt is offline   Reply With Quote
Old 05-23-2016, 04:24 AM   #8
JWA
Senior Member
 
Join Date: Jan 2011
Location: Reynoldsburg, Ohio
Posts: 3,774
Send a message via Yahoo to JWA
Quote:
Originally Posted by gcvt View Post
Haha! The old hands-on-the-hips stare. Just ask her what's wrong. They never just say "nothing", of course. Even funnier with that shirt!

Good luck
Yeah I often wonder if they even realize they have that "look" ?

Nice looking build, lots of thought and seems to meet your needs too.
JWA is offline   Reply With Quote
Old 05-23-2016, 07:09 AM   #9
Senior Member
 
BrianW's Avatar
 
Join Date: Apr 2012
Location: Philadelphia, PA
Posts: 4,208
^^ That's the "You better not post this picture of me on the SMB Forum" look.
BrianW is offline   Reply With Quote
Old 05-23-2016, 01:30 PM   #10
Senior Member
 
rallypanam's Avatar
 
Join Date: Feb 2013
Location: San Francisco/Nevada City
Posts: 3,769
This looks great. Let me know when you're next out in CA, I've got some projects for you in my van.
rallypanam is offline   Reply With Quote
Reply


Posting Rules
You may not post new threads
You may not post replies
You may not post attachments
You may not edit your posts

BB code is On
Smilies are On
[IMG] code is On
HTML code is Off
Trackbacks are Off
Pingbacks are Off
Refbacks are Off

» Sportsmobile Registry

Bamulance

charlie mike

Rosy

Isever
Add your Sportsmobile
» Featured Campgrounds

Reviews provided by

Powered by vBadvanced CMPS v3.2.3
Disclaimer:

This website is not affiliated with or endorsed by Sportsmobile SIP or any of its affiliates. This is an independent, unofficial site.


All times are GMT -6. The time now is 06:17 AM.


Powered by vBulletin® Version 3.8.8 Beta 4
Copyright ©2000 - 2024, vBulletin Solutions, Inc.