Journey with Confidence RV GPS App RV Trip Planner RV LIFE Campground Reviews RV Maintenance Take a Speed Test Free 7 Day Trial ×


Reply
 
Thread Tools Display Modes
 
Old 08-30-2022, 10:56 PM   #651
Senior Member
 
mk216v's Avatar
 
Join Date: Apr 2014
Posts: 400
So fresh, so clean!

__________________
A vehicle’s worth is not what you put into it, but what it put into you.
2019 F350 SuperCrew flatbed composite camper
2018 Transit 130WB MR EcoBoost (SOLD)
2010 E350 RB V10 Cargo "unicorn" (SOLD)
2007 E350 4x4 "VANdiana Jones"(SOLD)
mk216v is offline   Reply With Quote
Old 09-20-2022, 05:53 PM   #652
Senior Member
 
Join Date: Sep 2013
Location: Newberg, OR
Posts: 1,385
Before I move on to showing pictures of the interior cabinets, I thought I'd finish off the step trim progression.

mgmetalworks is offline   Reply With Quote
Old 09-20-2022, 09:12 PM   #653
Junior Member
 
Join Date: Mar 2017
Posts: 17
Very nice!
coloradoup is offline   Reply With Quote
Old 10-26-2022, 02:09 PM   #654
Senior Member
 
Join Date: Sep 2013
Location: Newberg, OR
Posts: 1,385
Final assembly is my favorite part of the build! Roof rack and interior cabinet parts came back from the powder coater recently. I think y'all are gonna like how this plays out.

mgmetalworks is offline   Reply With Quote
Old 10-26-2022, 06:13 PM   #655
Senior Member
 
arctictraveller's Avatar
 
Join Date: Mar 2013
Posts: 4,244
Quote:
Originally Posted by mgmetalworks View Post
Before I move on to showing pictures of the interior cabinets, I thought I'd finish off the step trim progression.

That looks really nice, are you going to be selling these?. Id recommend adding some nonskid tape or something to the area where you step. I have two scars on my shin from when I slipped on mine and raked it across the edge of the stock plastic trim.
__________________
Arctic Traveller
KC6TNI
2001 GTRV
Advanced 4wd
Agile Ride improvement package
arctictraveller is offline   Reply With Quote
Old 10-27-2022, 12:28 PM   #656
Senior Member
 
Join Date: Apr 2021
Posts: 407
Quote:
Originally Posted by mgmetalworks View Post
Final assembly is my favorite part of the build! Roof rack and interior cabinet parts came back from the powder coater recently. I think y'all are gonna like how this plays out.

Love the L-track cutouts!
motovan_mn is offline   Reply With Quote
Old 12-03-2022, 10:18 AM   #657
Senior Member
 
Join Date: Sep 2013
Location: Newberg, OR
Posts: 1,385
I've been slacking with update pictures... Here the roof rack is finally going on the van for the last time. I've installed a couple roof racks with a forklift and some helpers but this is by far the best way to hoist a roof rack if you're doing it solo.


Solar panel wiring gets some love before install


I have the majority of the interior cabinet pieces installed now and I'm down to a relatively short list of items to finish up before it's done. More pictures coming soon!
mgmetalworks is offline   Reply With Quote
Old 12-03-2022, 09:01 PM   #658
Senior Member
 
Join Date: Jul 2019
Posts: 155
@mgmetalworks
E series needs gutter clamps to DIY your own 80/20 roof rack, so we can feel inferior to this rack.
Nice welds.
desertsherpa is offline   Reply With Quote
Old 01-28-2023, 04:48 PM   #659
Senior Member
 
Join Date: Sep 2013
Location: Newberg, OR
Posts: 1,385
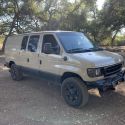
Cummins van interior photo dump! I'm hoping for some nice days so I can drive out to the coast and get some really good photos of the whole van finished. For now, these pics will have to do.

Lower window trim took quite a bit of effort in order to fit around the side window latches up front and make a provision for rear A/C vent (oblong hole at the rear). I 3D printed a part to fit into the A/C duct and transitioned into the hole in the trim panel. Stainless countertop is being formed now to finish off the driver side cabinet. A National Luna fridge fits nicely into the space behind the driver.


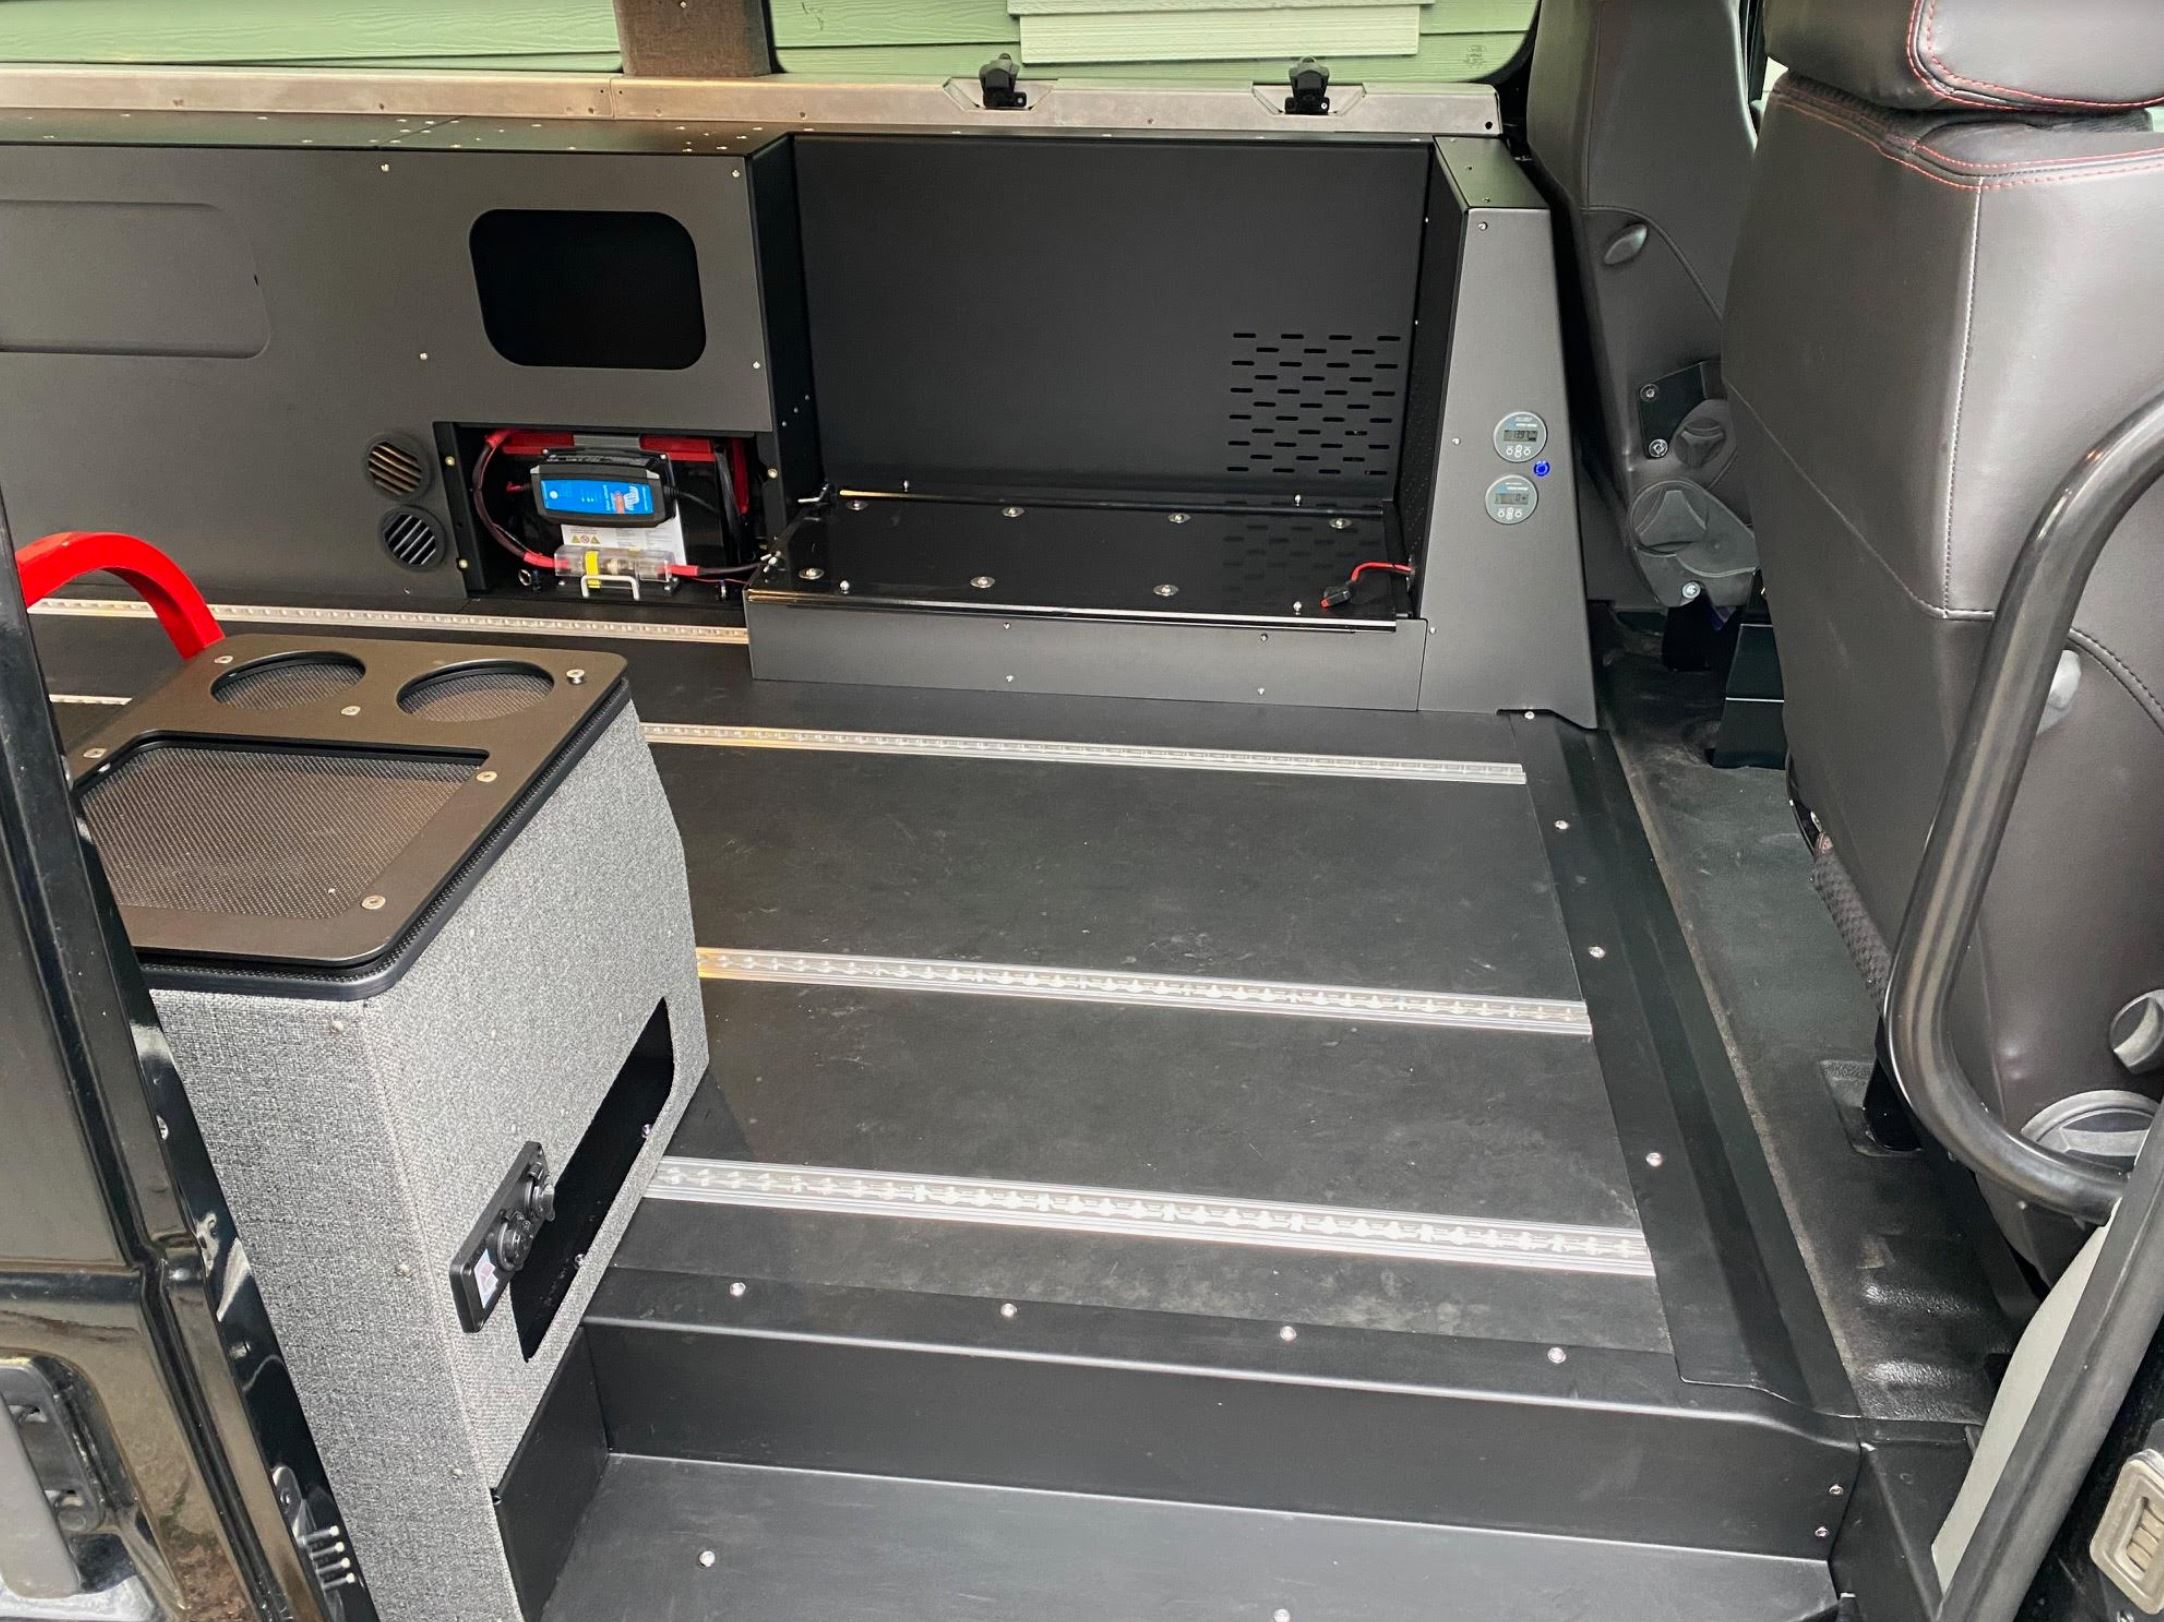
I thought of a bunch of different ways to do the side couch/bed but in the end opted for simplicity. It is roughly the width of a twin bed when deployed and nearly 80" long. Lots of storage under the couch too. The Eberspacher heater is tucked behind the cabinet on the passenger side.


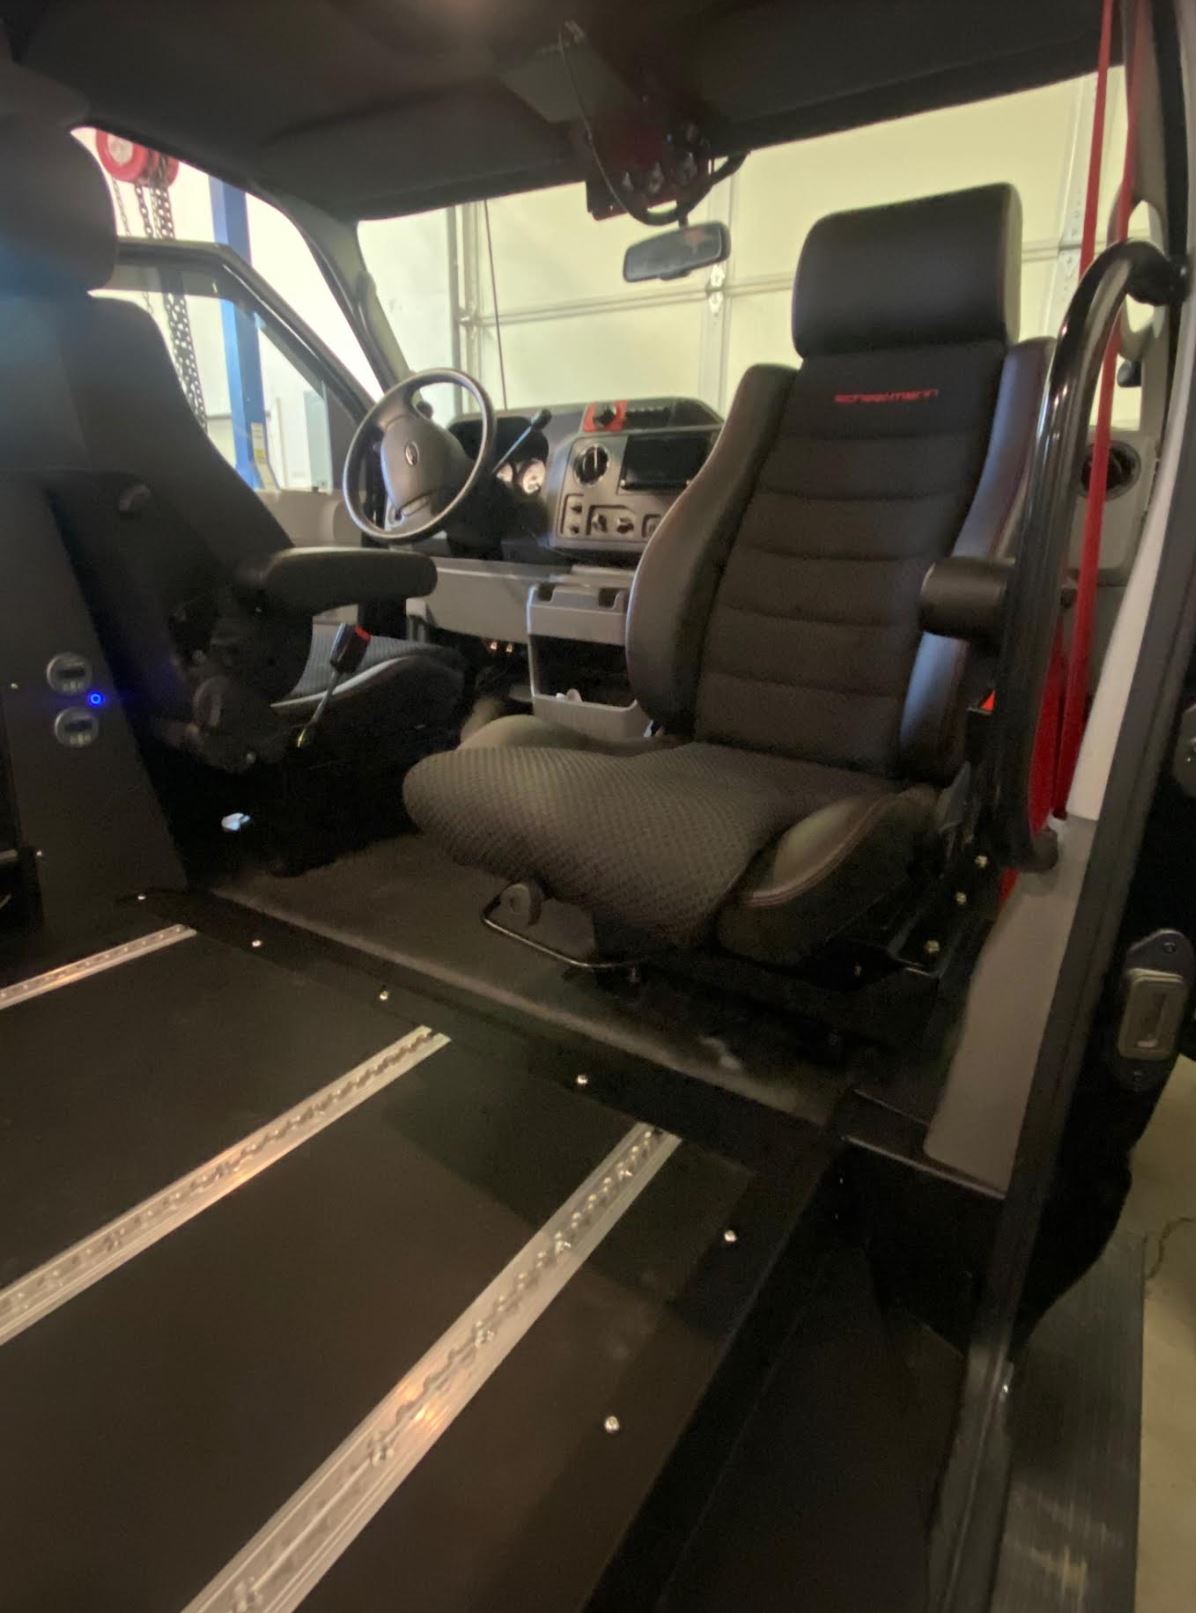
I'd been thinking about this for a long time but I finally made new (more useful) seat bases and my own swivel. I tried to make a readily available swivel work for what I wanted to do but none of them that I tried were just right. Also, the stock Eseries seat base leans back a bit more than I liked with the SM seat. I am happy with the seating position now and there's useful storage under the seat. Plus I offset the swivel pivot point so the seat could be in a decent position (more inboard when rotated) with the door closed and not have the arm rest rammed into the door.


I've been driving the van a bit and really enjoying it. Electrical systems are performing well, stereo sounds amazing, interior is quiet and the drivetrain...oh my! So fun!
mgmetalworks is offline   Reply With Quote
Old 01-28-2023, 05:08 PM   #660
Senior Member
 
Join Date: Oct 2015
Location: Sonoma County
Posts: 790
Love everything, especially the swivels. Will you be offering any of these things for sale?
__________________
2003 Astro AWD
2005 Tacoma Access cab 4x4
1999 E350 RB 7.3 "Al B. Tross" aka "Exxon Valdez"
SteelheadJones is offline   Reply With Quote
Reply


Posting Rules
You may not post new threads
You may not post replies
You may not post attachments
You may not edit your posts

BB code is On
Smilies are On
[IMG] code is On
HTML code is Off
Trackbacks are Off
Pingbacks are Off
Refbacks are Off

» Sportsmobile Registry

Party Wagon

james west

Hooch

Hoooch
Add your Sportsmobile
» Featured Campgrounds

Reviews provided by

Powered by vBadvanced CMPS v3.2.3
Disclaimer:

This website is not affiliated with or endorsed by Sportsmobile SIP or any of its affiliates. This is an independent, unofficial site.


All times are GMT -6. The time now is 09:35 AM.


Powered by vBulletin® Version 3.8.8 Beta 4
Copyright ©2000 - 2024, vBulletin Solutions, Inc.