OK.....time for a laminating/resurfacing demo/tutorial........
Nick was kind enough to drop by and loan me one of his SMB galley panels for reference.
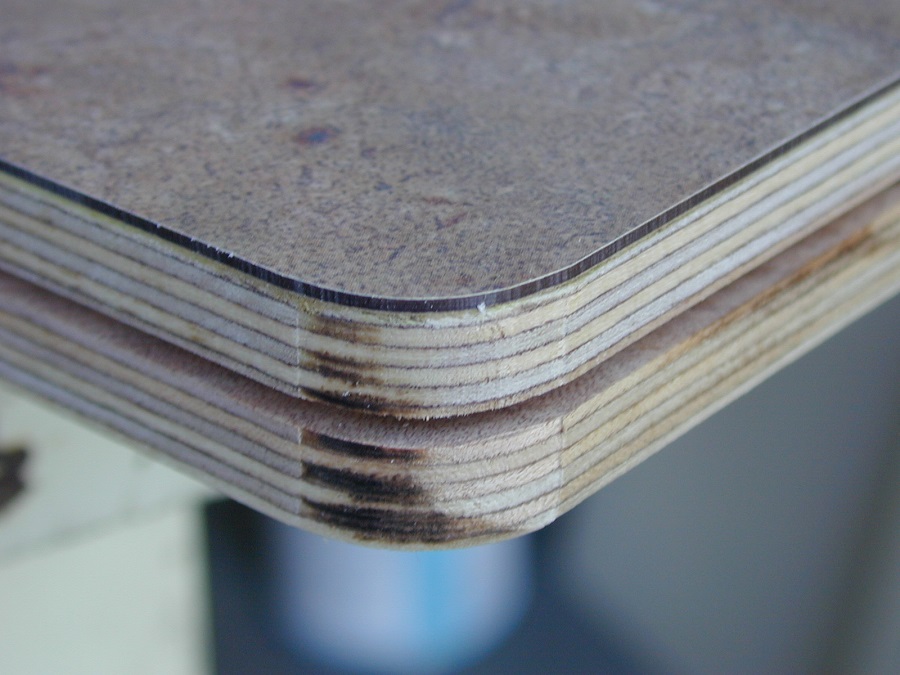
A few observations about that panel:
The T molding appears to be glued on
The panel appears to be approx 5/8" thick MDF/melamine.
So in the interest of not harming any existing panels, I decided to create a pint-sized panel from scratch to show the steps and not burn up too much material.
Note: If other typical SMB doors are the same (roughly 5/8") thickness, these may be extremely easy to reface, as gluing new laminate to both sides will probably get you very close to 3/4" thick, perfect for std T molding.
The neighbor had a piece of laminate left over from his RV table rebuild, so I used some of that for this tutorial.
It's not the sexiest color, so we are all going to have to squint a little & pretend this is the new super cool cherry flavor laminate that SMB has...or whatever your favorite is..use your imagination..........
I used a scrap piece of 3/4" Baltic Birch which is actually 18mm, slightly thinner than 3/4" which is approx 19mm.
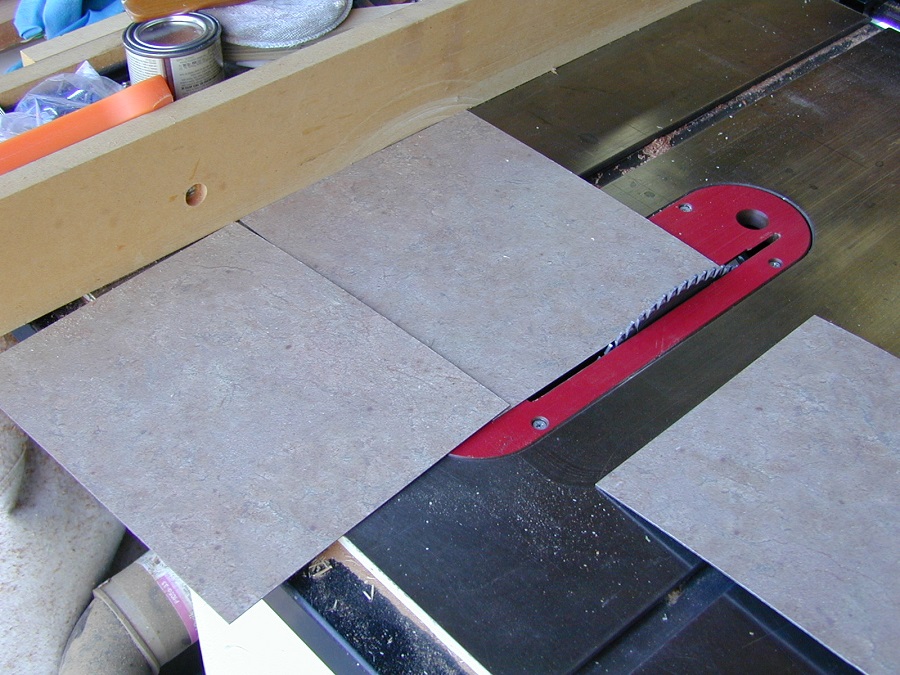
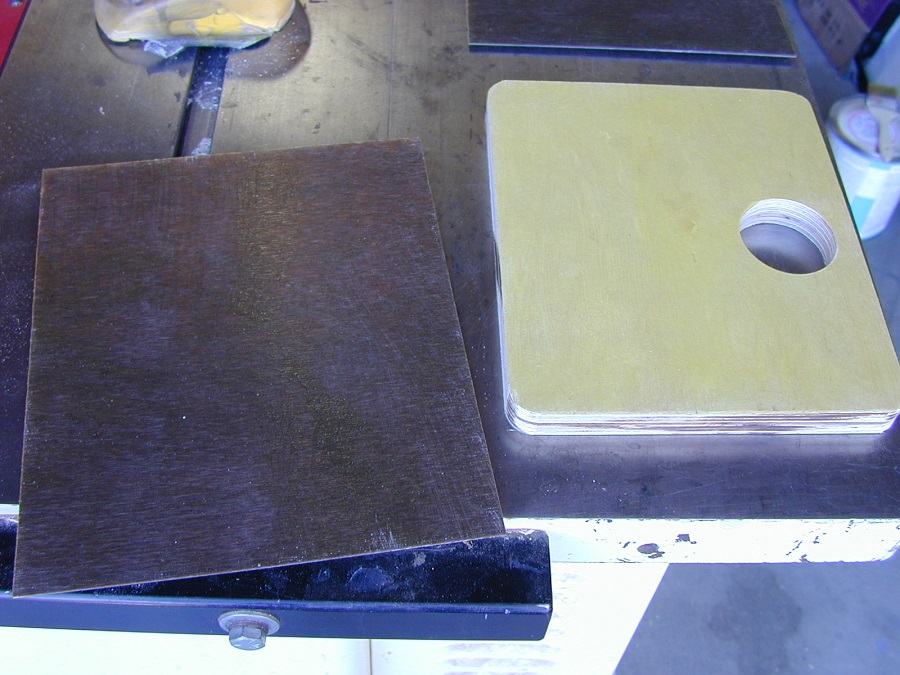
The first step was to cut the laminate slightly larger than the panel. I used my non-ferrous blade for this and it cut nice but any crosscut blade should work fine. If you don't have a table saw, a jigsaw or any other method you can come up with to cut the laminate will be fine, rough edges are no issue as they will be trimmed later. Heck, you can probably score it with a utility knife and snap it.
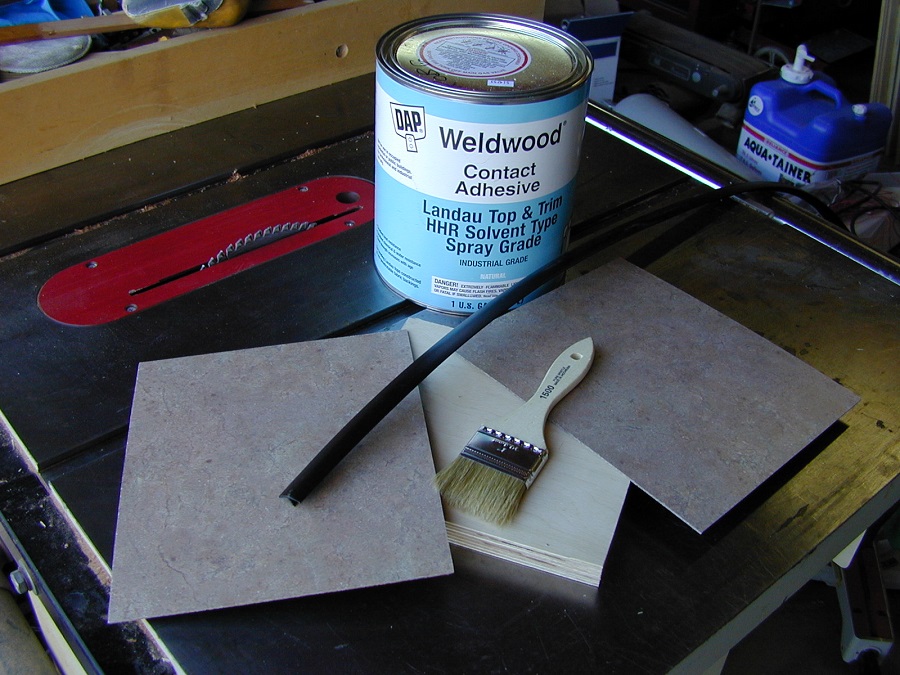
Here is a shot of the required supplies:
The panel to be covered
The Laminate
Contact cement (more on this later)
T-molding (more on this later)
A chip brush of other cheap paint brush
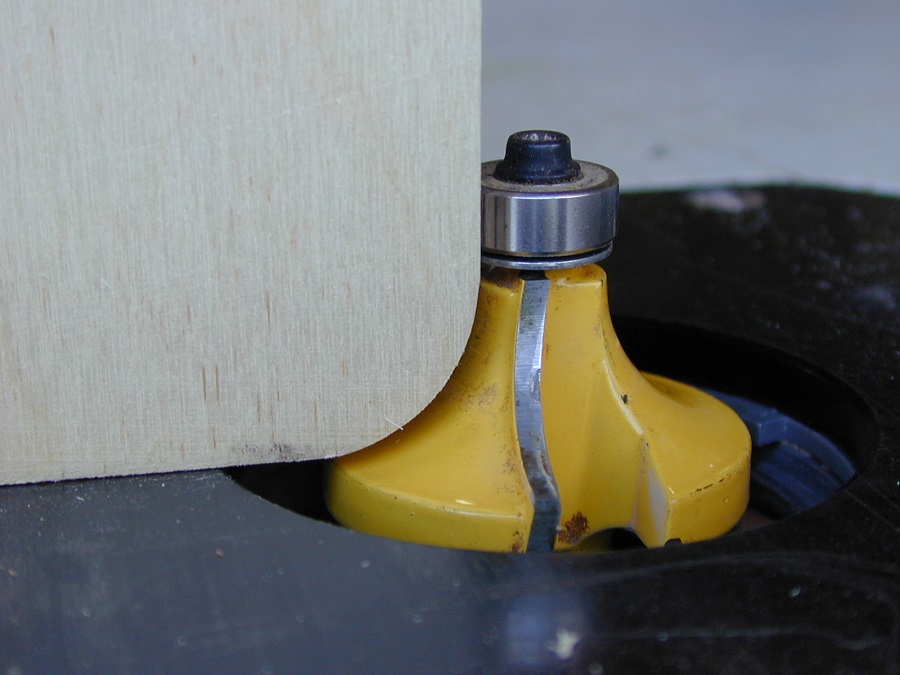
I rounded over the corners of the panel; this allows the T molding to conform to the panel better than hard corners. I used a 1/2 round over bit , it appears that Nick's SMB panel has 3/8" radiused corners, whatever you like will work fine.
I used my router table for this although it can also be done with a hand-held router and round-over bit.
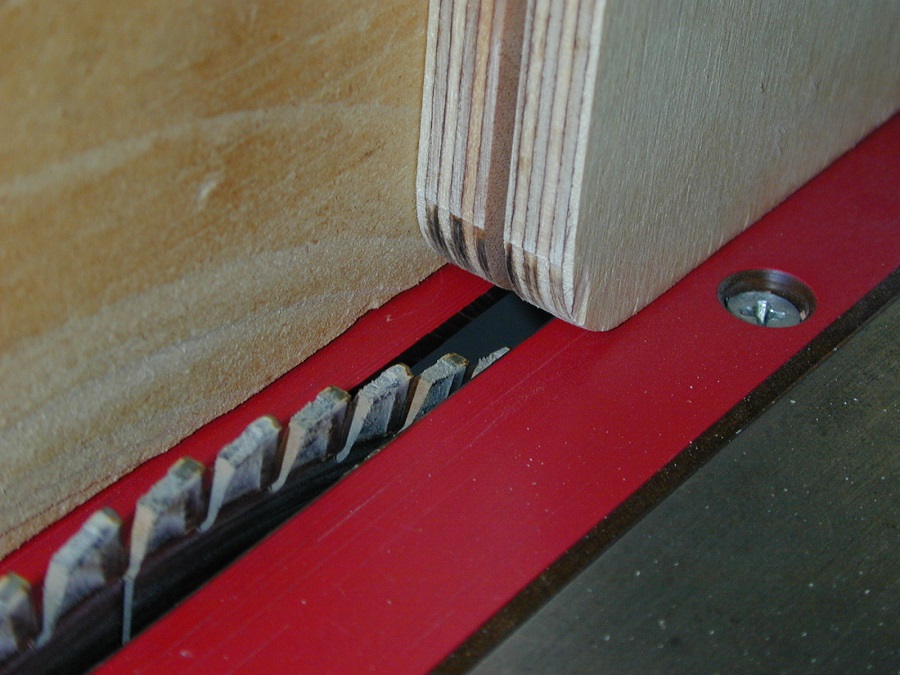
Next comes the groove for the T molding. The finned rib on the T molding was about .110" wide, so this requires a 3/16" (.093") thin-kerf blade to make the groove. Standard 1/8" (.125") blades are too wide and won't grip the molding fin. Most modern rip blades (and my non-ferrous blade) are 3/16" wide.
This is the only operation that requires a table saw; the requirements for the groove are that it's centered on the edge of the panel and that it's deeper than the the center fin on the T mold.
All four edges are grooved for the T molding.
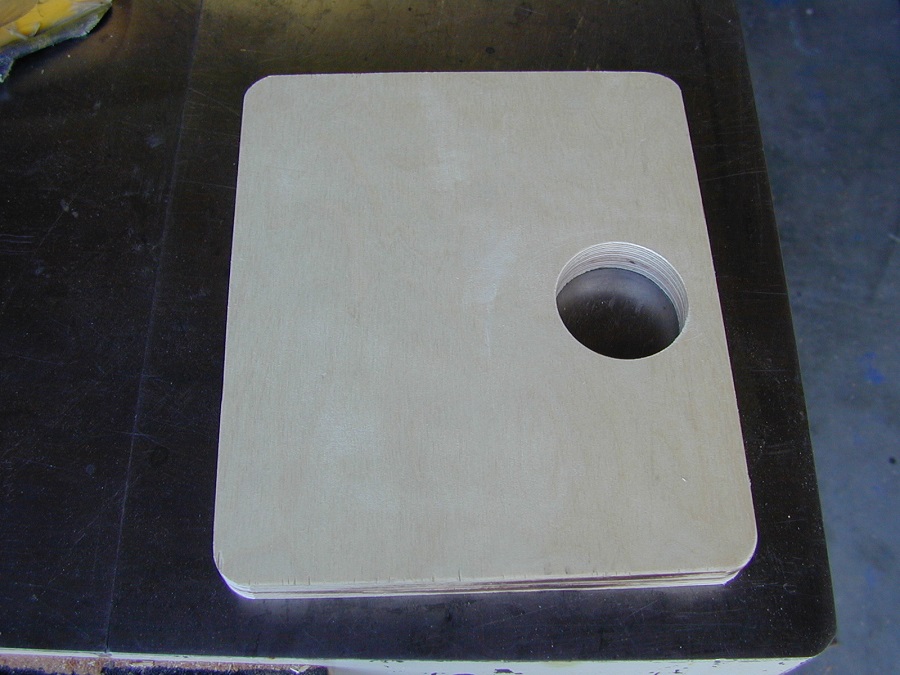
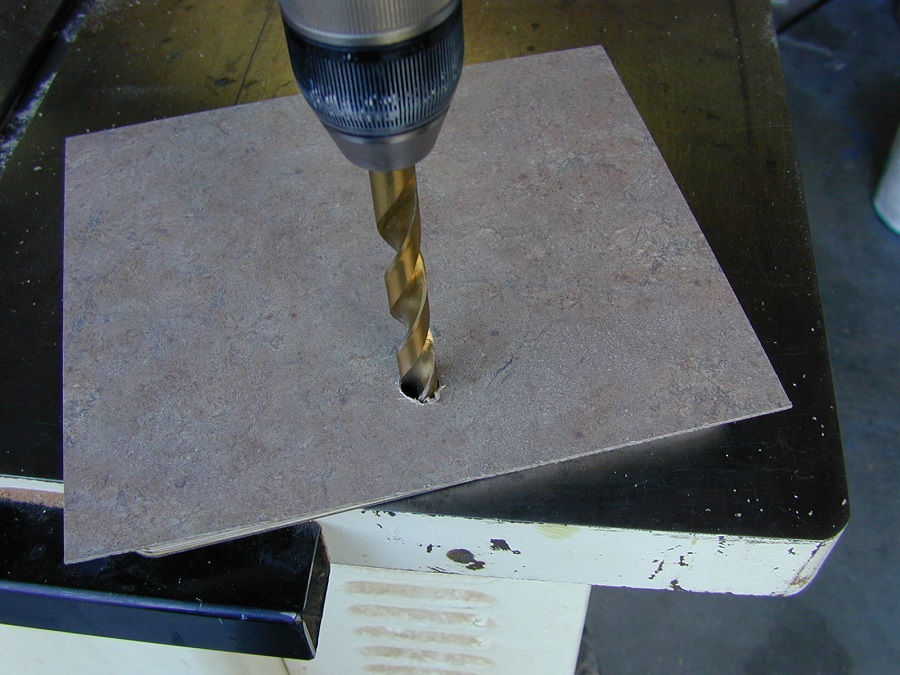
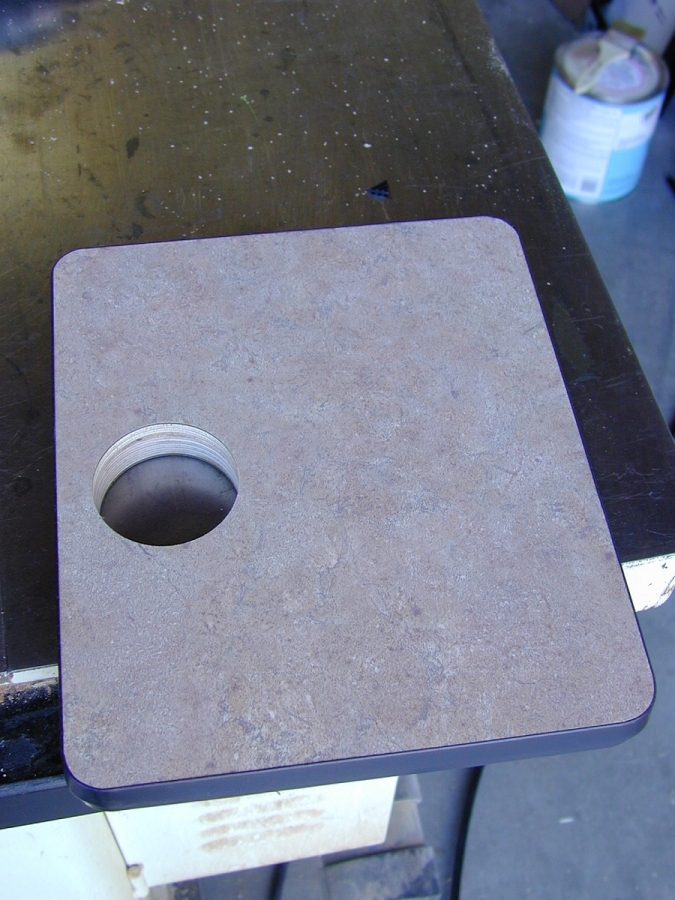
Next up.......I figured I'd get a little fancy and throw in a Southco latch since I had one laying around. These are available from McMaster for about $16. This requires a 2" diameter hole, easy enough with a hole saw or a forstner bit.
Here is the panel fully machined ready for glue-up:
Once the machining is done, the laminate is glued on by painting the panel surfaces and the back of the laminate with contact cement and letting the contact cement dry. This took about 5 minutes to dry in So Cal today since we are having Santa Ana conditions with a relative humidity in the single digits. If you live in Florida it's gonna take a little longer. When the contact cement is dry, it is very tacky to the touch. If some of the cement sticks to your finger when you touch it, it's not dry enough.
Sometimes when applying the contact cement to fresh wood, a fair bit of it soaks in, so you only get a little tackiness. I usually apply two thin coats to the wood; the second coat usually provides ample tackiness.
I'm using fancy high temp contact cement that I buy at the upholstery supply house, but the garden variety stuff available at your local home center or lumberyard works fine also. Modern contact cement comes in two flavors; the old fashioned red cans that are solvent based and extremely flammable and the green canned versions that are non flammable. I've mainly used the old fashioned stuff but the few times I've used the green can type it worked fine.
In California it may be difficult to find the red canned stuff and almost impossible to find it in gallons. The red can type is still readily available in quarts in Cal.......
Once the cement on both panels is dry/tacky, the laminate is adhered to the panel. Two things to note here. Once the glue on one panel touches the glue on the other panel, it's pretty much stuck for life, so you want to be sure the positioning is correct. For newbies, it doesn't hurt to make the laminate panels a little oversized so that you have a wide target when gluing.
The other thing here is that you don't want any bubbles trapped under the laminate. To achieve this, I flex the panel into a slightly convex curve and "roll" the laminate on to the panel from one end. So either start from an edge and stick the laminate down with your hand or start from the middle and work your way out. It's pretty easy once you do a few; many of these steps are harder to describe than to actually do. For large surfaces I use a veneer roller to apply it evenly with no bubbles.
I my case I cut the laminate about 1/2" larger all-around. If this is your first attempt, 1" larger all around may not be a bad idea, you'll just waste a little more material.
You don't have to wait for the cement to dry any further once the laminate is stuck, you can move right to trimming.
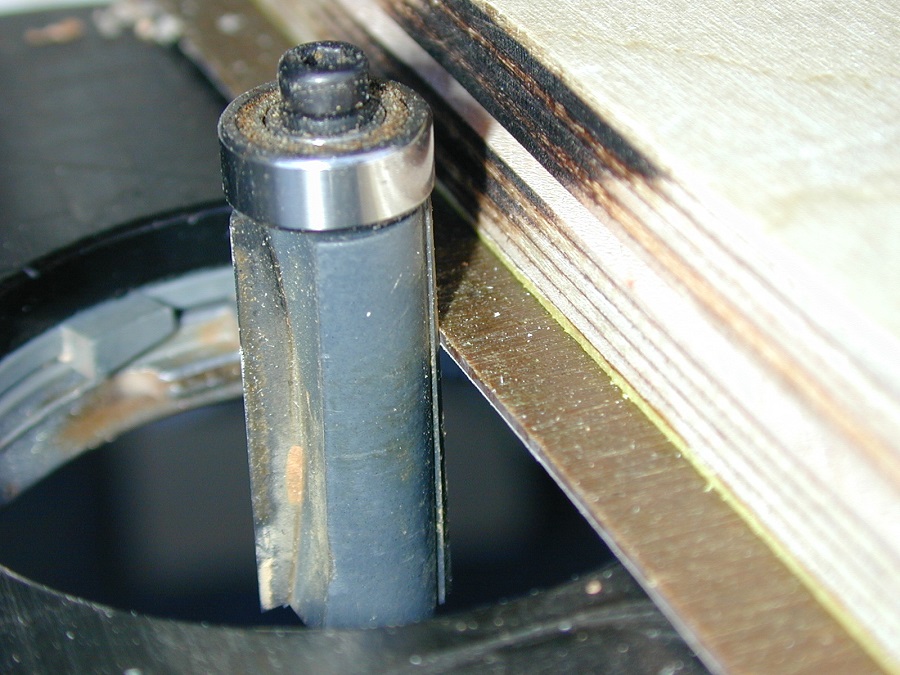
I used a laminate trimmer bit in the router table but you could also accomplish this next step with a hand held router, or (even better!) a hand-held laminate trimmer. I have one of these and I can post a picture if anyone is interested, it's just a tiny one-handed router.
The trim bit height is adjusted so that the bearing rides against the edge of the panel. The bit will then trim the laminate flush with the wood.
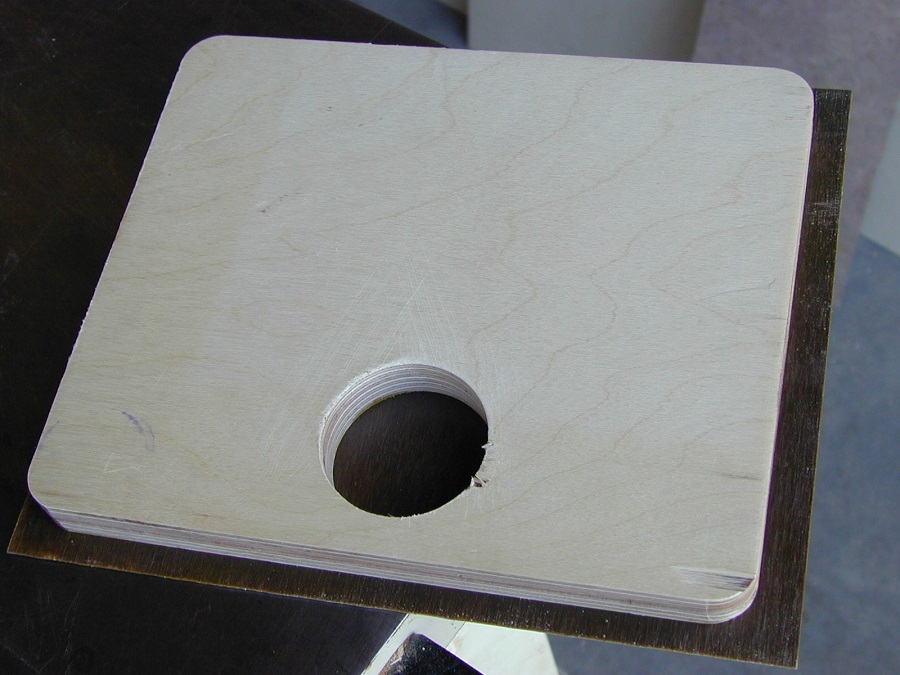
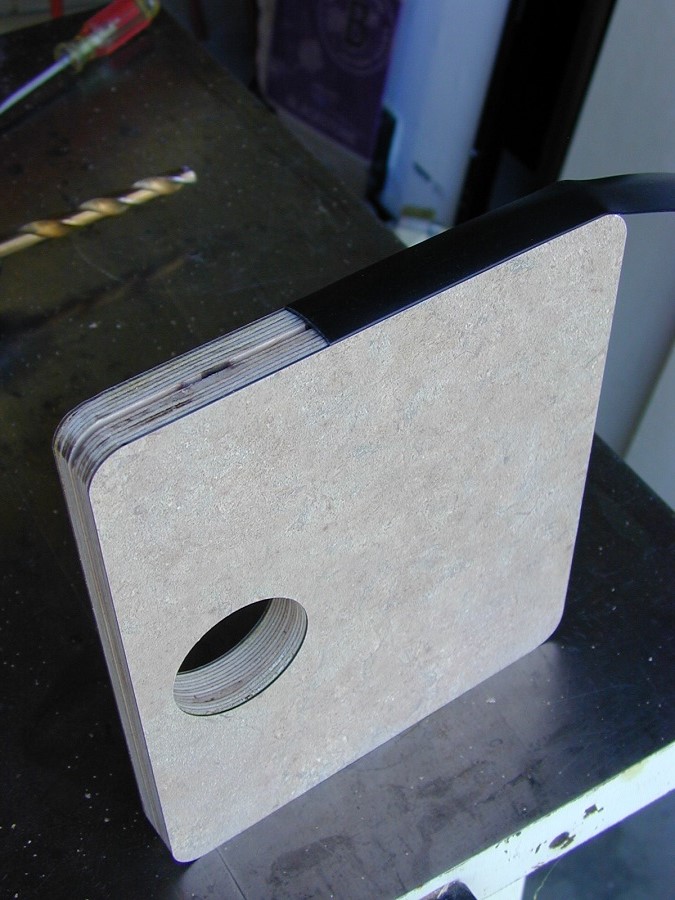
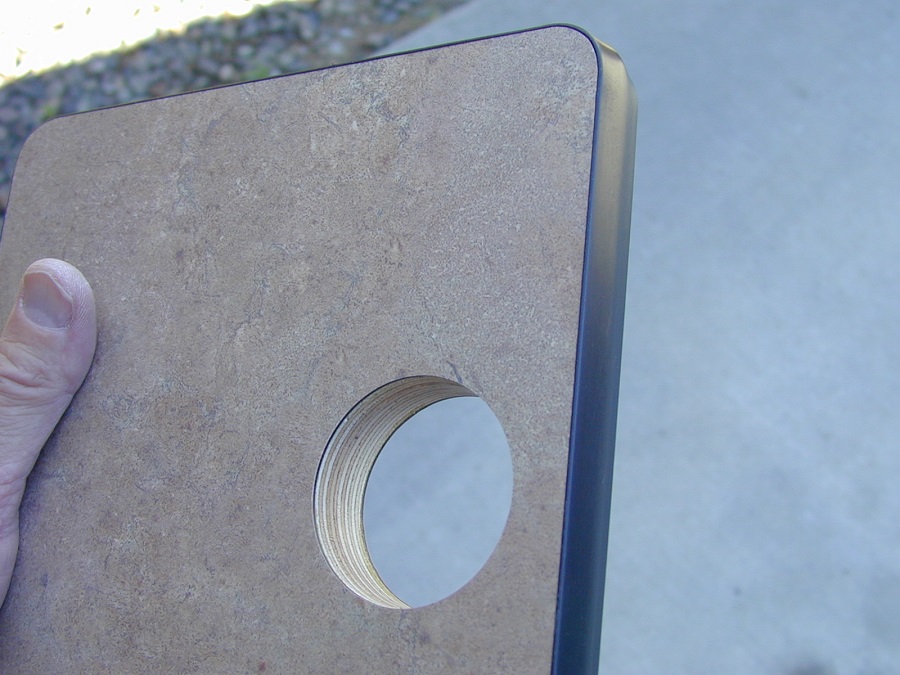
Here is a picture of the flush cut laminate:
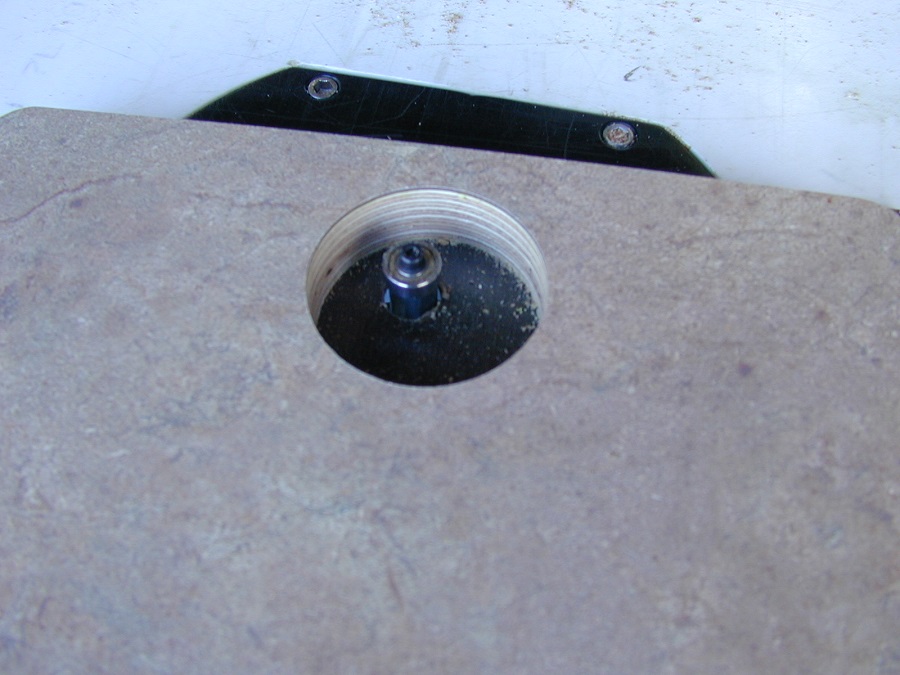
To get the trimmer bit in the latch hole, drill a 1/2" or larger diameter hole through the laminate and the trim the ID of the hole with the router.
Once the first side is done, glue the laminate one the opposite side and trim.
With the laminate trimmed up, it's time to install the T molding. This was my first time working with this stuff.

The local hardwood lumber supplier here (Austin Hardwoods in Santa Ana) sells this stuff by the foot for 34 cents/ft. It's available in black, white, almond and silver. I'm sure there are other colors available online. The stuff I used is 13/16" wide; it's also available online (at Rockler) in 3/4'' widths as well.
I ended up notching the center rib in the corners to make it seat well. I simply pressed this in the groove and used a plastic hammer to get it nice and flat, no glue required.......
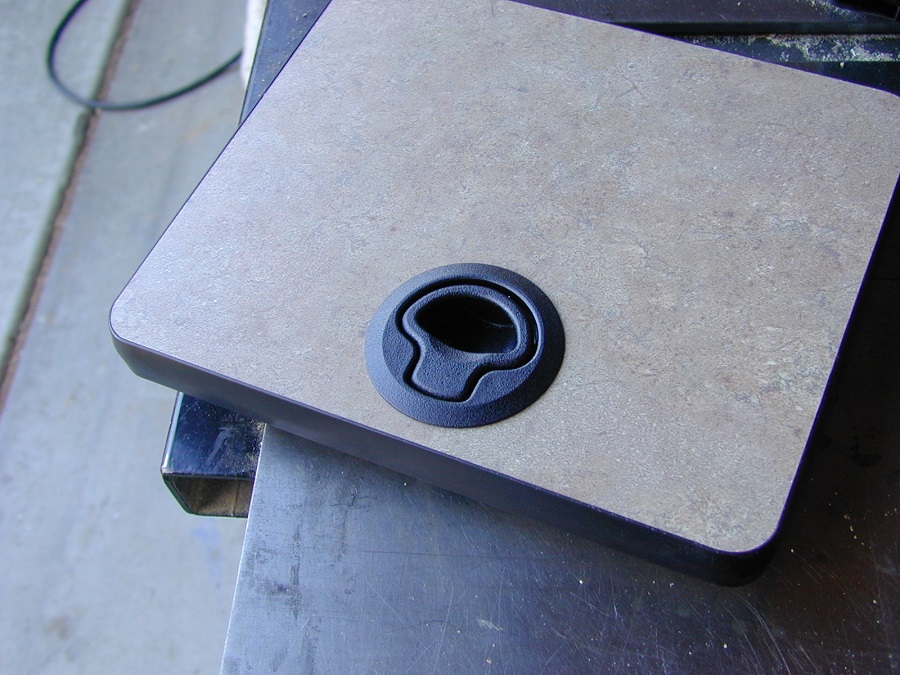
...and......the last shot with the Southco latch installed.....


 Linear Mode