Journey with Confidence RV GPS App RV Trip Planner RV LIFE Campground Reviews RV Maintenance Take a Speed Test Free 7 Day Trial ×


Reply
 
Thread Tools Display Modes
 
Old 09-09-2014, 11:34 AM   #161
Senior Member
 
86Scotty's Avatar
 
Join Date: Jul 2011
Location: TN
Posts: 10,239
Re: Look what just drove up in my driveway, it's Rusty!

Quote:
Originally Posted by shenrie
thats a slick setup, well done man!

is it a one person job to get bed up there?
Oh yeah, not heavy at all, and I have lots of pillows and crap on top of the bed. You lift up and hook one end at a time, you don't have to lift the whole thing.

86Scotty is offline   Reply With Quote
Old 09-09-2014, 08:18 PM   #162
Site Team
 
daveb's Avatar
 
Join Date: May 2007
Location: Turlock Ca
Posts: 10,408
Garage
Re: Look what just drove up in my driveway, it's Rusty!

How the hell did the 3 piece bed work Eric... you had to stack them somewhere out of the way?
__________________
2006 Ford 6.0PSD EB-50/E-PH SMB 4X4 Rock Crawler Trailer

Sportsmobile 4X4 Adventures..........On and off road adventures
daveb is offline   Reply With Quote
Old 09-09-2014, 09:02 PM   #163
Senior Member
 
86Scotty's Avatar
 
Join Date: Jul 2011
Location: TN
Posts: 10,239
Re: Look what just drove up in my driveway, it's Rusty!

Quote:
Originally Posted by daveb
How the hell did the 3 piece bed work Eric... you had to stack them somewhere out of the way?
Yeah, and it was a pain. You could stack em all at the back or stand em up back there. I know you and most folks have a 50 and Nancy from SMB Indiana told me the 50s were the only ones with a two piece bed up until a few years ago. In other words they were all 3 piece on the older ones, but that doesn't really make much sense to me. I have scarcely seen a 3 piece other than mine.

86Scotty is offline   Reply With Quote
Old 09-10-2014, 05:53 AM   #164
Senior Member
 
BrianW's Avatar
 
Join Date: Apr 2012
Location: Philadelphia, PA
Posts: 4,208
Re: Look what just drove up in my driveway, it's Rusty!

Mine is a 98 Indiana build and has a one-piece bed. It's a walk-through floor plan though.
BrianW is offline   Reply With Quote
Old 09-10-2014, 09:44 AM   #165
Senior Member
 
mikracer's Avatar
 
Join Date: Sep 2013
Location: San Luis Obispo, CA
Posts: 2,552
Re: Look what just drove up in my driveway, it's Rusty!

My 95 has a 1 piece bed and its a RB30 layout. If I would have seen that you needed a pic of the way it mounted, I would have sent you some pics. Pretty sweet fix you did there!
__________________
2005 E350 Chateau - V10 - Agile Offroad 4x4
2012 CTS-V Wagon - For the baby...
mikracer is offline   Reply With Quote
Old 10-17-2014, 07:48 AM   #166
Senior Member
 
JohnandMandi's Avatar
 
Join Date: Apr 2014
Location: Pan-American Highway
Posts: 320
Re: Look what just drove up in my driveway, it's Rusty!

We got to tour this van at Expo East and can only say that Eric did a terrific job of fixing it up. A great save.


-John
__________________
2001 7.3 E350 Ujoint 4" w/ SMB Penthouse
johnandmandi.com
JohnandMandi is offline   Reply With Quote
Old 10-17-2014, 08:56 AM   #167
Senior Member
 
86Scotty's Avatar
 
Join Date: Jul 2011
Location: TN
Posts: 10,239
Re: Look what just drove up in my driveway, it's Rusty!

Thanks John, and it's not done yet! I'm planning on-board air and solar as we speak. I'm also ditching the lousy 8/9 gallon fresh water tank in favor of a 25 gallon mounted underneath where the rear Transferflow used to be.

It truly never ends.......

86Scotty is offline   Reply With Quote
Old 10-26-2014, 08:54 PM   #168
Senior Member
 
86Scotty's Avatar
 
Join Date: Jul 2011
Location: TN
Posts: 10,239
Re: Look what just drove up in my driveway, it's Rusty!

LED courtesy light mod

viewtopic.php?p=140382#p140382

86Scotty is offline   Reply With Quote
Old 10-26-2014, 09:20 PM   #169
Senior Member
 
86Scotty's Avatar
 
Join Date: Jul 2011
Location: TN
Posts: 10,239
Re: Look what just drove up in my driveway, it's Rusty!

Reunel rehab Part II, rear bumper

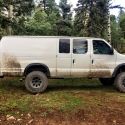
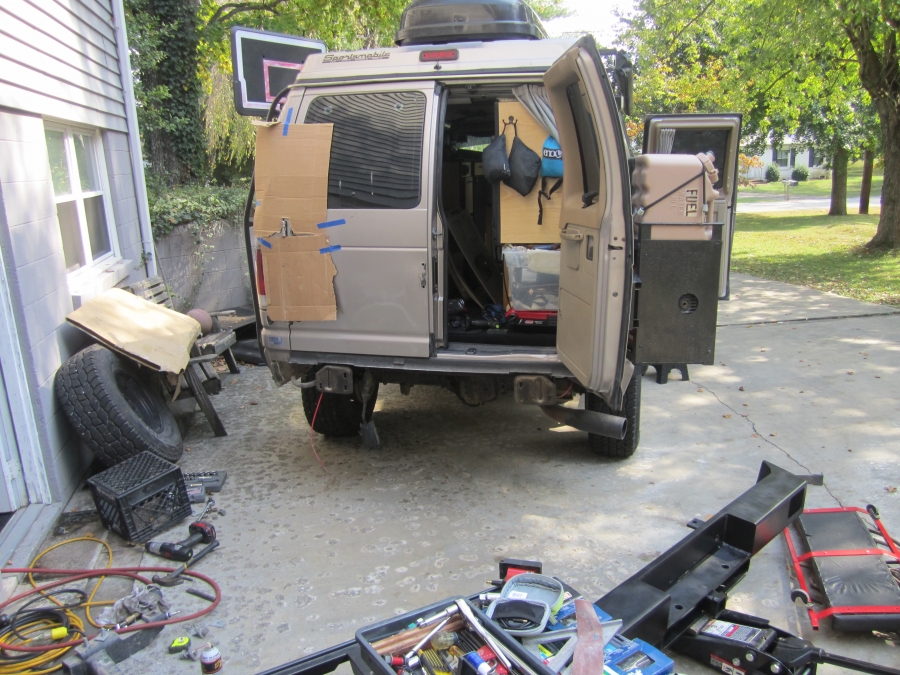
It looked pretty rough.


The plan was the same as the front, matte black finish and truck bed liner/non skid coating on the surface. Also, adding an Aluminess spare rack and ditching the older style SMB A-frame carrier that kept my door from opening more than halfway.

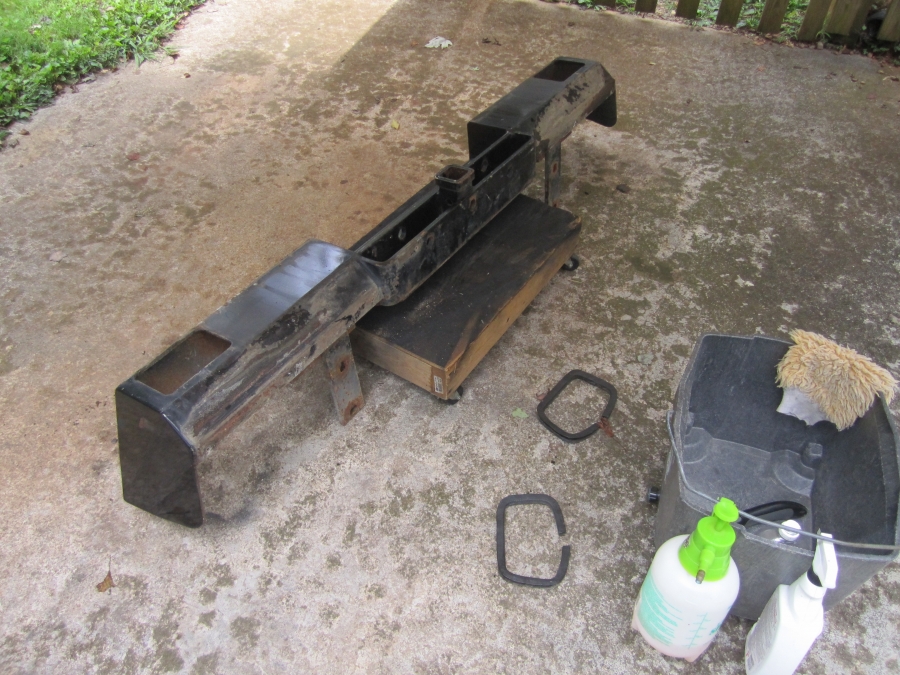
I'll skip the grinding, brushing, rust removal filling and sanding. It was pretty slow and boring, and every time I start doing it on something I'm too cheap to buy new, I hope I will never have to do it again. Here are a couple of pics of the process though.


Oops, sorry for the sideways pic.


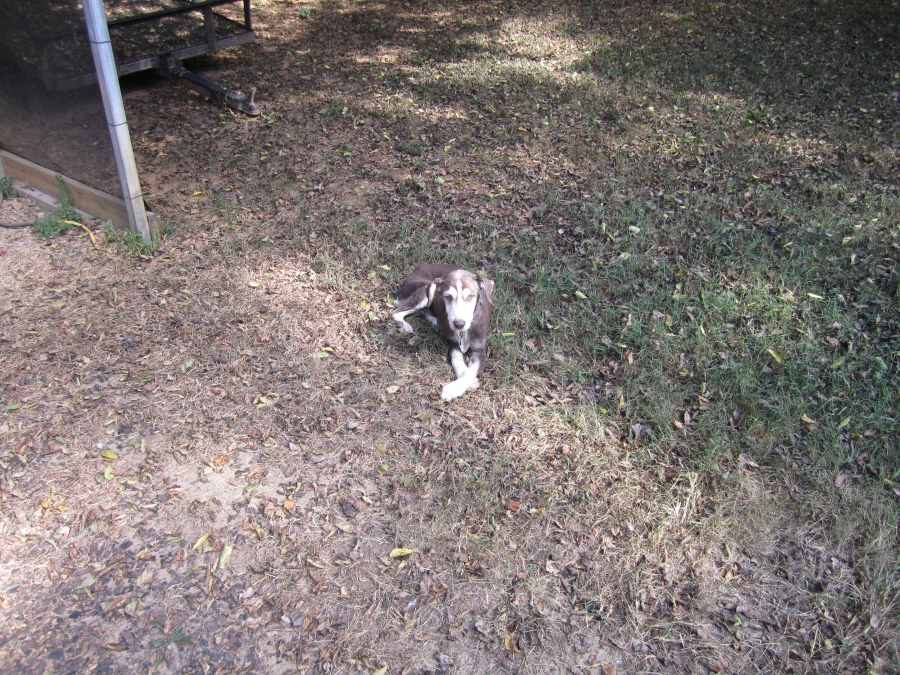
Why do you labor, Master? You could just relax like me.


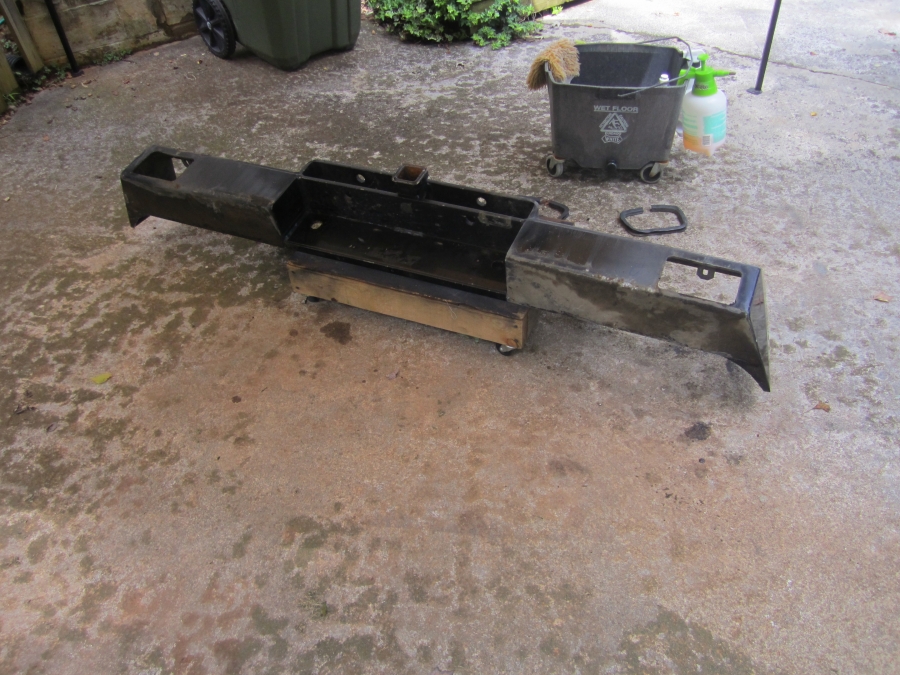
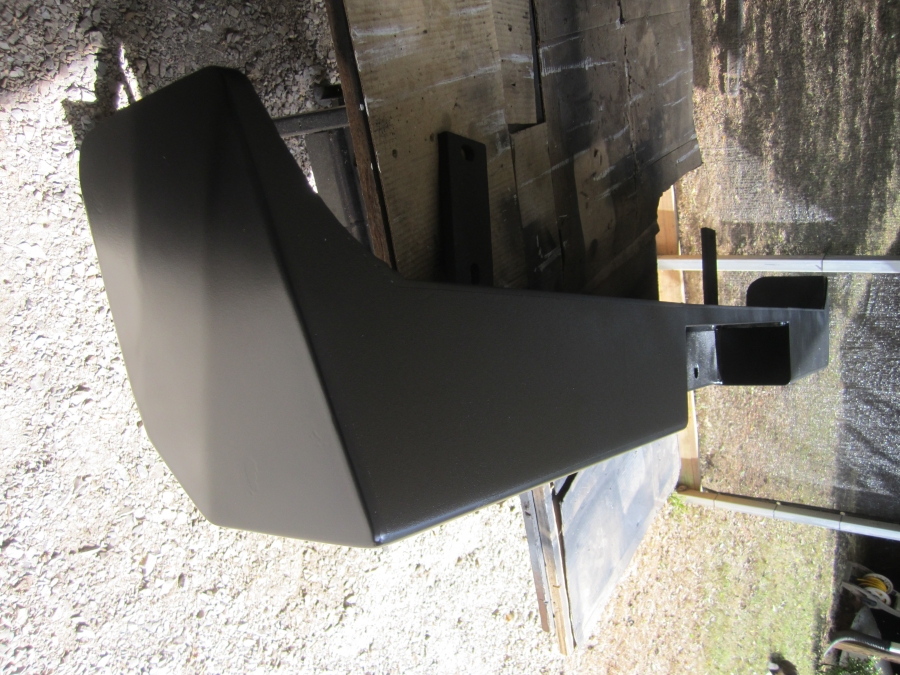
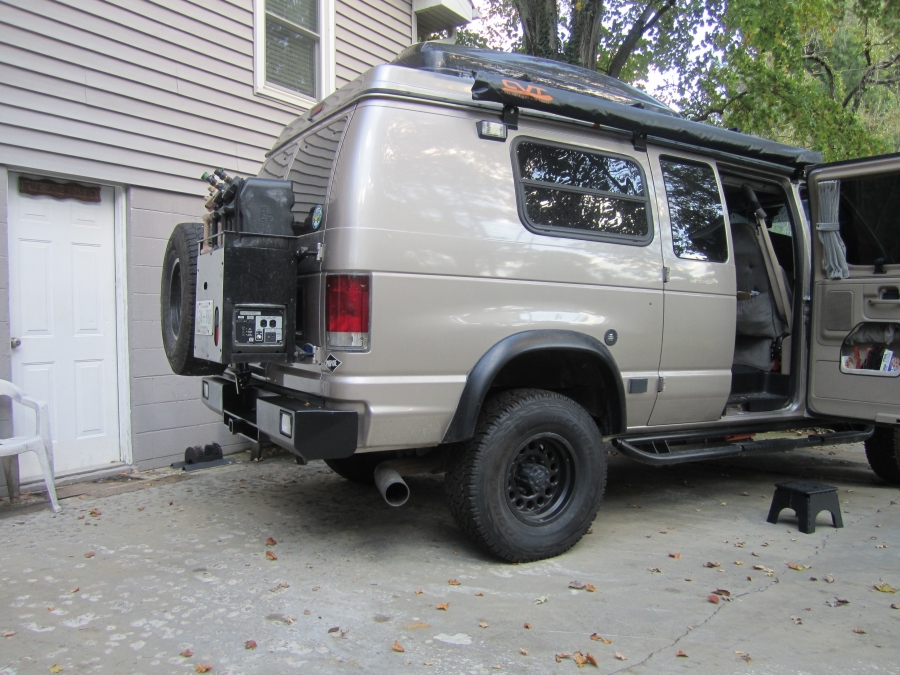
Finished product before install.
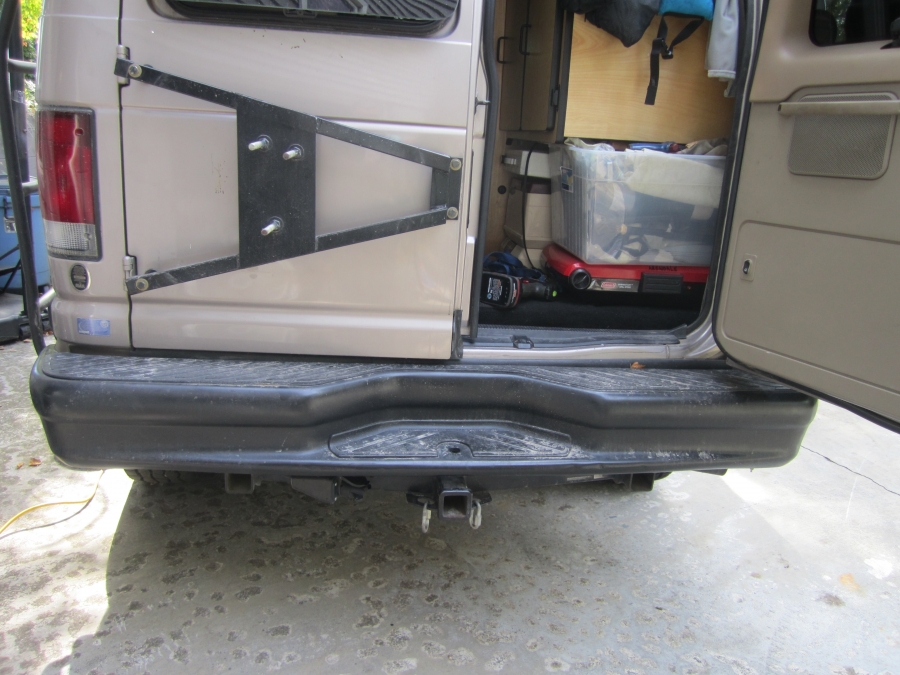
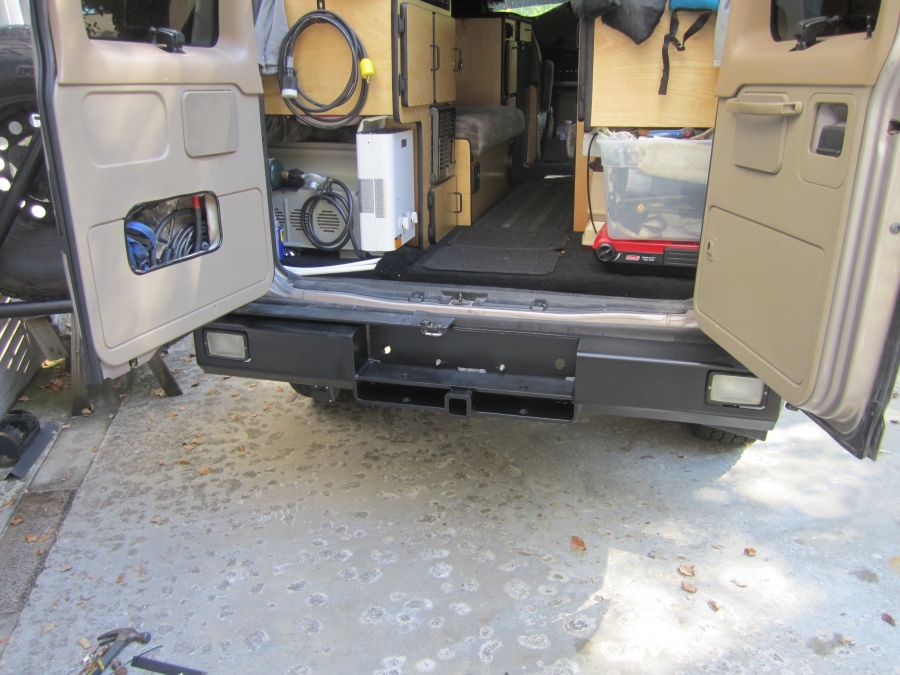


What I removed.


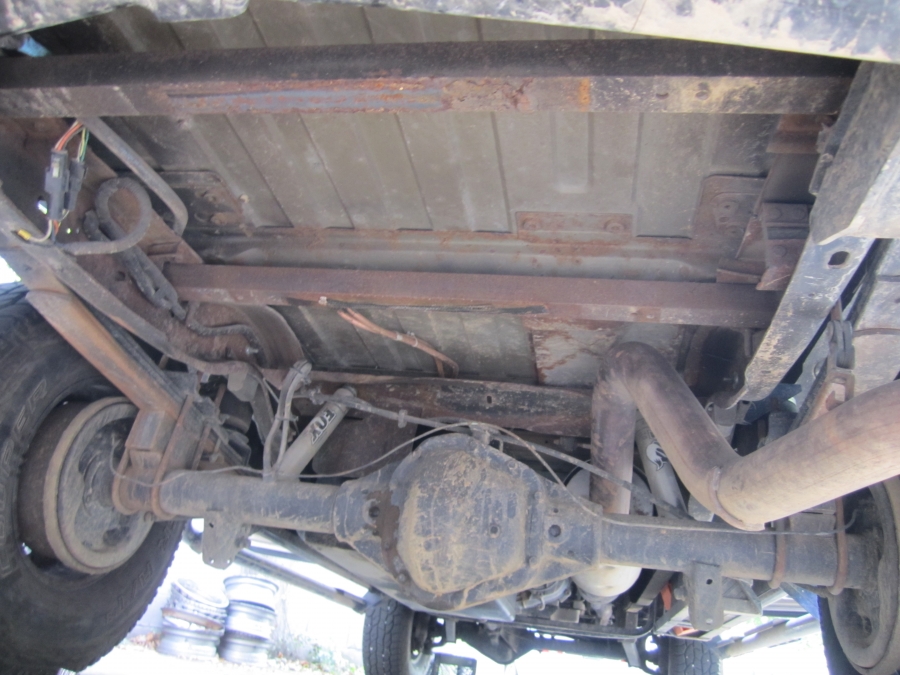
Also ditched the leaky, rusty Transferflow. I was going to add an underfloor storage box here, but instead I'm opting for 25 gallons of fresh water and onboard air in this location. Also, this is the only part of the underside of the van that was not sandblasted and painted/undercoated this past winter because the tank was in the way. I'll be addressing that before installing the new goodies. the good news is the angle iron cross members added for the Transferflow to strap to are perfectly spaced for the water tank. No need to do any welding under there at all.


Removing the upper door hinge pin was the most difficult part of this install. Thanks WVvan for lots of pics etc. in your build, but mine was still really tough. I wound up removing the hinge completely and getting some help from a friend with a bigger hammer. Dave from Aluminess has since given me the quick, easy way to do this. Air chisel with a pointed big. Dammit. I have one and didn't even think about it!


There was much less drama mounting this one, except for a really good fit I had to notch out the Reunel for the Aluminess carrier. This involved lots more grinding and cutting, then REsanding, REpriming and REpainting. Ughhh. Anyway, finally on.


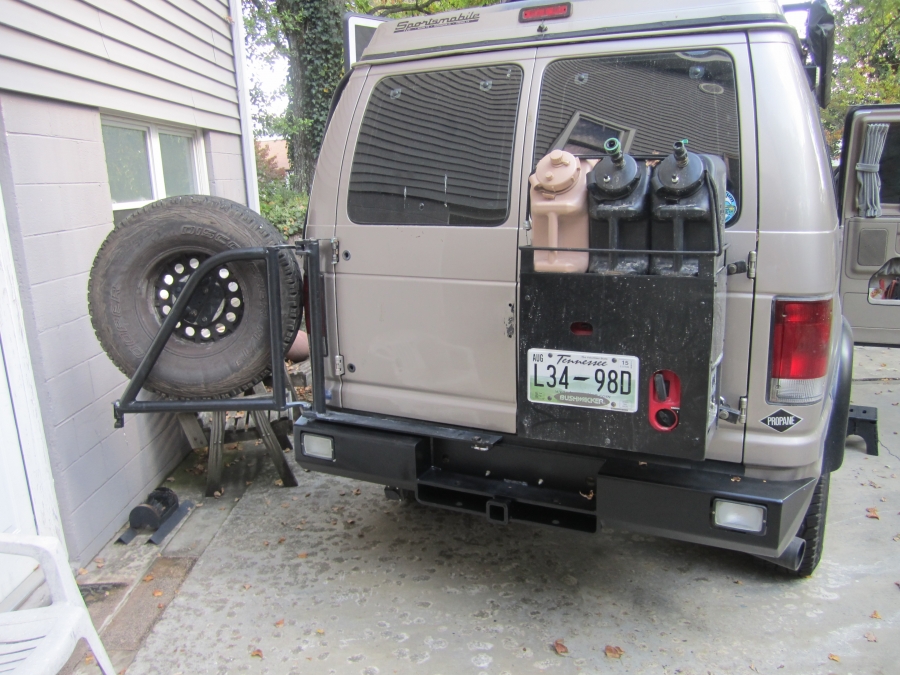
I'll get the lights wired up eventually.
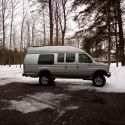
86Scotty is offline   Reply With Quote
Old 10-27-2014, 07:12 AM   #170
Senior Member
 
BrianW's Avatar
 
Join Date: Apr 2012
Location: Philadelphia, PA
Posts: 4,208
Re: Look what just drove up in my driveway, it's Rusty!

Nice job (as usual)! Did you move the old driver's side tire mount to the passenger side as the base for the generator box? I've been thinking of doing that on mine, too (well, getting another tire mount). Would be nice to be able to run an outside box, but I don't want to spend the $$$ on an Aluminess setup.

EDIT: Just looked at your gallery and I guess you had that box setup before moving to the Aluminess carrier. If you want to sell the old spare tire mount, let me know...
BrianW is offline   Reply With Quote
Reply

Thread Tools
Display Modes

Posting Rules
You may not post new threads
You may not post replies
You may not post attachments
You may not edit your posts

BB code is On
Smilies are On
[IMG] code is On
HTML code is Off
Trackbacks are Off
Pingbacks are Off
Refbacks are Off

» Featured Campgrounds

Reviews provided by

Powered by vBadvanced CMPS v3.2.3
Disclaimer:

This website is not affiliated with or endorsed by Sportsmobile SIP or any of its affiliates. This is an independent, unofficial site.


All times are GMT -6. The time now is 09:29 AM.


Powered by vBulletin® Version 3.8.8 Beta 4
Copyright ©2000 - 2024, vBulletin Solutions, Inc.