|
|
 09-14-2019, 01:14 PM
|
#31
|
|
Senior Member
Join Date: Mar 2013
Posts: 4,244
|
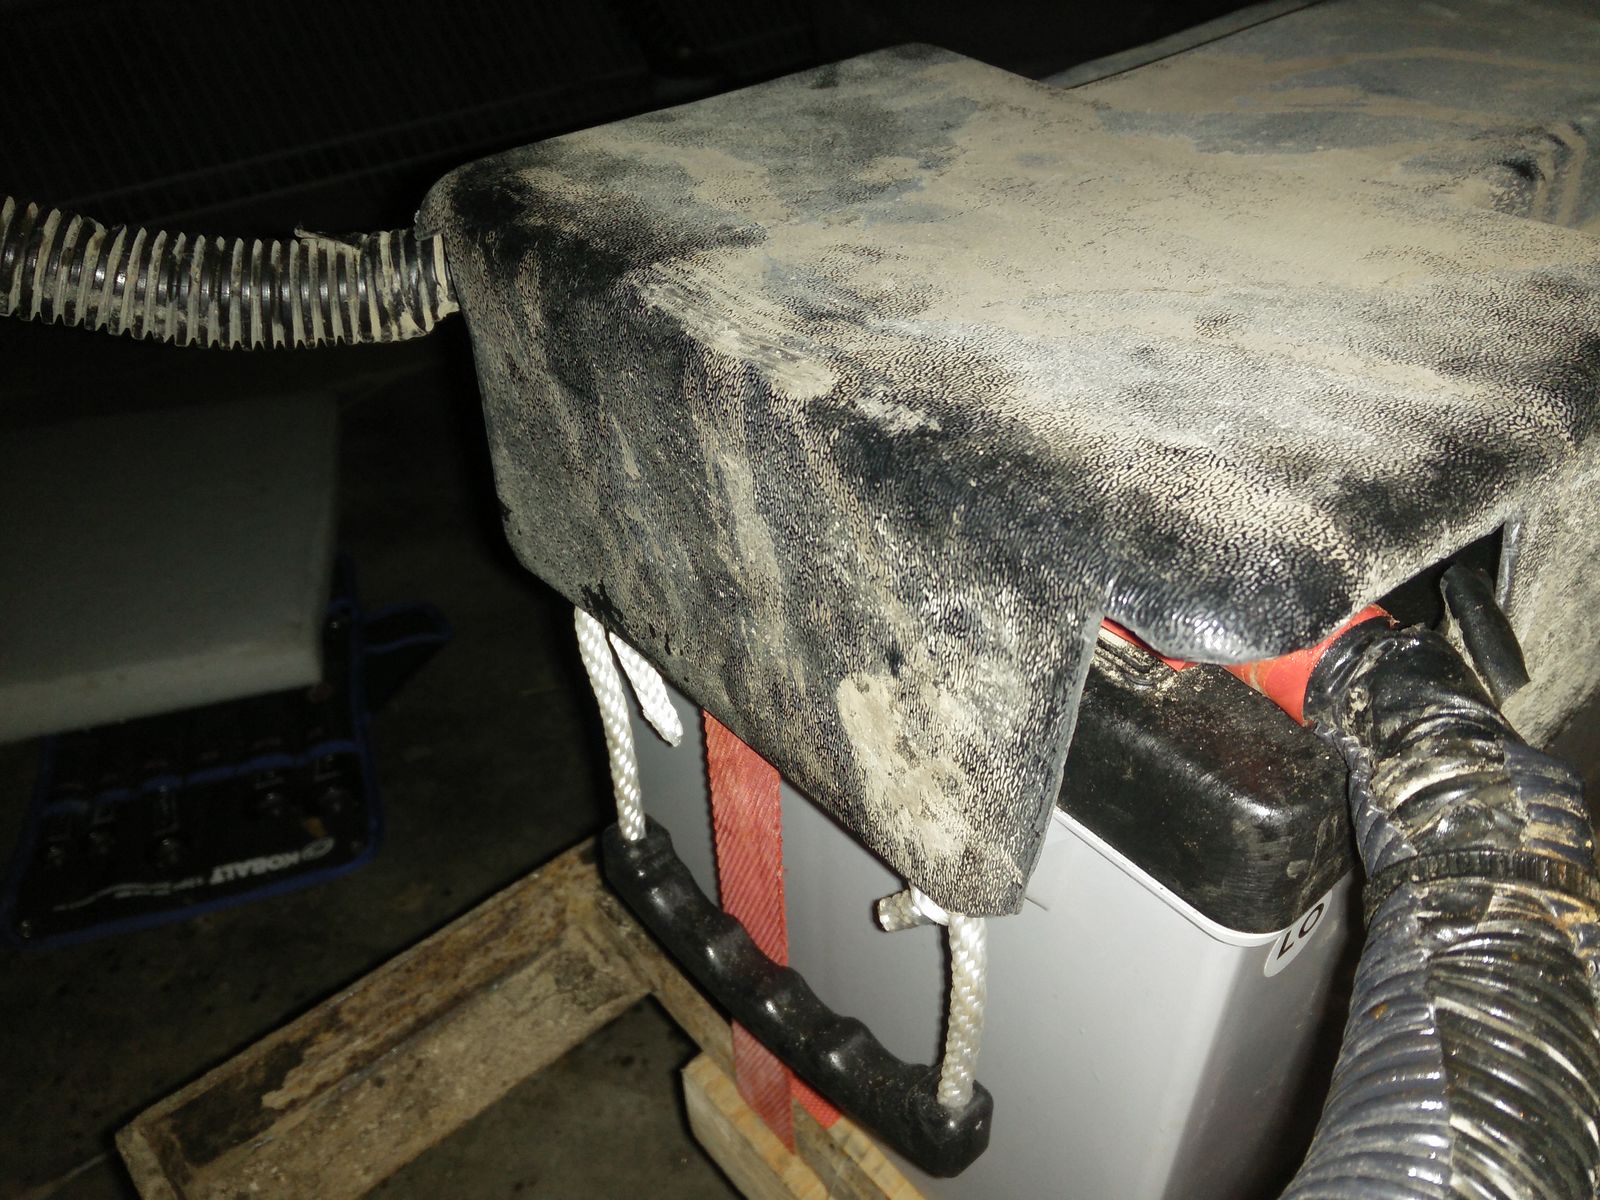
I got the flooring project finished, and now I'm moving on to the start battery cable upgrades. As purchased, there were 8 large cables all bolted together to the positive post of the battery. Besides straining the battery post, all those connections added resistance to the circuit, resulting in a voltage drop and slower aux battery charging. My solution is to mount a Blue Seas buss bar, and run half the cables to it. Since the distance from the positive battery terminal to the bus bar is very little, getting a 2/0 cable to make the needed bend is darn near impossible, so my current idea is to fabricate a jumper out of copper bar stock. With just a single bend I can easily connect the two, but finding the copper has proven quite difficult. I spent yesterday searching marine stores, a motor rebuilding business, a scrap yard and several hardware stores, all to no avail. I'll probably end up salvaging something out of an electrical sub panel, but the two I found yesterday had already been robbed. The photo is the before shot.
__________________
Arctic Traveller
KC6TNI
2001 GTRV
Advanced 4wd
Agile Ride improvement package
|

|

|
|
09-14-2019, 02:08 PM
|
#32
|
|
Senior Member
Join Date: Mar 2015
Location: Maryland
Posts: 3,382
|
Dont understand the motivation for addressing the Battery terminal traffic - looks like you still have room to park several more cables...
__________________
TwoXentrix
"AWOL"
|
|
|
|
|
09-14-2019, 05:32 PM
|
#33
|
|
Senior Member
Join Date: Aug 2019
Location: Elk Grove, CA
Posts: 391
|
The Boat that Wouldn't Float by Farley Mowat is one of my favorite books, along with The Dog that Wouldn't Be.
I've enjoyed your thread and am amazed.
__________________
Bob
2005 E350 Super Duty Ext Wheelchair Van
2002 Itasca 35U Motorhome
|
|
|
|
|
09-14-2019, 09:08 PM
|
#34
|
|
Senior Member
Join Date: Jul 2011
Location: TN
Posts: 10,245
|
Quote:
Originally Posted by Twoxentrix

Dont understand the motivation for addressing the Battery terminal traffic - looks like you still have room to park several more cables...
|

|
|
|
|
|
09-14-2019, 09:39 PM
|
#35
|
|
Senior Member
Join Date: Mar 2013
Posts: 4,244
|
Quote:
Originally Posted by Twoxentrix
Dont understand the motivation for addressing the Battery terminal traffic - looks like you still have room to park several more cables...
|
Not really, because all the cables aren't connected yet. The winch and the compressor cable aren't hooked up. In the process of re-designing the connections I discovered several other issues, like one #2 cable with a grossly over sized hole in the wire lug resulting in reduced contact area, another lug that was undersized where the strands enter the lug, so half the strands were cut off, a #12 wire connected directly to the battery with no fuse (talk about a fire hazard!) and chafed insulation, so I'm glad I tore into it.
__________________
Arctic Traveller
KC6TNI
2001 GTRV
Advanced 4wd
Agile Ride improvement package
|
|
|
|
|
09-15-2019, 12:17 AM
|
#36
|
|
Senior Member
Join Date: Apr 2007
Location: Seattle, WA
Posts: 1,061
|
Quote:
Originally Posted by arctictraveller
...when I was raising the 4D AGM I noticed that the positive cable really had no where to go that wouldn't result in it contacting the body of the van. After a couple of try's, I took it out again and discovered that indeed the cable had been rubbing on the van and it was worn about half way through the insulation. Yikes, I can only imagine what was going to happen if it wore all the way through!
|
I found out a few years ago when mine did wear all the way through...
http://www.sportsmobileforum.com/for...rks-12192.html
-- Geoff
|
|
|
|
|
09-15-2019, 01:16 AM
|
#37
|
|
Senior Member
Join Date: Mar 2013
Posts: 4,244
|
Quote:
Originally Posted by geoffff
I found out a few years ago when mine did wear all the way through...-- Geoff
|
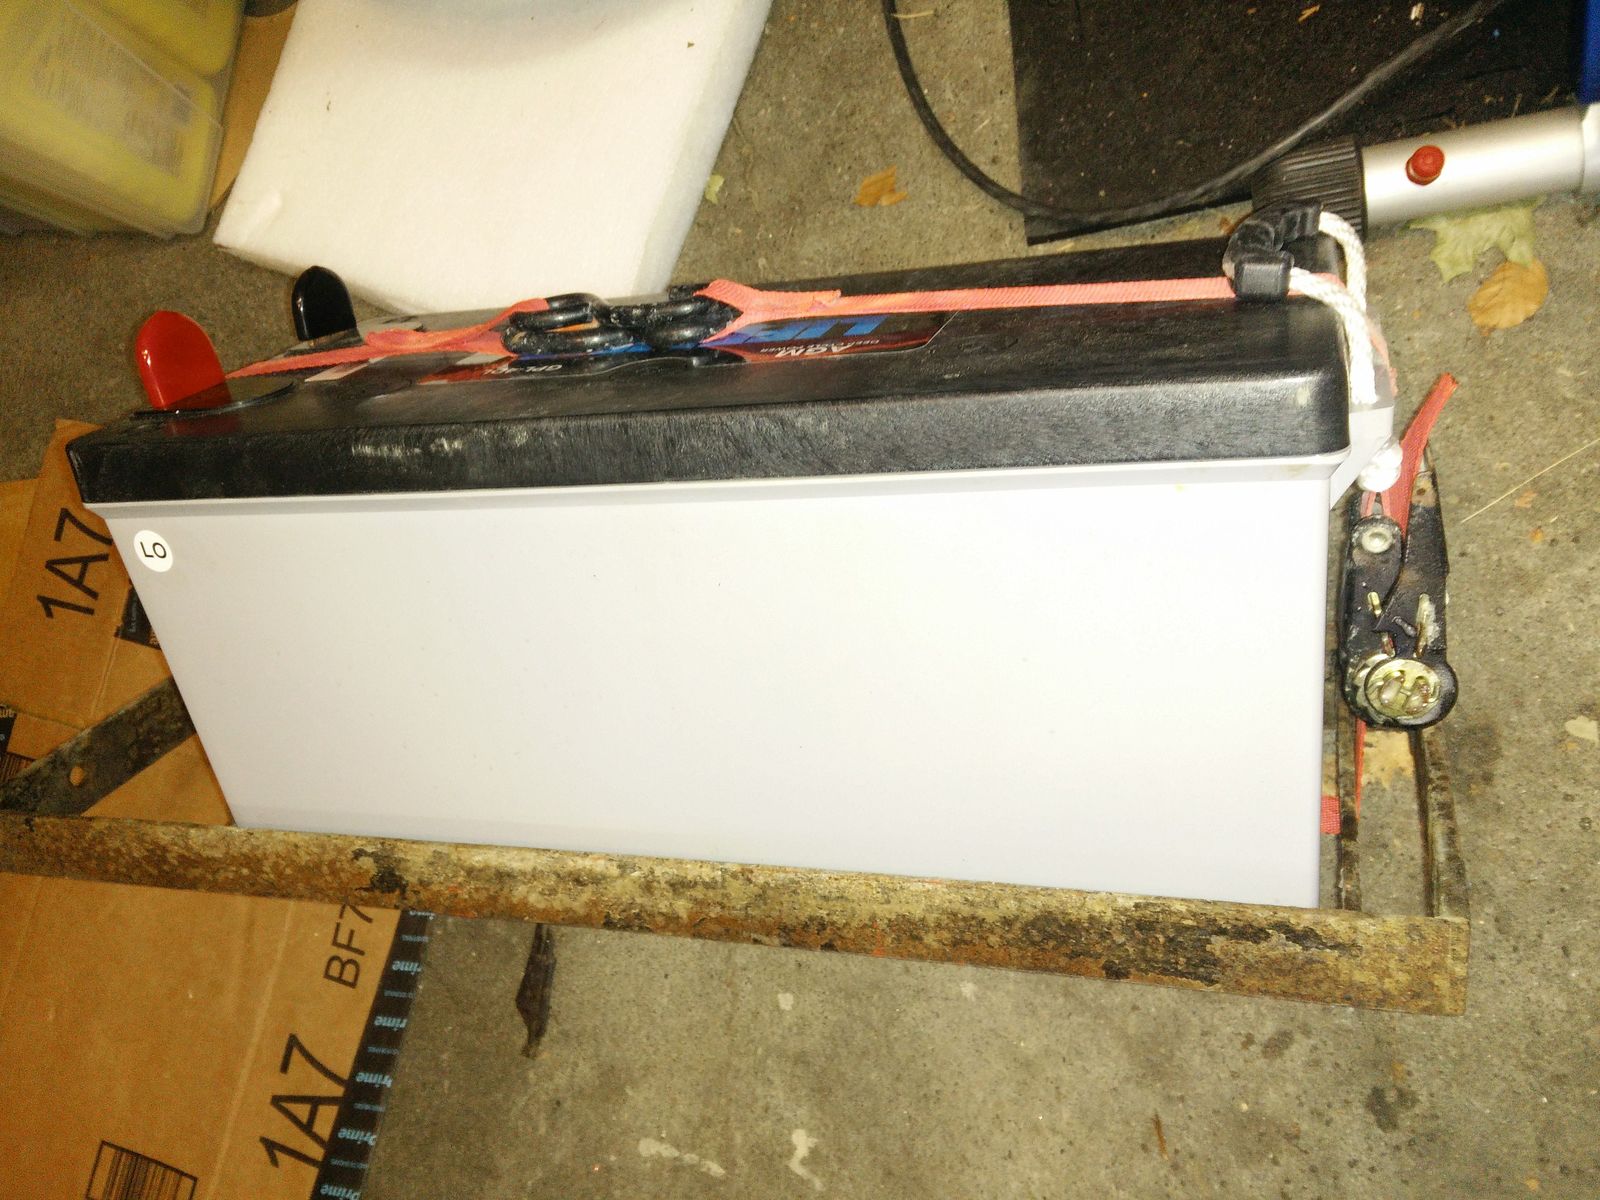
Wow, scary story, it's exactly what I was afraid of when I found the house battery cable rubbing on the frame. What I hadn't considered was that the battery could move out of place, but now that I think of it, it's not tied down. I assumed there was no room for it to move, but now I see there is. I hate the idea of dropping that thing down to fix it, but if I can't secure it somehow without pulling it, out it comes.
__________________
Arctic Traveller
KC6TNI
2001 GTRV
Advanced 4wd
Agile Ride improvement package
|
|
|
|
|
09-15-2019, 02:09 PM
|
#38
|
|
Senior Member
Join Date: Apr 2007
Location: Seattle, WA
Posts: 1,061
|
Quote:
Originally Posted by arctictraveller
I hate the idea of dropping that thing down to fix it, but if I can't secure it somehow without pulling it, out it comes.
|
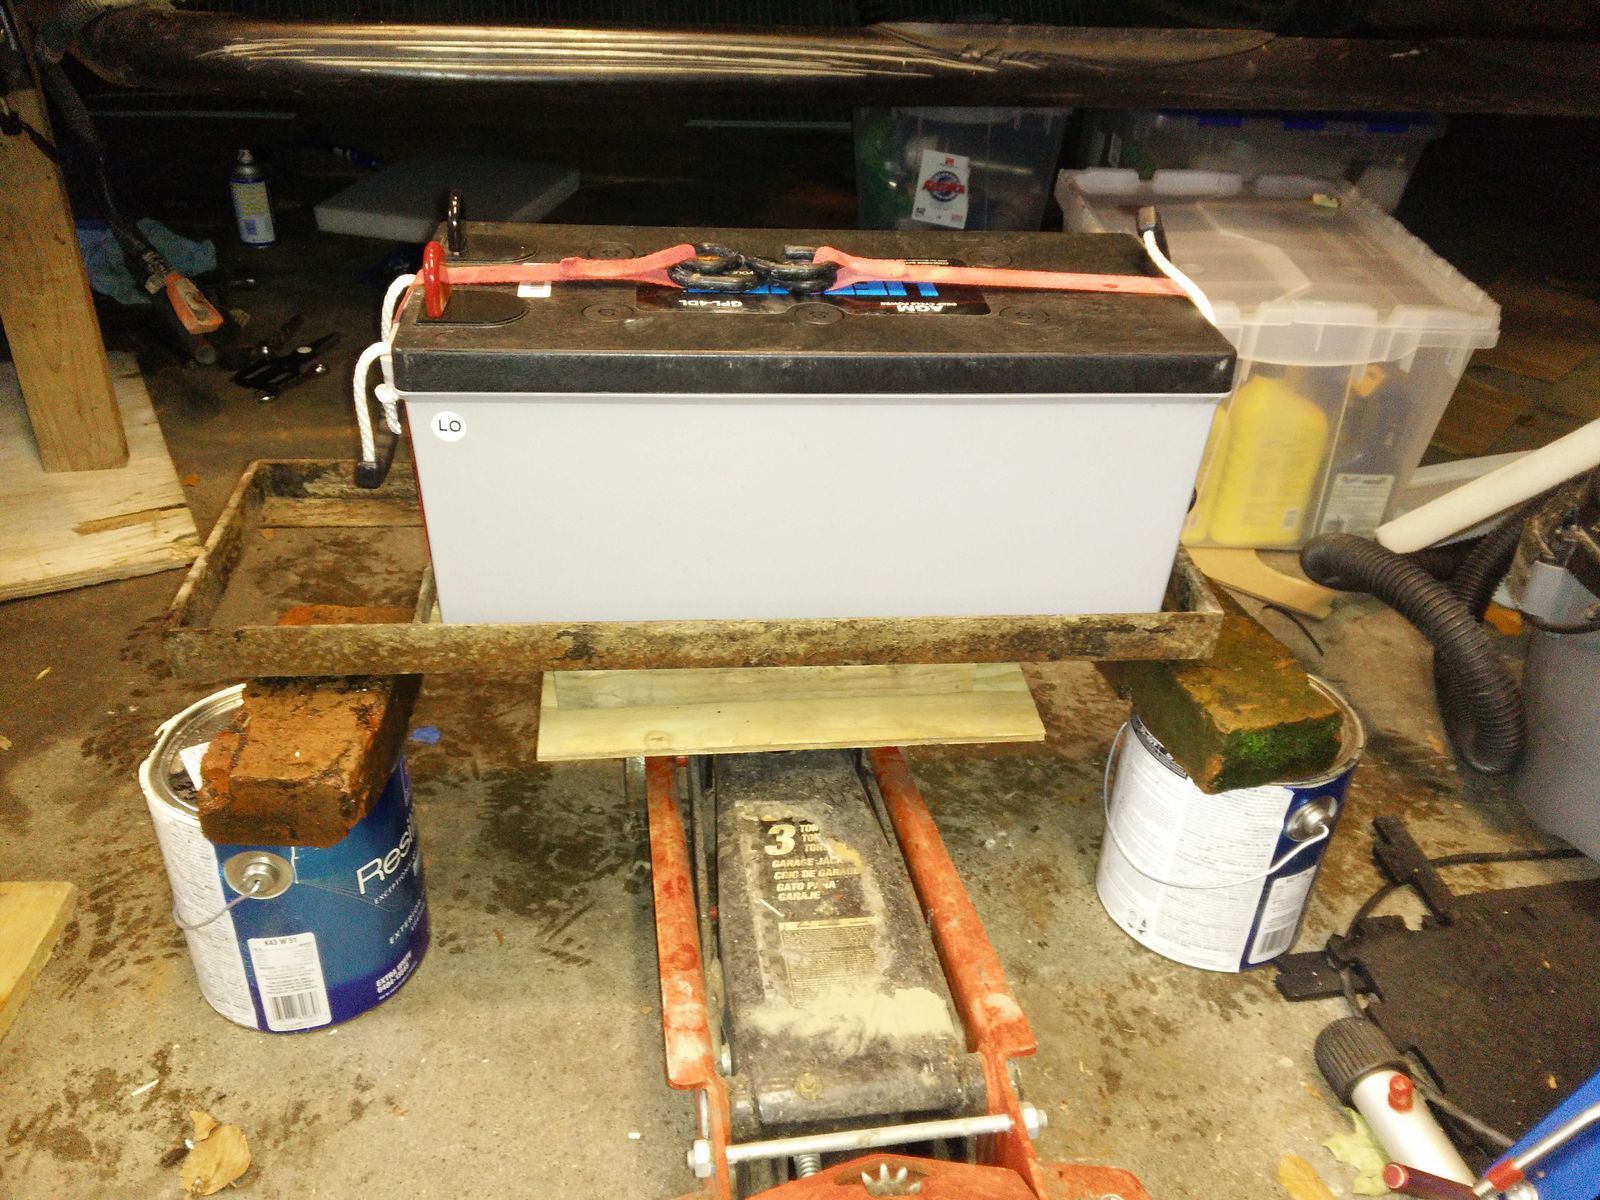
If you can snake a strap up and over the top of the battery, and then wrap it full circle around down under the battery tray, you can secure it without dropping it. I used a ratchet strap.
But dropping the battery means you can better place the strap between Sportsmobile's plastic batter-top cover (if you have one) and the battery.
  
-- Geoff
|
|
|
|
|
09-15-2019, 02:34 PM
|
#39
|
|
Senior Member
Join Date: Mar 2013
Posts: 4,244
|
Quote:
Originally Posted by geoffff
If you can snake a strap up and over the top of the battery, and then wrap it full circle around down under the battery tray, you can secure it without dropping it. I used a ratchet strap.
But dropping the battery means you can better place the strap between Sportsmobile's plastic batter-top cover (if you have one) and the battery
|
I'll try going over the top cover first, but if it doesn't look secure, I'll have to drop it agian 
Meanwhile, my buss bar project is nearly complete and has worked out just fine. All aux circuits are now properly protected by fuses, and the strain on the battery terminal has been eliminated.
__________________
Arctic Traveller
KC6TNI
2001 GTRV
Advanced 4wd
Agile Ride improvement package
|
|
|
|
|
09-15-2019, 02:37 PM
|
#40
|
|
Senior Member
Join Date: Mar 2013
Posts: 4,244
|
Moving the battery over provided plenty of room for the buss bar.
__________________
Arctic Traveller
KC6TNI
2001 GTRV
Advanced 4wd
Agile Ride improvement package
|
|
|
|
|
|
 Posting Rules
|
You may not post new threads
You may not post replies
You may not post attachments
You may not edit your posts
HTML code is Off
|
|
|
|
 » Recent Threads
 |
|
|
|
|
|
|
|
|
|
|
|
|
|
|
|
|
|
|
|
|
|
|
|
|
|
|
|
|
|
|
|
|
|


 AWOL
AWOL
 Linear Mode