First of all let me throw out a huge THANKS to Greg for loaning me the crimper. My life today would have sucked without it. That thing works GREAT!
I got all the wiring done up to the point where I need to snake the leads through the front of the van up to where the aux battery will live next Friday. It took me the better part of 5 hours with 1 trip to the hardware store and 1 trip to Napa.
The heat shrink tubing that Greg gave me is the bomb. It has heat activated glue in it and between the crimper and the heat shrink tubing the cables are bomber and WILL NOT be coming apart. Making the custom cables yourself has a lot of advantages. You can crimp the ends on at the proper rotation so you aren't forced to twist the cable to install it. All the cables are the correct length so you don't end up with a 12V spaghetti monster inside the winch box.
I picked up some abrasion resistant tubing stuff at NAPA to protect the cables going through the bumper all the way up to the battery. I wish I had shopped for the stuff before I got all the cables connected. I had to undo some of the leads to install the outer protective tubing. It's some kind of fabric tubing that's coated with a black semi sticky stuff that they use to protect hydraulic lines on heavy equipment. The battery cables slid inside the stuff and are completely covered. I hope it takes the heat from inside the engine compartment.
Edit....I just noticed I have the small gauge red relay wire, wired to the wrong spot. It will be corrected first thing in the morning....John
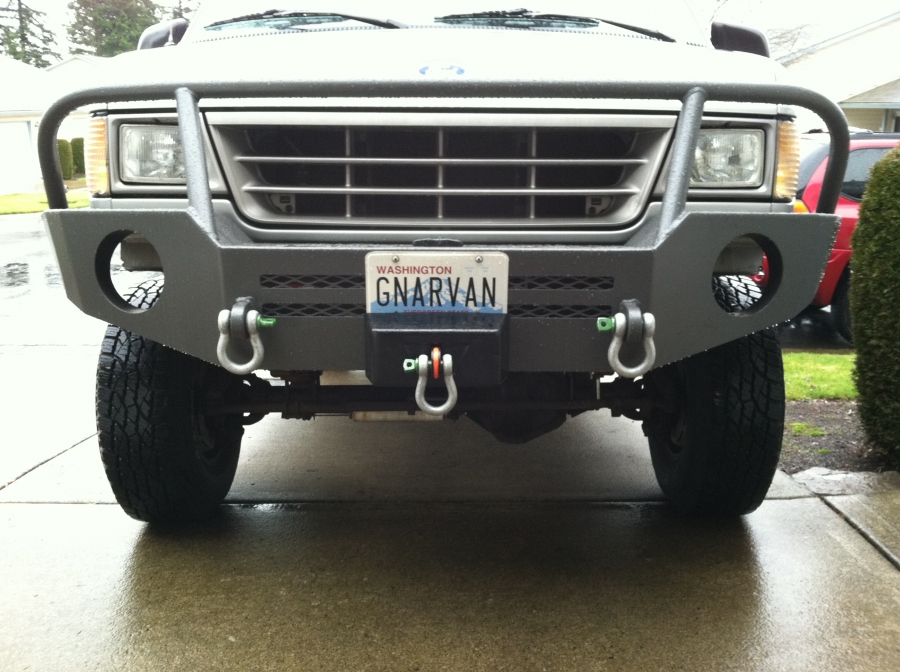
Edit 2....Napa calls the protective fabric coating Fabric Loom. It was $1.29 a foot. I've also added a picture of the front of the van with the synthetic rope installed.
Pictures
Happiness is having the right tool for the job....Thanks again Greg
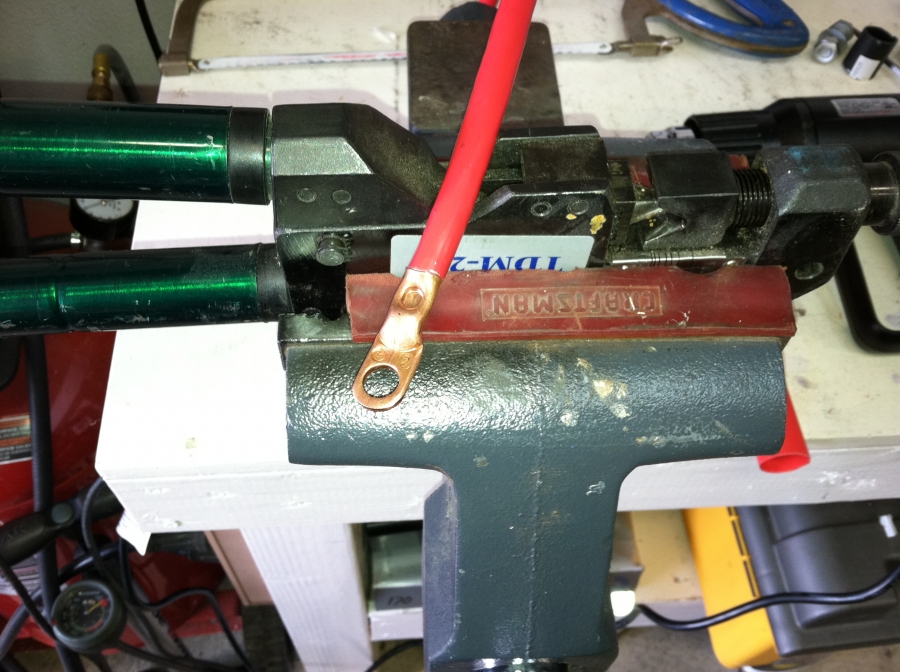
Finished cable ready to install
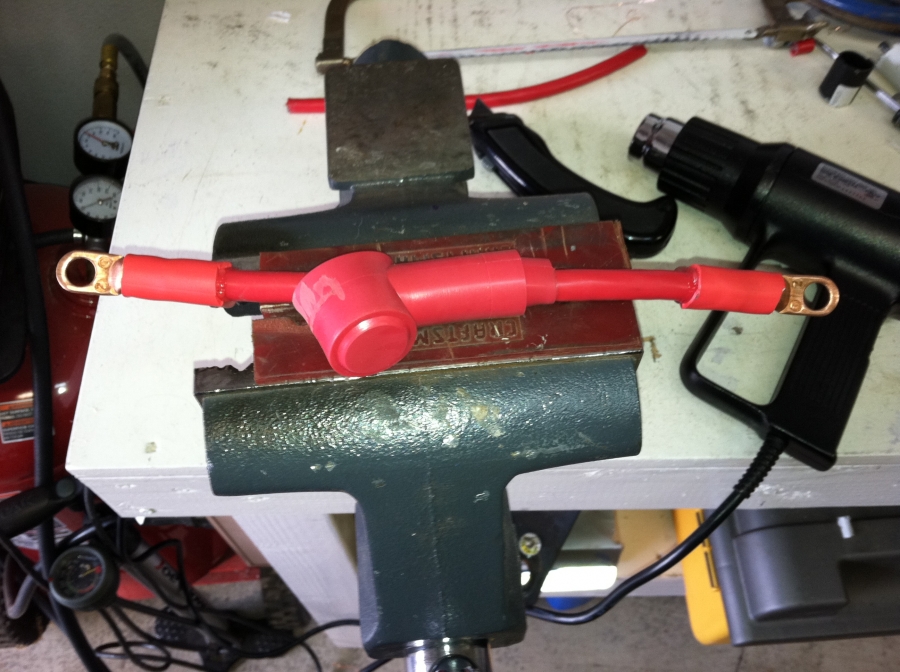
Winch wiring before I installed the outer protective coating where the leads come through the bumper
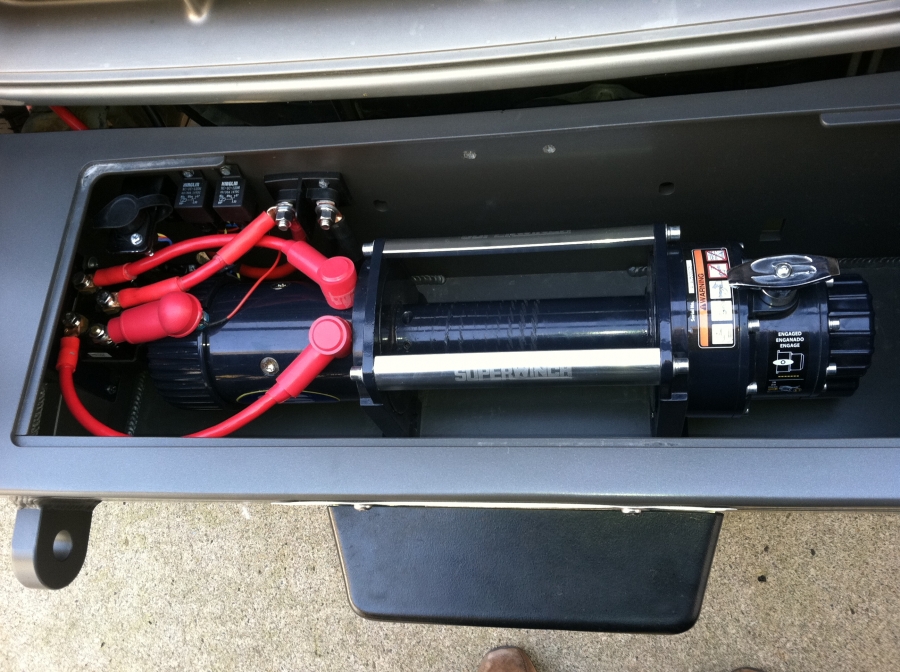
Battery cables with protective covering waiting to snake their way up to the Aux battery

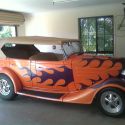
Gnarvan's new look.....edited to show Warn fairlead cover modification


 Linear Mode