Update:
While seeking out someone local to work with me on building a new upper-bed, Chris from UJOINT recommended a fabricator that was only 20 minutes away from me. After meeting with Mike and seeing his current van project as well as previous project vehicles he had done I knew he could work with me on the upper-bed rebuild.
Mike and I met a few times and went over some ideas together before coming up with the plan which was somewhat based on seeing another upper Voyager top SMB bed on the forum. In that build they had not created a front over the driver cabinet but left that area open to be used as part of the bed when deployed and as storage to hold the bed when not. That made the most sense for how I use my van so we went with that basic idea.
What I didn't like about the accordian bed was that it was really heavy and difficult to get back into place. It also blocked the storage compartment when it was in stored position and only allowed limited tight access to the compartment when deployed. In addition the person in the lower bed couldn't stand up when getting out of bed or they would hit their head on the upper bed. With this new design the upper bed would be over the front of the van cab and extend just over the stock passenger bench seat allowing the person below to still stand up and move around the kitchen counter area.
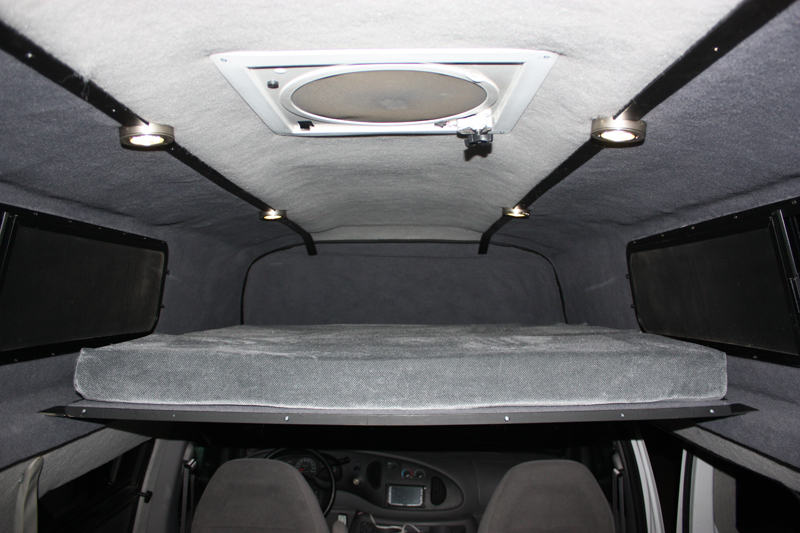
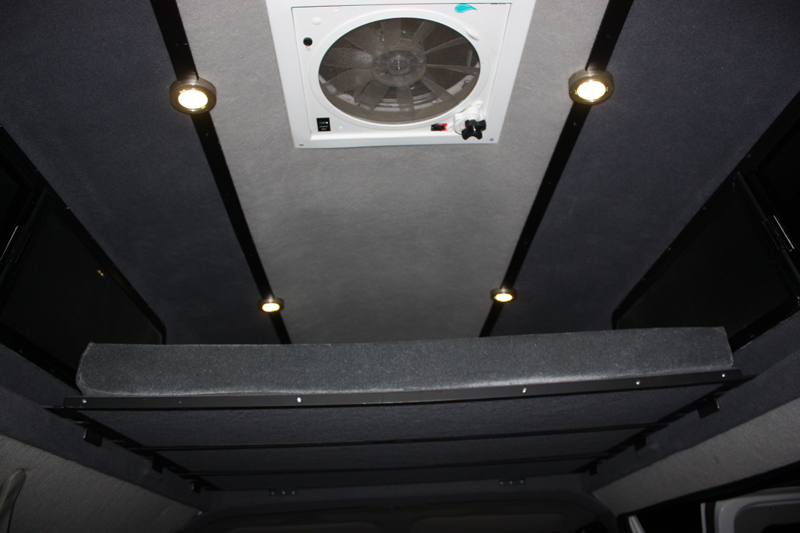
The new bed was designed in sections for ease of assembling and to allow me to bring fewer sections if only kids were sleeping up above. This also allows for easy stacking when storing. Each section hooks together and then have extensions on each side and on the bottom to make sure when it is in place it isn't going anywhere. I was able to use the same cushion covers from Derek at CCV, which are actually good quality material. The foam he used however was a complete joke so Mike found some higher density stuff that feels like it will work well. The bed has much less head room to move around for an adult but is fine for sleeping. For kids there is plenty of room. This is a compromise I am willing to live with for the functionality of the overall design.
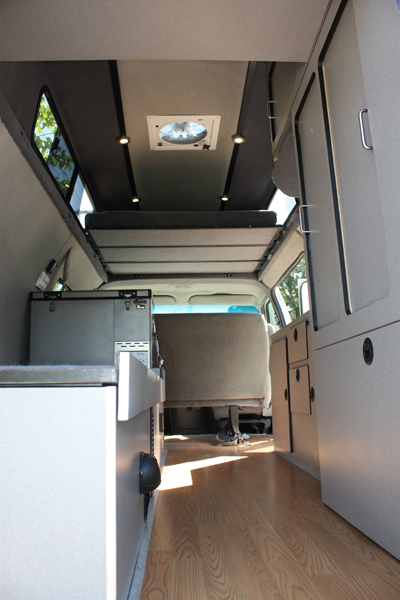
A funny thing happened when Mike started working on the upper-bed and we starting discussing a few other things that needed fixing. One thing led to another and I ended up with close to a redo on the interior. He couldn't help himself after trying to work around someone else's work, if you want to call it that. We did keep much of the layout the same because I really liked it and because certain items were already installed and not easily moved like the heater/ac unit. Here are a few photos of the results of the build. He wanted nothing to do with the existing wiring so I still have some wiring to do for the added 12v outlets. When I get time I will redo all of the wiring, besides the wiring I already had to redo on the National Luna Dual charging system that was fried from poor and improper installation during the initial build.
Updated NON-CCV Interior. Still debating if I am going to use the Futon I was using before or go with a custom cushion. I like the Futon because you can put it at different angles and lounge on it. Plus the cover comes off for washing or replacing. Doesn't look as cool as a custom SMB type cushion but function will probably win out. Plus, I know I sleep good on the Futon. The lower bed frame pulls out in two stages, one width for just one person sleeping or all the way if more than one. This allows the isle to still be walkable if only one person is sleeping below.
Pull-out drawer for the porta-potti, TP and Chem Tabs. Aluminum trim around the floor edges and some other well used edges for durability.
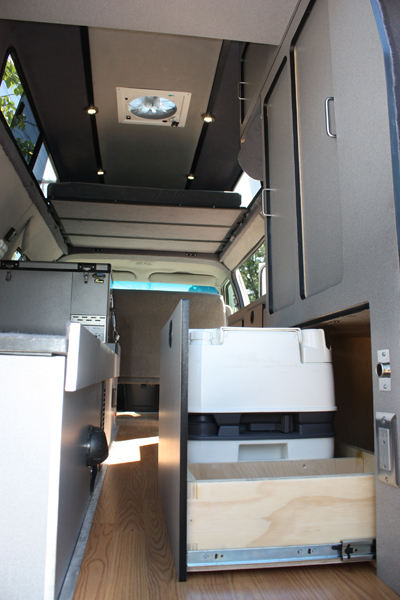
Slide-Out Fridge to be used as a table while cooking and to access the wiring.

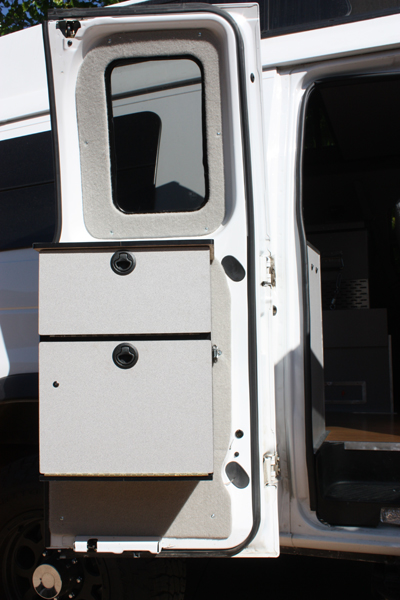
Custom door cabniet. Holds my Coleman dual burner flip open stove nicely.
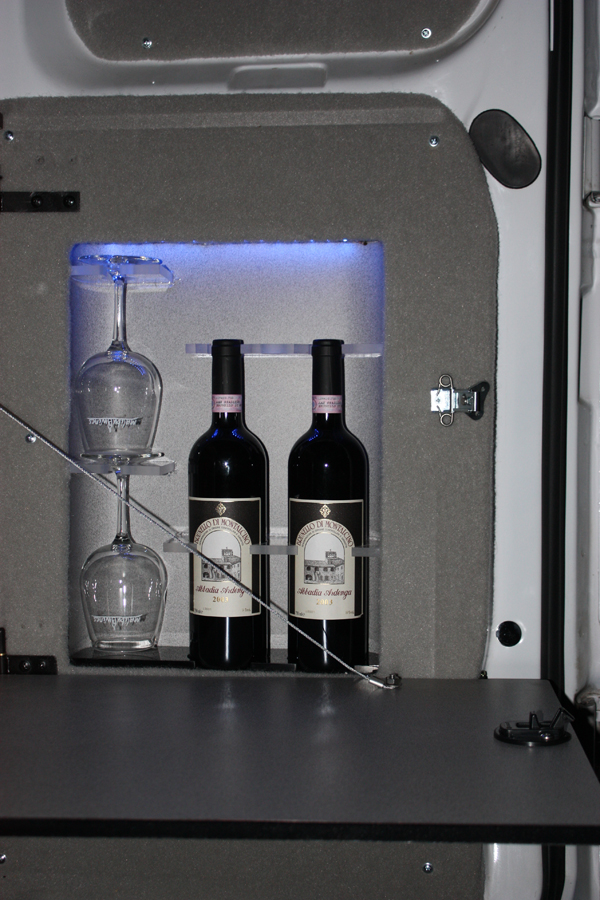
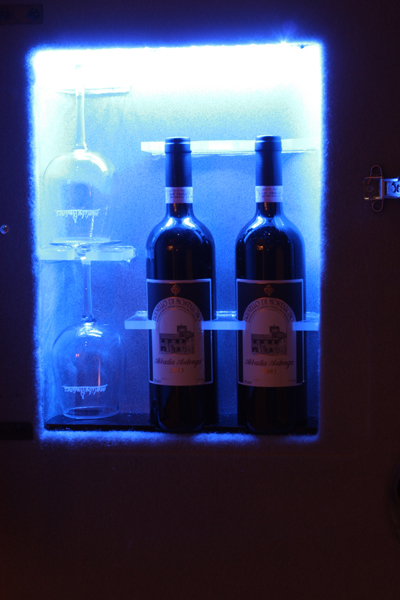
Custom wine rack.
Oh My....! This is why I like the guy. Mike takes pride in his work and wants it done right for not only me but for himself.


 Linear Mode