Now we are out of the cold Indiana weather, down in Florida, enjoying living in Vanessa. Some rain moved in today so now is the time to post some photos. You can find detailed drawings with dimensions and model numbers for appliances on my site here:
http://davidelmore.com/Sportsmobile.php.
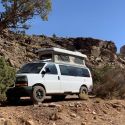
Below you can see the awning out and the Camco Olympian 5500 gas grill mounted on the side of the van and connected to the van's propane tank. The grill works really well.

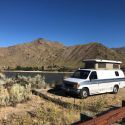
Below is the other side showing the TV antenna. We typically receive about 10 TV stations.
I am considering some graphics on the sides and back of the van. Suggestions are welcome!

Here is the huge storage cabinet in the back. From upper left to lower right: 3 gal pink liquid in case we need it for the gray tanks; toolbox; out of sight behind is a 5 gallon pail and our hiking boots; top center shelf has extra cables and hoses; below that are boxes for beverages; six 6x6x25 boxes for storage of rope, tools, and parts for things I still have to install; upper right is our 2-person inflatable kayak and behind that the pump and life preservers; the next layer down is the foot of the bed; below that the 40-gal water tank, folding chairs, folding table, spare tire, small step ladder, and leveling blocks. In the left door is the electric cable and in the right door is the hose. In the receiver hitch is a $26 step from Harbor Freight.

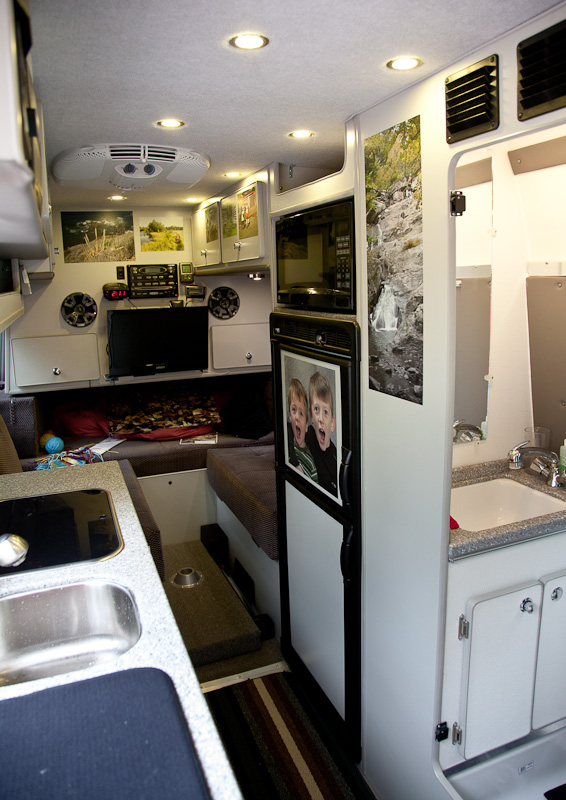
Below is the galley. Left cabinet, without a door, has water jugs and paper towel on the top shelf and a trash can on the bottom. This cabinet also opens outside so we can stow shoes from that side. Under the sink has adjustable shelves, next 4 drawers, and then a slide-out pantry. The 2x3 foot throw rugs are easy to beat against a tree or throw in the wash.

Across from the galley is the 7 cu ft Norcold electric fridge and microwave. You have probably noticed the prints on the walls. This is a new medium we print on at my company
Redipix.com. It has a removable adhesive on the back, similar to a sticky note. You can easily remove from the wall and re-apply somewhere else.
The next few shots show the dinette/bed in various configurations. Here it is set up (almost, ask if you want the long story) the way SMB intended. We do not like to use the backrests, which double as part of the bed, because they are too wide resulting in a short seat and colliding knees.

So we slide the seat backs under the cabinet and use pillows to lean back on as shown. The table here is the same one I made for the front of the van. It is plenty large enough for two to eat on or to hold a laptop and mouse. The table is very lightweight and quick to set up.

Here is the bed configuration. The seats slide forward with a drawer glide and the seat backs drop in behind the seat. Although we can slide the seats to meet in the center, we prefer to leave a small gap as shown to make it easier to climb in and out. We plan to make fitted sheets (similar to a slip cover) that will stay on the cushions all the time. We use a comforter on top without a top sheet. The bed is 70 wide by 82 long (between a standard queen and king).

The bathroom turned out great. It is 24x48. There is a full mirror above the relatively large sink and no overhead cabinet. The faucet pulls out for showering. The lever on top of the faucet is very convenient and completely stops the flow so we leave the hot faucet open all the time. I have the tempering mixing valve on the hot water heater set to shower temperature so we never need to open the cold faucet. The cabinet below the sink holds the toilet paper and a waste basket for used toilet paper. We find this system helps avoid problems when dumping the black tank.

The marine toilet works well. Above it is a towel rack and storage cabinet. There are shower curtains to cover the window, door, and under-sink cabinet.

Up front we have overhead cabinets and Fantastic vent. The low cabinet on the left has a drawer and hot water heater with some storage room. The front seats are often turned as shown and I use the driver seat while on the computer as I am now.

This shows the water heater and tempering valve. Below that is the end of the black tank.

I have spoken several times about the hot water recirculating system. The valve that activates it is way back under the galley sink. Since we often want to open it for a short time to bring hot water to the kitchen sink, I made a cable extension for it. When the knob is pulled out as shown, the valve is open. Pushed back against the cabinet it is closed (see earlier photo).

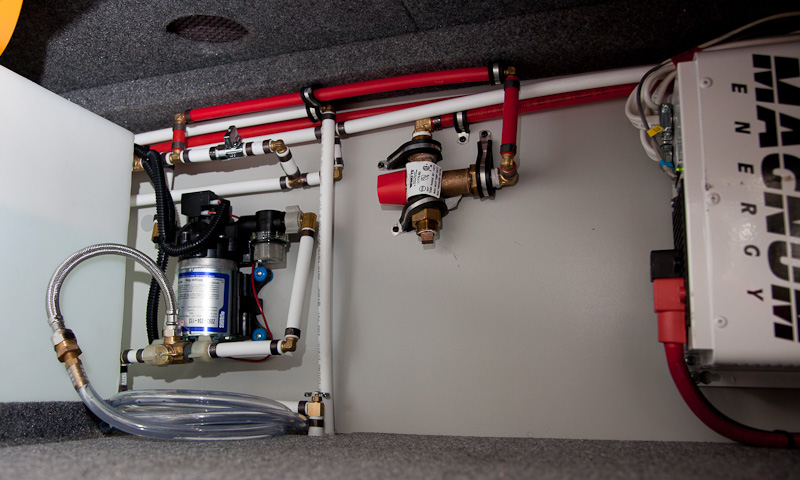
Here is the finished plumbing system behind the spare tire. You can see a hole in the bed platform where I can reach down to operate the valves. The valve above the pump is for filling the tank from the city water connection or by pumping out of a pail with the coiled tube on the floor (I needed this when filling the tank before we left home in freezing weather). The 3-way valve below the pump switches the pump intake from the tank to the coiled line. This is also useful for pumping pink liquid into the system. Next to the coiled line is the tank drain valve. To the right is the tempering valve that stops the recirculating water once it gets hot at the end of the line.
So we are really happy with Vanessa! Going from a big rig to a class B and loving it makes us wonder why everyone needs all those slide-outs! Tonight we drove to dinner, changed clothes in the restaurant parking lot, returned in the rain to our campsite and never had to step outside.
David and Janet


 Linear Mode