Well...the Nightmare is over!!!
I'm waiting for the silicone to dry on them and then I can drop them in, but before that, here's all that I had to do to make them work. Have a seat ya'll and grab some

opcorn2:
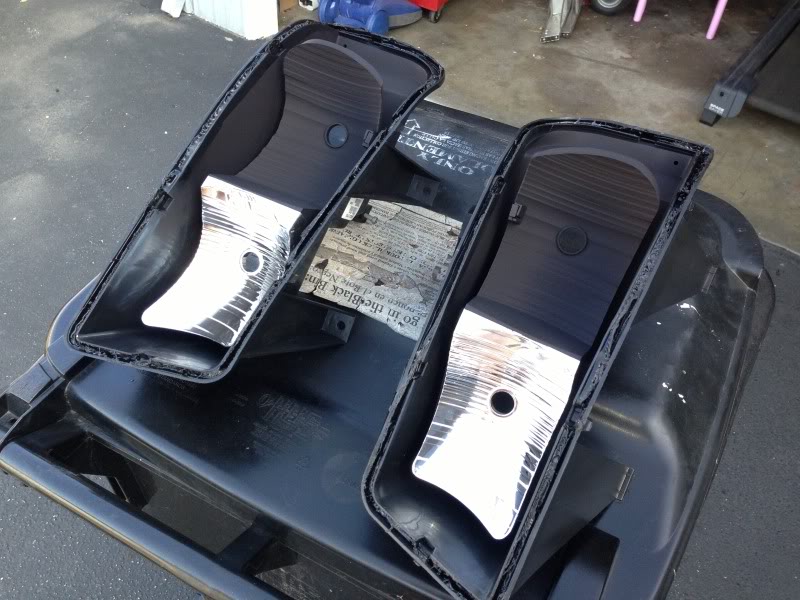
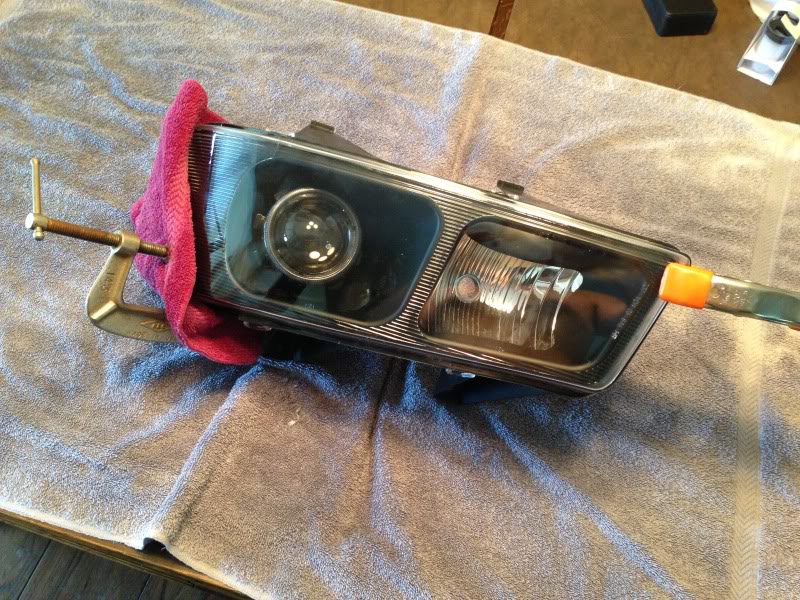
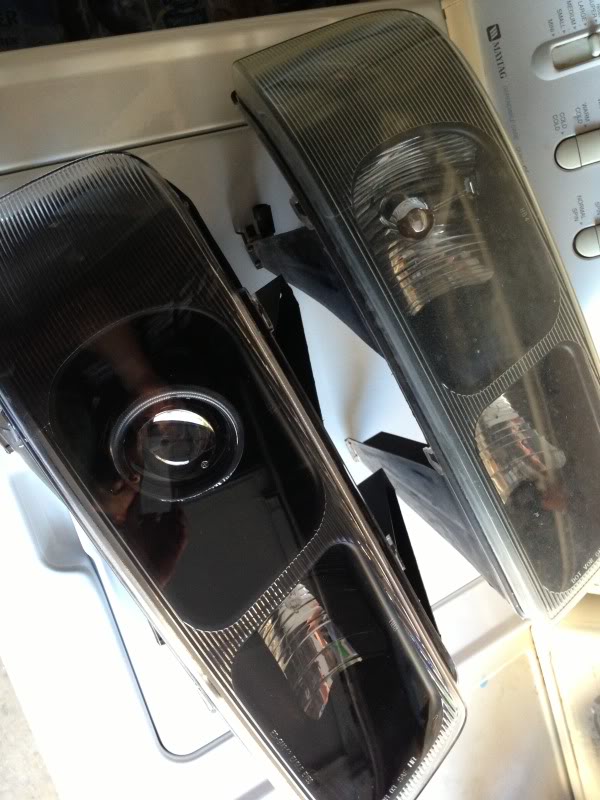
So here's what I started with, Projector conversion and a aftermarket set of new headlights:

First thing I had to do was do a little baking:
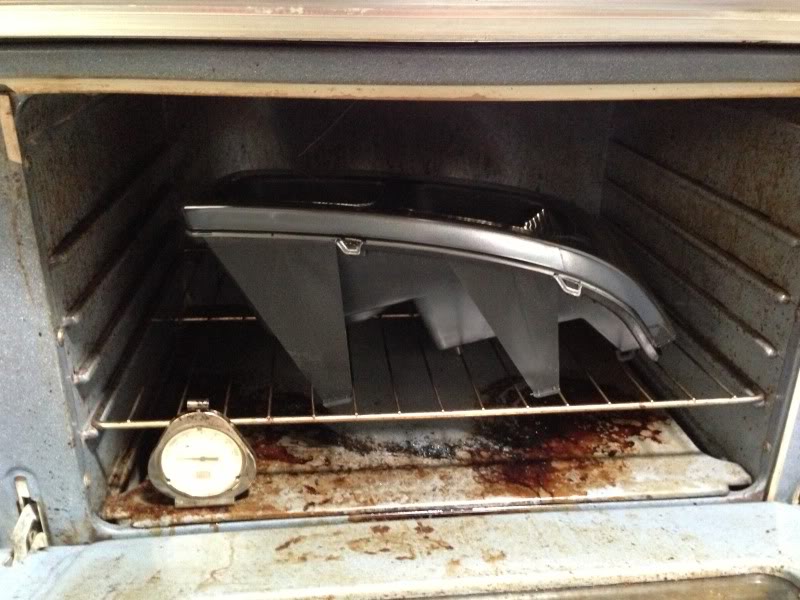
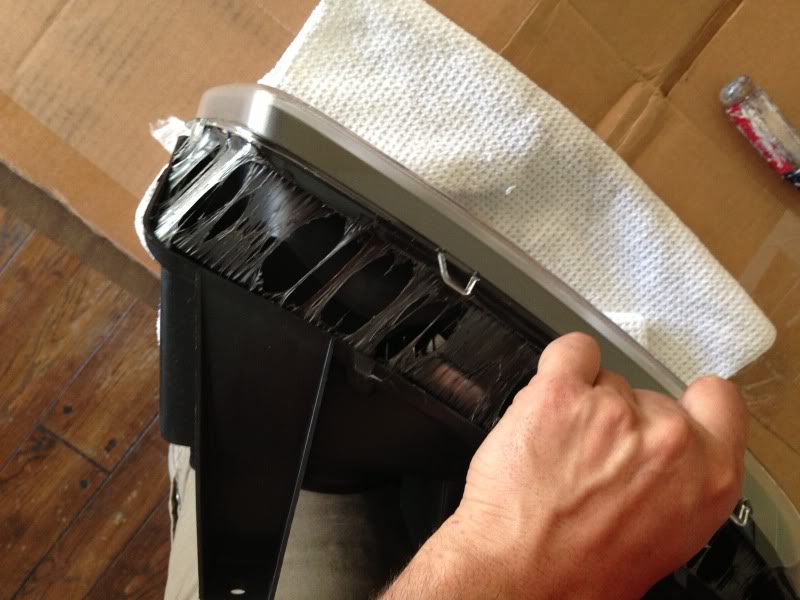
Then Pried them apart (man was that some nasty stuff, but thankfully once it's warm it comes apart pretty easy...considerably)
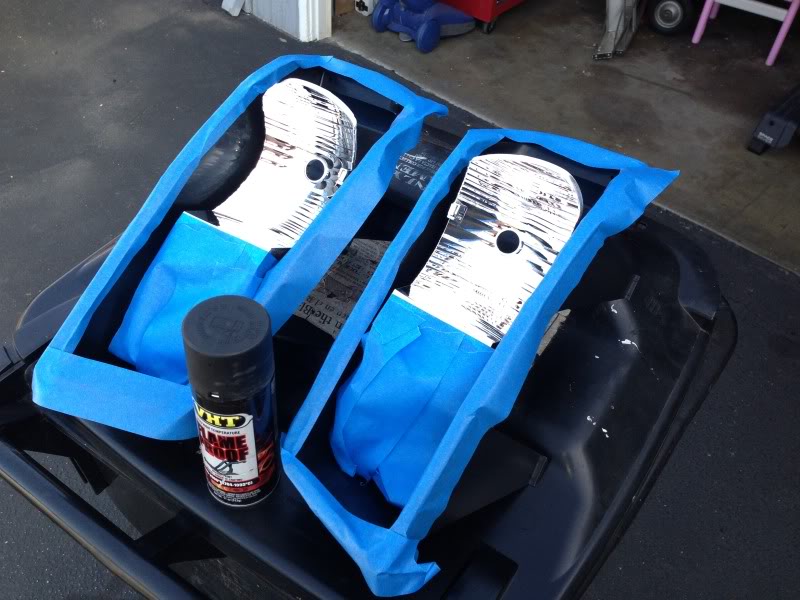
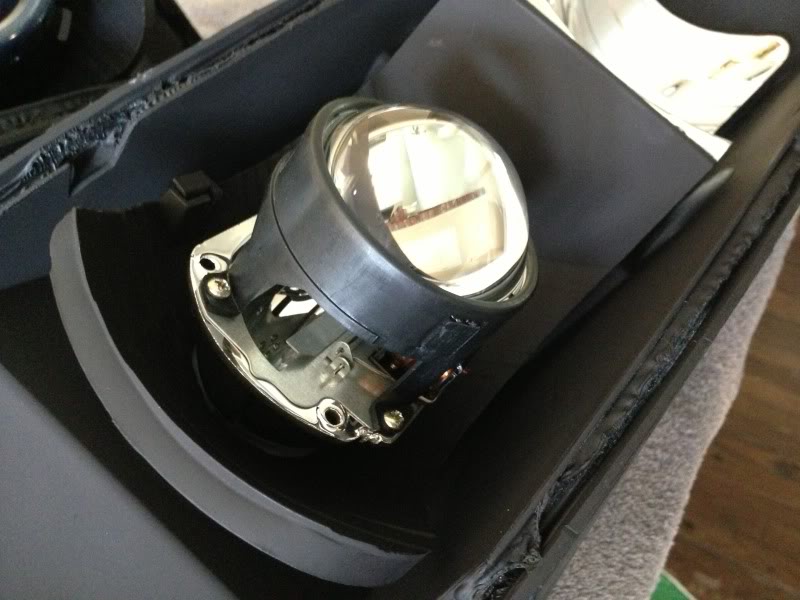
Then I taped off the Hi-Beam reflector and painted the Low-beam black with some Flame proof non-reflective paint.
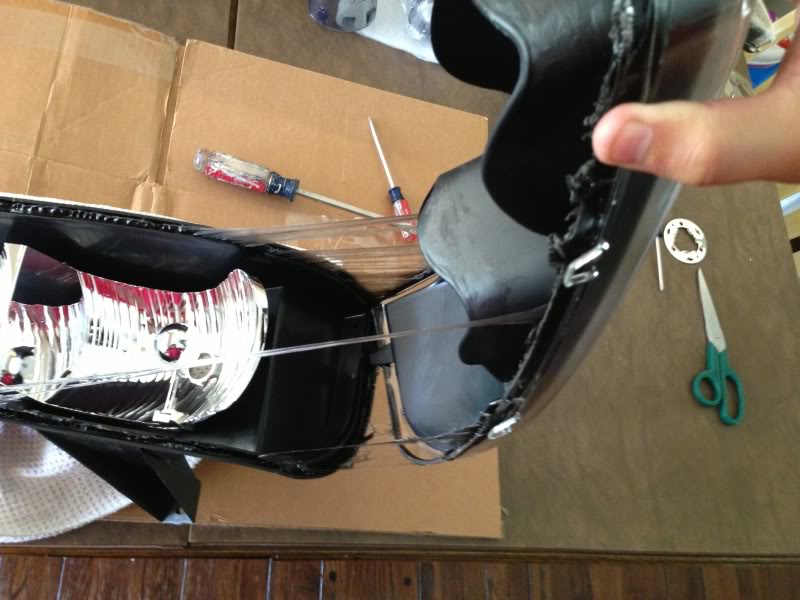
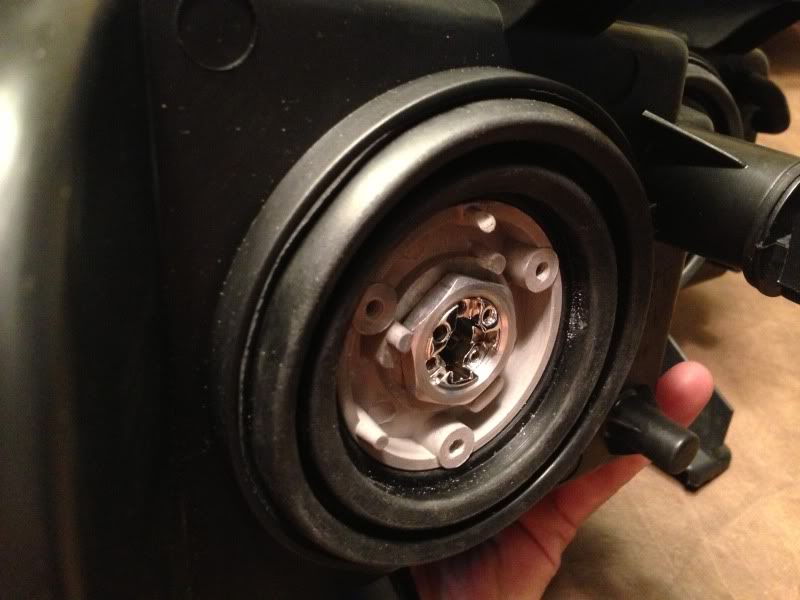
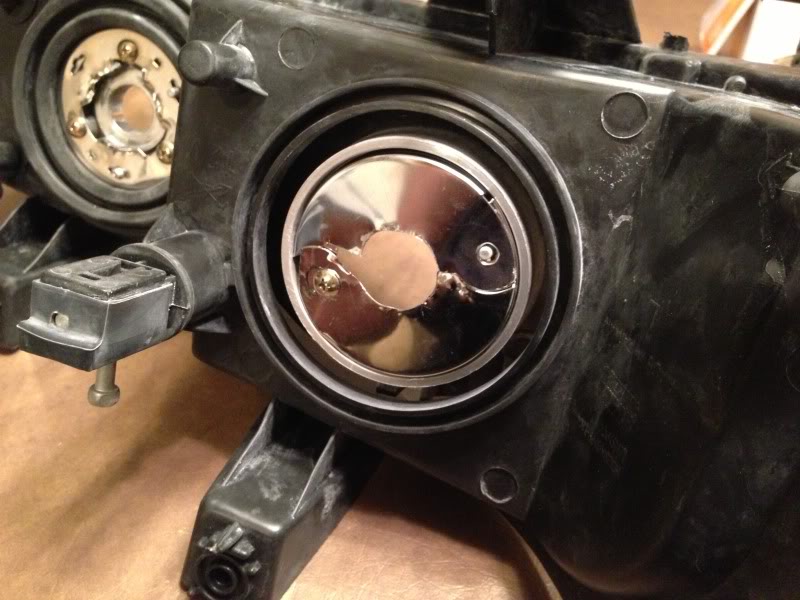
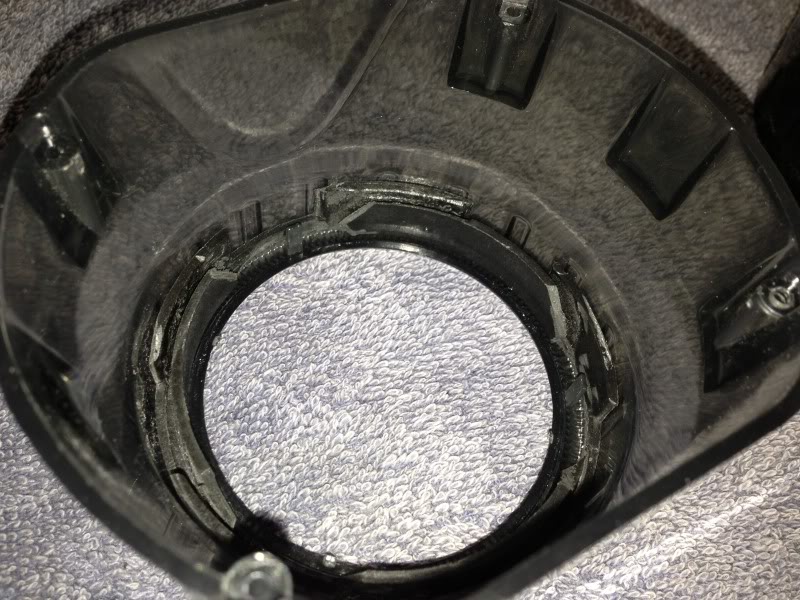
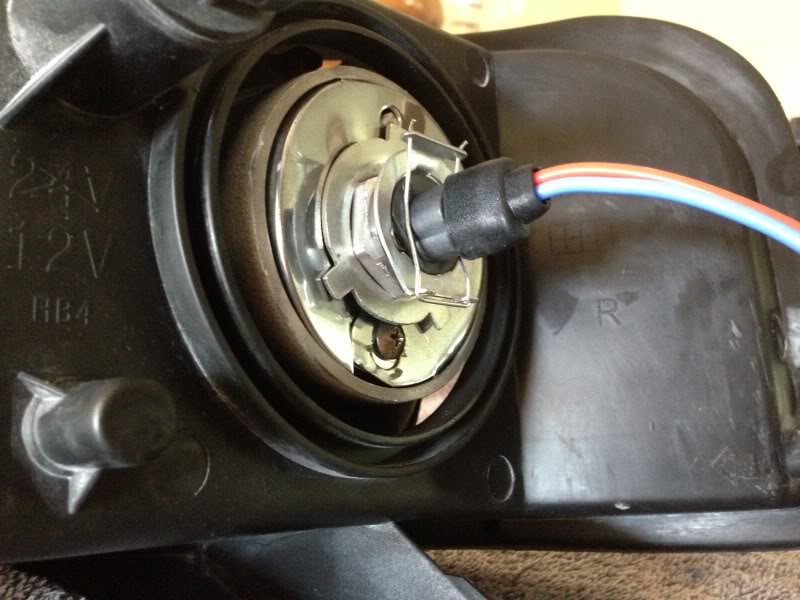
So this is the hole that I started out with that I had hoped I didn't have to modify:
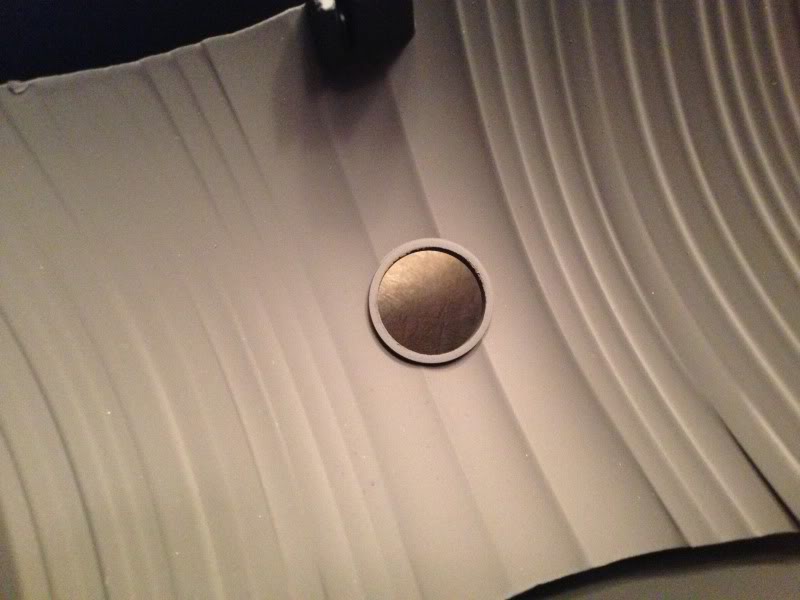
Seemed like it would fit in pretty well with no mods necessary!! :hmmm:
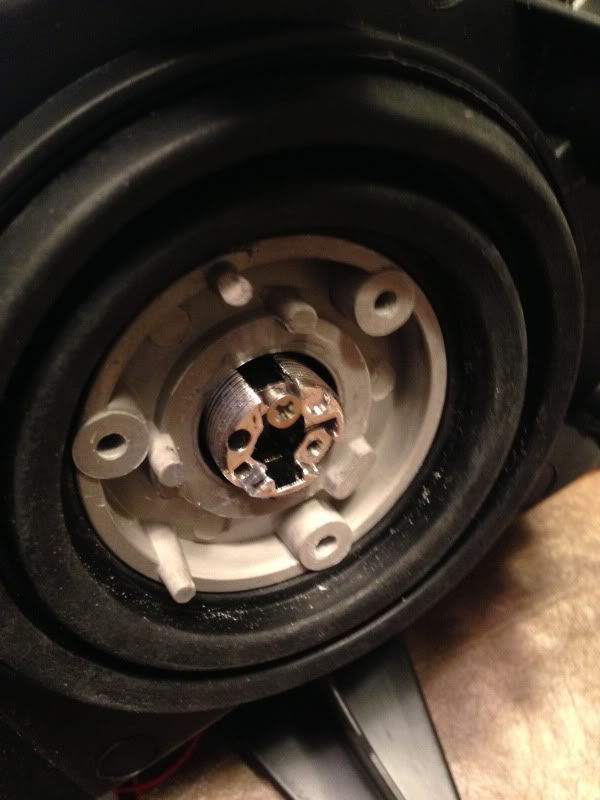
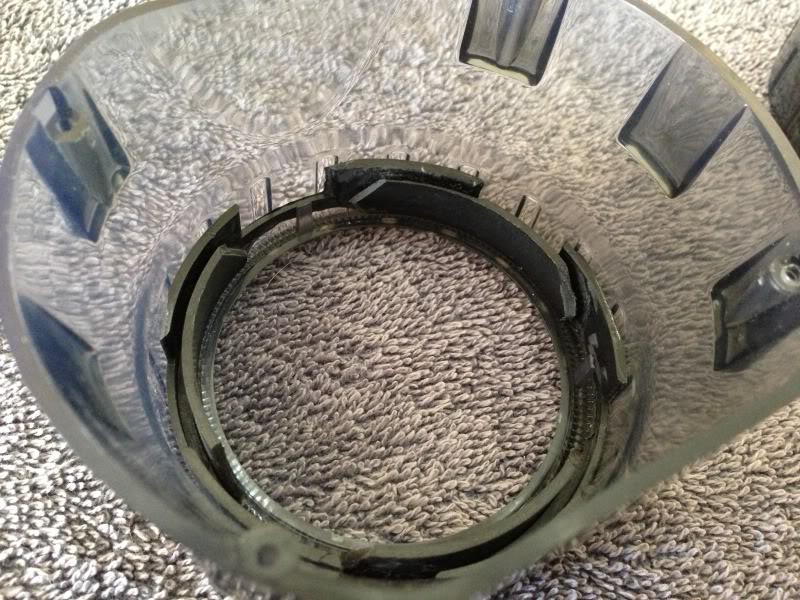
But unfortunately it was not meant to be. First there was not enough thread left in the back to be able to install the bulb retaining clips...
So after 1 hour of grinding to make that work, I put it all back together to find out that the top of the projector would hit the back side of the headlight lens when I put it back together. So I had to grind the living snot out of the reflector to get the projector to sit recessed inside the reflector enough so it wouldn't hit the back of the lens cover.
So started the grinding.... :rage:
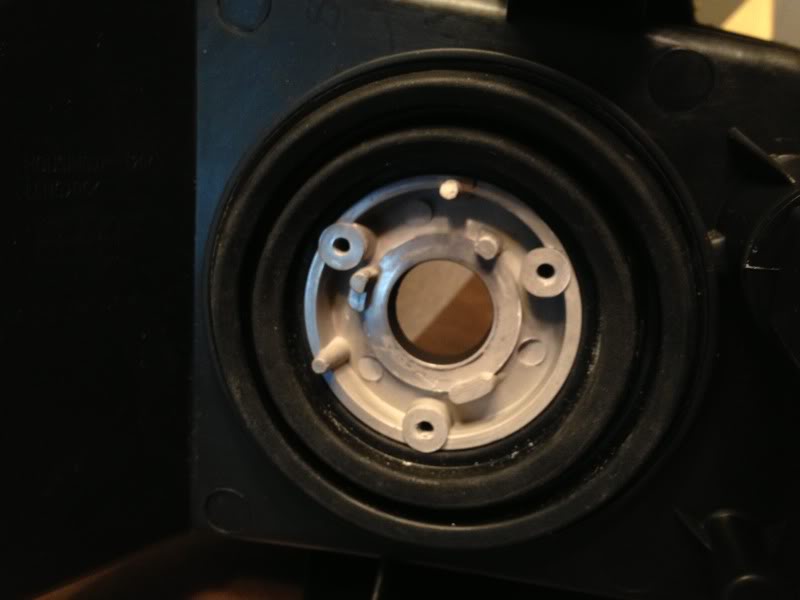
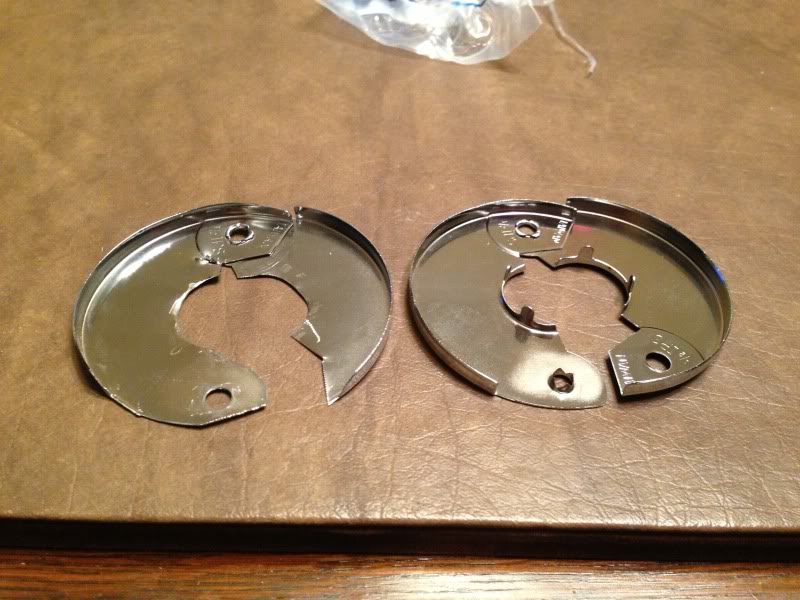
Took me a full day of grinding, test fitting, grinding, test fitting and back again until I finally ground enough down so that the projector would fit. Problem was that I ground down so much that there was now nothing left to hold the projector in the reflector anymore. So I went to Home Depot and started buying random things that might work and finally found something to make a false back with:
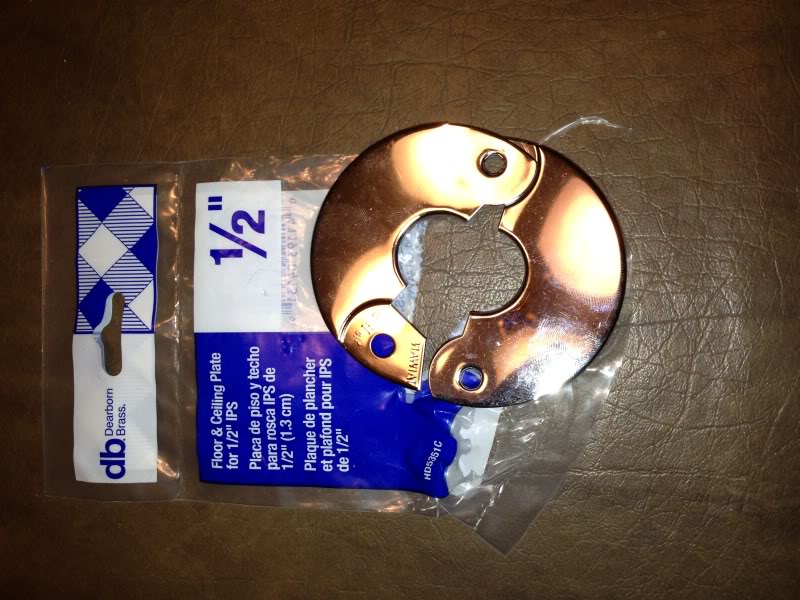
I really have no idea what it is, looks like a piece for plumbing in a bathroom but I did a good job of hacking it up to make it work...
One on the left is modified, one on the right is normal...
For some reason I don't have a picture of all that I had to grind out of the reflector, but basically it's everything that's behind that plumbing plate:
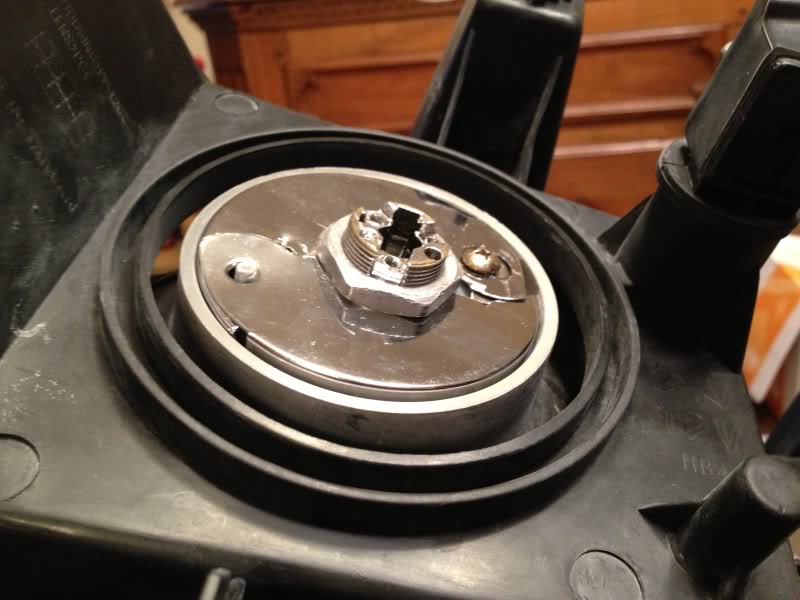
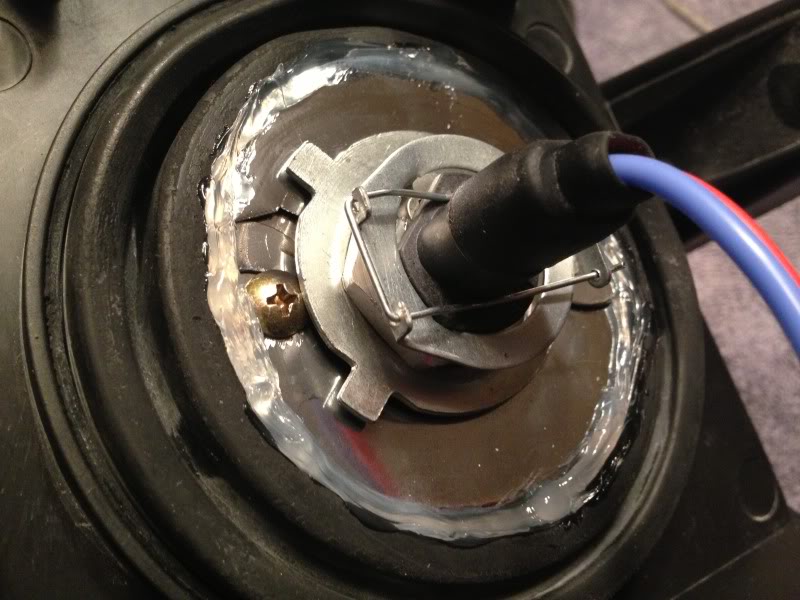
And with the locking nut on there's enough thread left for the light bulb locking pin to go on.
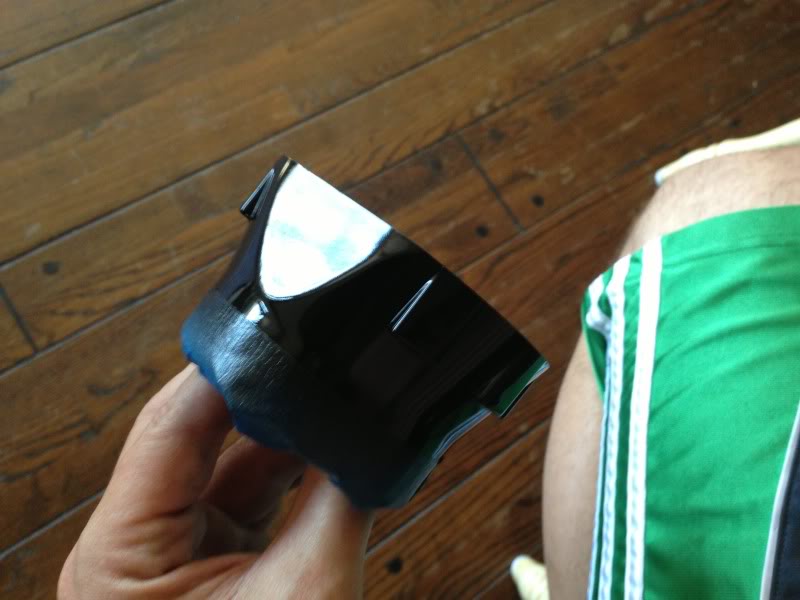
Next up was making the Graphite shroud work,
I had to do quite a bit of modification for it to fit my application, primarily because the way they designed it to work added 3/8th of an inch to the height of it which did not allow it to clear the top lens of the headlight even with everything I had ground out of it.
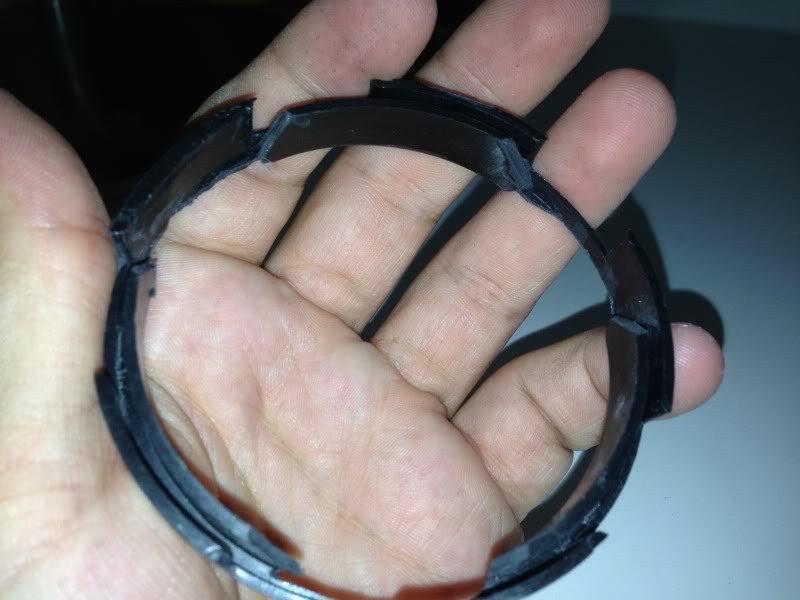
So to make it fit more or less flush I had to modify the shroud centric rings down so they fit completely down into the shroud:

Next up, because of the type of head-light housing this universal kit was supposed to go in I ended up having issues with light leaking out the side of the shroud and blinding passing motorist because of how far out these projectors stick out of the reflector housing,
This is without the shroud but even with it on, this was the amount of light that would leak out the side of the shroud:
so I had to paint them, I painted the inside with the same VHT Flame proof paint:
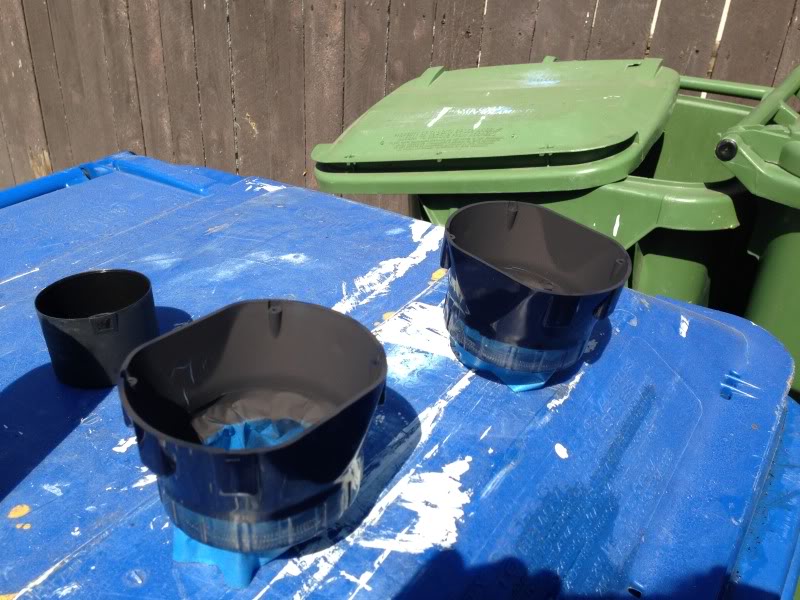
And then painted the outside with VHT Night Shade (same stuff used to tint taillights):
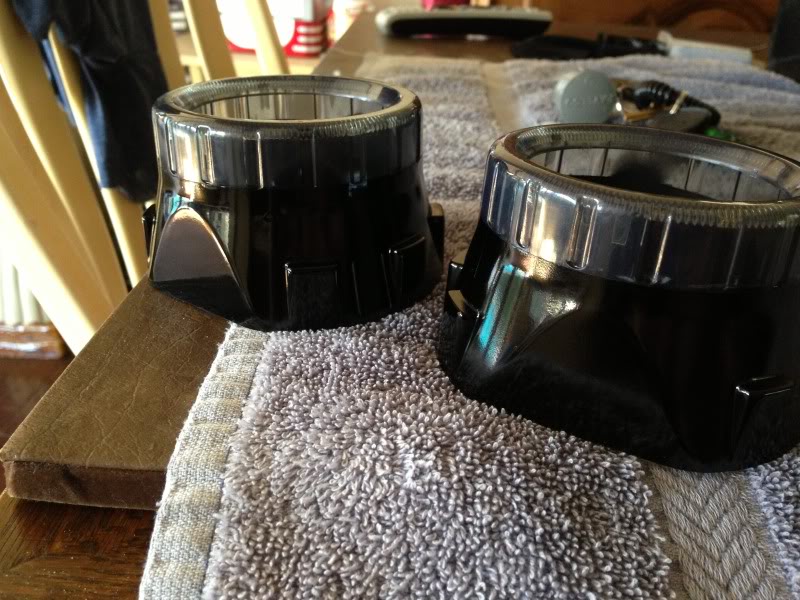
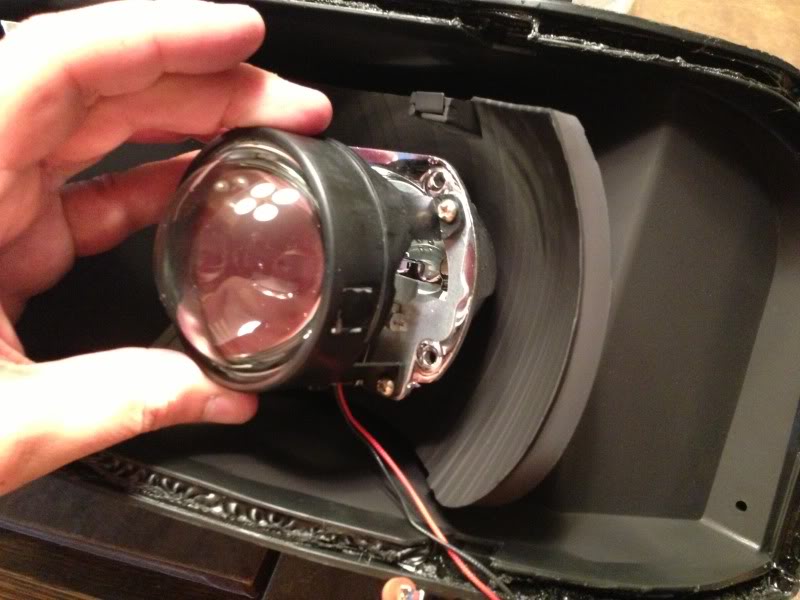
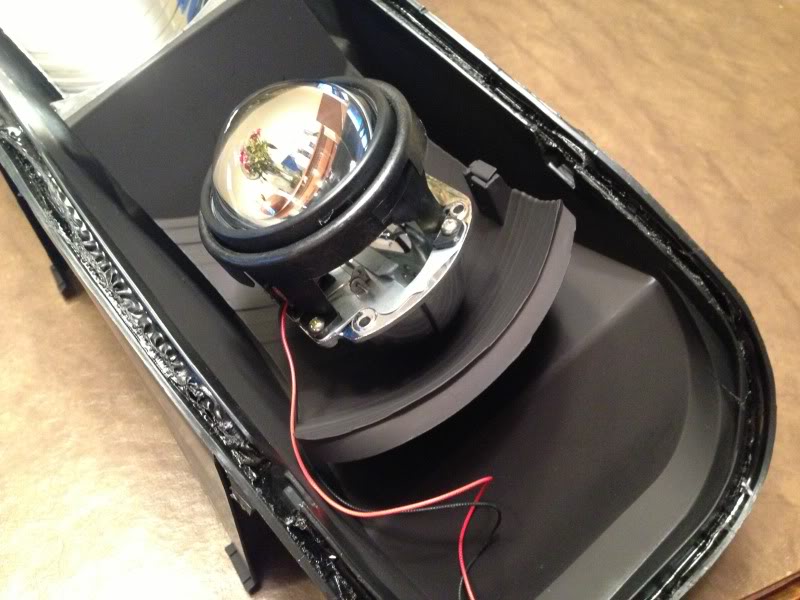
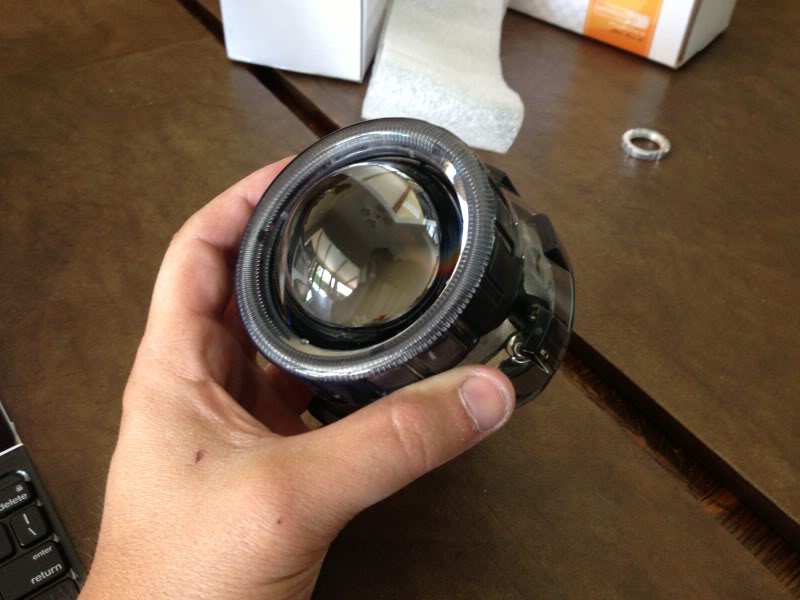
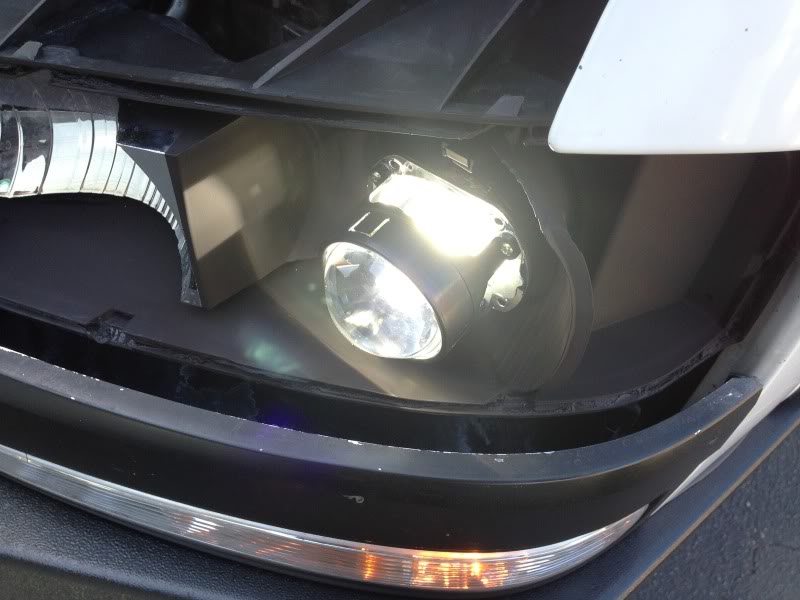
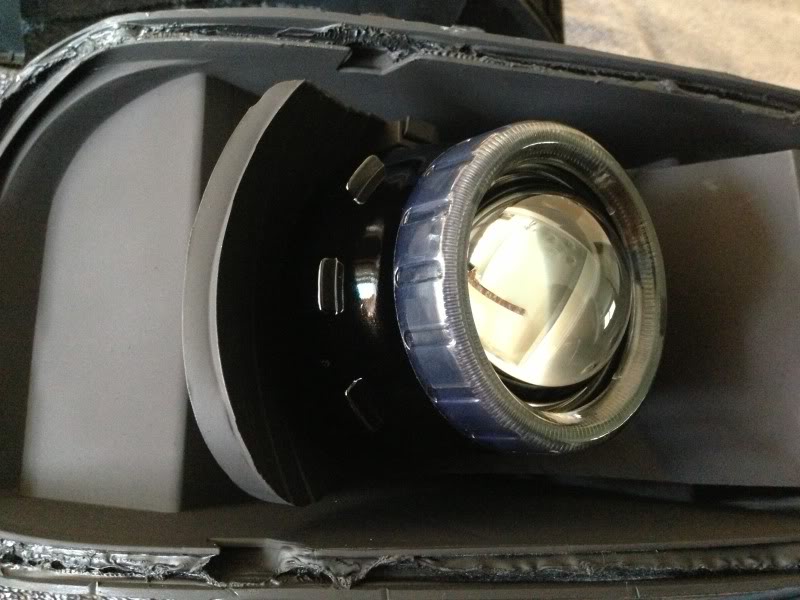
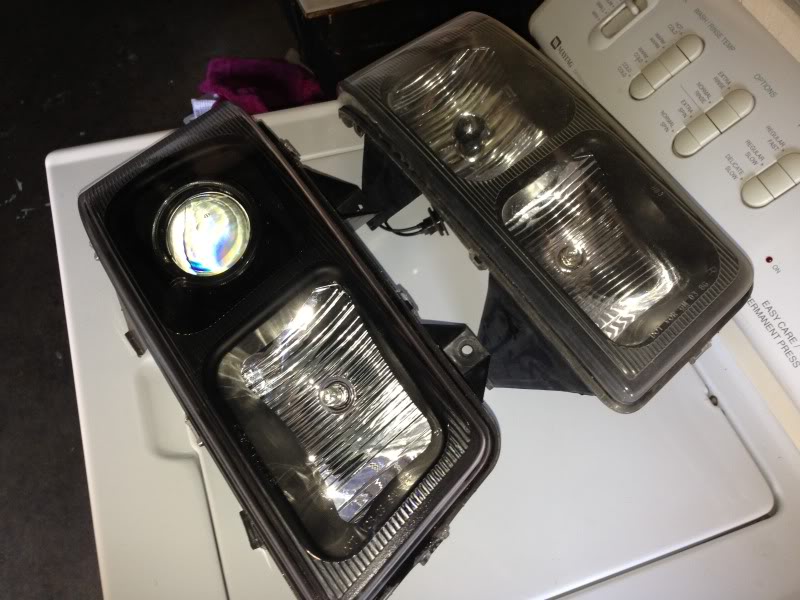
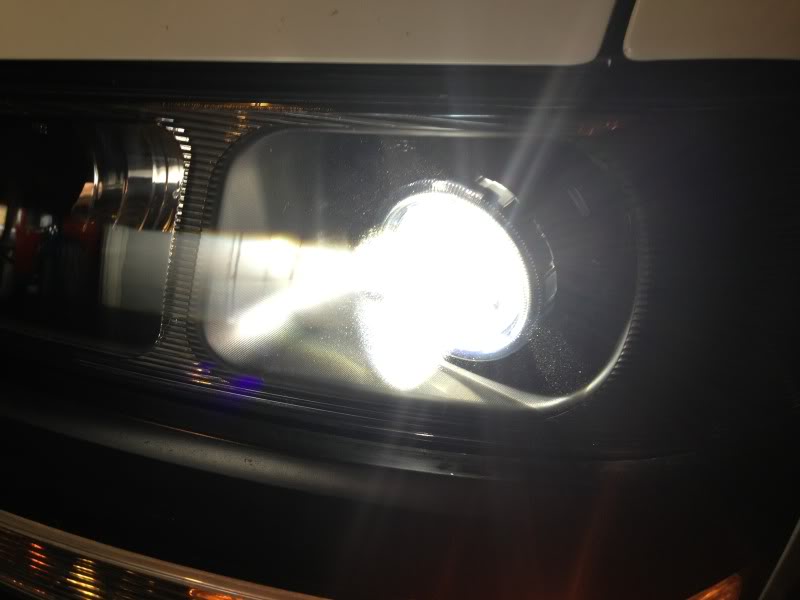
So here's the Projector without the Shroud:
And then with the Graphite Shroud on:

Then it was time for complete disassembly for cleaning, then re-assembly and mock-up to adjust the angle and height of them.
Here's what the back looks like all mocked up with the lightbulb retaining clips in:
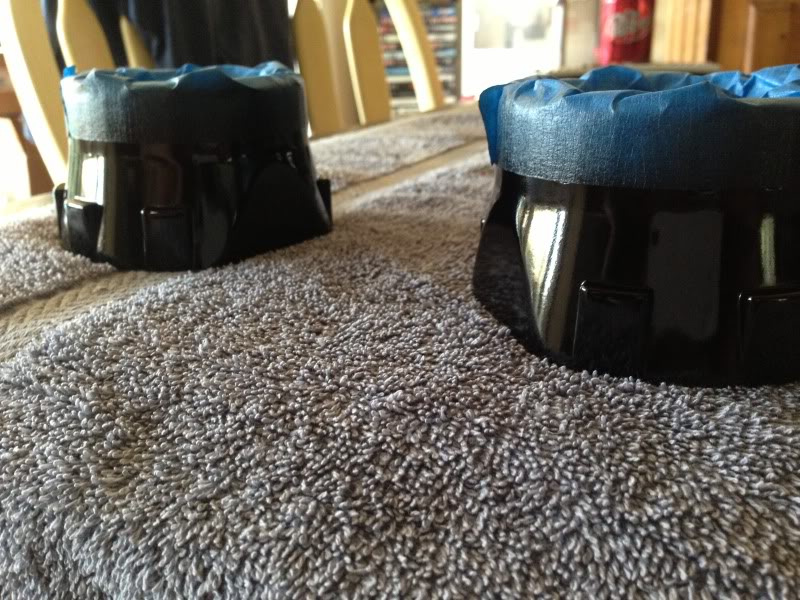
And then it was baking time again, had to put them back in the oven to melt that glue/gunk and then clamp the lights back together:
Also had to Silicone the back so that they were somewhat sealed from water getting in:
And then they are drying now and I'll probably be swapping them in here pretty soon as soon as the silicone dries.
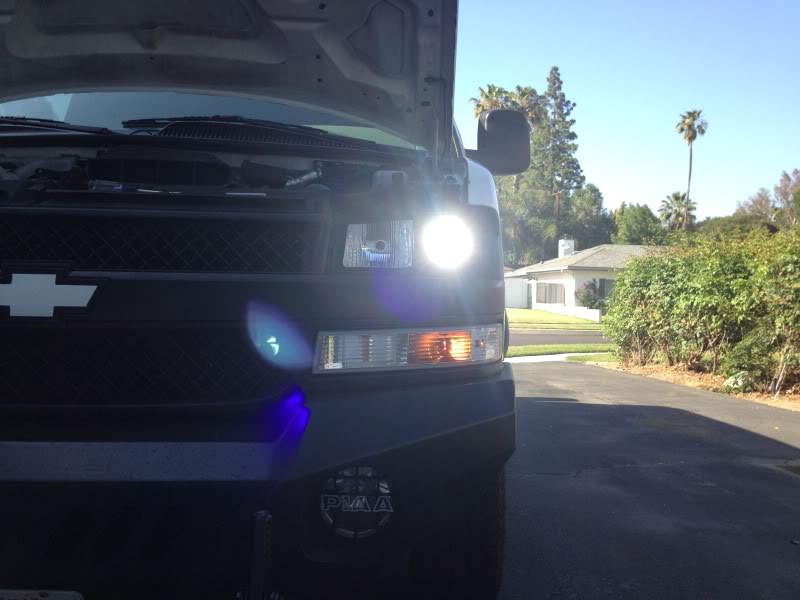
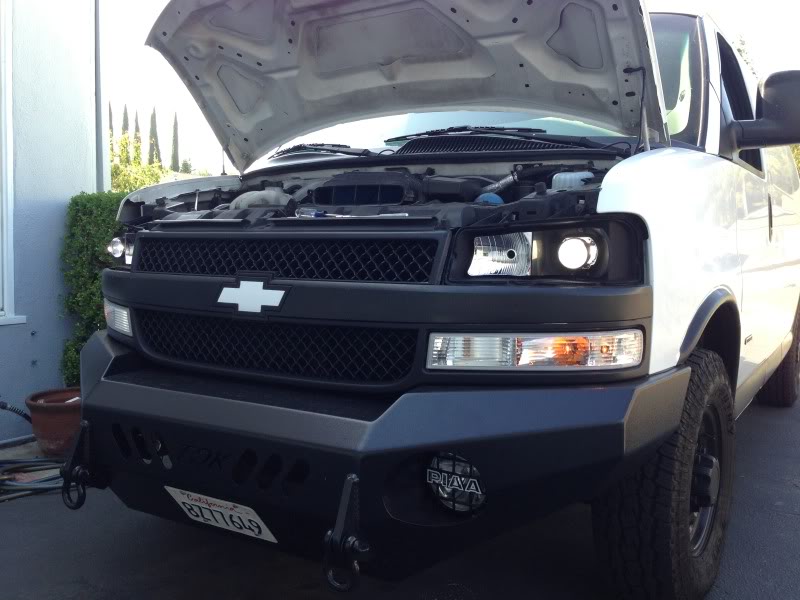
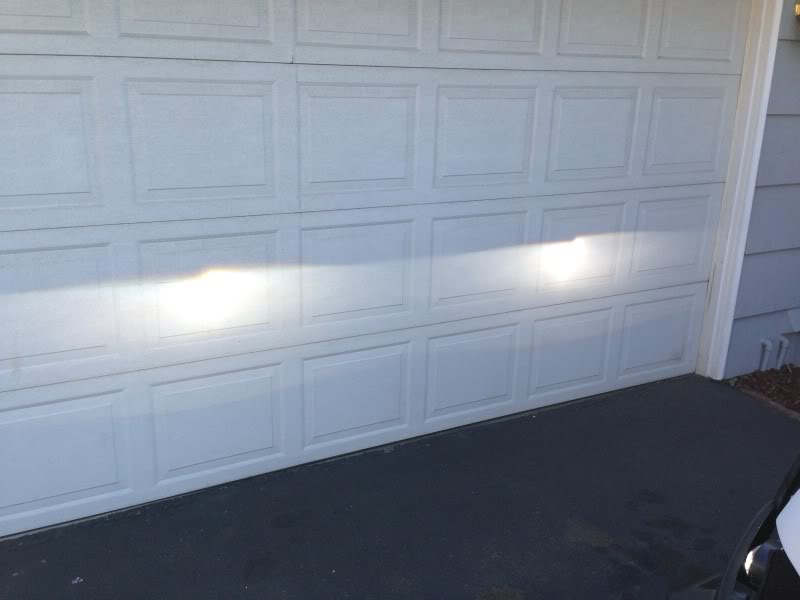
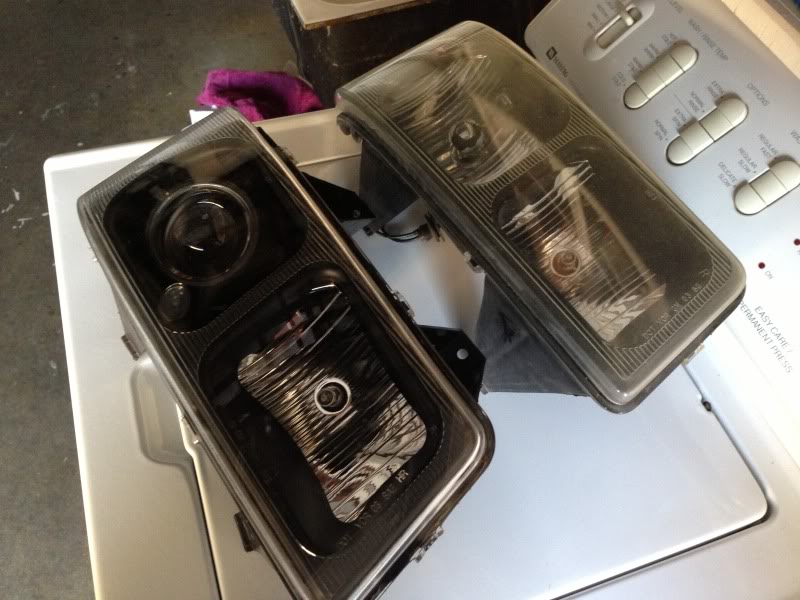
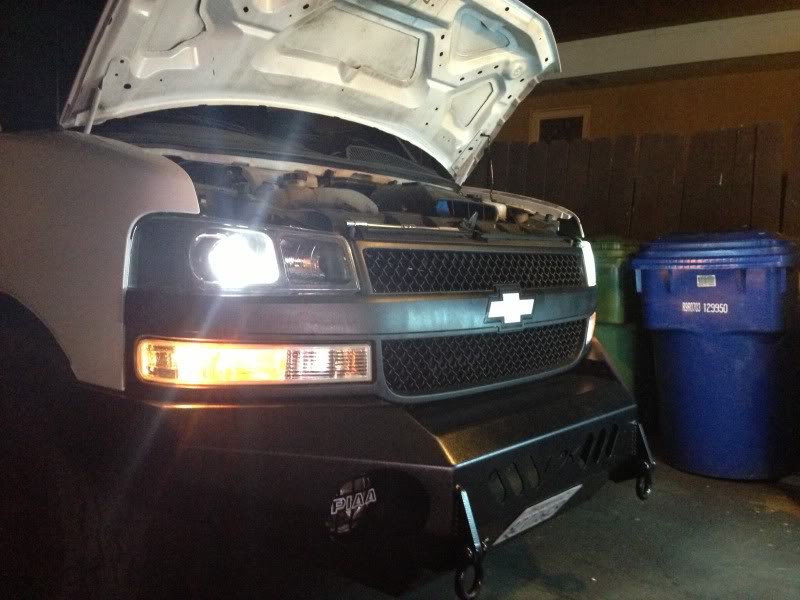
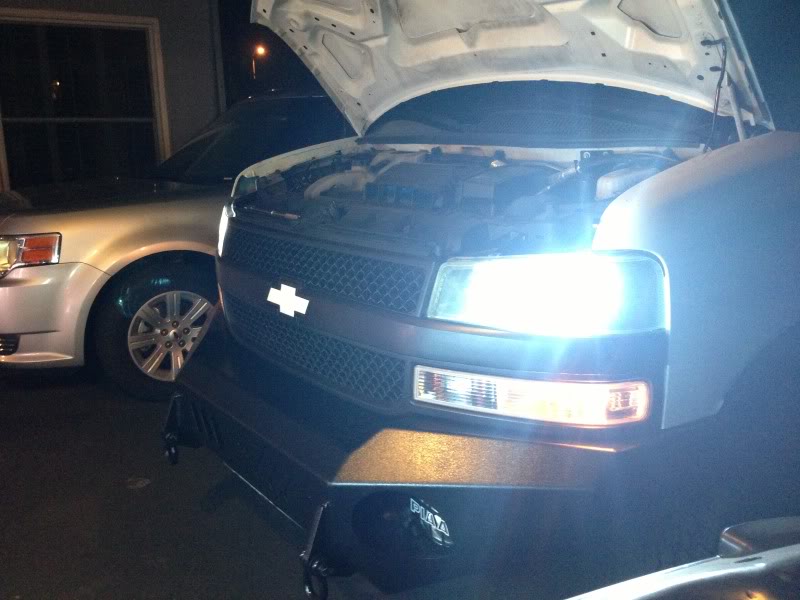
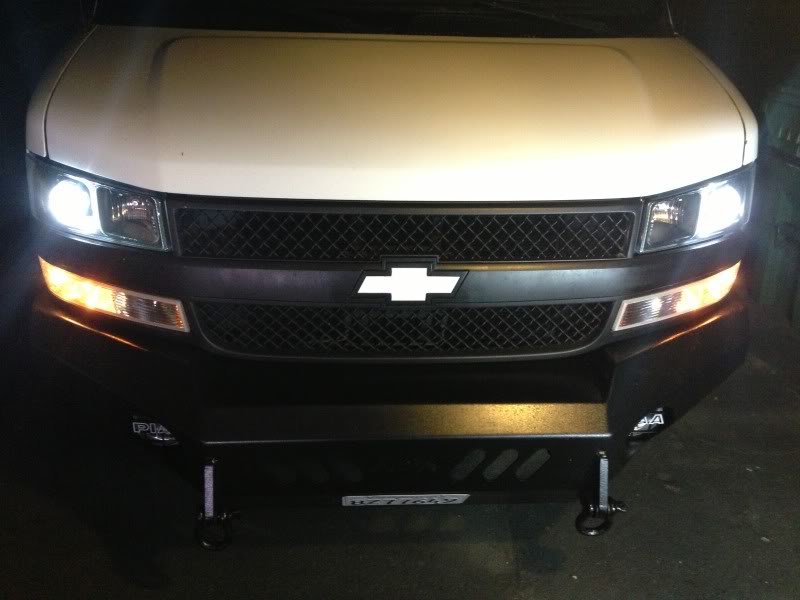
Here's the final product:

And next to the stock headlights:
So that's it for now, all in all in probably took me over 20 hours over 3-4 days to get it done. Now that I know what it takes to make them work I could probably do a set in 2-3 hours but most of the time was just trial and error and grinding and some creative thinking to figure out how to make them work.
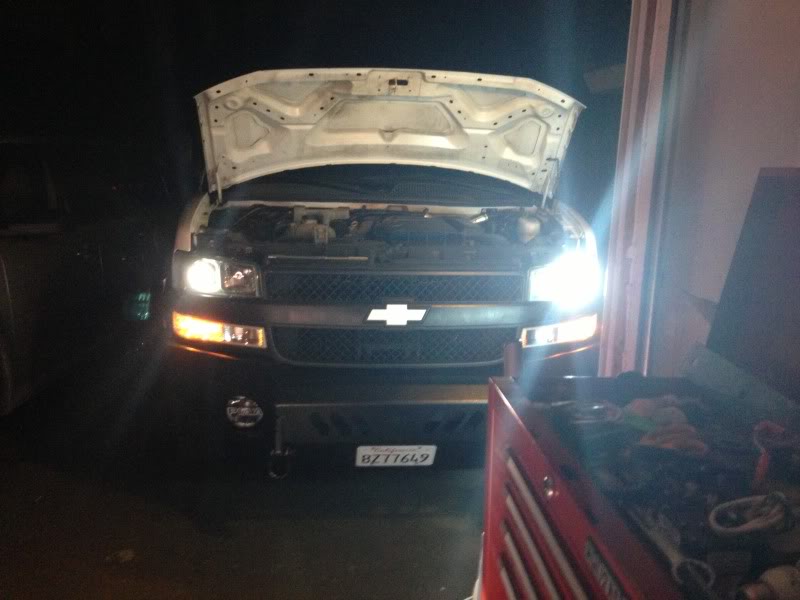
I'll post up an update later on what they look like installed and working!


 watchtower, white whale, land yacht, big pig...
 those turned out real nice too btw...


 Linear Mode