|
|
 05-15-2015, 06:25 PM
|
#21
|
|
Senior Member
Join Date: Jul 2014
Location: Longwood, FL
Posts: 1,562
|
Re: My solar installation project...
Quote:
|
Originally Posted by 86Scotty
It doesn't' bode well that the velcro has a big picture of a fire extinguisher on it. What gives?
 |
LOL, don't jinx me man!
__________________
Greg
Old van: 1997 E250 EB30 (Stolen)
New van: 2003 E250 EB10
|

|

|
|
05-15-2015, 11:14 PM
|
#22
|
|
Senior Member
Join Date: Jul 2014
Location: Longwood, FL
Posts: 1,562
|
Re: My solar installation project...
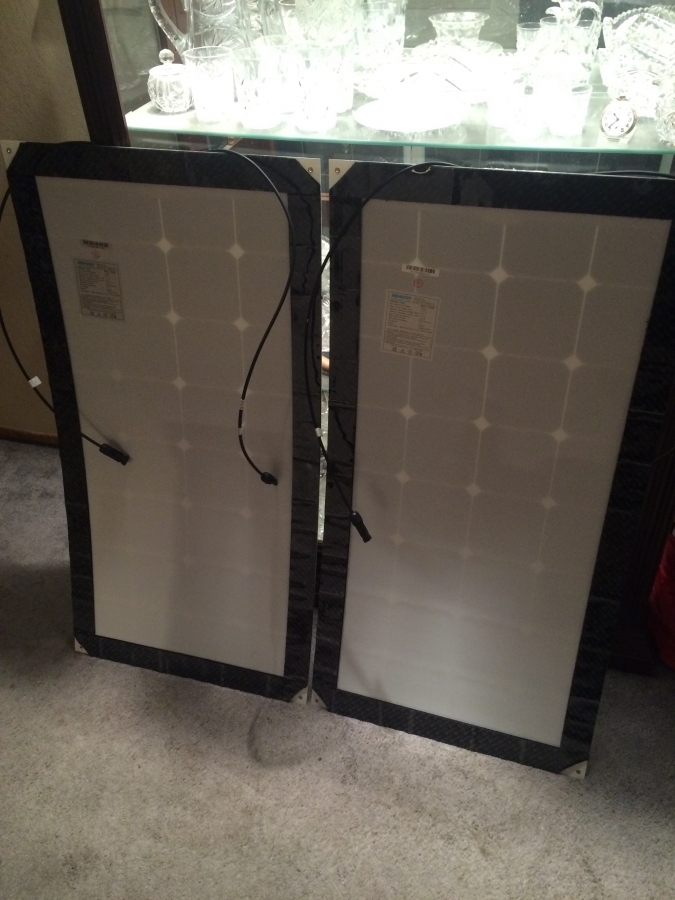
Got the Velcro installed on both panels...
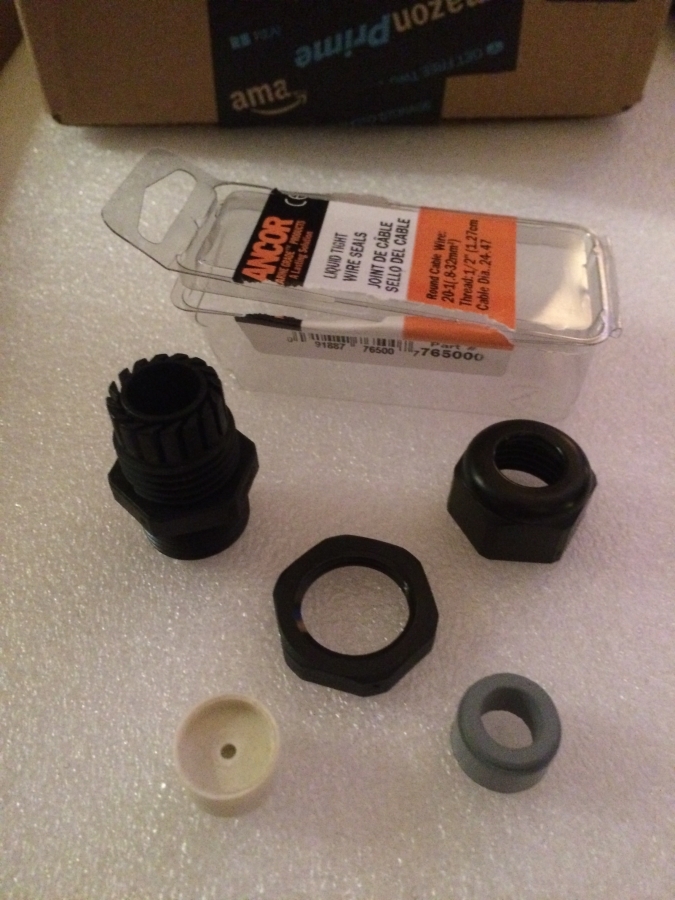
And the final UPS shipment I was waiting on all day finally arrived this evening...with no instructions, of course. Anyone know how these work? I didn't know what the OD of the wires would be so I ordered two sizes of these. Turns out the wires are 1/4" OD so I'll be using the Ancor 765000 I can't find anything online about these. I searched "765000" and "Electrical Wire Seal " on the manufacturer's website and it tells me nothing.
Oh, and got the new tires put on today. Yay.
__________________
Greg
Old van: 1997 E250 EB30 (Stolen)
New van: 2003 E250 EB10
|
|
|
|
|
05-16-2015, 12:30 AM
|
#23
|
|
Senior Member
Join Date: Mar 2013
Posts: 4,244
|
Re: My solar installation project...
They are pretty simple. Drill a hole where you want the wire to pass through the roof, push the body of the connector through, put the matching flat nut on the inside. (if it's not flat where you drill the hole you might want to put some sealer around the outside first) Choose the rubber seal that matches the wire size. Put the big nut on the wire first, then run the wire through the seal and the connector to the inside of the van. Screw the nut down on the tapered part of the connector and tighten until it compresses the rubber against the wire. That's all..................
__________________
Arctic Traveller
KC6TNI
2001 GTRV
Advanced 4wd
Agile Ride improvement package
|
|
|
|
|
05-16-2015, 12:32 AM
|
#24
|
|
Senior Member
Join Date: Feb 2012
Posts: 879
|
Re: My solar installation project...
I don't think there is anything too different about the Ancor ones (although I haven't used theirs yet specifically), so maybe you could look up electrical "cable gland" and find a diagram that would be helpful (I usually see them called glands).
I've looked for butyl tape "locally" in the past and never had much luck. I think it's too old fashioned (too bad as it rocks). I now always mail order it (not that that helps you now).
|
|
|
|
|
05-16-2015, 01:27 AM
|
#25
|
|
Senior Member
Join Date: Jul 2014
Location: Longwood, FL
Posts: 1,562
|
Re: My solar installation project...
Quote:
|
Originally Posted by arctictraveller
They are pretty simple. Drill a hole where you want the wire to pass through the roof, push the body of the connector through, put the matching flat nut on the inside. (if it's not flat where you drill the hole you might want to put some sealer around the outside first) Choose the rubber seal that matches the wire size. Put the big nut on the wire first, then run the wire through the seal and the connector to the inside of the van. Screw the nut down on the tapered part of the connector and tighten until it compresses the rubber against the wire. That's all..................
|
Quote:
|
Originally Posted by Viva
I don't think there is anything too different about the Ancor ones (although I haven't used theirs yet specifically), so maybe you could look up electrical "cable gland" and find a diagram that would be helpful (I usually see them called glands).
I've looked for butyl tape "locally" in the past and never had much luck. I think it's too old fashioned (too bad as it rocks). I now always mail order it (not that that helps you now).
|
Thanks guys. The other pair I bought came pre-assembled, but since I'll be returning them, I didn't want to open them up to see how they were set up. I'm familiar with bulkheads from my saltwater fish tank days, so I thought I'd get this right off the bat.
Viva, I was just about to PM you about this since your name came up a few times when I searched "Ancor" on the forum
I'm guessing I need to be using the white piece since this thing is meant for .24-.47 and I'm at .25". Tried cramming that thing in there but it doesn't want to go. Might need some lube 
I'll try again in the morning. Getting new tires put on and waiting for UPS all day made me tired.
__________________
Greg
Old van: 1997 E250 EB30 (Stolen)
New van: 2003 E250 EB10
|
|
|
|
|
05-16-2015, 02:04 AM
|
#26
|
|
Senior Member
Join Date: Jul 2014
Location: Longwood, FL
Posts: 1,562
|
Re: My solar installation project...
Oh, just a heads up. Renogy says these panels are 41.3" x 21.3". That's not really accurate. The two panels I got are different sizes so I've had to make slight adjustments for that. One panel is 41-3/4" x 21-3/8" and the other one is 41-3/4" x 21-1/2". No big deal, just FYI.
__________________
Greg
Old van: 1997 E250 EB30 (Stolen)
New van: 2003 E250 EB10
|
|
|
|
|
05-16-2015, 09:46 AM
|
#27
|
|
Senior Member
Join Date: Mar 2013
Posts: 4,244
|
Re: My solar installation project...
Got a Walmart nearby? They seem to carry Buytl tape.
http://www.walmart.com/ip/29764312?w...421312&veh=sem
__________________
Arctic Traveller
KC6TNI
2001 GTRV
Advanced 4wd
Agile Ride improvement package
|
|
|
|
|
05-16-2015, 10:35 AM
|
#28
|
|
Senior Member
Join Date: Jul 2014
Location: Longwood, FL
Posts: 1,562
|
Re: My solar installation project...
Quote:
|
Originally Posted by arctictraveller
|
Not really close. There's one in Oakland and another 45 miles South. I'm gonna head back to West Marine and see what they have. They've got to have something suitable for this.
Got the Ancor thing figured out. It already had one rubber grommet installed, but it was black and super thin, so I didn't even notice it.
__________________
Greg
Old van: 1997 E250 EB30 (Stolen)
New van: 2003 E250 EB10
|
|
|
|
|
05-16-2015, 07:31 PM
|
#29
|
|
Senior Member
Join Date: Jul 2014
Location: Longwood, FL
Posts: 1,562
|
Re: My solar installation project...
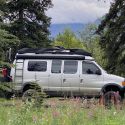
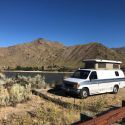
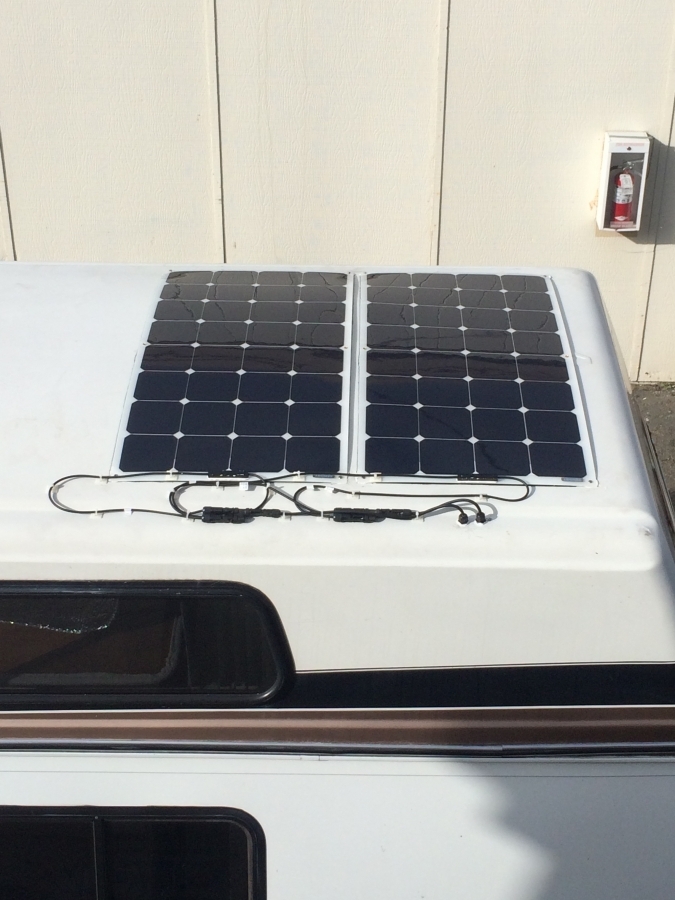
Got the panels mounted today and the wires run inside the van. Feels weird drilling big holes in a perfectly good roof. I'll get started on the wiring tomorrow.
Once I got these mounted and wired in, I started thinking I could really use two more of these. Actually, I could fit three more  And they didn't fly off on the way home, so that's a good sign I suppose.
__________________
Greg
Old van: 1997 E250 EB30 (Stolen)
New van: 2003 E250 EB10
|
|
|
|
|
05-16-2015, 09:12 PM
|
#30
|
|
Senior Member
Join Date: Jul 2014
Location: Longwood, FL
Posts: 1,562
|
Re: My solar installation project...
Quote:
|
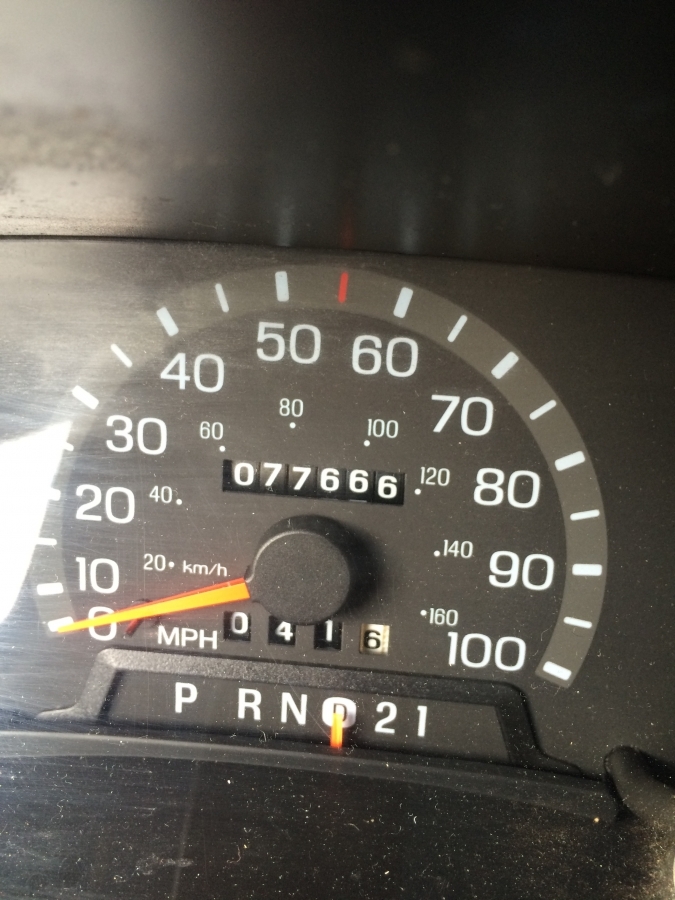
Originally Posted by 86Scotty
It doesn't' bode well that the velcro has a big picture of a fire extinguisher on it. What gives?
|
Look what you started! I randomly looked down at my odometer on the way home from where I installed the panels today, and saw this! 
__________________
Greg
Old van: 1997 E250 EB30 (Stolen)
New van: 2003 E250 EB10
|
|
|
|
|
|
 Posting Rules
|
You may not post new threads
You may not post replies
You may not post attachments
You may not edit your posts
HTML code is Off
|
|
|
|
 » Recent Threads
 |
|
|
|
|
|
|
|
|
|
|
|
|
|
|
|
|
|
|
|
|
|
|
|
|
|
|
|
|
|
|
|
|
|


 Linear Mode