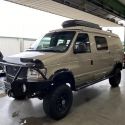
When I bought my 2005 E350 wheelchair van, I checked for rust everywhere except under the floor mat in the cab. Based on my pre-purchase survey there wasn't anything too significant. Living in northern California, we don't have rust problems but this van lived most of its life in Chicago.
Fast forward a year: After pulling up the floor mat to install swiveling seat bases. I discovered significant damage in the driver and passenger foot wells and on the engine cowl mounting flange. How I missed the mounting flange damage before is a mystery. About six inches of the flange was completely missing on both sides.
After consulting with JWA, a very helpful Sportsmobile Forum member (and a former body shop owner), I decided to attempt my own repair by pop-riveting sheet metal repair panels in lieu of welding. A friend who used to professionally build hot rods and restore classic cars got me started by fashioning the two major footwell sheet metal panels. The skills I learned in a metal sculpture class I took in the early '70s came in handy along with my ball peen hammer and hand grinder.
After coating everything with POR 15 silver paint top and bottom (silver has the highest solids content), I pop-riveted the footwell panels and additional sheet metal repair pieces with SS rivets . I used POR 15's Power Mesh fiberglass repair method to cover the center section which only had relatively small holes. The fiberglass turned out to be nice and solid. I also used Por 15's Epoxy putty to fill in some of the areas and to smooth the transitions on the flange.
Although a welded repair or complete replacement might be better, it will never see road salt again and will only occasionally be driven in the rain so I don't anticipate any problems. I'm hoping that the engine cowl's weatherstripping will form itself to the irregularities of my flange repair. Here are a few photos.
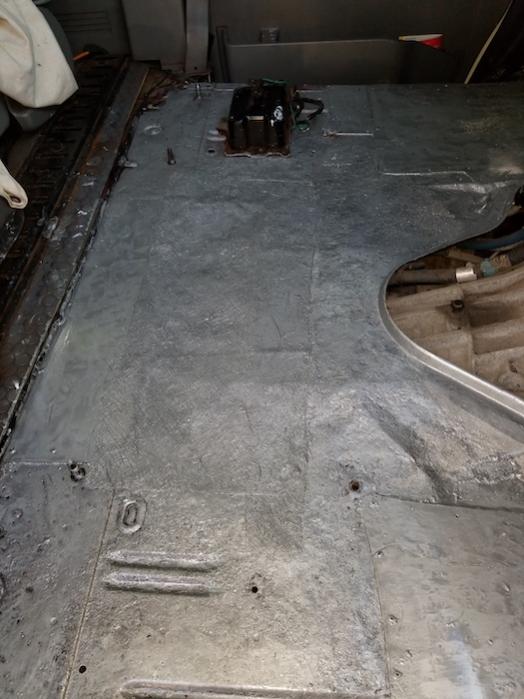
Passenger side damage (driver's side was similar but not as bad):

Passenger side repair:

Center repair:
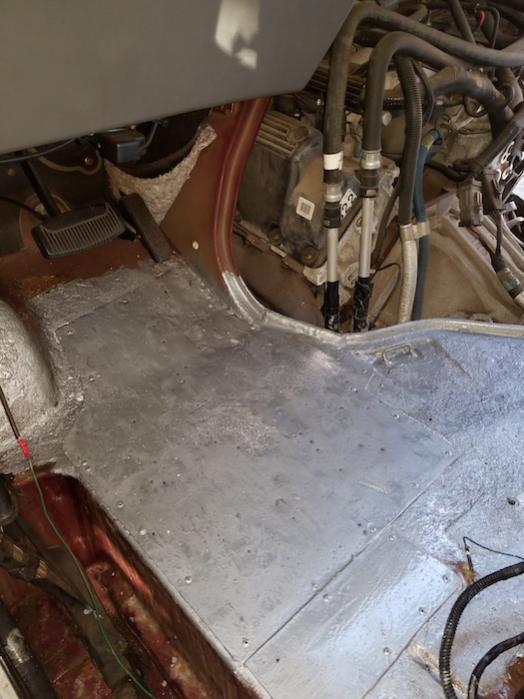
Driver side repair:


 2008 GMC 3500 SMB
 (No name yet)
 CSC TT250 + homebuilt trailer
 Linear Mode