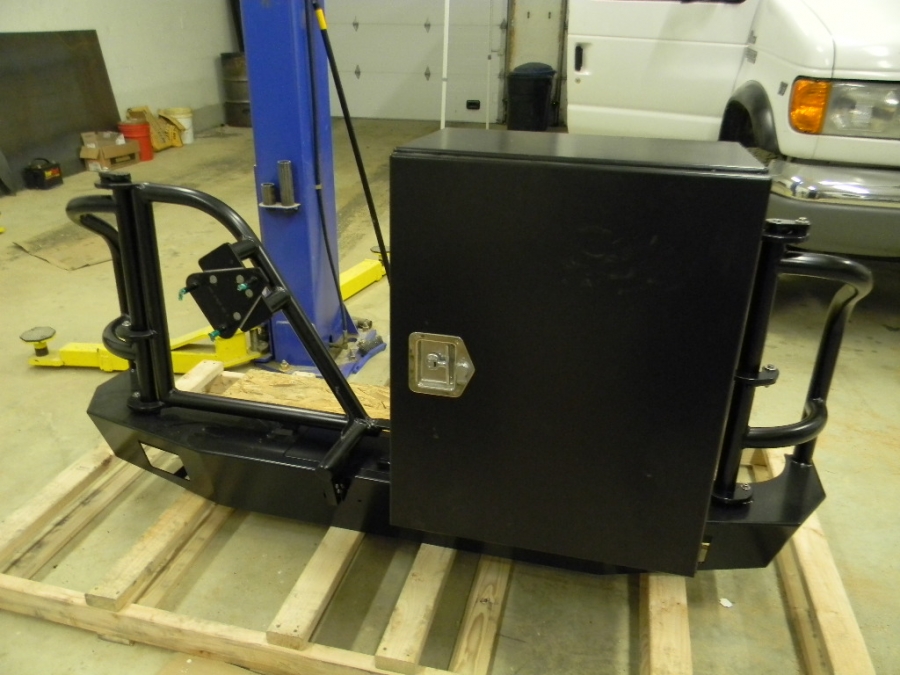
WOW it has been a busy couple of work weeks which makes the van project a bit frustrating. Not enough time to really set up, work, and clean up after work. I finally got the underfloor storage box finished and installed. Still needs a few minor tweaks like a finish coating of ? inside. After building the box to fit in the space, and shaving a few inches off the height, I put 3 layers of fiberglass cloth and resin on the outside. Then I used rubberized undercoating (3 large spray cans) over the fiberglass to paint the exterior in black, durable finish.
I stood in the box while i finished the insulation and sub-floor. it is very strong. I attached the part of the box that extends up through the metal van floor with angle steel. Through bolted the box and then large self tappers for the van floor. I hated putting screws through the floor but it really firmed up the installation. I ran them through rtv sealant and intend to go back under the van and heavily undercoat those areas to prevent water infiltration and rust. At the front of the box I bolted through the crossmember of the van's frame using 3/8" bolts x2. I made spacers to fit between the van frame member and the box using 2 1/2" schedule 80 pvc conduit cut to the precise spacing. The bolts run through the pipe pieces and with large fender washers on the inside of the box, i was able to really crank this thing into place.
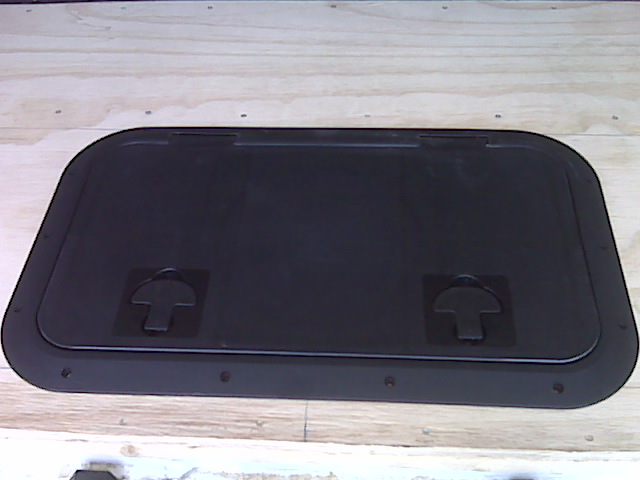
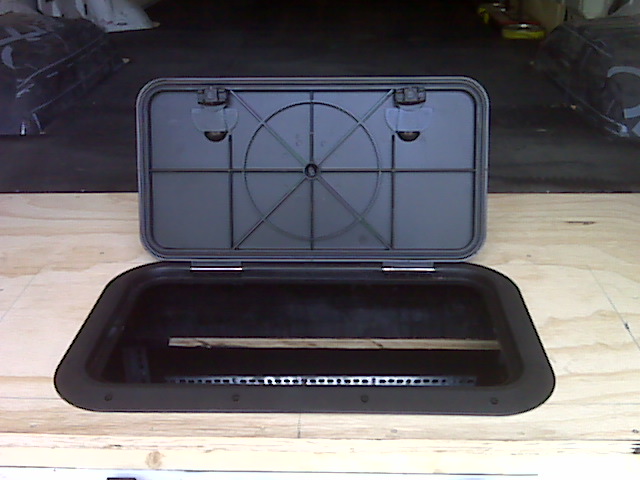
With the box in place, I could finish the insulation and sub floor install. The underfloor box extended up through the van floor the same height as the insulation thickness (1") which allowed the 3/4"sub floor to go right over the box opening. Then the hatch cover which is a fair amount smaller than the actual width of the box was cut through the sub floor and set in place. I need to paint the rear part of the subfloor as I dyslexified the final sheet and then had to flip it over to install it.

it gives me an excuse to paint the whole floor one more time.
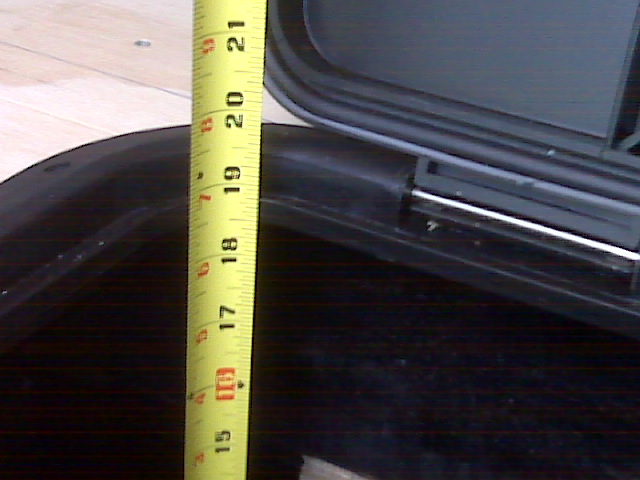
The box is approximately 19" deep inside, and the underside of the box has 19" of clearance above the ground, sticks down about 2 1/2" below reciever hitch, and about 8' below the frame.
BIg benefit to having the insulation and floor down: SO MUCH QUIETER INSIDE


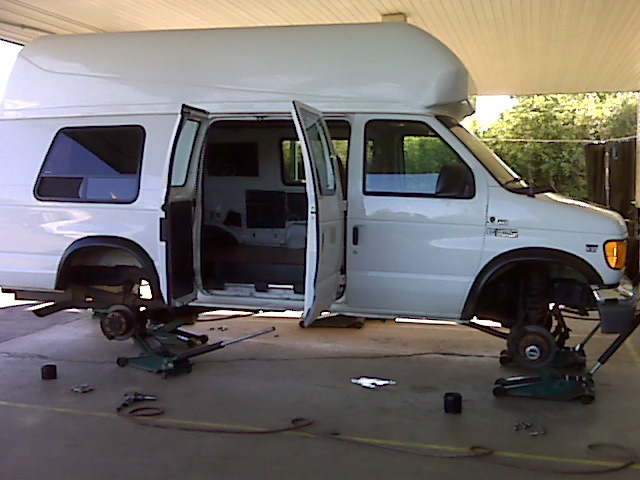

 I also need to do some sheet metal trimming at the rear of the front wheel arches. I'll take a couple pics tomorrow of the RUB.

 . HMMM... I wonder if it would fit on the van if I had a flat and needed it. I am assuming that the 2000 quigley conversion came with 8 x 170 because thats what aluminess said I needed, but I am not sure- seems I have read all sorts of reports on what size bolt pattern for what years. The best test for me will be to take a wheel off the van and see if it fits the carrier. It could be that the spare I've been carrying is an oddball (it came with the van when I bought it- never thought to check it).
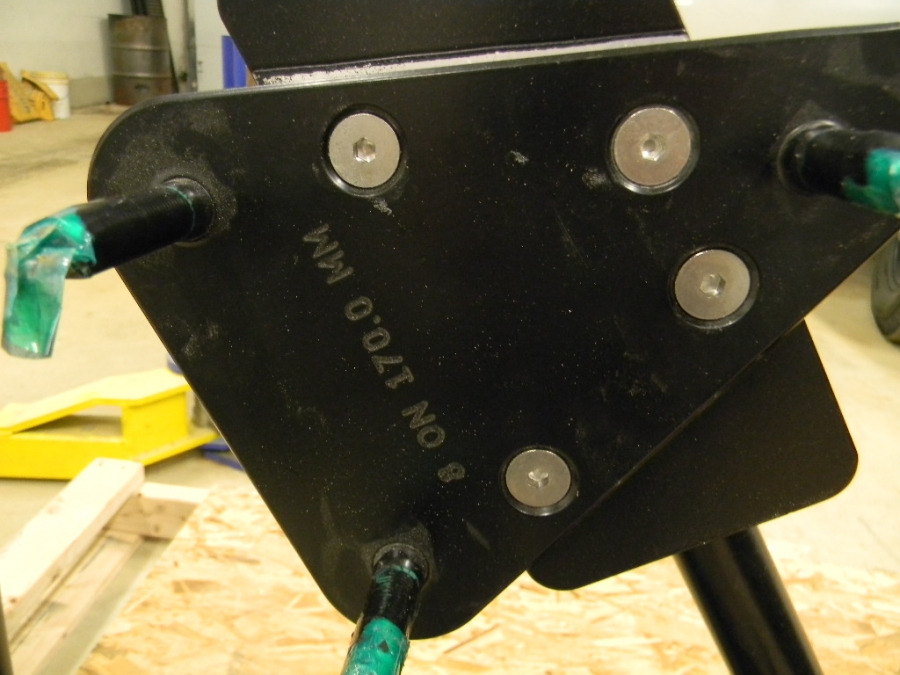

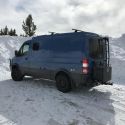
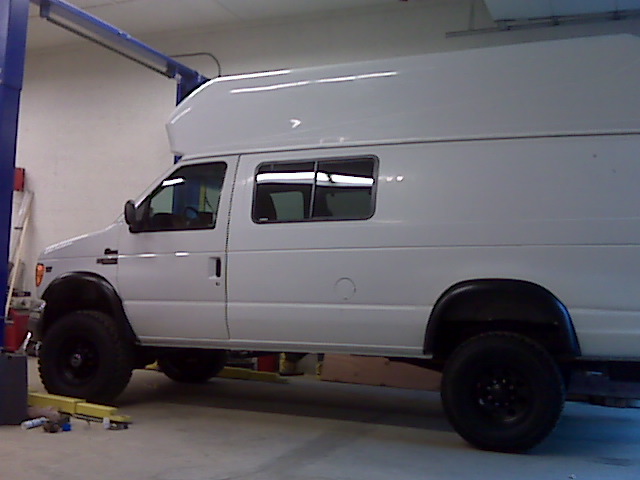
 Sportsmobile (AKA Money Pit)
 Linear Mode