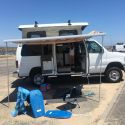
Finally got around to finishing out the interior of the new fiberglass top. This was a long process for me. I started by glueing up a couple of furring strips. My top didn't have wood installed at Fibrene and I got it sort of second hand so couldn't be too picky. I saved literally a couple thousand bucks off the cost and had local pickup. The top had never been installed but was purchased in a group of three for a local van outfitter who suddenly needed to move their shop and wanted the least amount of crap to transfer over. Moving is hard so I understand for sure. I picked this top up for close to 75% discount over what I was quoted for the same top from Fiberene with shipping so you see I didn't care that it didn't have the wood.
I made relief cuts so it would contour to the curved surface of the top.

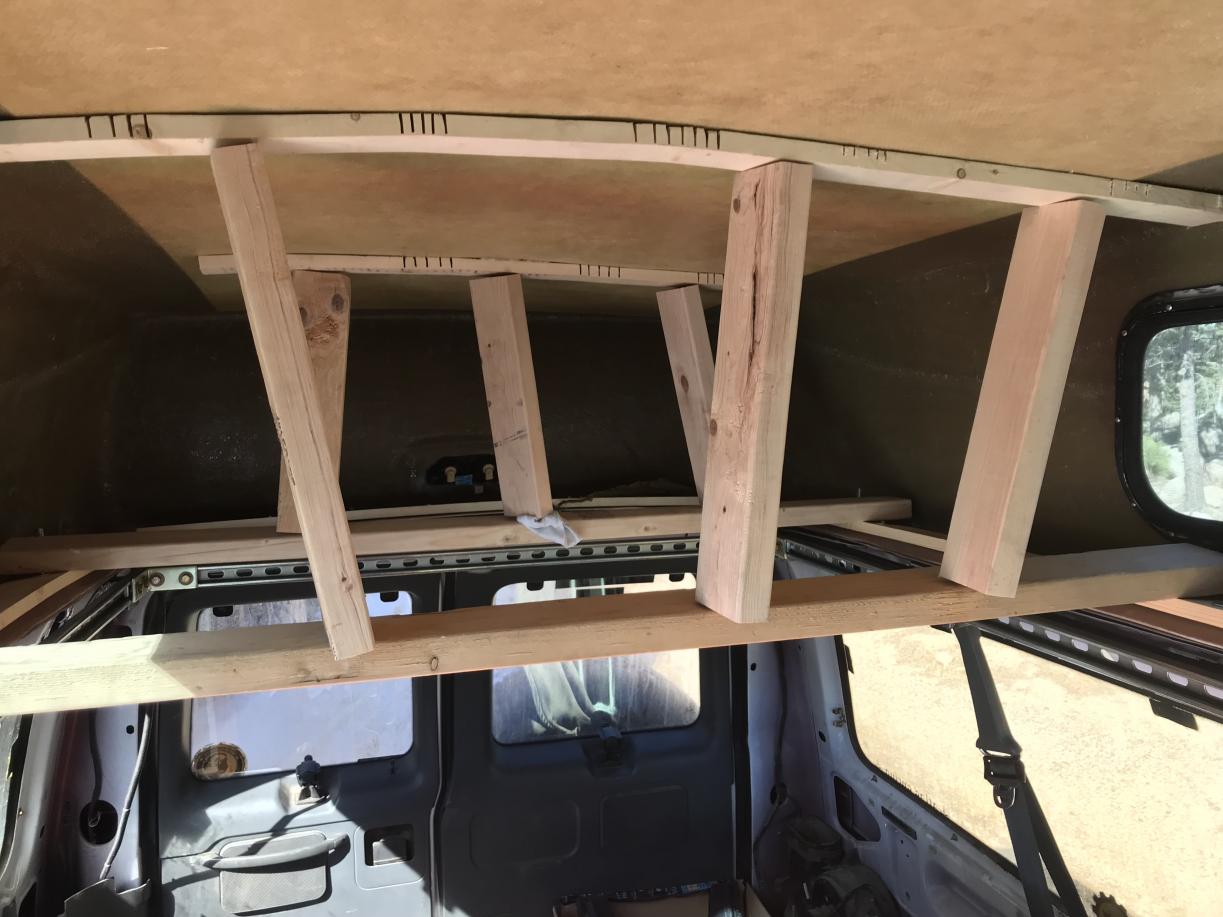
My make shift clamps to hold everything up tight while the glue set. I did this in February in the mountains of CO so dry time was extra long. I put a small space heater in the van overnight. Kept the van in the 60ish degree area for a couple days. Long enough for the glue to initially dry.
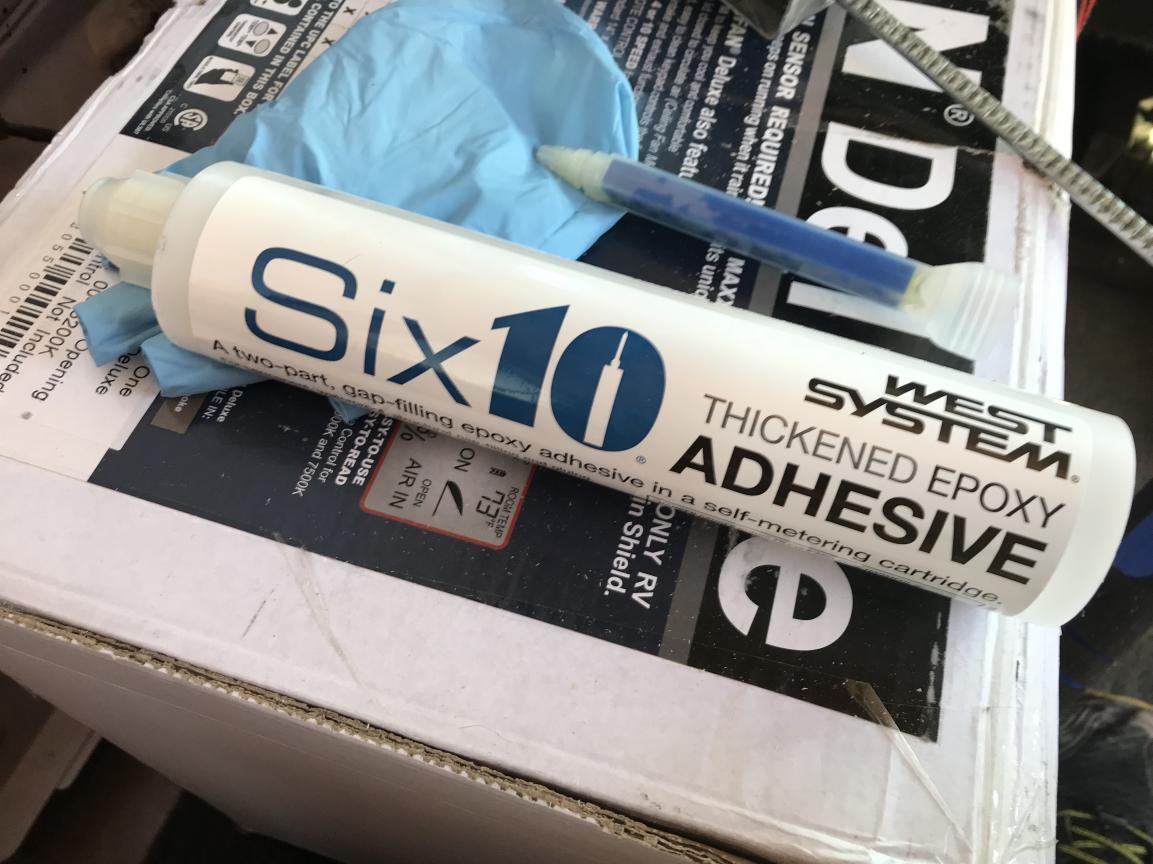
This is the glue I used. It is thickened resin that doesn't drip. Expensive at $20 bucks a tube but worked really, really well. They are solid. I glued three cross pieces the full width of the top and the two smaller fan braces and it took 1 tube. By the way the tube isn't totally full from the factory. It is a two part that mixes as it dispenses in a one part tube. The mechanism that separates the two takes up some space I guess. I did have enough. Wish they had just done it as a two part tube as I have the gun for that as well.
I paid special attention to where my fan would go. This pic shows the fan installed but I glued the pieces up before cutting the hole for the fan. I wanted it to be mounted nice and solid. Sorry the pic is sideways. Sometimes they rotate when I upload and I am too lazy to fix it. You get the idea.

I let those cure fully for almost two full months. Got busy plus felt like that was a good plan. Two weeks of that was the van in the shop getting the transmission re-worked. I felt a huge loss of power in 3rd gear heading over I-70 and took it in to have it checked out. I was still under warranty from the initial rebuild I had done during the 4x4 conversion process. I was under warranty by 4 days actually. Turns out I had a lot wrong and the transmission had to be completely rebuilt again. Frustrating for sure since it had only been about 10k miles. I don't really trust mechanics. I thought we had seriously beefed it up during the build process but now I am not as confident. They did some additional beefing but under warranty work at this point so not sure they spent any more time or money than they had to. I will be trying another shop like John Wood in the future. He does a 5 year unlimited warranty and really does a lot to beef up the A40D. I also had my fan clutch stick in the on position for the second time in less than a year so I decided to convert to an electric fan. That will be another post in a bit.
Hardest part for me was measuring the curve in the front. I used cardboard as a template. All I had were Girl Scout cookie case boxes left over from my kiddos but it worked.

I used cheap underlayment which I thought we bend pretty easily. It is also thin and pretty lightweight. That curve is pretty steep. The sides are required to keep it flexed up in the right position but it really keeps everything nice and solid. I really feel good about how it all fits together to hold itself in the correct spot. You can see that I put half inch pick foam insulation under everything. I obviously laid the foam around the wood strips I installed which are also a half inch. A Home Depot half inch that is. You know what I mean if you have ever actually measured their lumber. I also used just flat aluminum to join the two pieces together. When I trimmed out the window pieces I cut the foam without the window and just pressed hard where the window is and it made a perfect outline of the shape I needed. Then I used the foam to make the window cut in the wood. Worked enough to make it work for me.

The carpeted sidewalls account for my no so great cutting skills. And I feel like it adds a nice soft touch to the top.

I added in some LED can lights as well.

Carpet was super cheap. underlayment was super cheap, foam super cheap. I spent about $125 total for everything and I feel really good about the look as well as how solid it all came out. I actually surprised myself. Once everything was done the real test happened. My only requirement was to finish it out while taking up the least amount of headroom. I am 5'11 and I didn't want to bonk my head. At the back of the top is where it is the lowest. Technically this area will have a permanent part of the bed platform so I won't be standing here but I had success. I can stand fully with shoes on and everything and not touch. In the middle of the top I have several inches of headroom. It's not perfect but I am happy. Sorry about the ugly mug and the messy beard but I had been working.


 2008 GMC 3500 SMB


 The current girlfriend loves doing "guy things" and can now also change her own oil, in a pinch could change a flat on her Toyota 4Runner. (I bought her a AAA road hazard policy so she doesn't have to do this on an open road, she's happy knowing she could if no other option.) Most women and a lot of men too could benefit from simply being more aware of how their vehicles work, won't be a susceptible to less-than-honest "mechanics".


 Linear Mode