Journey with Confidence RV GPS App RV Trip Planner RV LIFE Campground Reviews RV Maintenance Take a Speed Test Free 7 Day Trial ×


Reply
 
Thread Tools Display Modes
 
Old 04-16-2010, 11:43 PM   #31
Senior Member
 
Zaskoda's Avatar
 
Join Date: Sep 2009
Posts: 421
Re: Polar Bear 1

Finally have the van back. Had a productive day today. Got the seat finished up and installed:


I also got the dash pulled apart. Gonna paint the dash and clean behind it. Also got started repainting the inside of the rear doors... They were blue, they're almost white now.


This weekend I hope to get the dash put back together and the new radio installed. I'd also like to get the vinyl on the seats patched up and both seats installed. If I'm really lucky, I'll get started on coating the inside of the van with bed liner. Hopefully, I'll at least get some of that prep work done.

Zaskoda is offline   Reply With Quote
Old 04-17-2010, 09:49 PM   #32
Senior Member
 
Zaskoda's Avatar
 
Join Date: Sep 2009
Posts: 421
Re: Polar Bear 1

I wasted the first half of the day. I needed an air compressor to clean out the stuff under the dash. I thought I'd buy a small one. Turns out a 1 gallon tank and a .3hp compressor doesn't even come close to cutting it. Faced with dropping $150 to $250 for a decent compressor, I decided to rent one for $30. It did the trick nicely and I removed pounds of sand and dust. Then I started taking more stuff apart and wiped down as much of the ventilation system as possible.


My vent fan is noisy and often times squeals in a deafening way. While everything was apart, I took out the squirrel cage to get access to the fan motor. I lubed the shaft with dry graphite and I soaked the motor with contact cleaner hoping to resolve whatever was causing the noise. I won't know if I fixed it (or made it worse) until I get everything back together and get the battery hooked back up.

The afternoon was a bit wet and rainy so I didn't get back to painting until later in the evening. I got a few more coats on the dash and finished up the rear doors. Nino (a friend who's been helping me a bit) fixed the vinyl rips in the seats I bought. The color wasn't a perfect match so I tried a little of the fabric/vinyl paint I used on the dash. It was a remarkably good match for the seats. So much so, I plan to give them a good coating the "freshen" them up.


While the dash was apart, I installed my new antenna. I wanted to simply replace the rusty chrome one with a short stubby black one. Unfortunately, the "universal" antennas don't fit the antenna mount on Polar Bear. I had to run a whole new cable and antenna. This was surprisingly challenging. I had to remove that grill plate between the windshield and hood. To remove that, I had to pull off the windshield wipers. It was an epic pain in the butt.

Tomorrow I plan to start the installing the new radio. When that's done, I'll put the dash back together and the driver's seat back in. While I still have the air compressor, I'll probably do a thorough cleaning of the floor and then take it back to Home Depot.

If time permits, I'll try to get the spare tire rack mounted back on the van. I've seen the bolts rip out where the tire racks are attached. To help prevent this, I'm going to put a strip of metal to reinforce the bolts.

If I can decide where I want the ladder (side versus back door) I'll probably install that too.

These past two days have really flown by. I can't wait to start seeing some of the pieces come together.
Zaskoda is offline   Reply With Quote
Old 04-17-2010, 09:58 PM   #33
Senior Member
 
jage's Avatar
 
Join Date: Apr 2007
Location: Parker, CO
Posts: 7,644
Re: Polar Bear 1

Finally someone else's build day sounds like one of my projects!
__________________
it was good to be back
jage is offline   Reply With Quote
Old 04-18-2010, 10:43 PM   #34
Senior Member
 
Zaskoda's Avatar
 
Join Date: Sep 2009
Posts: 421
Re: Polar Bear 1

I got a lot done, but the weekend is over and it's back to the slow week day grind. I got the dash painted and put back together. I've decided that people who engineer dashes are mad at the world. Now that it's over and done with, I'm glad I did it. I swear the van drives better with a gray dash.


I installed my radio, having to guess between two wires. I was stoked when I turned it all on and it worked! The installed radio is in the pic above. The wiring mess is below.


I'm waiting on speakers to arrive later this week. I'm looking forward to hearing how the sound changes as I insulate the van.

I also got the back doors finished up and my spare tire re-attached. I reinforced the spare tire rack with a thin strip of metal. I feel a lot better about it now...


I didn't get anywhere on the seats today and other than blowing out the debris, I didn't get the floor prepped. I've only got 1 day next weekend to work, but perhaps I can get more done the weekend after that. *crosses fingers*

I sure love working on this van. It doesn't feel like work at all. Wish I could take a month off and focus on the van for a while.
Zaskoda is offline   Reply With Quote
Old 04-19-2010, 07:57 AM   #35
Site Team
 
WVvan's Avatar
 
Join Date: Jul 2009
Posts: 1,293
Re: Polar Bear 1

How hard was it to figure out how to get the dash off? I've considered doing to mine the same as you've done.
__________________
Open the pod bay doors Hal.

Once I exit Hal, this is what I do.
https://larry.wvnet.edu/~van/pics/lic...late-small.jpg
WWW.WVBIKE.ORG
WVvan is offline   Reply With Quote
Old 04-19-2010, 10:23 AM   #36
Senior Member
 
Zaskoda's Avatar
 
Join Date: Sep 2009
Posts: 421
Re: Polar Bear 1

Quote:
Originally Posted by WVvan
How hard was it to figure out how to get the dash off? I've considered doing to mine the same as you've done.
I found a gray dash at a junk yard and attempted to remove it. I pulled too hard on a corner and bent it so I left it behind. That process helped me understand the dash assembly. Turns out, unlike the face plates and stuff attached to the dash, the dash itself had no "clips" that pull out. Everything was either a bolt or screw.

It's just a matter of tugging and searching for screws. When all the screws were out, the dash easily detached. The hardest part, for me, was the instrument panel. When the speedometer cable was stretched to the transfer case in my 4x4 conversion, they left very little extra length in the cable. Another inch of cable would have saved me a trip to the hardware store and an hour of labor.

Where I could, I put the screws I took out back into the holes I removed them from so they would be there waiting when I reassembled the dash. This helped a lot. I also heard a suggestion of getting Styrofoam and sticking the screws in it with a pattern that matches whatever you're taking the screws out of.

I had to use a wide variety of sockets, wrenches, and drivers. I also had to pick up an angled screw driver (looks like an allen wrench with a phillips head) for those hard to reach places.

Once apart, I had to be careful removing and replacing the actual dash as the plastic is old and some parts are rather brittle. I had help removing it, but put it back in myself. I'd recommend a second set of hands if you have them available - but it's not required.

With the dash off, it was a great opportunity to get work done under the dash. If you have any wiring, cleaning, or whatever you wanna do under there - get it done while the dash is off.

One final tip, I planned 3 consecutive days for this project. My intention was to get it apart, get the work done, and get it back together as quickly as possible so I would remember as many details as possible. I think it helped.
Zaskoda is offline   Reply With Quote
Old 04-19-2010, 11:11 AM   #37
Site Team
 
WVvan's Avatar
 
Join Date: Jul 2009
Posts: 1,293
Re: Polar Bear 1

Thanks for the info.

Quote:
Where I could, I put the screws I took out back into the holes I removed them from so they would be there waiting when I reassembled the dash. This helped a lot. I also heard a suggestion of getting Styrofoam and sticking the screws in it with a pattern that matches whatever you're taking the screws out of.
That one always bites me in the butt when working on cars. They always use five different types of screws holding any one piece in place. In the past I've taken plastic ice cube trays that have started to leak and sequentially numbered each "cube" space. As I took out the screws I'd put them in a different numbered cube. But this only works if I can remember the sequence of screw removal. I'll have to try the Styrofoam trick next time.

Quote:
I'd recommend a second set of hands
In my case it'll probably be second set of paws.
__________________
Open the pod bay doors Hal.

Once I exit Hal, this is what I do.
https://larry.wvnet.edu/~van/pics/lic...late-small.jpg
WWW.WVBIKE.ORG
WVvan is offline   Reply With Quote
Old 04-23-2010, 01:07 AM   #38
Senior Member
 
Zaskoda's Avatar
 
Join Date: Sep 2009
Posts: 421
Re: Polar Bear 1

@WVvan - I had to show your inspection kitteh picture to the same friend who was my second set of hands. We're both ichc junkies.

So, apparently I got lucky and hit Home Depot at the right time. I was looking for plywood to build some panels for the rear doors and the 51 cent wood bin was overflowing with scraps... so I stocked up on some odds and ends (51 cents each, except for my sheet of plywood):


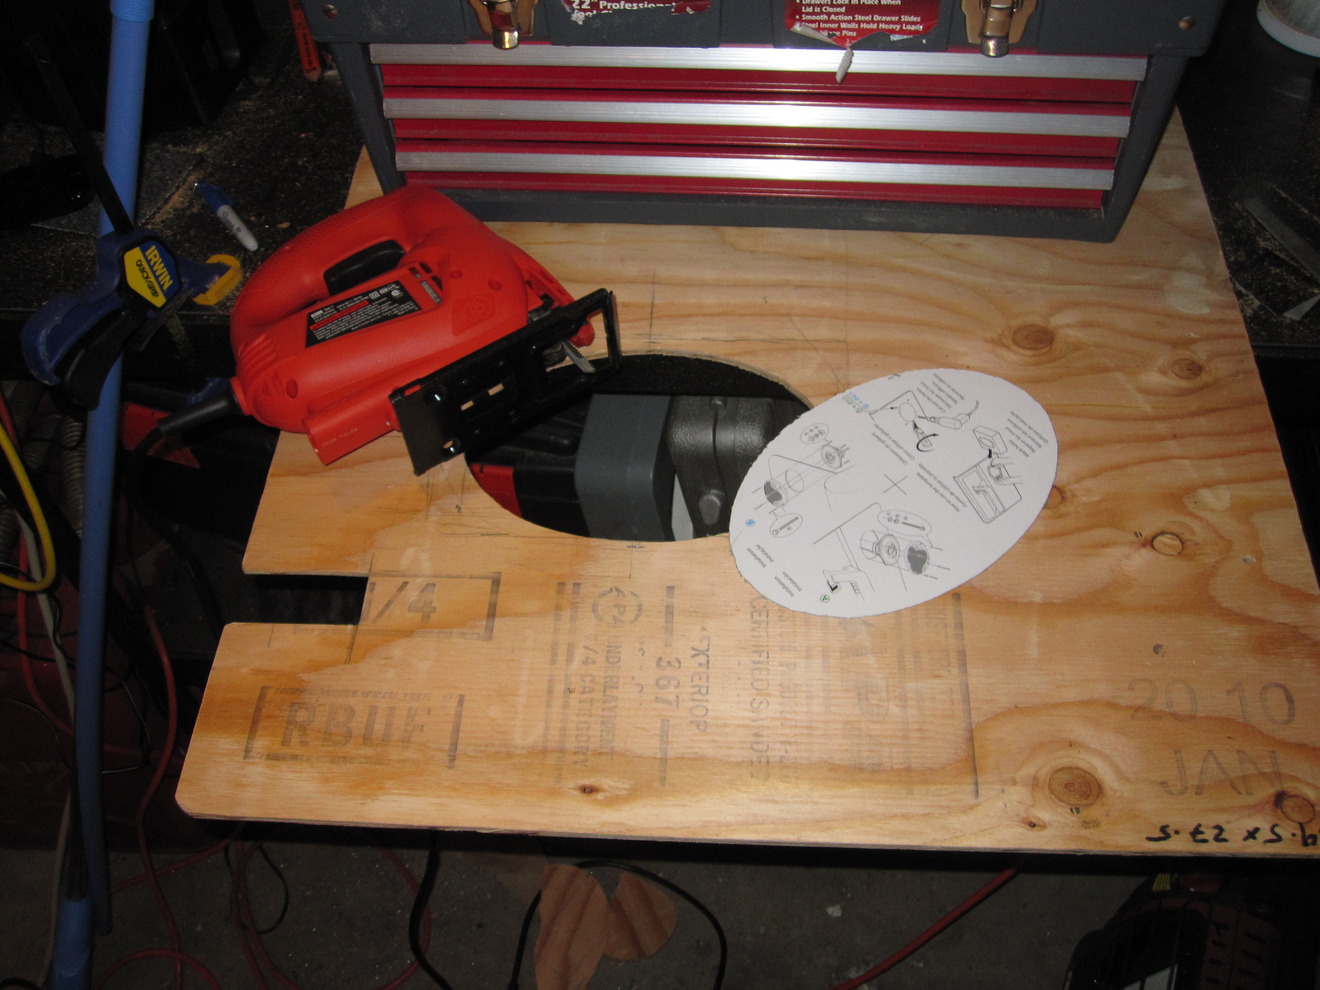
For all the complaining I've done about what things cost... I am really appreciative when I score like this. So, anyway, I just finished cutting up some panels this evening. It's pretty straightforward stuff: draw lines, measure, redraw lines, drill, cut, sand, etc.


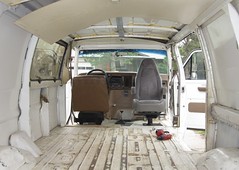
I'm not really ready to panel the inside out just yet. I built my two rear panels early so I could install the rear speakers that arrived a few days ago. I was terribly frustrated trying to figure out what size hole to cut. I kept looking through the paperwork searching for some kind of cut-out template. Finally, I noticed the template was printed on the back of the box!


The mount points of the speakers aren't optimal for sound quality. I had two factors push me towards their current placement. The first was a lack of room inside the driver side rear door due to the license plate indention. The second is the expectation of the interior build out. I don't want to cover the speakers with cabinets (when I build them) so I kept the speakers far from the van walls, closer to the center of the van. For my floorplan, I intend to have an open hallway down the center of the van.

I made a few fun mistakes along the way. Twice I installed the speaker on the wrong side of the panel. I did this the very first time I was checking out placement. Then I did it again doing the final assembly. I felt a little silly for that. I also completely forgot to cut out a hole for the door handle so you can't open the door from the inside. My roomie jested about it being a feature of a kidnapper van. I'll probably cut the handle out on Sunday (my next work day). Oh yeah, and one of the speakers is currnetly installed upside down... not that it matters much, but... still, it's upside down... oops.

The grain of the wood is mismatched and the panels are covered in writing. This doesn't matter as I'm covering them with Vinyl in the final build out. I have the Vinyl and glue and kinda want to cover them *right now*... but, I figure the longer I wait for the Vinyl, the less likely I am to get something on it or damage it. I need to get started on insulation and flooring soon anyway.

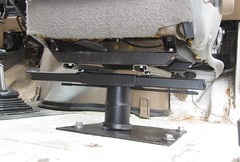
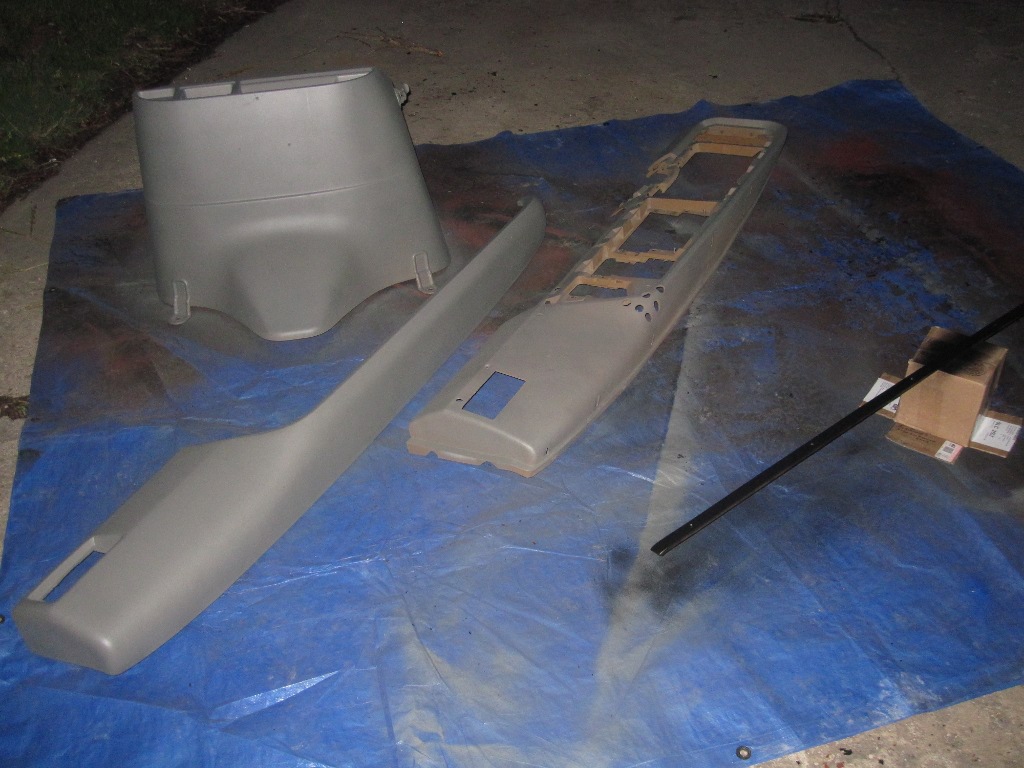
The week had a lot of other challenges. It rained on me a lot. I also attempted a seat mod that did not turn out. Here's the basic idea:


The name of the van is "Polar Bear" and I really wanted some bears on the backs of the seats. I also have some tears in the vinyl I was attempting to cover up. I used 3M spray adhesive to attempt to stick the bears down. I left the edges clean cut. The glue did not bond particularly well and the bears are just a bit too white. I'm even thinking about doing them in a darker color than the seats. The vinyl I used here is from the batch I plan to use on the ceiling.

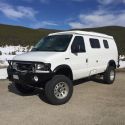
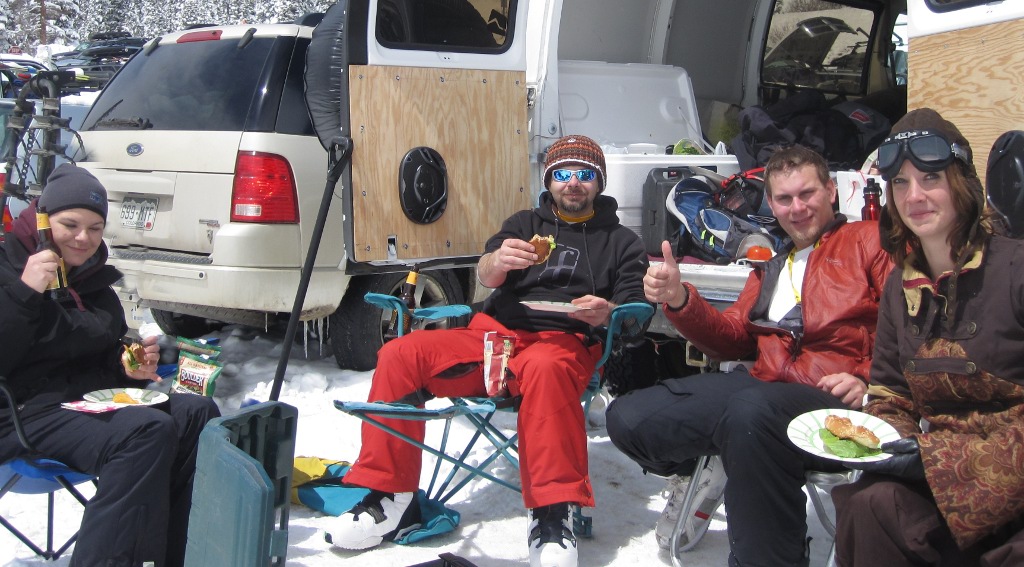
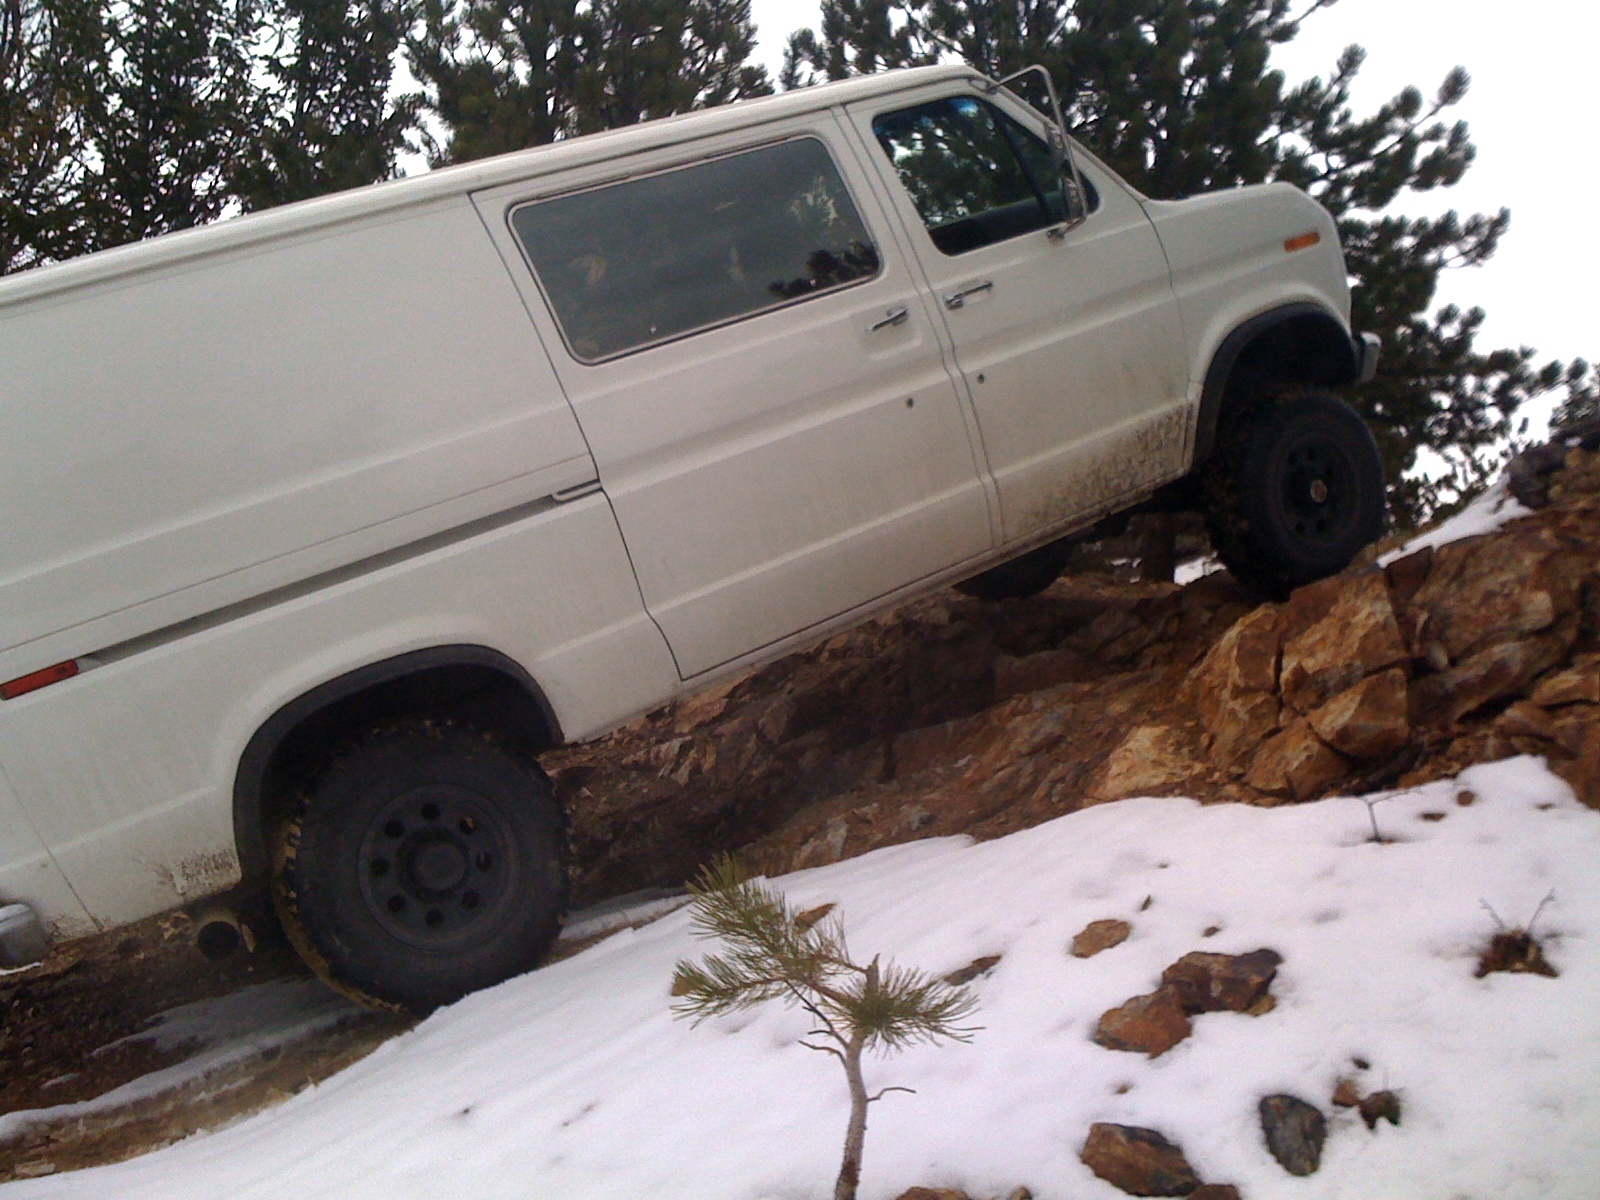
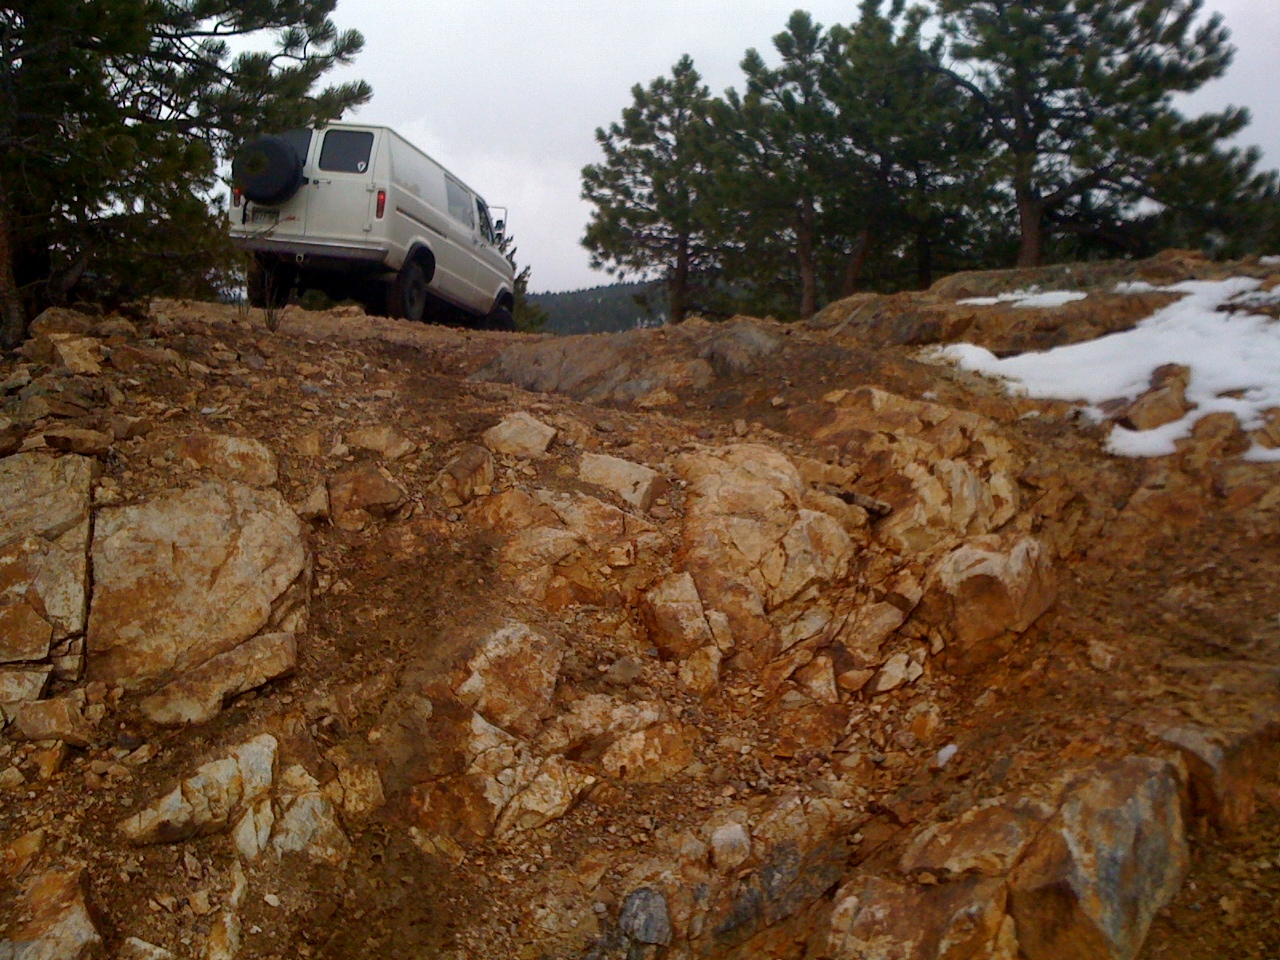
And just because it's neat, here's a pic I snapped with my phone this morning:


It makes me wanna wander up into the mountains for a few months...
Zaskoda is offline   Reply With Quote
Old 04-23-2010, 06:26 AM   #39
Site Team
 
WVvan's Avatar
 
Join Date: Jul 2009
Posts: 1,293
Re: Polar Bear 1

Love the view!
__________________
Open the pod bay doors Hal.

Once I exit Hal, this is what I do.
https://larry.wvnet.edu/~van/pics/lic...late-small.jpg
WWW.WVBIKE.ORG
WVvan is offline   Reply With Quote
Old 04-26-2010, 11:08 PM   #40
Senior Member
 
Zaskoda's Avatar
 
Join Date: Sep 2009
Posts: 421
Re: Polar Bear 1

Warning This post has nothing to do with the build!

So, this past weekend was dedicated to playing. My sister was in town and we took the van out to a local event called Free Basin. It's a "beach" party at a local mountain called A-Basin (short for Arapaho Basin).

We left early (4:30am) to get a spot right on "the beach". Then we turned on the heater and took a nap. Having a giant bean bag in your van is very awesome. I also got to use the new rotating seat!


The beach party was fun and we got lots of fresh snow. It snowed in the morning and then went bluebird in the afternoon:


I also got to use the new stereo system and speakers I installed:


Then on Sunday I went and did some trail running with a friend of mine from work. I tried a little bit of rock crawling with the van. Turns out, in 4x4 low, an inline 6 climbs surprisingly well.


After all I've put into this van, it's wonderful to be getting something back out of it.
Zaskoda is offline   Reply With Quote
Reply


Posting Rules
You may not post new threads
You may not post replies
You may not post attachments
You may not edit your posts

BB code is On
Smilies are On
[IMG] code is On
HTML code is Off
Trackbacks are Off
Pingbacks are Off
Refbacks are Off

» Sportsmobile Registry

Agnes

ranchero

97 Eco

MTDave
Add your Sportsmobile
» Featured Campgrounds

Reviews provided by

Powered by vBadvanced CMPS v3.2.3
Disclaimer:

This website is not affiliated with or endorsed by Sportsmobile SIP or any of its affiliates. This is an independent, unofficial site.


All times are GMT -6. The time now is 03:29 PM.


Powered by vBulletin® Version 3.8.8 Beta 4
Copyright ©2000 - 2024, vBulletin Solutions, Inc.