So you want projector headlights but don't like the healthy price tag. Well you are in luck, here is the DIY.
To start with, you need to select a few items. Head on over to Ebay and get yourself a set of clear lense aftermarket headlights, and if you want them, clear or blacked out corner lenses. It doesnt really matter what headlights you start with, just make sure they have a clear lense. Blacked out or clear, they both work the same for this conversion.
Then pick your projectors. I used the following from Morimoto Lighting:
D2S Square Projectors
Panasquare shrouds
Moricontrol controller
55W Ballasts
5200k (ish, I forget)bulbs. Higher numbers are more purple, lower numbers are more yellow.
You can use cheapo depot stuff, you can use LEDs, whatever turns your crank. The merits of the Morimoto setup and HID vs LED can be a separate thread.
OK on to the build!
Start by stripping all the adjusters off your new headlights. Preheat your oven to 275 degrees and heat the headlights for 10 minutes.

10 minutes later, pull your headlights out and separte the lense from the body. The best tool for this is a panel puller (lh tool). I use a Blue Point, but you can get cheaper ones.

Now you have the lenses popped off. Put them back in the oven and reheat them, and pull all the old sealant off the lense and the body.
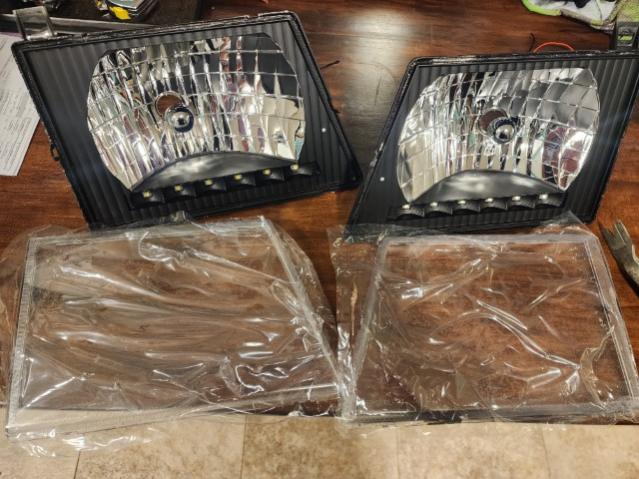
Put the clear lenses somewhere safe wrapped up with a towel, you wont need them till the end.
Test fit your projectors, get your dremel or cutoff tool out and cut as much of the existing headlight mount off as needed to get the projectors to come fully through the back of the housing

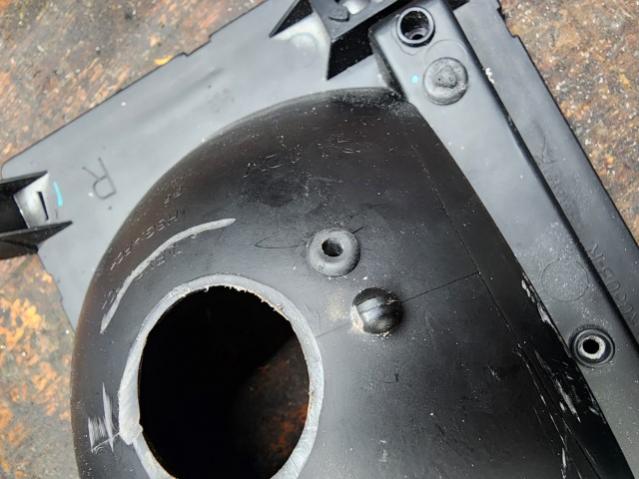
Use a file get the back of the housing knocked down nice and flat. This is the mounting surface for the new projector. Don't cut off too much.
If you have bi xenons (likely) drill a small hole in the housing and stuff a grommet in there to allow the leads for the shutters to pass through.
Remove the little cup in front of the headlight bulb and grind the mount down flush. This can be a little ugly since it is covered by the projector. Get it nice and flush

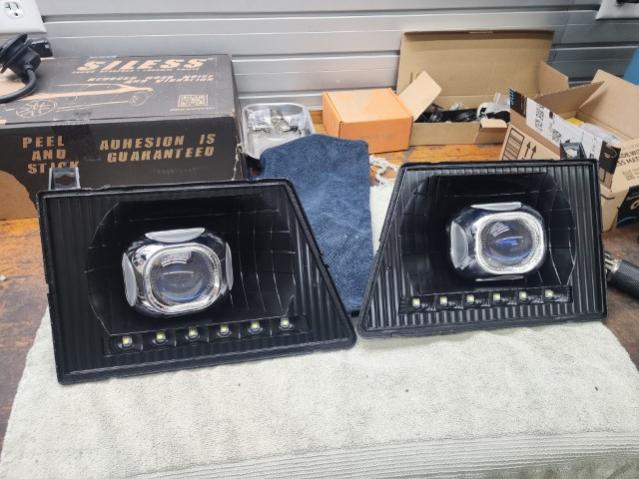
Test fit your projectors and make sure they fit. Go get one of your clear lenses and make sure they fit over the projectors. If not, you need smaller projectors.
Remove the projectors from the housings.
At this point, if you want to, paint the housings. Scuff them with scotchbrite and give them a good rinse and wash with soapy water. I used Krylon Fusion Satin Black, but you can use any color you wish. The reflectors no longer serve a purpose since you now have projectors - no worry about painting them and affecting light output.
Apply some JB Weld Putty between the H4 Positioning Ring (Silver) and the headlight body.
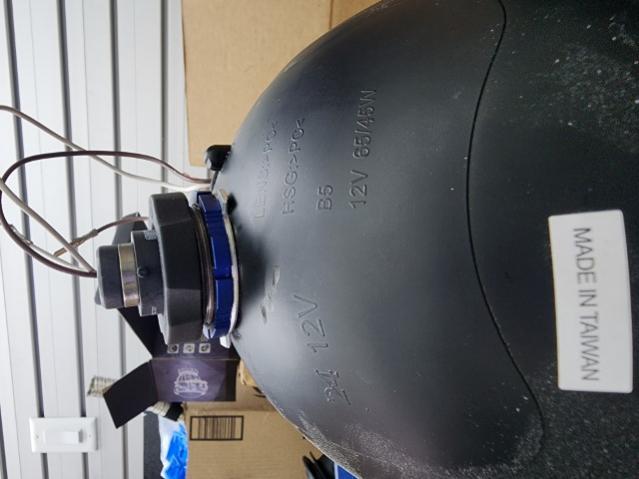
Tighten the blue lockring down, apply some more JB Weld in between one of the flutes on the lockring to make sure it stays tight.
Mount up the electrical and tidy it all up. I wont go into too much detail here because everyone's setup is different and everyone's tolerance for bad wiring is different. I loomed everything, installed some weatherpak connectors, and followed the OEM wiring routing with the Morimoto harness.
Mount the headlights and test them. Test high and low beams. I had to switch two wires on my Morimoto controller to get them to be in the right sync.
Reseal the headlights.
Clean everything up real real nice with a brand new soft microfiber cloth. Check it in good light, make sure there are no finger prints. Latex gloves help with this.
I used Morimoto Retro Rubber to reseal, select your favorite and follow the instructions.
Put the adjusters back on your headlights that you took off previous. The ones that came on my Ebay ones sucked, I reused the OEM off my original headlights.
Mount your lights up and test them.


Aim your lights. There are plenty of tutorials online how to do this. I used my box stock 2021 F150 with LED factory lights to set a good baseline pattern since my van has about a mile of lift on it and aiming it conventionally could be bright to oncoming drivers.
Thats it! There are a few twists and turns to it but anyone with some basic hand tools, a small bit of wiring knowledge, and some patience can set themselves up with a sweet set of projectors in an afternoon.


 2008 GMC 3500 SMB
 Linear Mode