Journey with Confidence RV GPS App RV Trip Planner RV LIFE Campground Reviews RV Maintenance Take a Speed Test Free 7 Day Trial ×


Reply
 
Thread Tools Display Modes
 
Old 06-14-2010, 05:41 AM   #71
Senior Member
 
Join Date: Jan 2010
Posts: 198
Re: Sheneeda, The van

Quote:
Originally Posted by BroncoHauler
Having The Wife's support and interest VS mere tolerance is a big deal sometimes.
Well put.

teeots is offline   Reply With Quote
Old 06-14-2010, 12:12 PM   #72
Member
 
Join Date: May 2010
Location: Kamloops, BC, Canada
Posts: 41
Re: Sheneeda, The van

You got the wrong name somehow on that quote^
__________________
'97 E350 PSD, Black 12 pass. reg van body with windows
loopie is offline   Reply With Quote
Old 06-15-2010, 06:52 PM   #73
Senior Member
 
Join Date: Jan 2010
Posts: 198
Re: Sheneeda, The van

After traveling for a couple of hours straight, the 7.3 noise coming through the doghouse got to be annoying. I spent some time researching on this forum and others to see what I might be able to do about it. Once again I turned to the boating world for a solution (hopefully). I bought a sheet of "lead core" or sound barrier foam. it looks like 2 layers of dense 3/8" foam rubber with a layer of "lead" or some dense lead-like material sandwiched in the middle. One side has a heat reflective layer, although not as sturdy as the type on the stock insulation. My plan is to try to install the lead core against the plastic of the doghouse, then replace the stock insulation with its obviously rugged heat barrier. I realize that it may not all fit, but thats the plan for now.


I have used this stuff before in generator rooms, and have seen it in boat engine rooms, and outboard motor compartments.

I was surprised when I took the doghouse stock insulation off, I found that the previous owner stuck some dynamat between it and the doghouse plastic housing. I guess It confirmed what I had already concluded about dynamat as a solution.


It was obviously not a thorough job, but still It left me thinking I needed more sound deadening.

I'm not sure when I will get time to fit this stuff (or if t will ft at all), but I will keep you all posted.
teeots is offline   Reply With Quote
Old 06-16-2010, 03:11 AM   #74
Member
 
Join Date: May 2010
Location: Kamloops, BC, Canada
Posts: 41
Re: Sheneeda, The van

Ya, that previously installed Dynamatesque material would have been doing very little to control sound transmission in the higher frequencies.

Do you know how thick your mass layer is? And is it actually lead or MLV(mass loaded vinyl) or...?
Brand?
__________________
'97 E350 PSD, Black 12 pass. reg van body with windows
loopie is offline   Reply With Quote
Old 06-16-2010, 03:36 AM   #75
Senior Member
 
Join Date: Jan 2010
Posts: 198
Re: Sheneeda, The van

Pretty sure its mlv. overall thickness is 1". Not sure of brand- will check.
teeots is offline   Reply With Quote
Old 06-18-2010, 07:03 PM   #76
Senior Member
 
Join Date: Jan 2010
Posts: 198
Re: Sheneeda, The van

Doghouse is still on the floor uninsulated after a busy work week.

Today after work I opened up a couple of boxes of van windows!


These were ordered from my local glass company and are manufactured by CR Laurence co. The top one is for the passenger side above the rear wheel and is a fair amount taller despite what the picture shows. The bottom one is for the driver side just behind the door. (above the "kitchen")

The large one is a t slider, the small one is a half slider. Maybe tomorrow I will once again tuna can the van. I am more excited about windows right now than I am about the doghouse insulation.
teeots is offline   Reply With Quote
Old 06-19-2010, 11:35 AM   #77
Senior Member
 
Join Date: Jan 2010
Posts: 198
Re: Sheneeda, The van

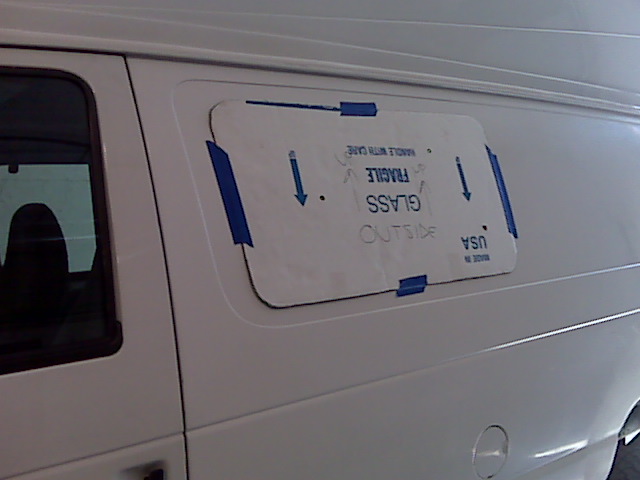
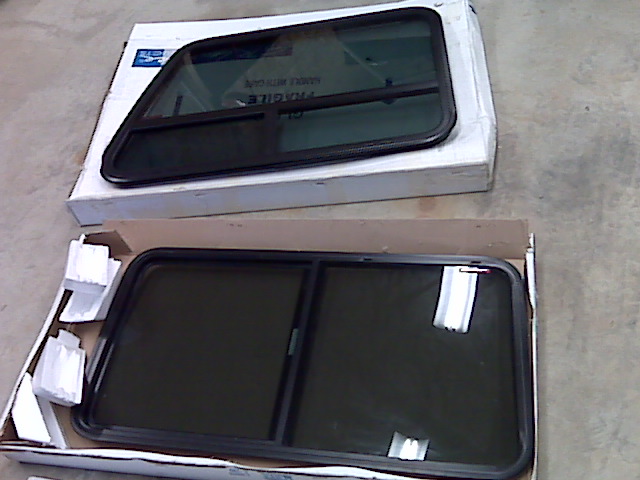
First I used the window to create a cardboard template. It seems like the windows should come with templates, but they did not.

1. Put the template on the inside of the van and line it up with the structural metal "cutouts". I taped the template in place then drilled three randomly located holes through the template and out through the wall of the van.

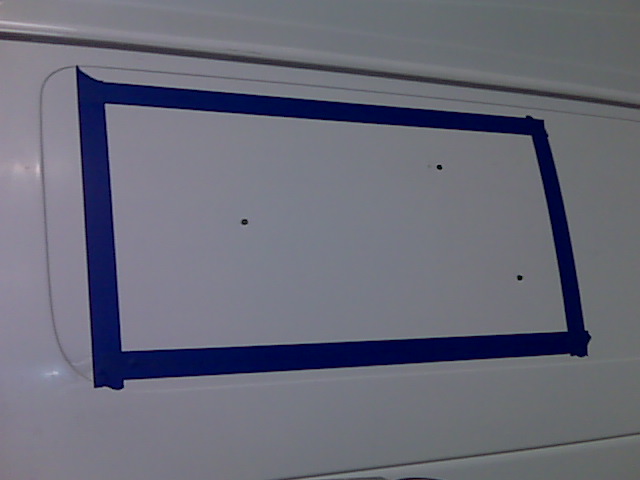
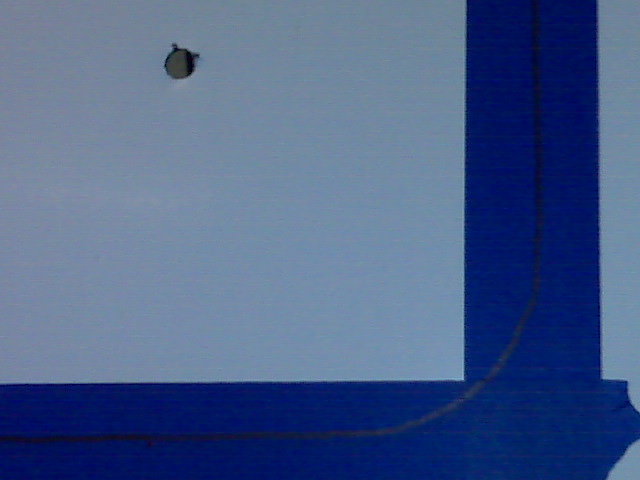
2. Put the template on the outside of the van using the 3 random holes as "registration marks"


3. Trace the template with a marker.

4. Remove template, cover outline with masking tape, put template back on and trace again this time onto the masking tape. The tape will help keep the paint from chipping around the cut.


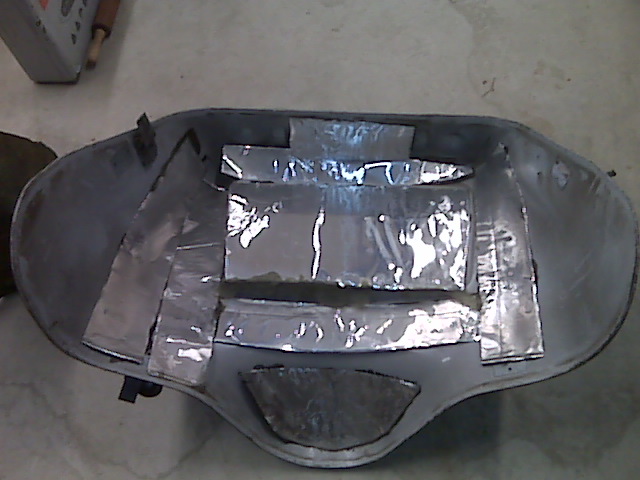
5. Take a deep breath. Take a leak. Are you sure you want to do this? Using a jig saw with a fine tooth (24) metal blade at full rpms slowly cut out the van window opening.

6. I had a friend hold the steel cutout while I sawed the last inch at the top, so the cutout wouldn't fall onto the new vinyl floor inside the van.


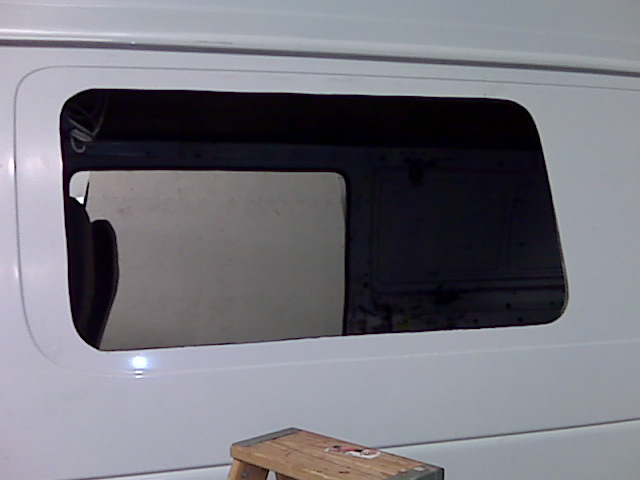
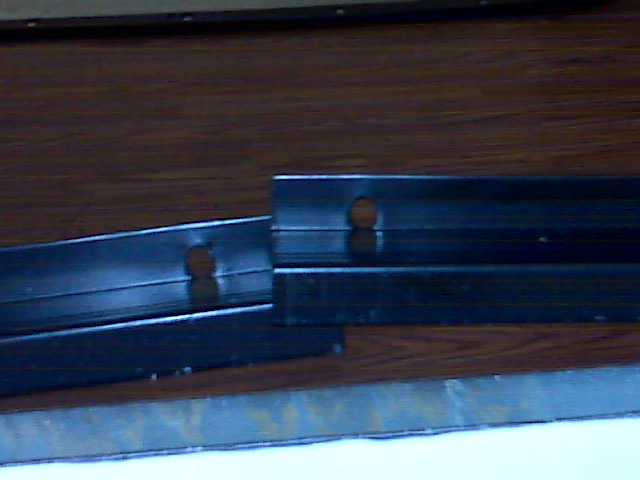
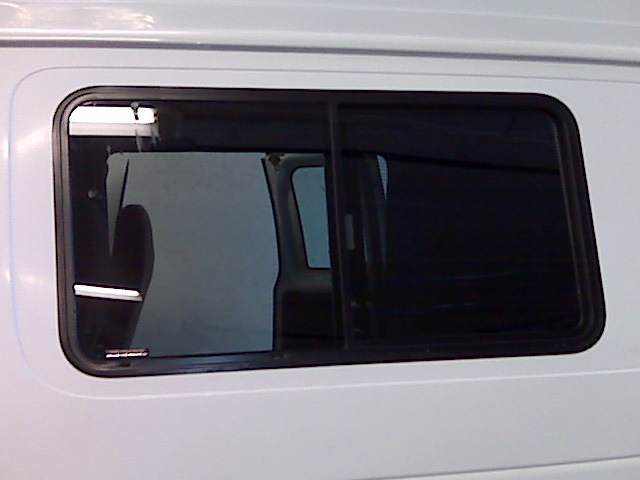
7. Test fit the interior trim ring. It slides in between the exterior van wall and the interior structural van wall. The trim ring is split at the bottom to facilitate this process. One of my bottom corners needs trimming to allow the ring to fit completely. Right now the ring ends overlap eachother by a 1/4" to 3/8".


8. Lunch break.
teeots is offline   Reply With Quote
Old 06-19-2010, 02:54 PM   #78
Senior Member
 
Join Date: Jan 2010
Posts: 198
Re: Sheneeda, The van

After trimming the corners again (mostly the interior layer of metal was interfering with the trim ring) I slid the trim ring into position and then dry fit the window into the trim ring. It was snug but I think good. I pulled the bottom out first and used clear silicone sealant to create a bead for bedding the window into the van wall. Then I went inside the van and put 2 screws in the bottom to pull the window into the trim ring. Then back out to silicone the sides and top edge. Then I went inside again and put all of the screws into the window frame through the trim ring pulling the whole unit tight to the van wall. There was considerable silicone cleanup! I used more than I needed to, but I would rather clean it off the van, then have a leak later on.

This would be a better job for 2 people. I did this part alone, but could have used the help- one person outside and one inside would make more sense.


teeots is offline   Reply With Quote
Old 06-19-2010, 04:41 PM   #79
Senior Member
 
Join Date: May 2009
Posts: 1,837
Re: Sheneeda, The van

nice job buddy

was thinking
hmmm.... Sheneeda

however, she now has a Pompidor, last side shot...

Maybe change to Elvis?
billwilson is offline   Reply With Quote
Old 06-19-2010, 07:31 PM   #80
Site Team
 
WVvan's Avatar
 
Join Date: Jul 2009
Posts: 1,293
Re: Sheneeda, The van

A fine job and a most excellent write up.
This is one job I wanted to try myself but couldn't get the window since CR Laurence will only sell to shops.
Quote:
Take a deep breath. Take a leak. Are you sure you want to do this?
Talk about "The moment of truth". From your description this sounds like it might have been the hardest part of the install.
__________________
Open the pod bay doors Hal.

Once I exit Hal, this is what I do.
https://larry.wvnet.edu/~van/pics/lic...late-small.jpg
WWW.WVBIKE.ORG
WVvan is offline   Reply With Quote
Reply


Posting Rules
You may not post new threads
You may not post replies
You may not post attachments
You may not edit your posts

BB code is On
Smilies are On
[IMG] code is On
HTML code is Off
Trackbacks are Off
Pingbacks are Off
Refbacks are Off

» Sportsmobile Registry

My Van

bfolens

EB Van

ebflow
Add your Sportsmobile
» Featured Campgrounds

Reviews provided by

Powered by vBadvanced CMPS v3.2.3
Disclaimer:

This website is not affiliated with or endorsed by Sportsmobile SIP or any of its affiliates. This is an independent, unofficial site.


All times are GMT -6. The time now is 12:08 AM.


Powered by vBulletin® Version 3.8.8 Beta 4
Copyright ©2000 - 2024, vBulletin Solutions, Inc.