Update:
-Well after a short hiatus from van work projects I got back to work on finishing up most of the remaining list of the interior. I was on another pressured timeline as I was trying to get the van done for a two-week trip that turned into one week as I, unfortunately, injured my shoulder and had to schedule surgery for the second week of our vacation. Knowing I will most likely be recovering for quite some time, I had a strong motivation not to leave any outstanding part of the van. So I picked up where I had previously left off with more work ahead of me than I realized. I tried to take some progress photos as I went, but probably not enough.
Door Updates:
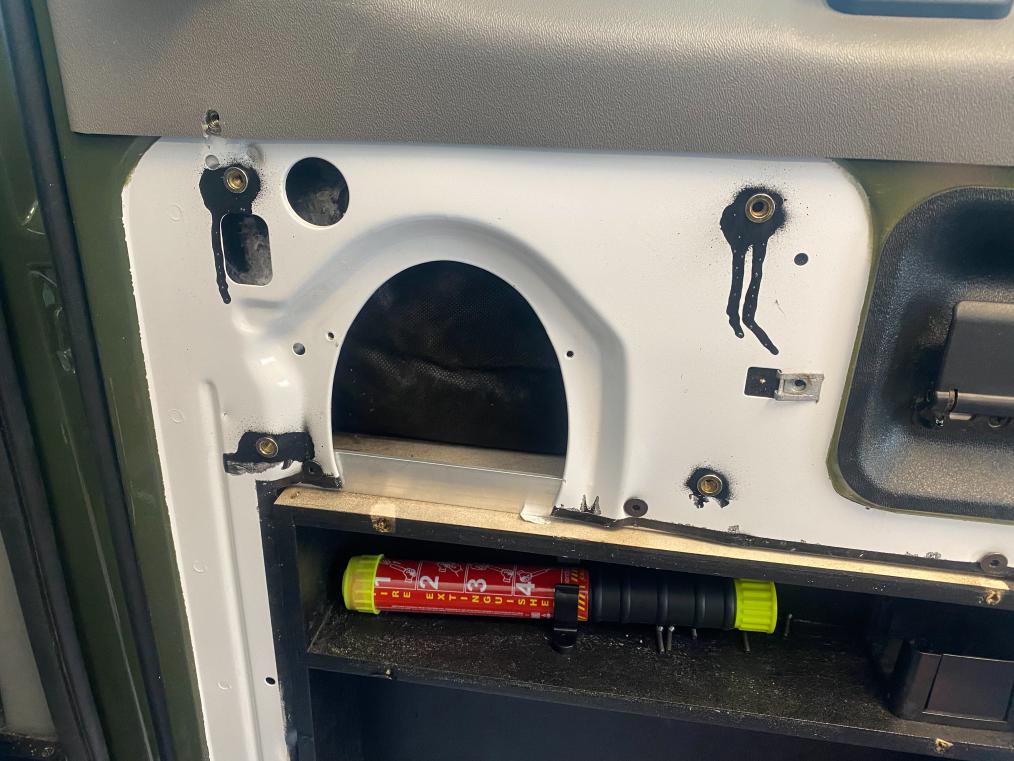
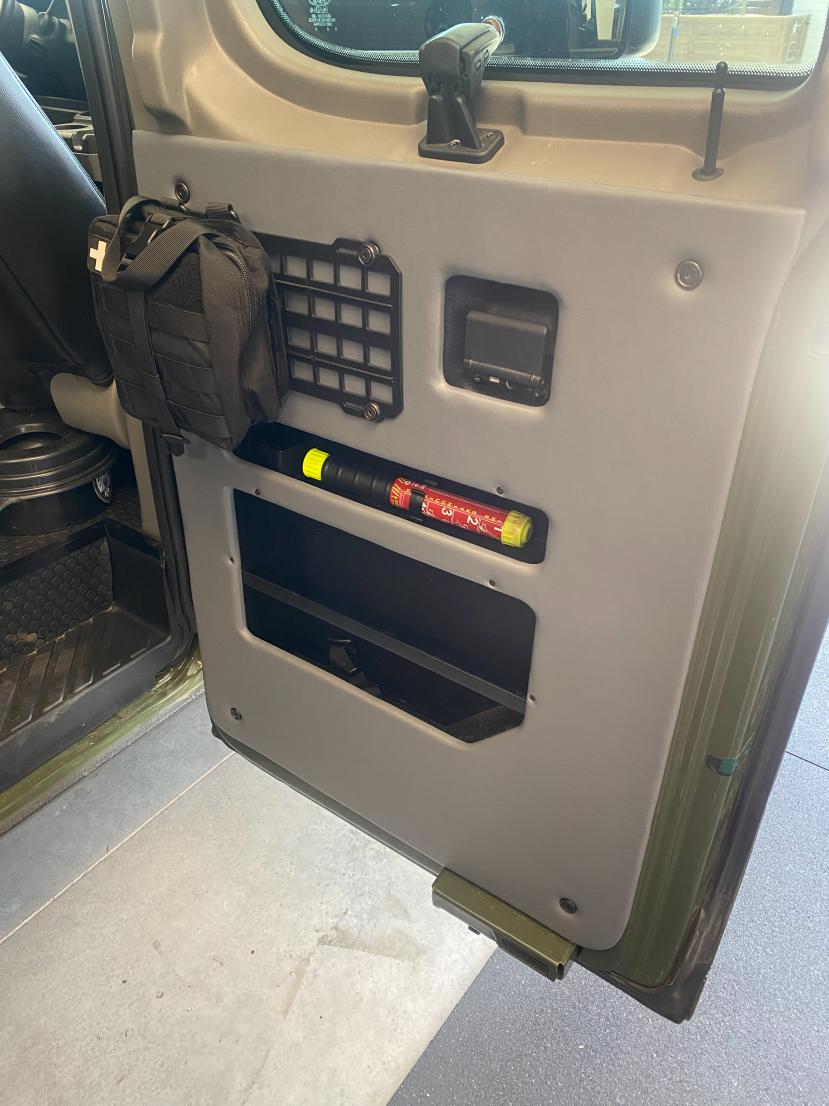
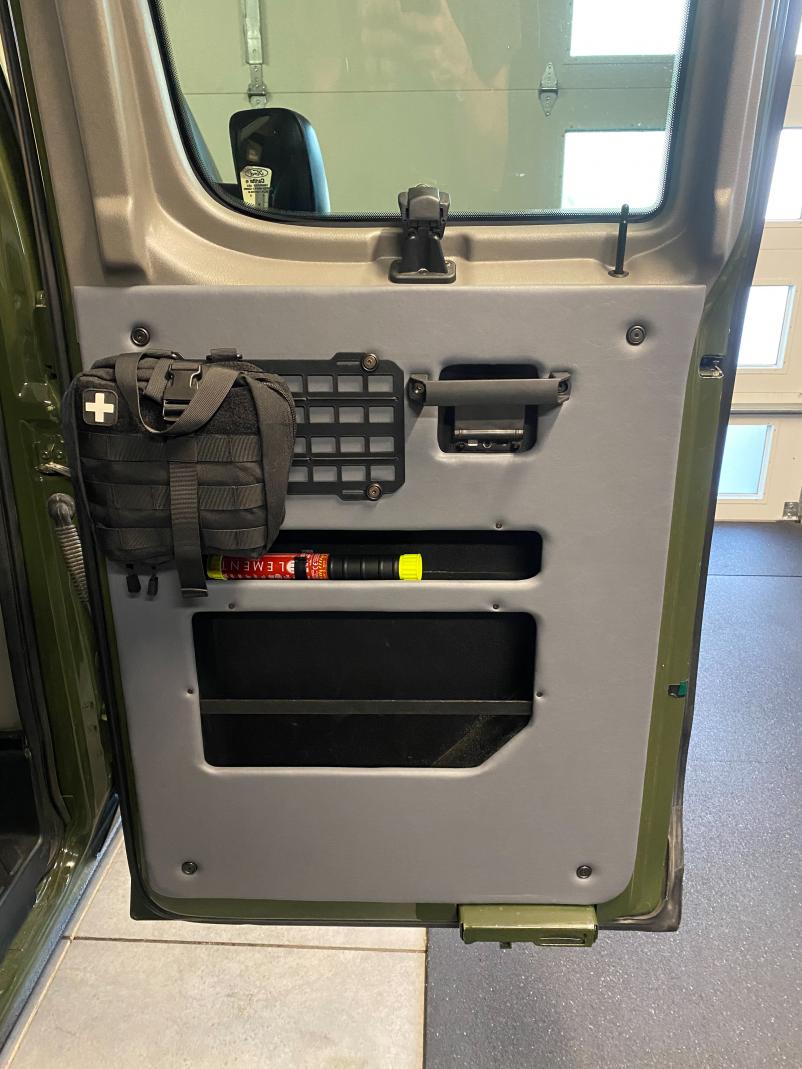
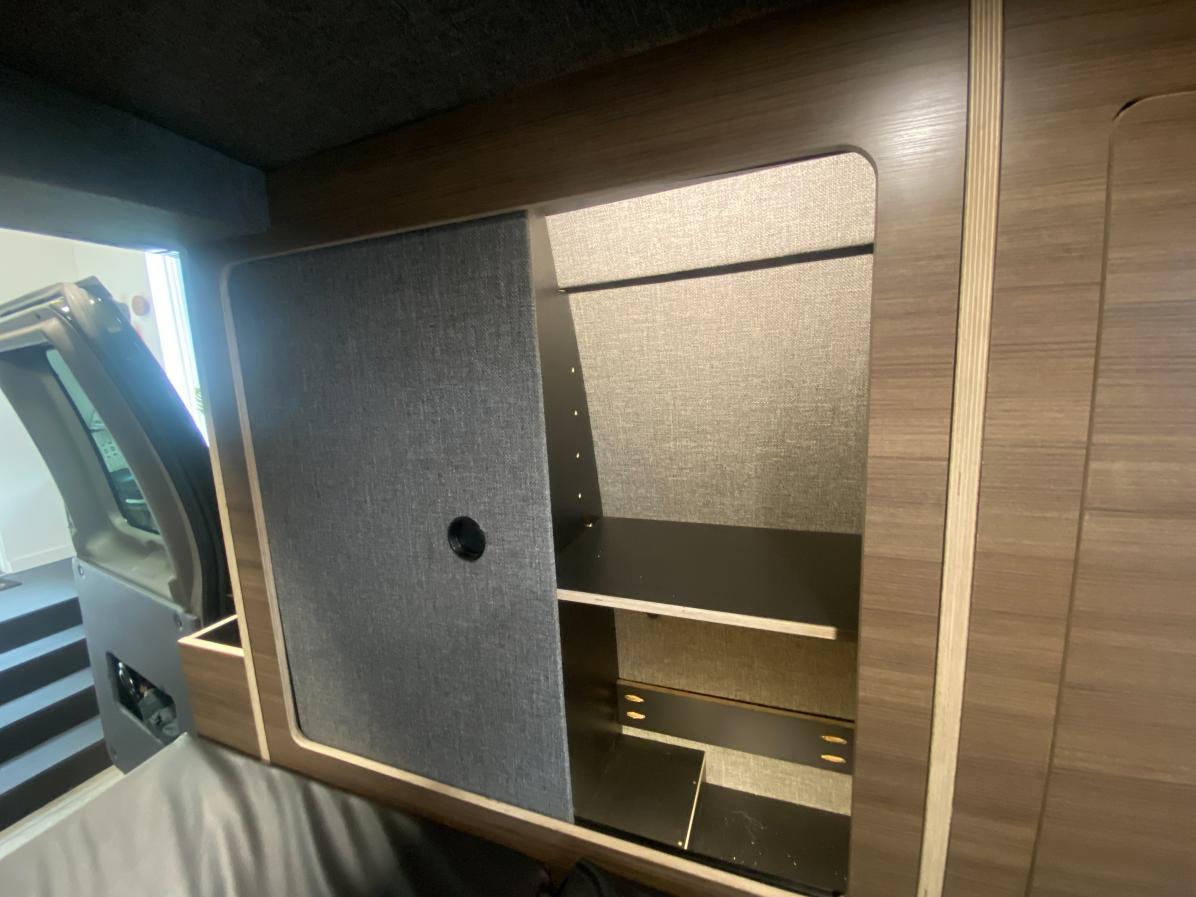
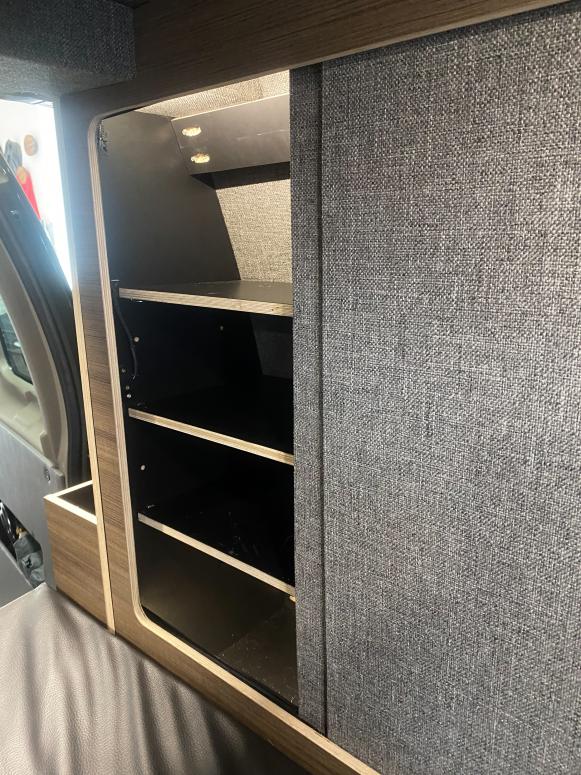
-First project to tackle was to finish out the door panels. I started by locating and installing the molle panel using threaded inserts giving a nice and solid mounting for the molle panel. We decided, for now, to only mount the first aid kit and the element fire extinguisher.
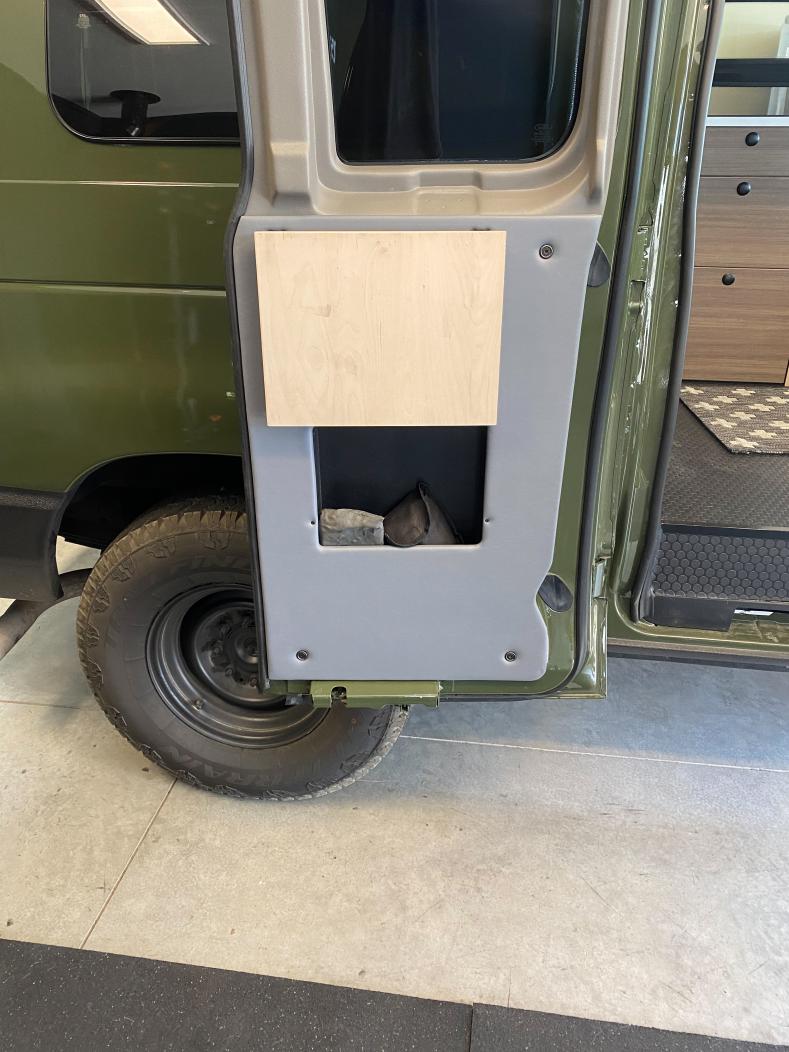
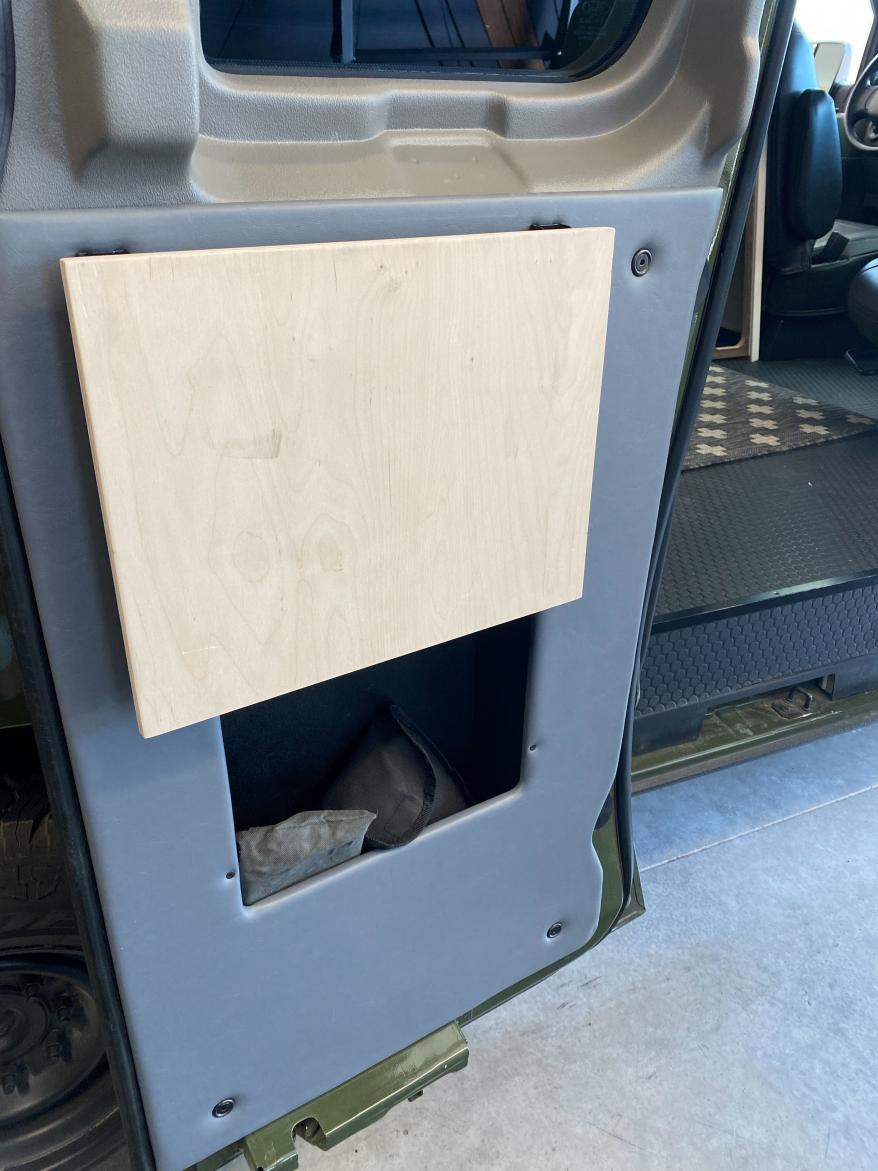
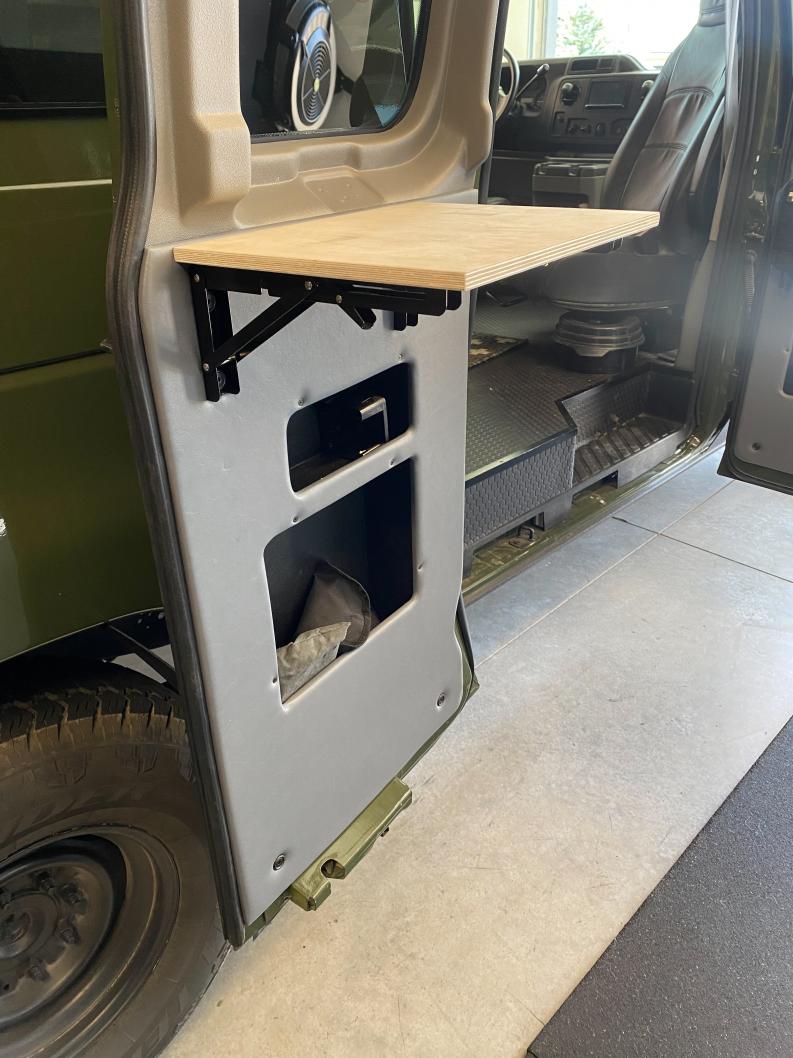
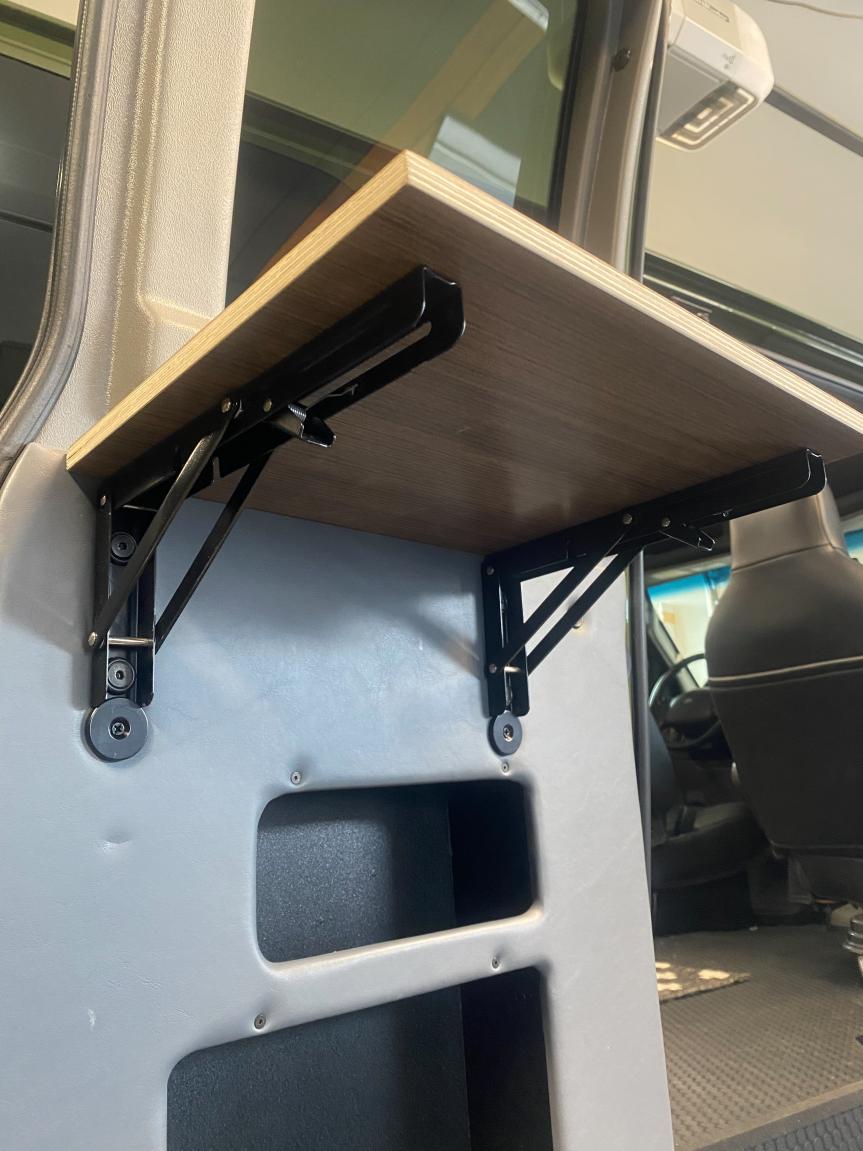
-After the first door I started on the rear 40 door. We used the same rivnut threaded inserts to install a flip-up table which also doubled as a door for the top cubby. This table is made of ½” Baltic Birch that will eventually be laminated in Studio Teak. We may eventually add a drop-down table, but for now, we will leave it off and see if we really think we will need them.
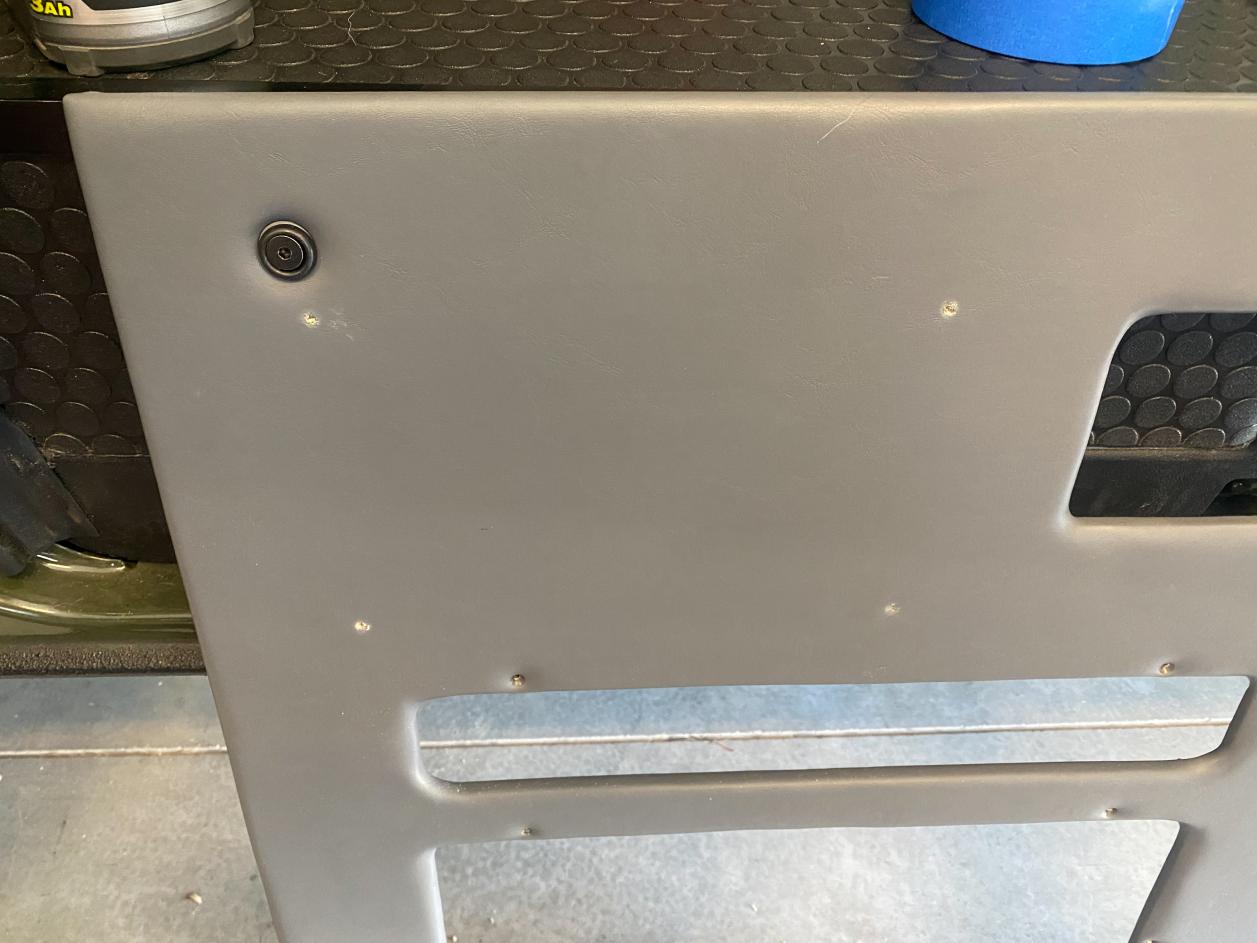
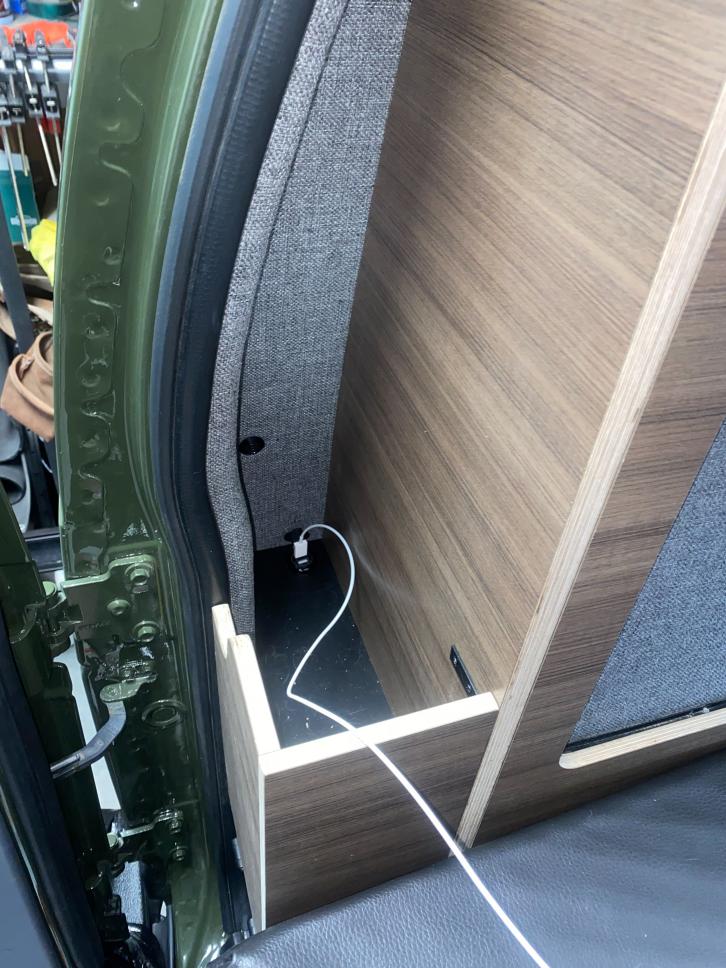
-After the table, I went back to the 60 doors and added a handle using the same solid mounting process as everything else.
Electrical Updates:
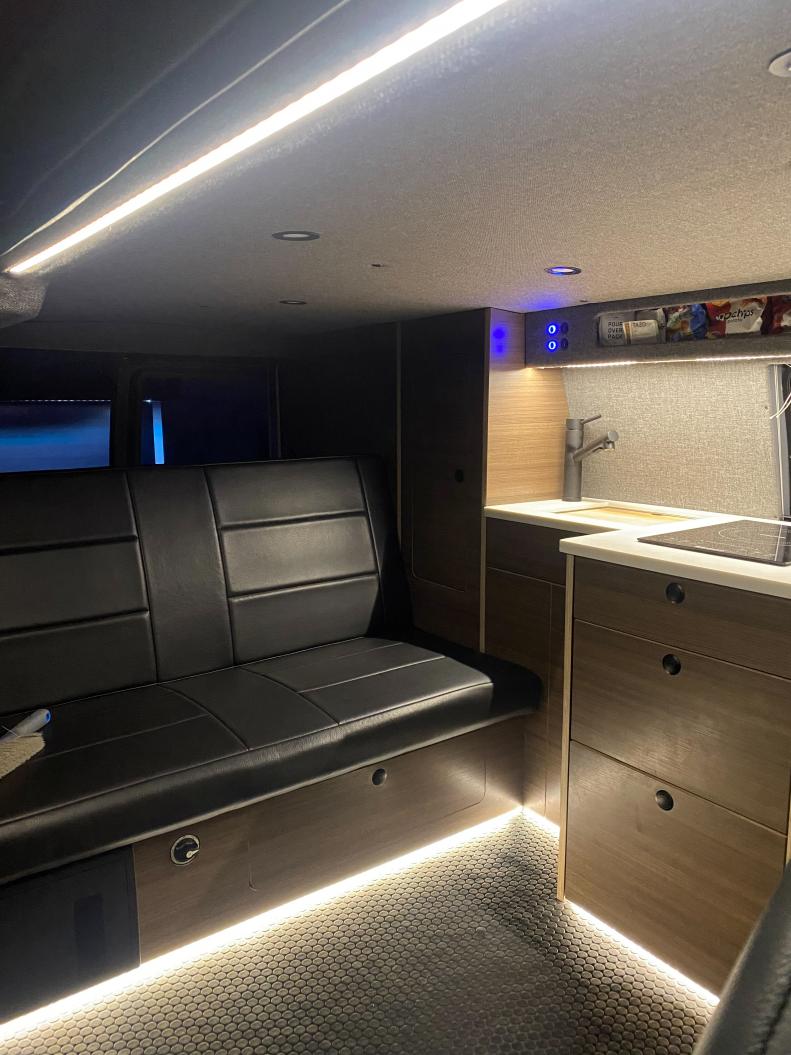
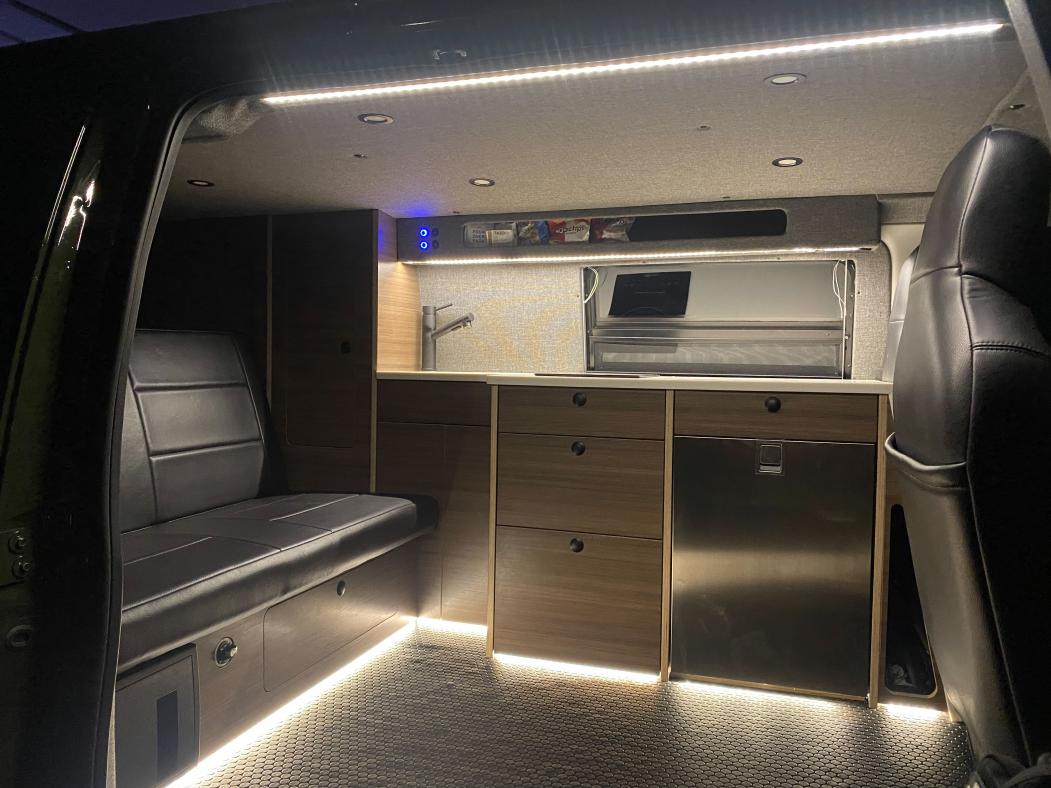
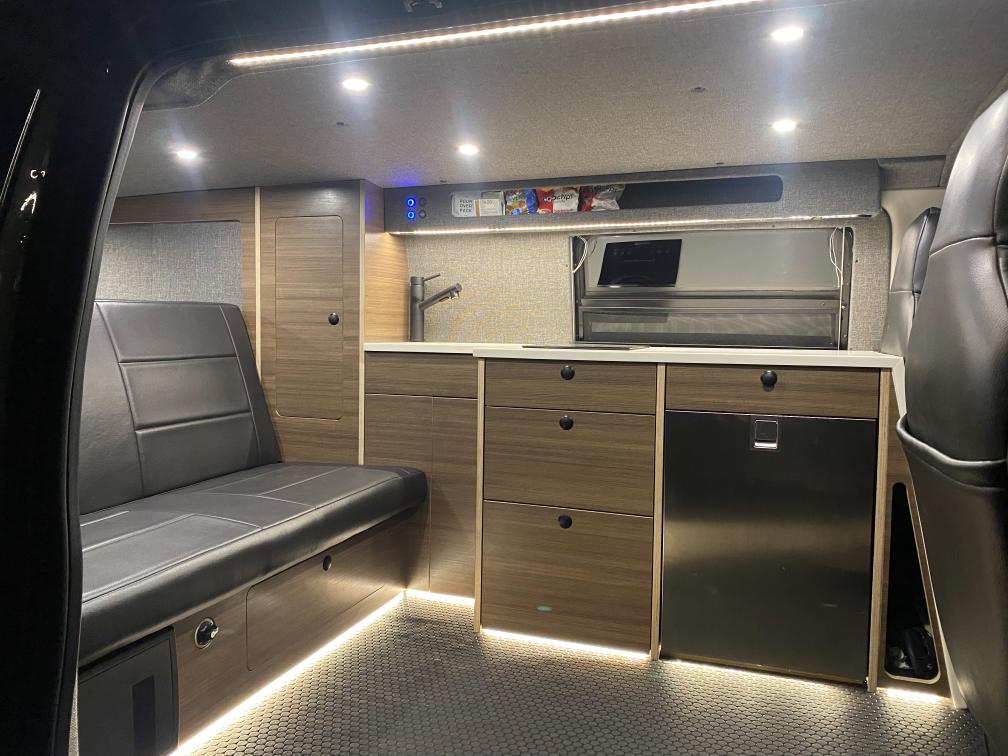
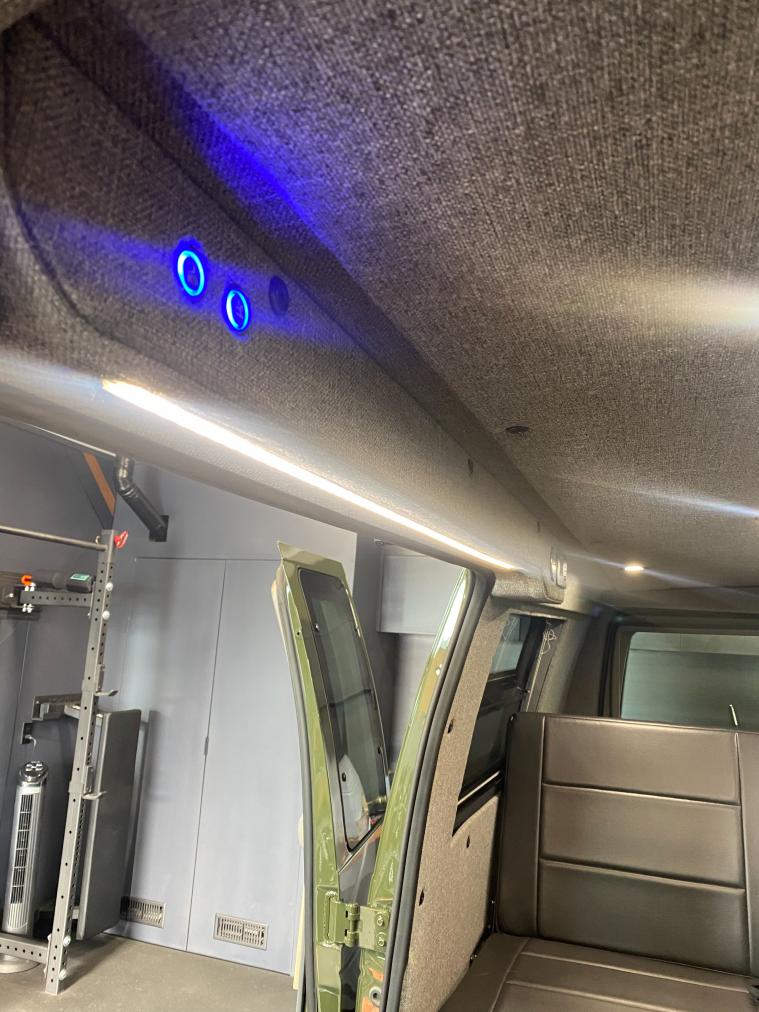
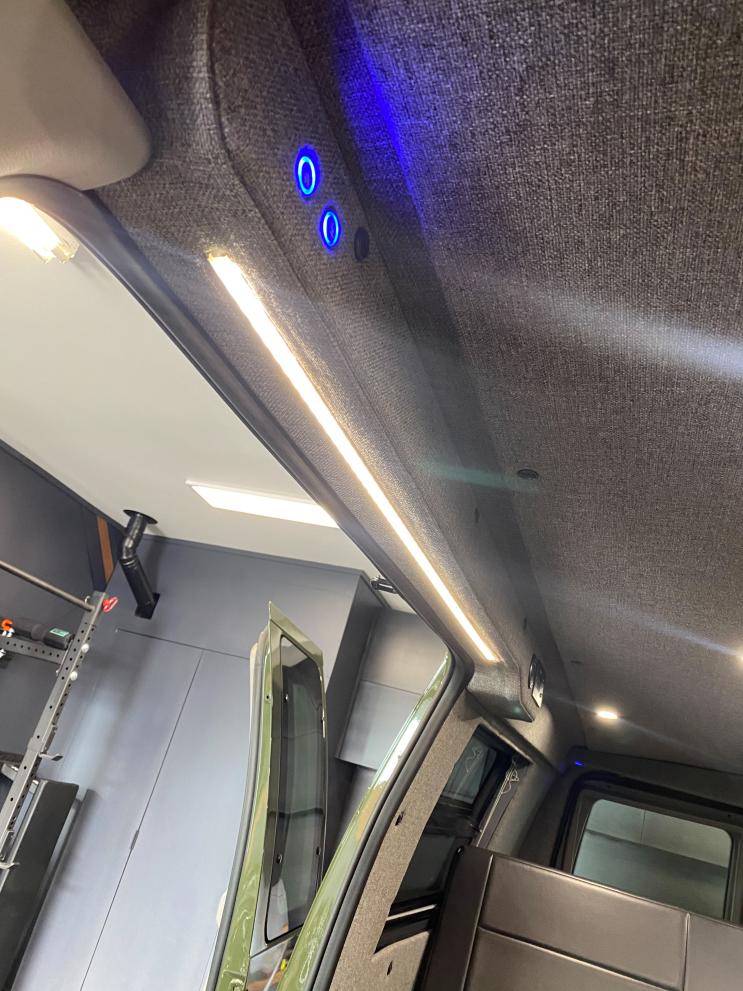
-Next after getting a little more shoulder movement back after the initial injury I started on finishing out the remainder of lights. I used a waterproof LED strip tape light from superbrightled.com. Using the same one-button dimming modules I used in other areas I set up both the entry LED and the over counter under mount lights.
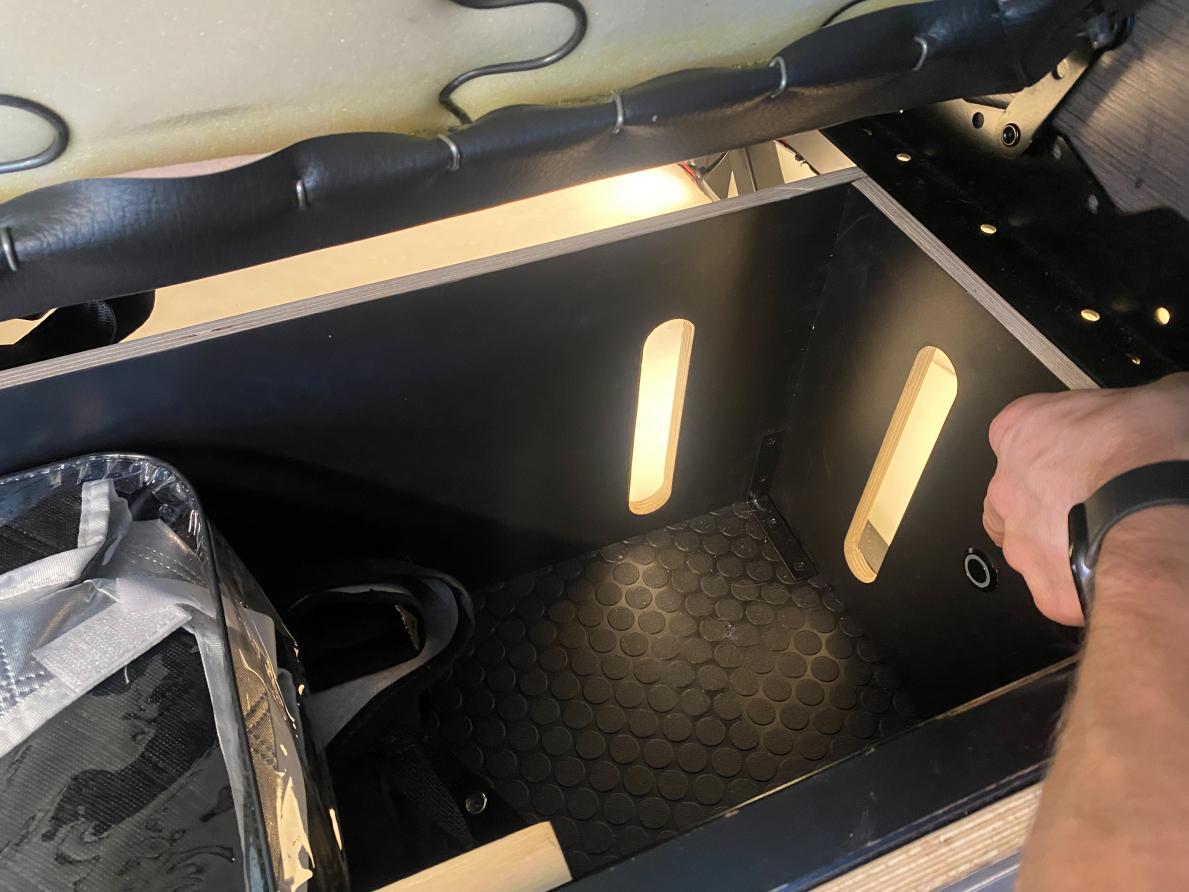
-Next up were the toe kick lights. I followed the same process but decided to sodered my connections to the tape since I didn't have much room for clearance. I also had to add a few pieces of wood to create a mounting point for the tape. I still need to come back and laminate these pieces black, but they should blend in nicely once done. Now that the lights are in the toe kick shadow reveal becomes a little more intentional. Not necessary, but it is a nice touch that provides some low lights for when hanging out in the van at night.

Toe Kick Test Install In Progress
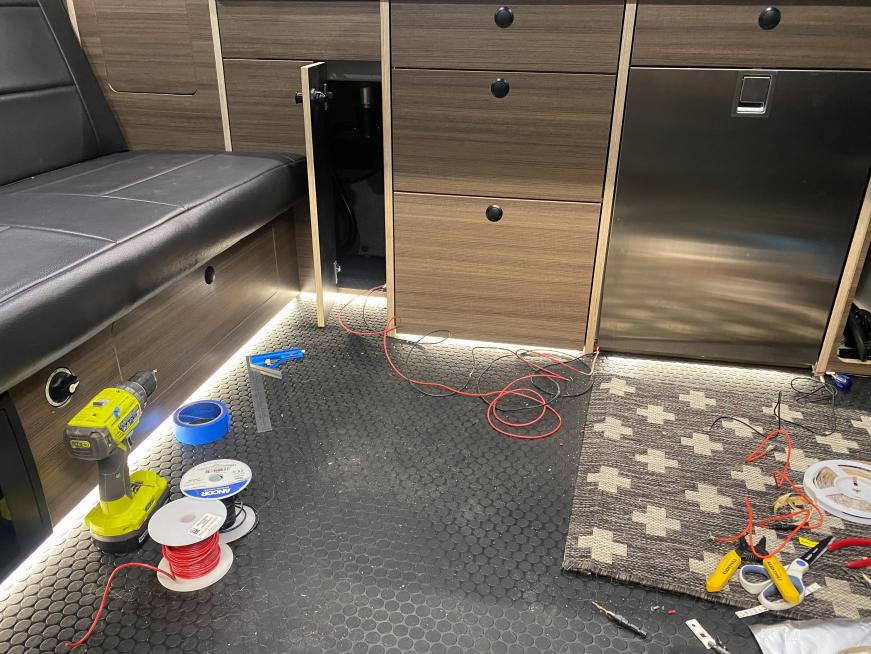
Toe Kick Install In Progress (Excuse the mess)
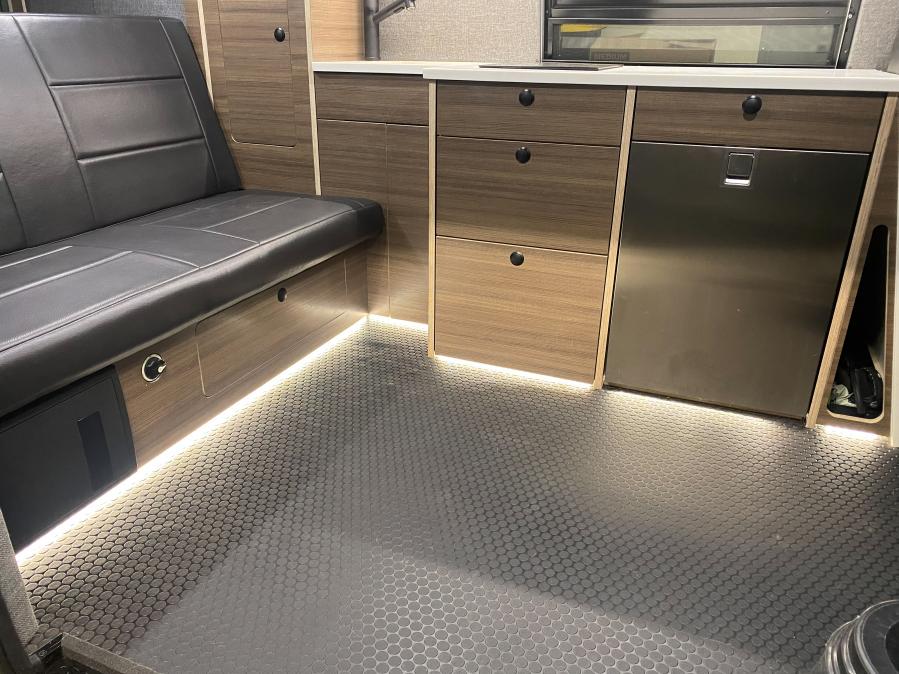
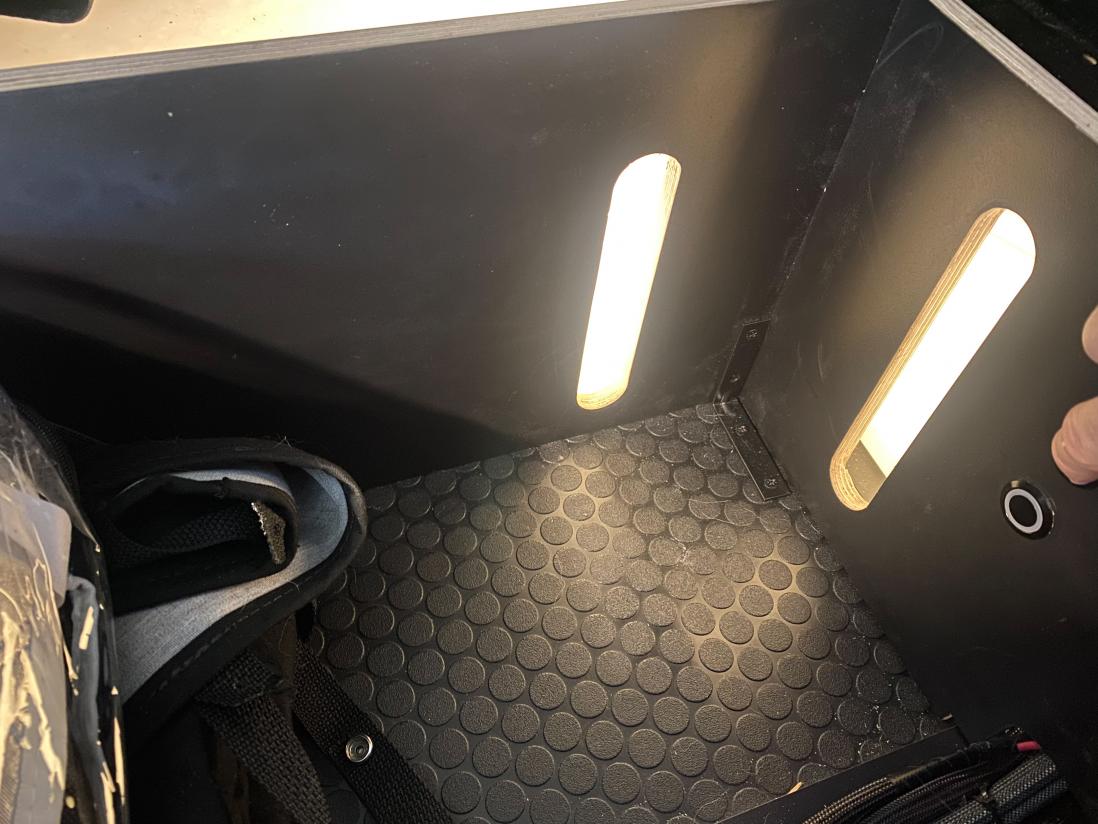
Toe Kick and All Lights On

Just Toe Kick at 100% (With this harsher light you can see some of the manufacturing issues with the floor)
Just New Lights
Just New Lights
All Lights
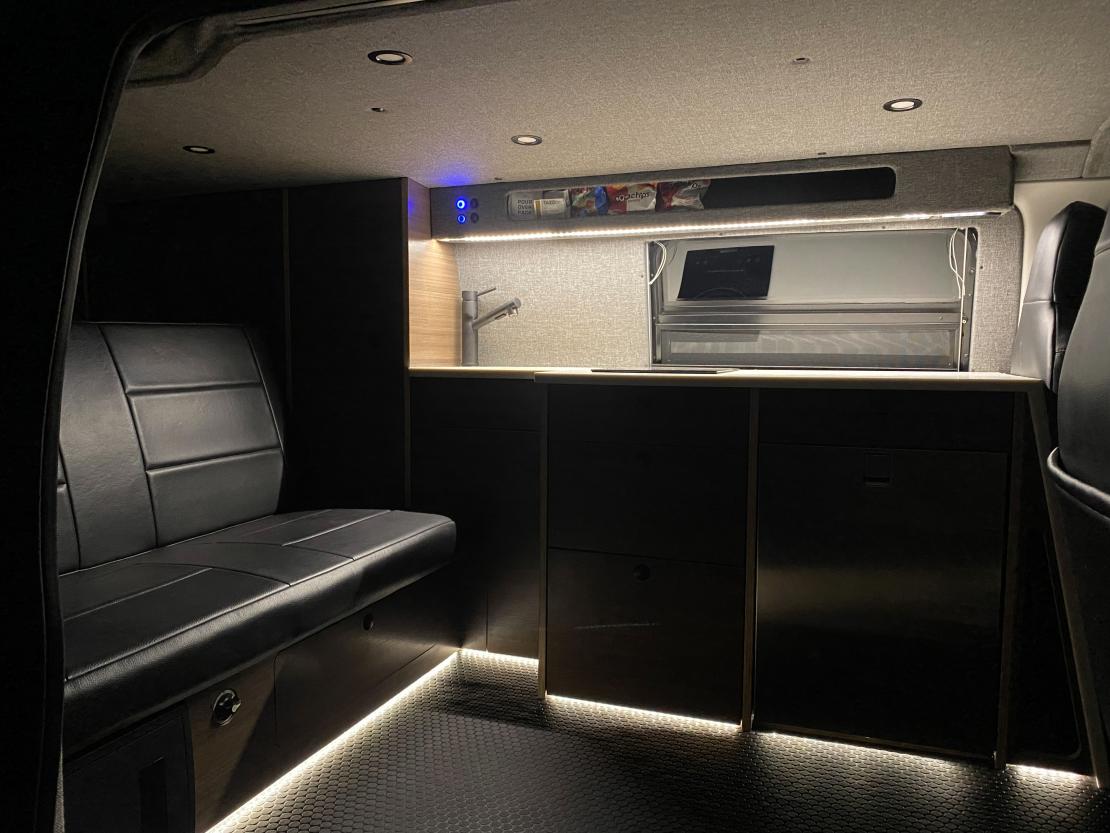
Dimmed Lights
-After getting my main lights in I switched my efforts to the plumbing side of things. Sticking with the same theme I started with the wiring for the water pump. Since I am using two switches one at the shower and one over the galley I had to use a latching relay and two momentary switches. I had some trouble initially, but with some research and trial and error I figured that part out.
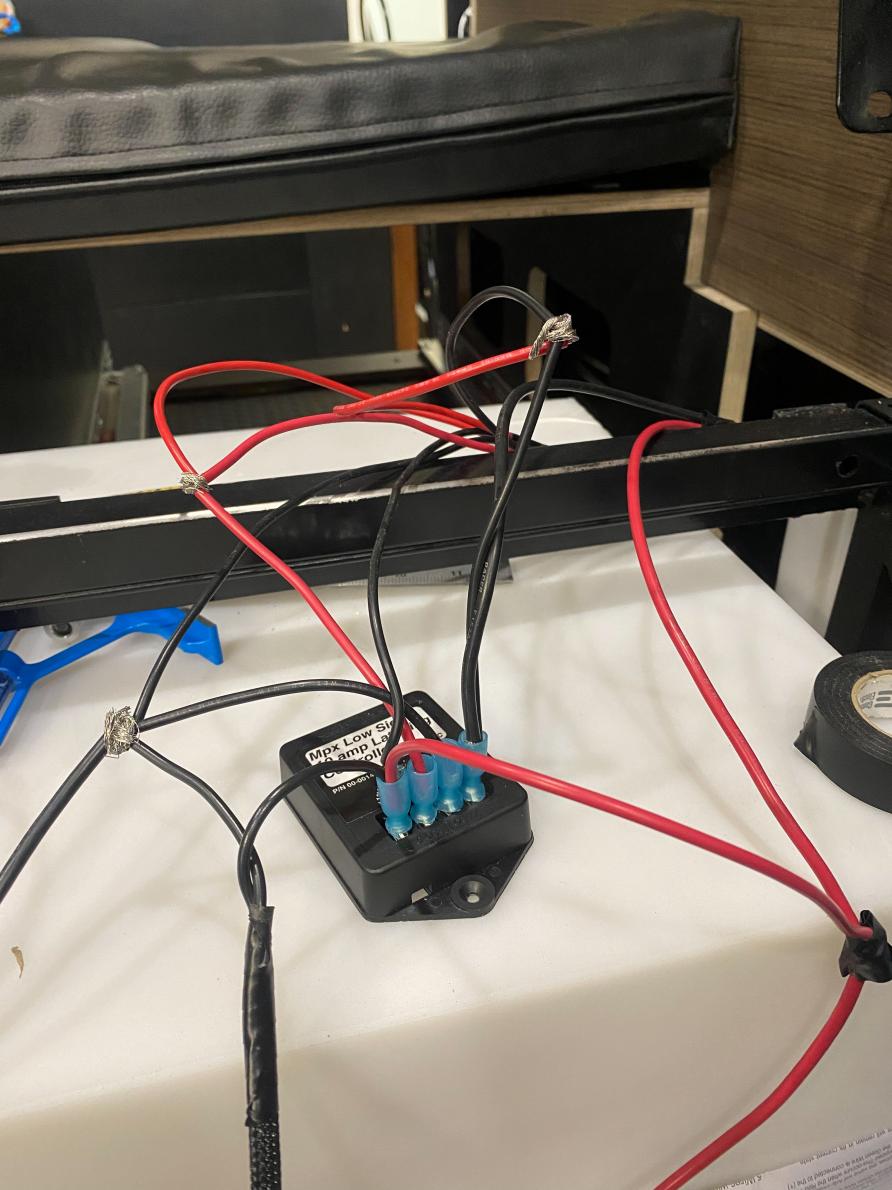
Bench Test For Latching Module.
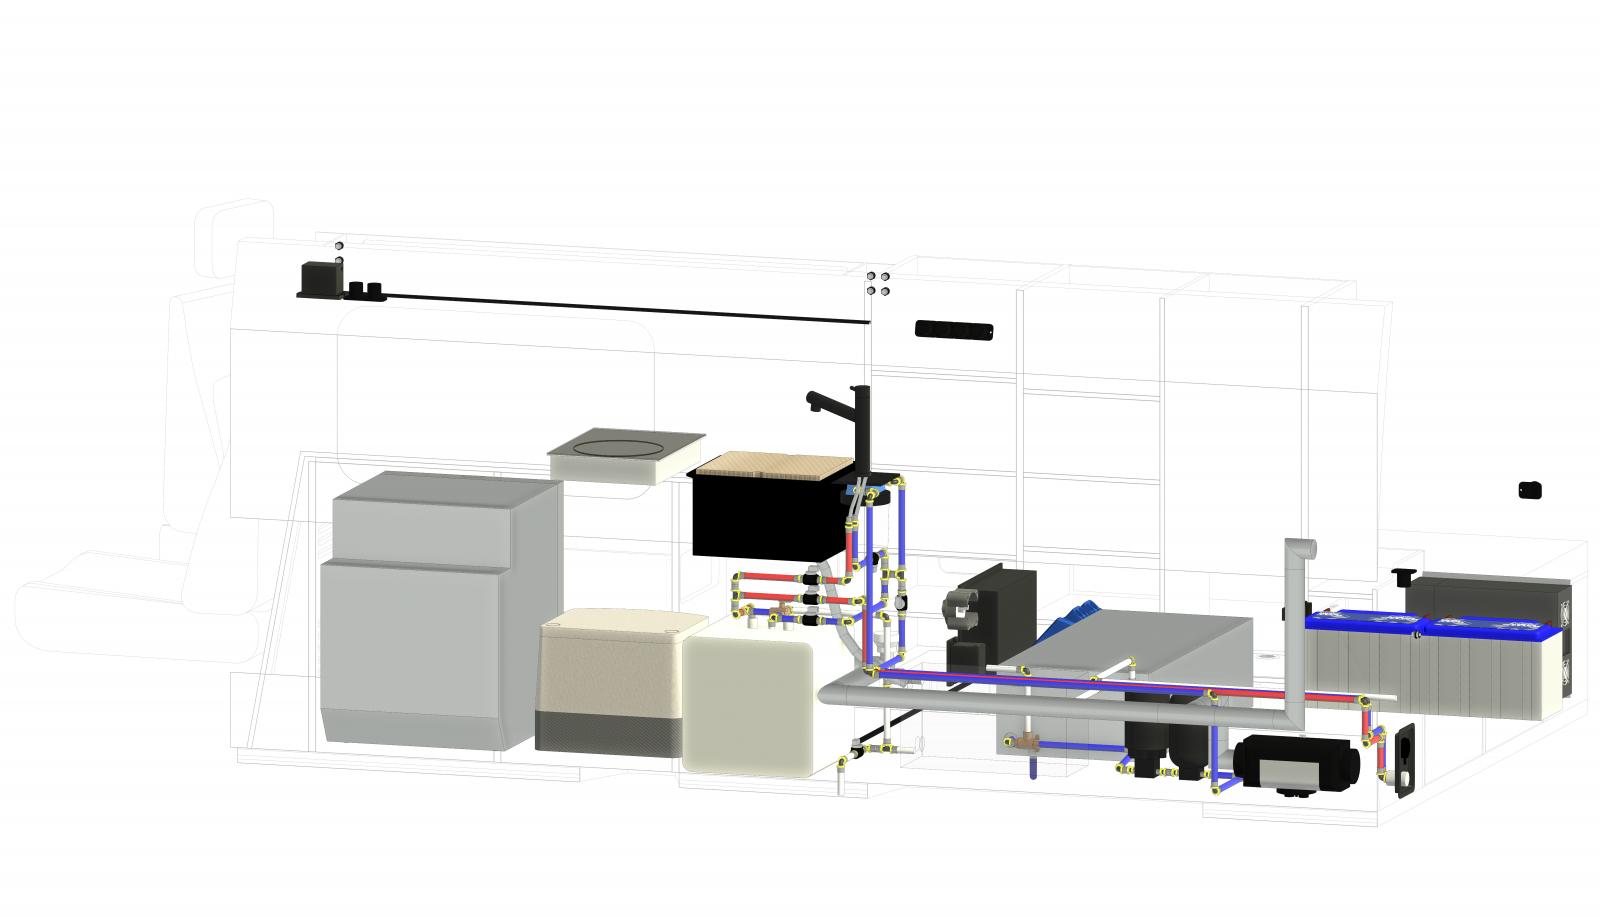
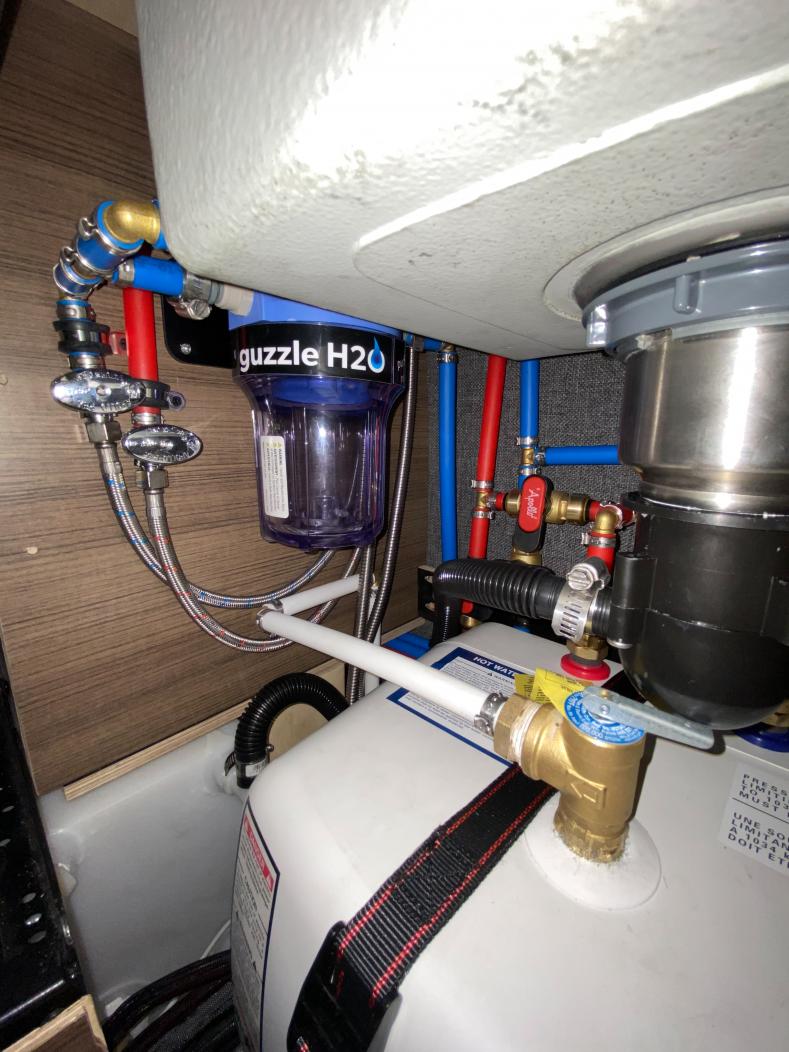
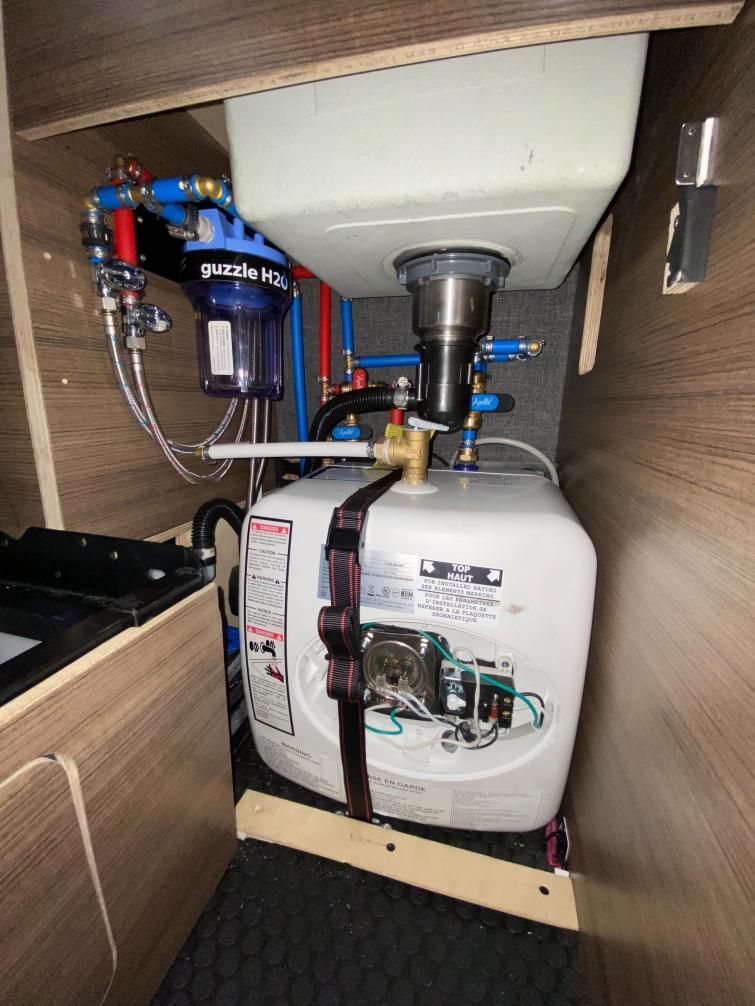
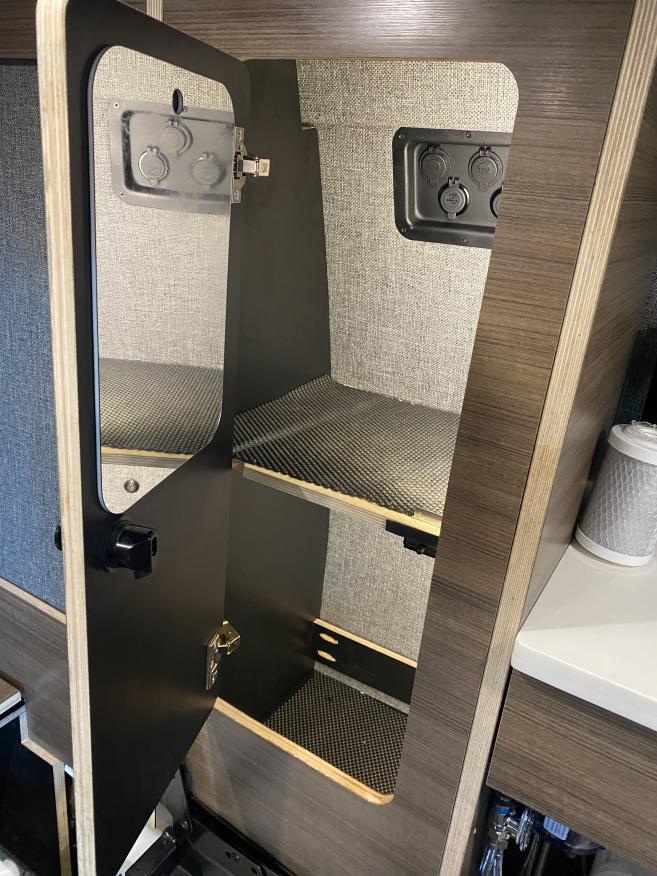
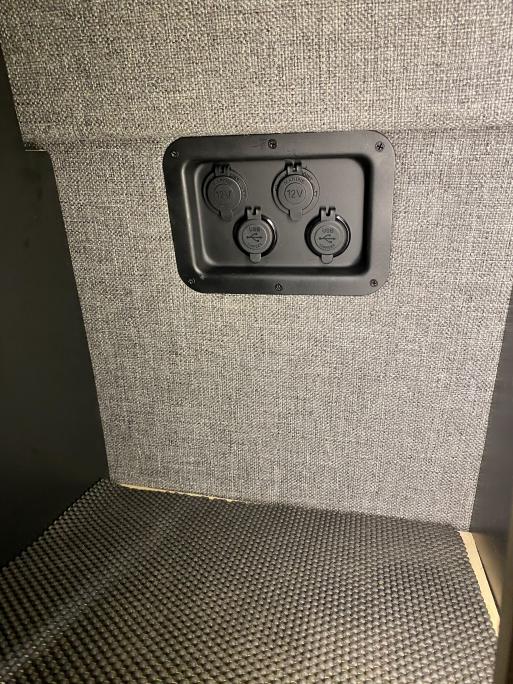
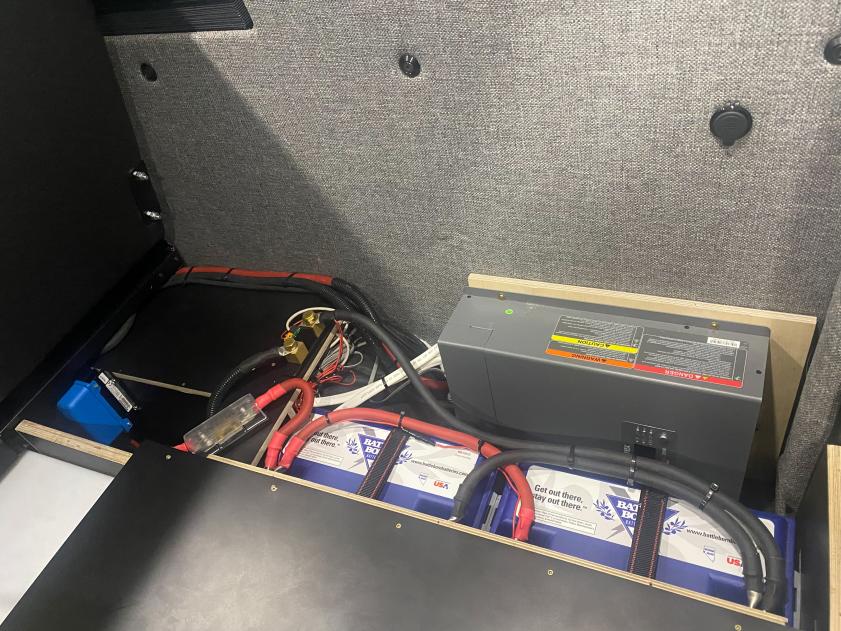
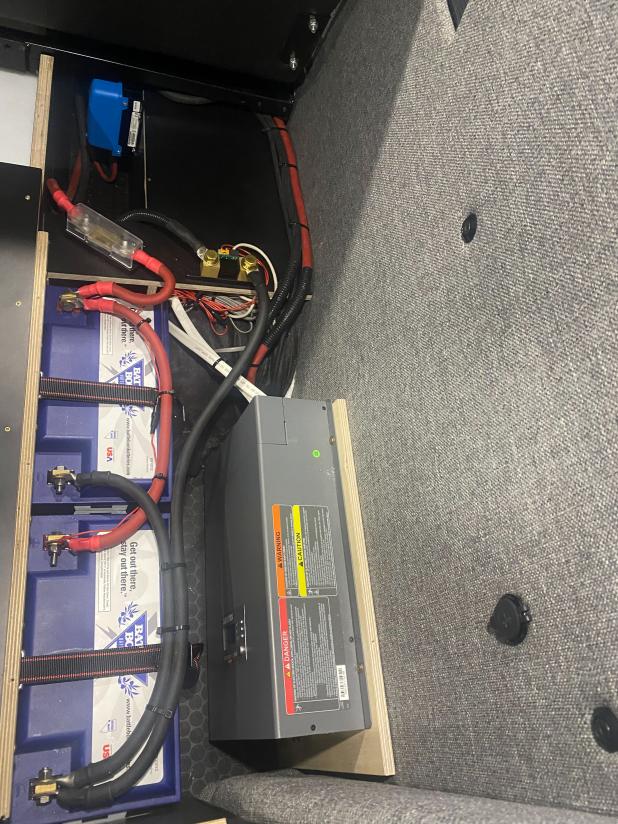
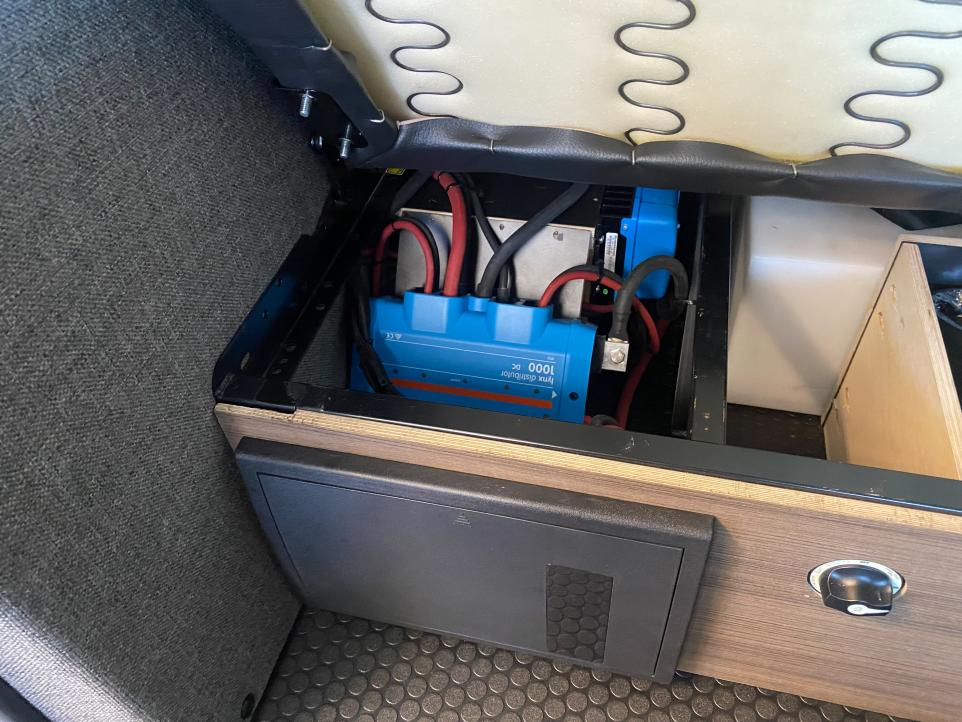
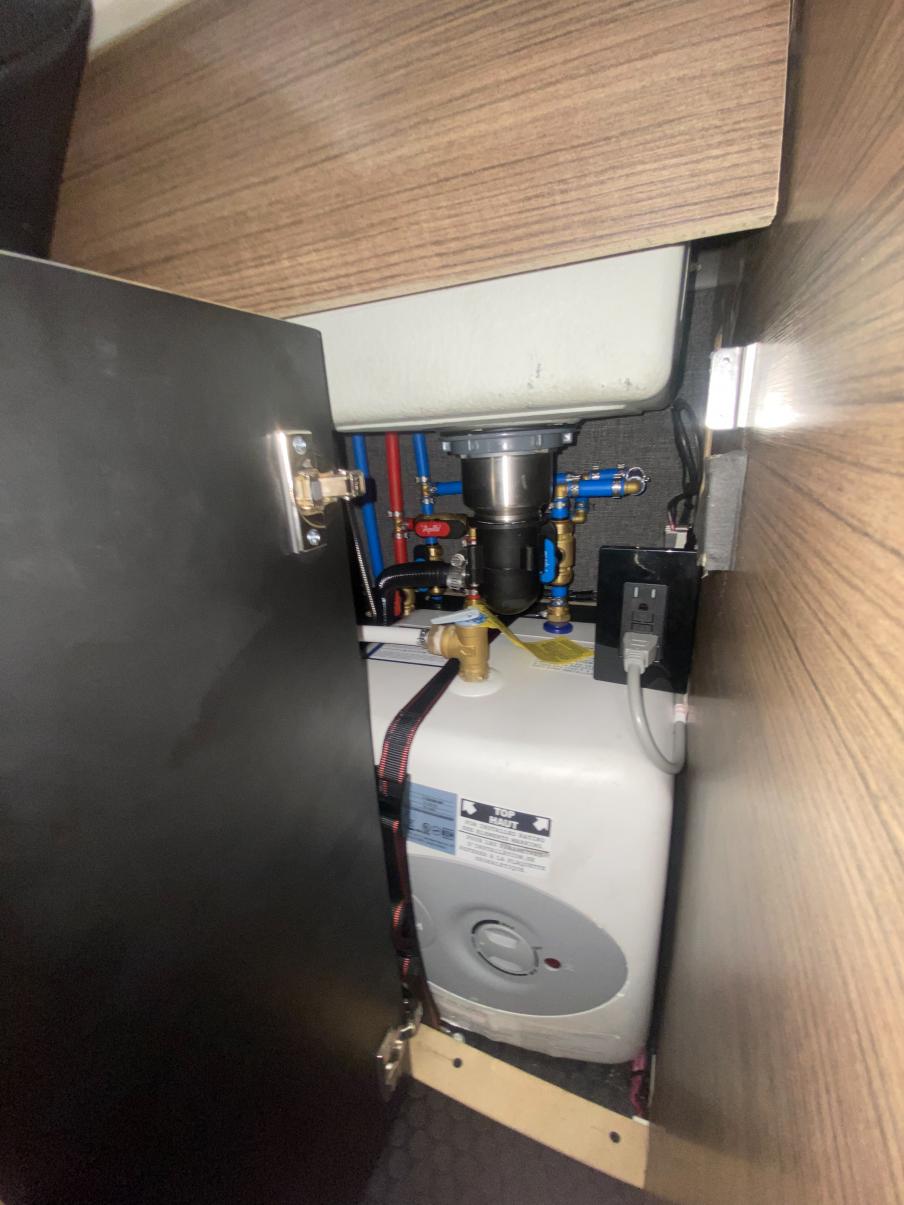
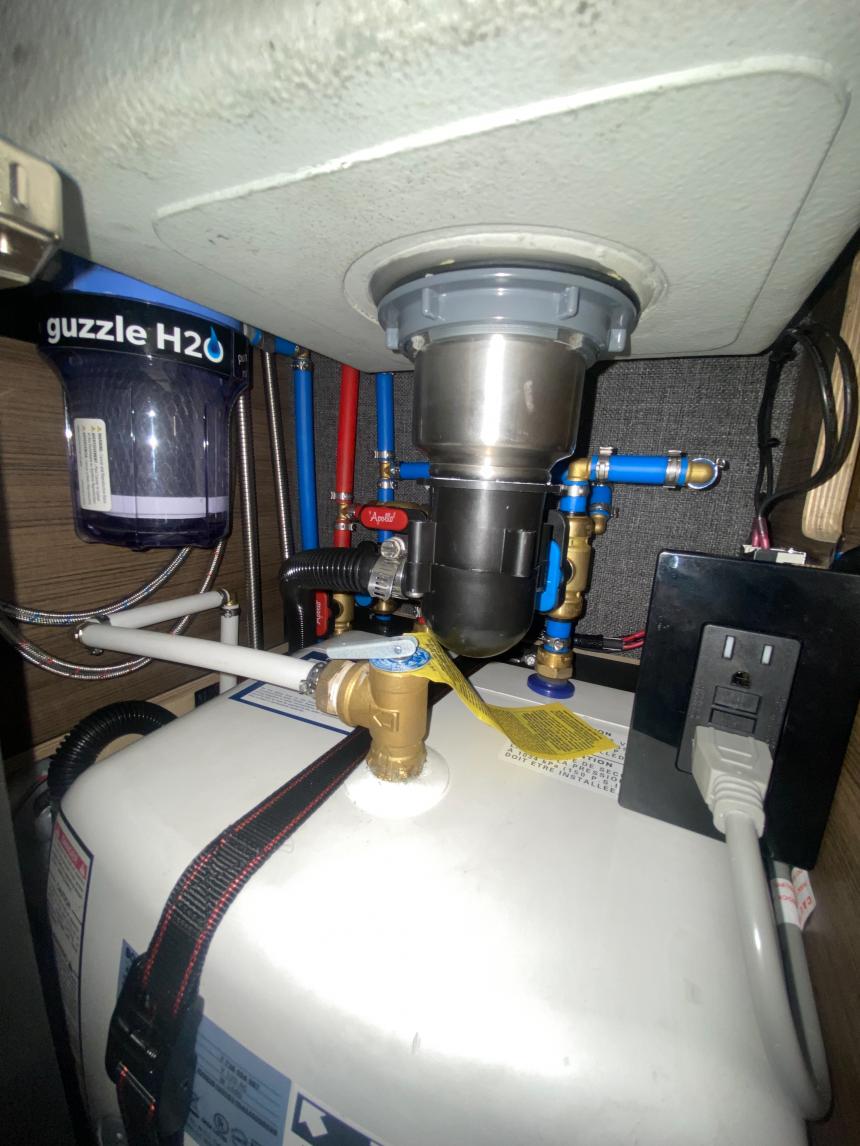
-Then I started on the actual plumbing layout. Since I am working in a very tight space the packaging of it all had to be pretty dead on. So like most things I modeled my entire system on the computer first and then began the processes of replicating in the van. For components I am running a 21 Gal fresh water tank, 5 Gal gray water tank with an
electric ball valve dump, a Bosch 4Gal hot water tank(may eventually convert to 12v w/ solar), a
Guzzle stealth water filter,
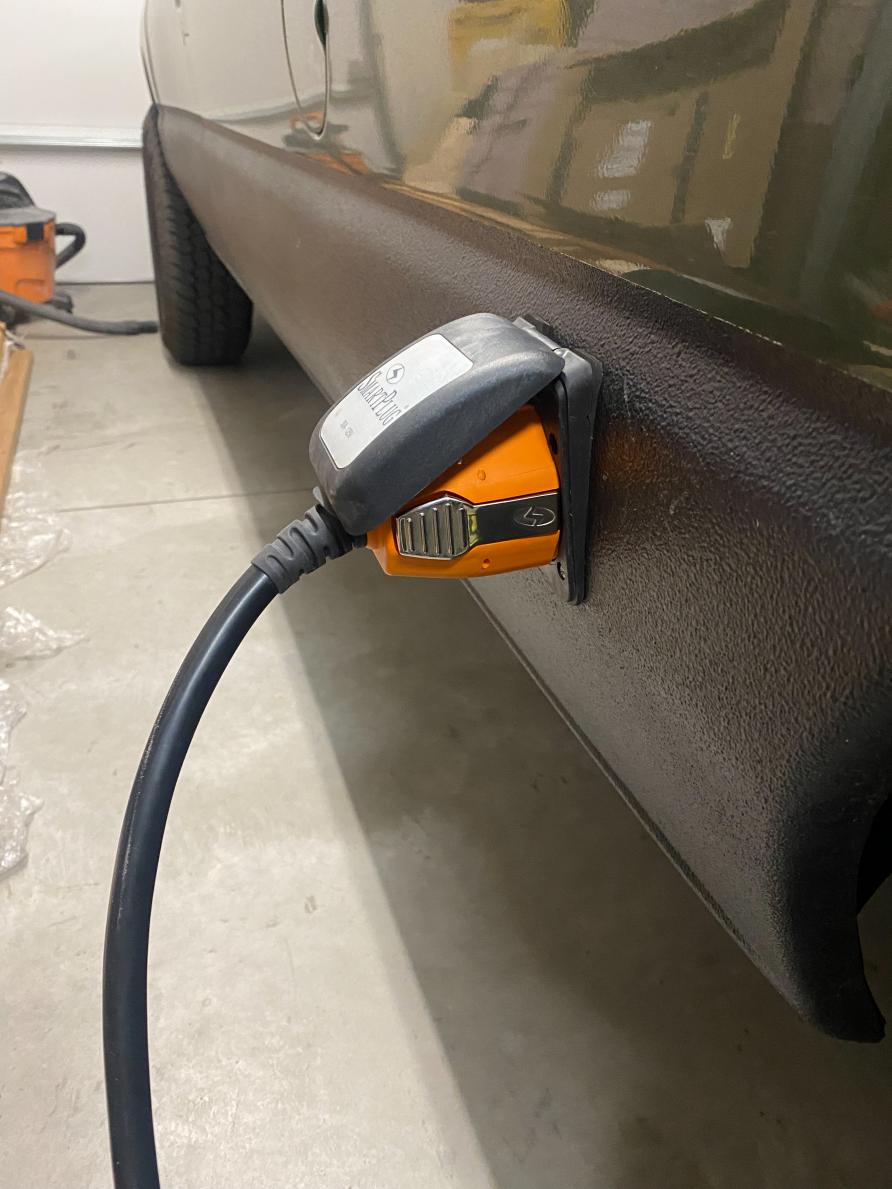
Aquor hose bib for both my tank fill and rear shower port and Shurflo 55psi water pump. I made sure I could still easily access all the main components for maintenance. I can still relatively easily access most things either from the cabinet below the sink or by removing one of the rear drawers.
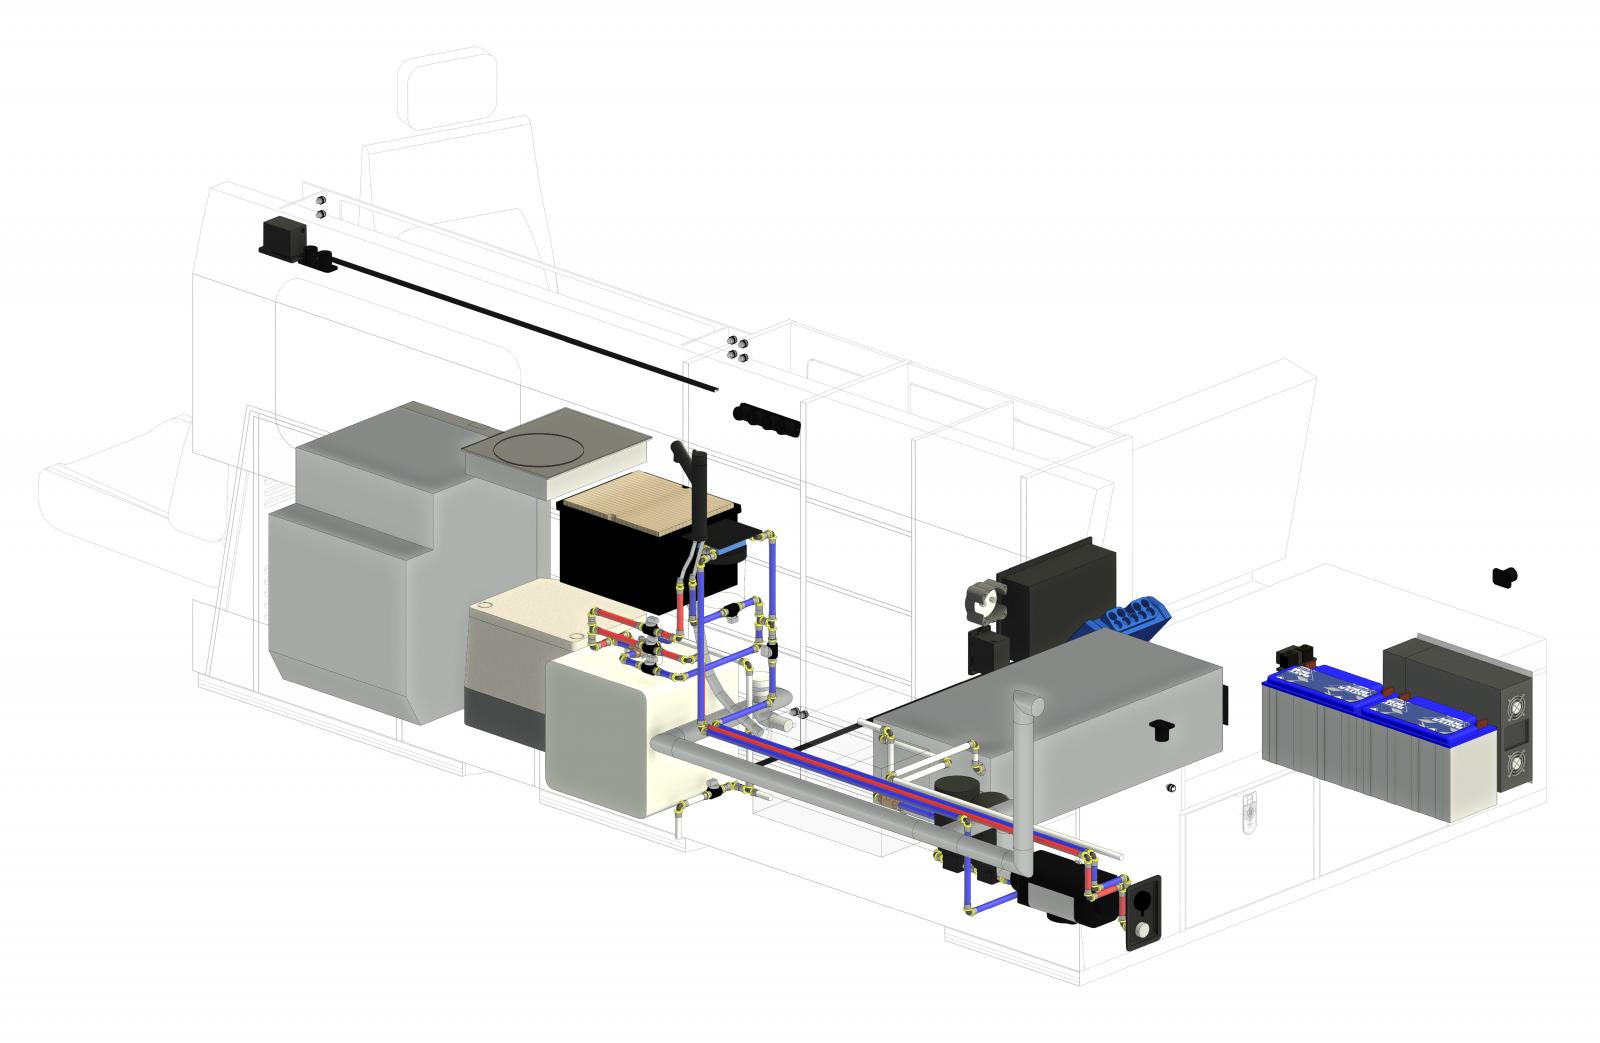
Mechanical Layout ISO
Mechanical Layout ISO

Mechanical Layout ISO
-I used PEX for all my plumbing and decided to use a mix of crimp rings and push-to-fit connectors. This allowed me to build plumbing branches outside of the van where I had easier access and then slide them in and make the final connections using the push-to-fit connectors. Overall it wasn't too bad considering it was the first time ever doing plumbing or working with PEX. I was able to barely squeeze everything in and still have access to everything that I needed. So far it all seems to be working well!

Sorry for the Horribly Blurry Picture
In Progress Water Heater not Plumbed

In Progress Water Heater not Plumbed
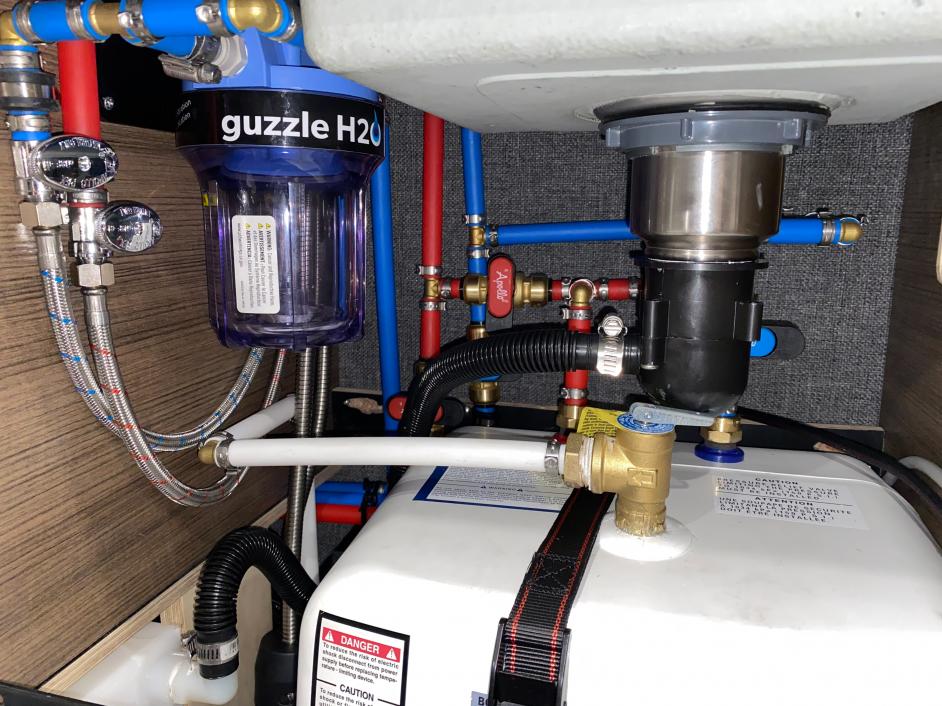
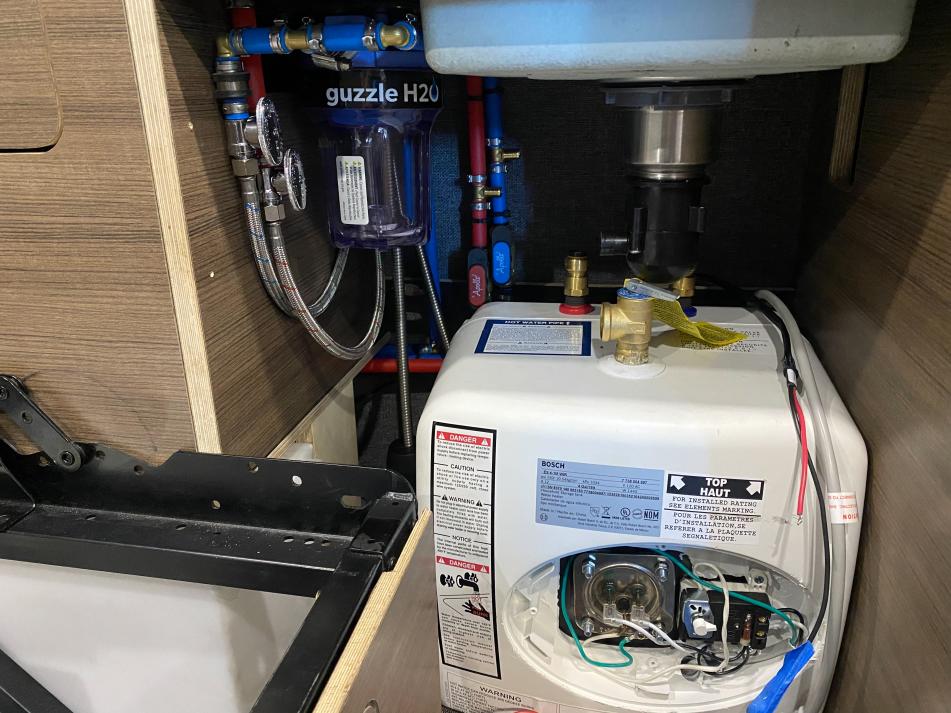
Main Plumbing Under Sink
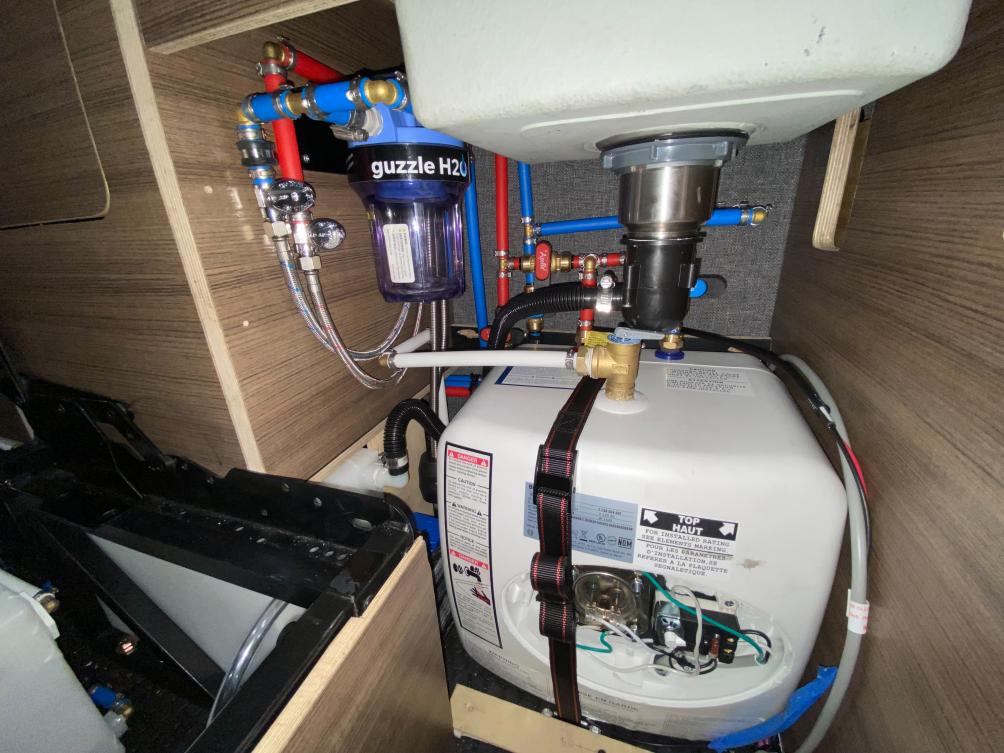
Main Plumbing Under Sink
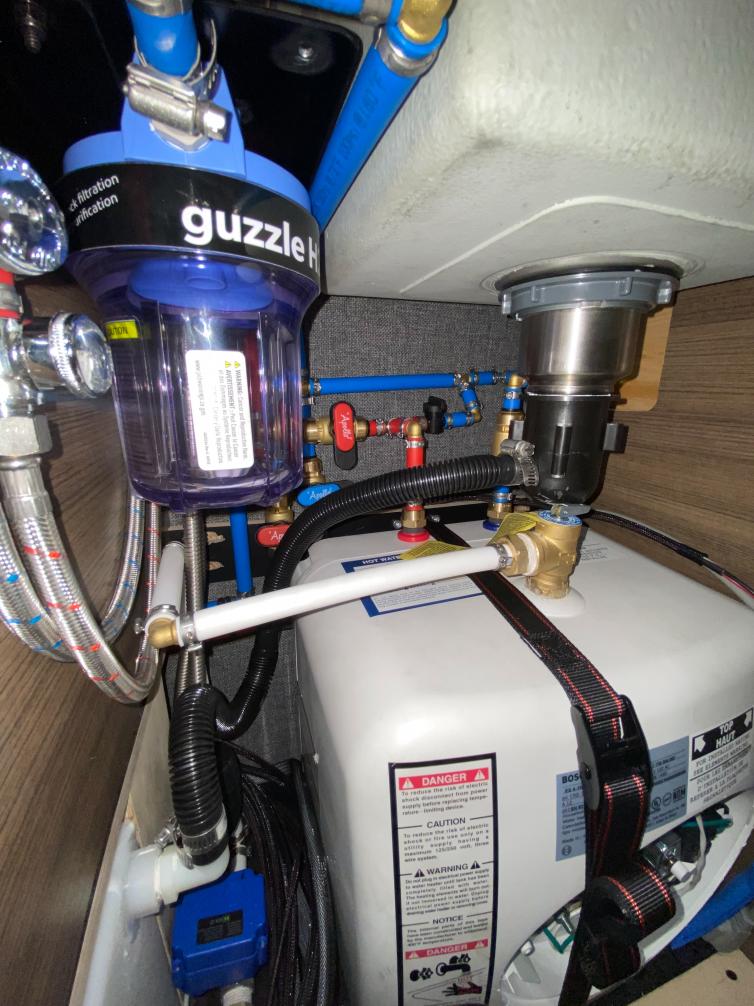
Very tight fit! You can see the blue box is the electric ball valve.
-One note about my water heater choice. Since I was very limited on space that I had designated for the water heater I had limited options. I had originally wanted to go with a ISOtemp 5gal tank, but in the final real-world layout, I didn't quite have the space for it. I had thought I would be able to use a universal adapter plate to a standard 1” threaded heating element, but unfortunately, that was not the case. So for now I will run it using the stock heating element at 120v and see how well that works. In the future, I may need to talk to Ray(1der) about his custom dual voltage water heater set up and see if I could go that route.


 Vandit


 Ford Zilla

 2008 GMC 3500 SMB
 AWOL
AWOL I'm just glad others like the choices we have made and are enjoying these posts! If it wasn't for others before me I for sure wouldn't have been able to create what I have. I'm excited to get the outside of the van to be as cool and functional as yours and others on here!


 Linear Mode