|
|
 06-08-2016, 08:17 PM
|
#1931
|
|
Senior Member
Join Date: Mar 2013
Posts: 4,244
|
[QUOTE=gcvt;17709 Cost so far: $0.64 for sandpaper.[/QUOTE]
Very nice, but how much did you spend on beer? 
__________________
Arctic Traveller
KC6TNI
2001 GTRV
Advanced 4wd
Agile Ride improvement package
|

|

|
|
06-08-2016, 08:31 PM
|
#1932
|
|
Senior Member
Join Date: Jul 2014
Location: Longwood, FL
Posts: 1,562
|
Quote:
Originally Posted by arctictraveller

Very nice, but how much did you spend on beer? |
Well, none yet. Let's just say it was a really slow day at work today 
Planning to sling a coat hanger over a pipe in the garage and begin priming and painting on Friday.
__________________
Greg
Old van: 1997 E250 EB30 (Stolen)
New van: 2003 E250 EB10
|
|
|
|
|
06-08-2016, 09:25 PM
|
#1933
|
|
Senior Member
Join Date: Jul 2014
Location: Longwood, FL
Posts: 1,562
|
Quote:
Originally Posted by TheLetterJ
Though I bought my steps already black... I used rattle can truck bed liner (Rustoleum brand?) on my rockers, rear bumper, grille, etc. It seems pretty durable and since it is textured, scratches and chips aren't very noticeable. The texture makes blending in touch-ups an easy task too.
|
Hmm, that's a good point.
__________________
Greg
Old van: 1997 E250 EB30 (Stolen)
New van: 2003 E250 EB10
|
|
|
|
|
06-08-2016, 11:01 PM
|
#1934
|
|
Senior Member
Join Date: Feb 2013
Location: San Francisco/Nevada City
Posts: 3,769
|
Quote:
Originally Posted by gcvt
Finished up my work with the hack saw, Dremel tool and sandpaper today. They're ready for priming and painting. They won't go all the way down the wheel well like Bushwackers (not in the mood to learn fiberglassing today), but they will go down to the very bottom bend in the body.
Cost so far: $0.64 for sandpaper.
|
Ahh, you shortened them way up to solve the gap issue.. could work, looking forward to seeing them installed.
|
|
|
|
|
06-08-2016, 11:18 PM
|
#1935
|
|
Senior Member
Join Date: Jul 2014
Location: Longwood, FL
Posts: 1,562
|
Quote:
Originally Posted by rallypanam
Ahh, you shortened them way up to solve the gap issue.. could work, looking forward to seeing them installed.
|
Yep. It was the only easy way to do it. I held them up to the van today and I think they'll look pretty good. Using the primer and paint left over from the Infiniti window button/door lock button panel painting project. I over-bought for that one.
Still at $0.64. Oh, plus the two hack saw blades from Lowes. Shit, that puts me over budget 
If it turns out to be a fail, I'll go back to flare-less. I don't mind the look. When the rear flares are on, it's just gonna make me want wheel spacers more anyway. That's WAY over budget - I need solar.
__________________
Greg
Old van: 1997 E250 EB30 (Stolen)
New van: 2003 E250 EB10
|
|
|
|
|
06-11-2016, 10:19 PM
|
#1936
|
|
Senior Member
Join Date: Jul 2014
Location: Longwood, FL
Posts: 1,562
|
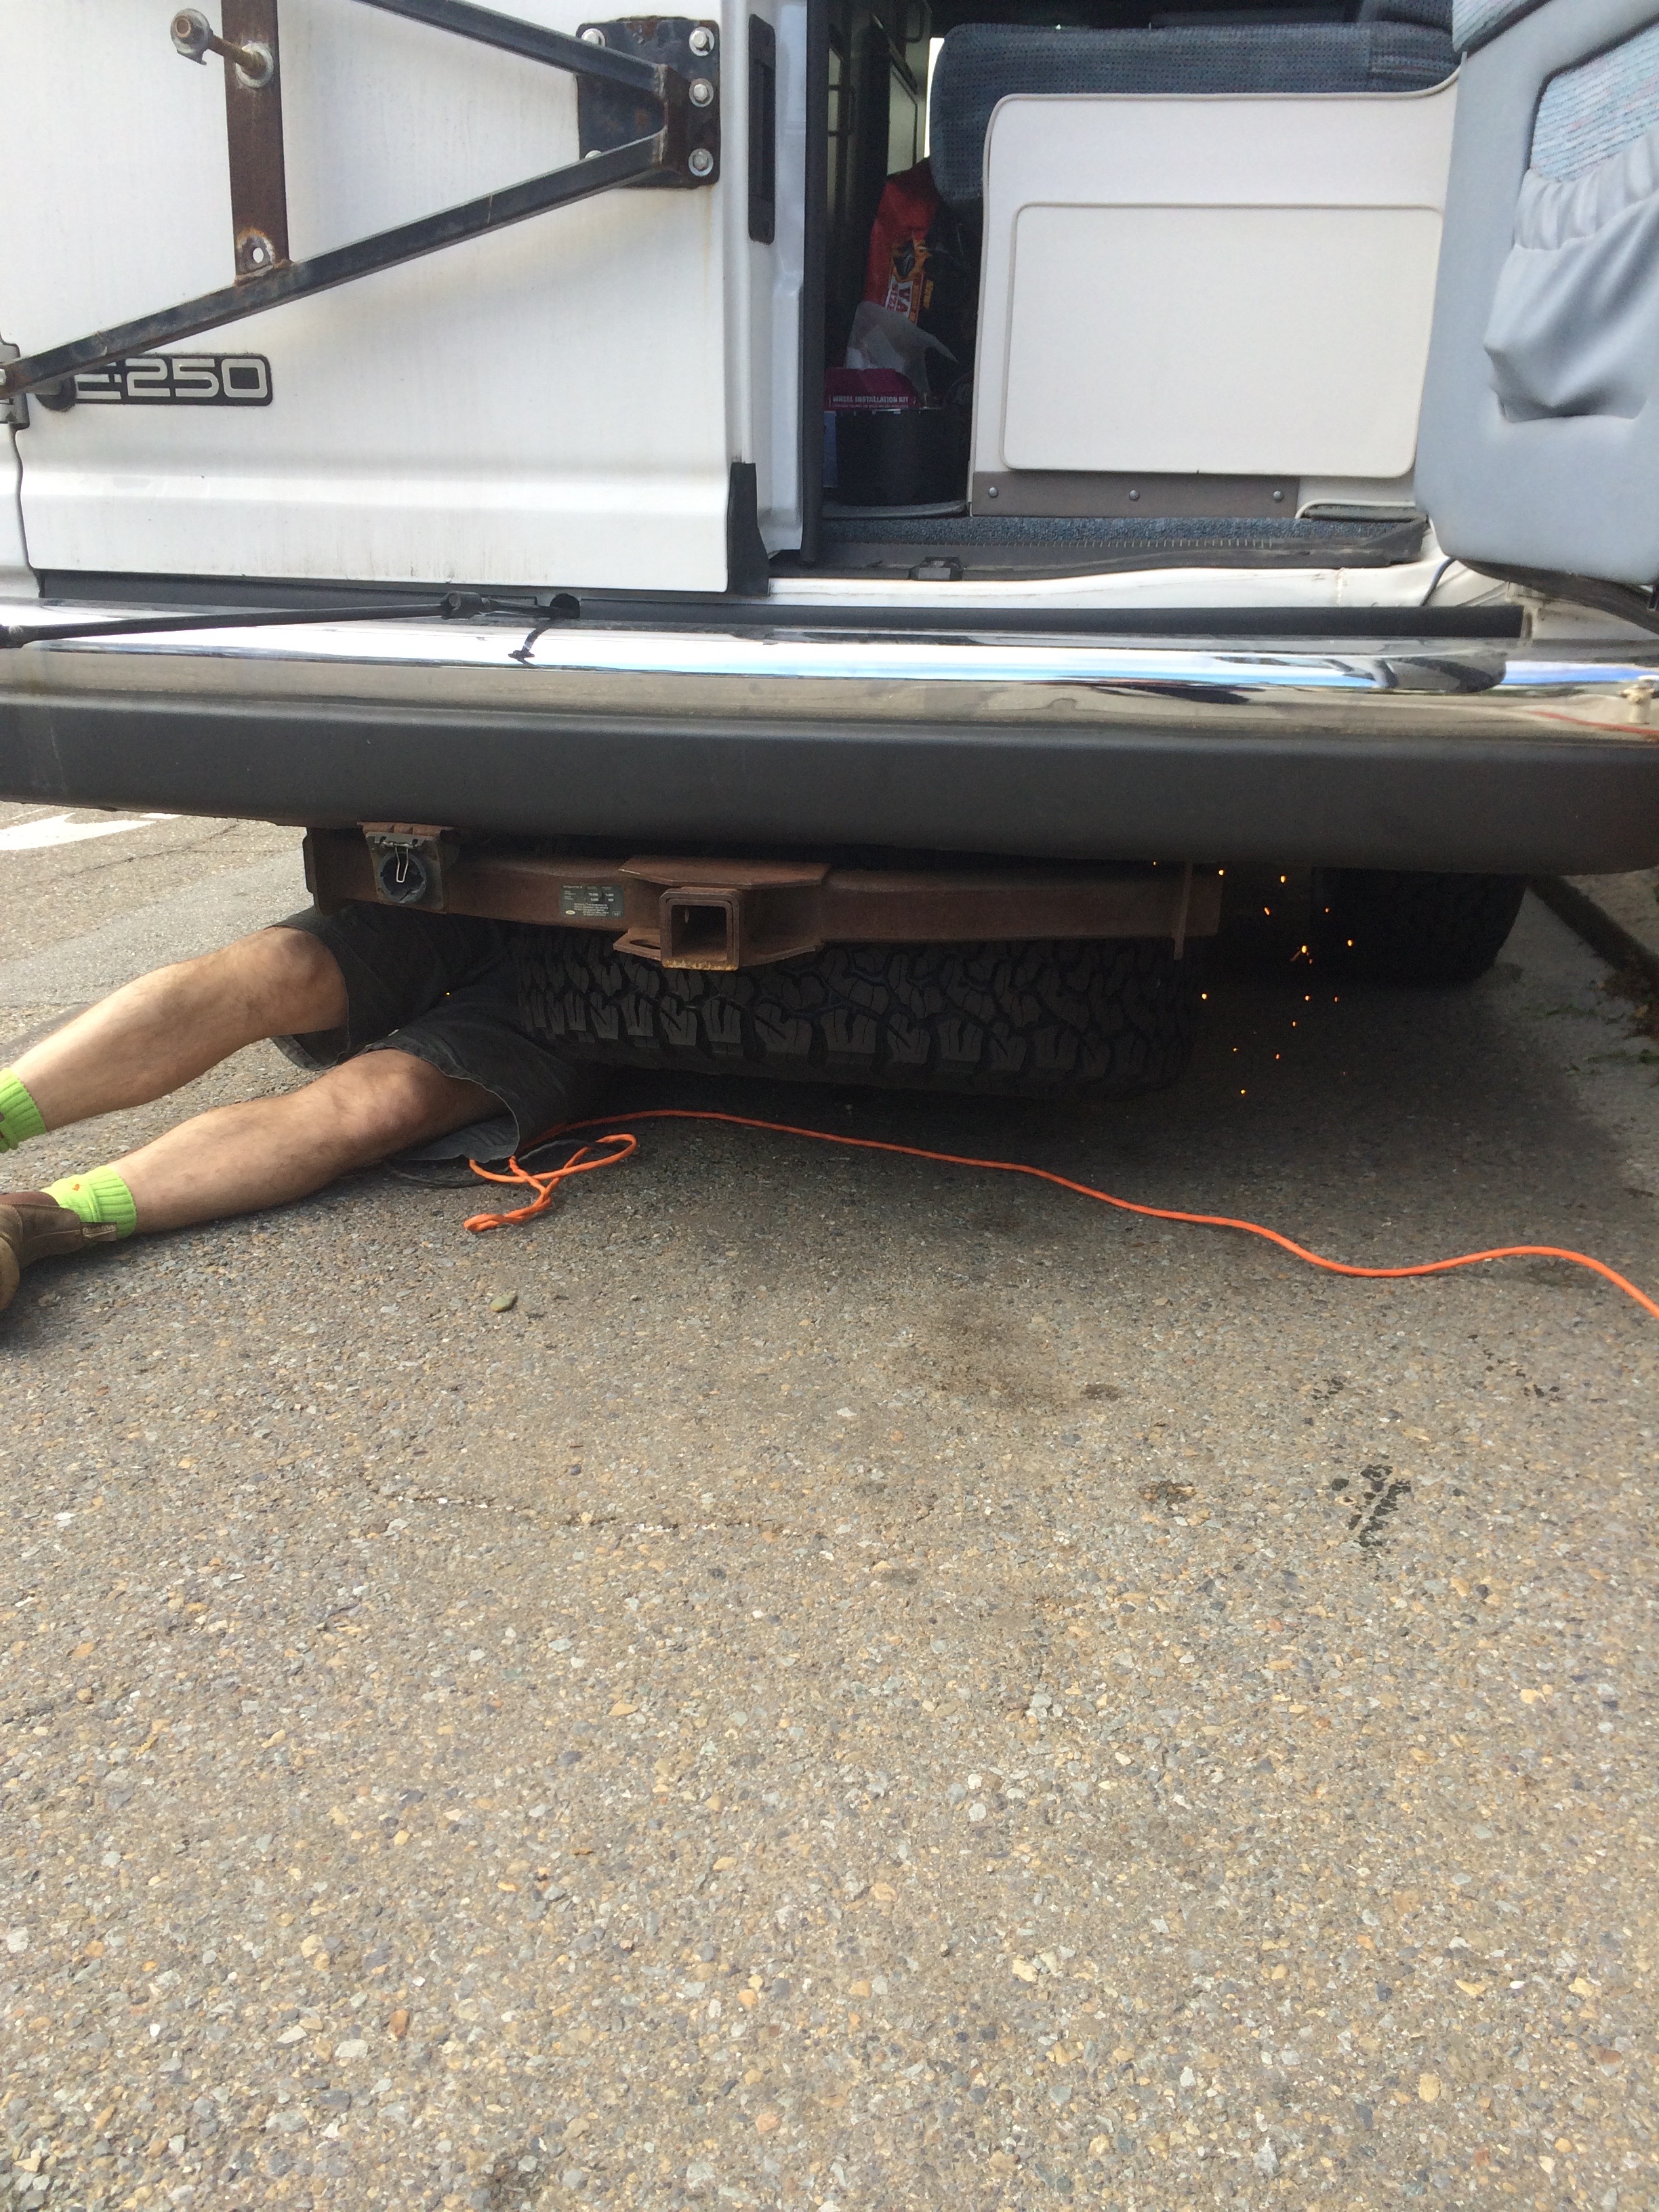
Went over to rallypanam's house late Friday afternoon, bought his OEM spare tire hoist (mine broke), and he grinded on the frame until the 285/75-16 spare fit up underneath. No more door mounted spare for us
__________________
Greg
Old van: 1997 E250 EB30 (Stolen)
New van: 2003 E250 EB10
|
|
|
|
|
06-11-2016, 10:43 PM
|
#1937
|
|
Senior Member
Join Date: Dec 2015
Location: Hillsboro, OR
Posts: 1,371
|
What's that spare tire carrier from? I would like to have something like that unless it's gonna bend the door.
__________________
2010 E150 5.4, E250 suspension, E350 springs, BFG KO2 265/75/16.
Google Sled Hockey - You won't be disappointed.
|
|
|
|
|
06-11-2016, 10:50 PM
|
#1938
|
|
Senior Member
Join Date: Jul 2014
Location: Longwood, FL
Posts: 1,562
|
Quote:
Originally Posted by Jsweezy
What's that spare tire carrier from? I would like to have something like that unless it's gonna bend the door.
|
Not sure. I assume it just came from SMB when my van was built. Problem is, you can only open the door about 3/4 of the way with the spare on there. It wouldn't affect the door itself though - it's damn sturdy. I'm obviously gonna be getting rid of it if you want it. Free plus shipping, but might take me a little bit to take it off, patch everything up, bondo, paint, etc. I can get a better photo of it tomorrow if you like. I still have all the pieces I already took off.
Tease: My "home-made" fender flares have been primed and painted/bed-lined. Installing them tomorrow. Will post pics.
__________________
Greg
Old van: 1997 E250 EB30 (Stolen)
New van: 2003 E250 EB10
|
|
|
|
|
06-11-2016, 11:50 PM
|
#1939
|
|
Senior Member
Join Date: Jul 2011
Location: Flagstaff, AZ
Posts: 2,001
|
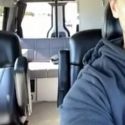
Made some progress on an OBA system. Added a 2 gal. tank up behind the axle and in front of the house battery. Also, with some help from my stereo guy got the air compressor wired to an sPOD and cleaned up the wiring on the other lighting accessories.
__________________
2005 E350 RB 6.0 PSD for extended fun
1989 Landcruiser FJ62 for local fun
2011 VW TDI Golf for hwy fun
|
|
|
|
|
06-12-2016, 09:55 AM
|
#1940
|
|
Senior Member
Join Date: Oct 2009
Posts: 563
|
Quote:
Originally Posted by JoeH
Made some progress on an OBA system. Added a 2 gal. tank up behind the axle and in front of the house battery. Also, with some help from my stereo guy got the air compressor wired to an sPOD and cleaned up the wiring on the other lighting accessories.
|
Is that HAL 9000 I see in the middle of that SPOD?
__________________
2006 Ford E-350 V10 Agile 4x4 SMB EB50
2000 Ford E-350 7.3L Quigley 4x4 hard top with custom interior by Xtreme Fab - Sold
|
|
|
|
|
|
 Posting Rules
|
You may not post new threads
You may not post replies
You may not post attachments
You may not edit your posts
HTML code is Off
|
|
|
|
 » Recent Threads
 |
|
|
|
|
|
|
|
|
|
|
|
|
|
|
|
|
|
|
|
|
|
|
|
|
|
|
|
|
|
|
|
|
|


 Tan Hot Dog
 Linear Mode