Being that it looks like you have Yakima or Thule Tracks already installed on your Pop Top, I would look at a single panel that goes across the two tracks.
BougeRV 5BB 180 Watts Mono Solar Panel makes a panel that is 58.27 inches long, so it fits nicely across the tracks, and doesnít hang over much really hang over the roof.

The newer 200-watt panels such as
GS-STAR-200W is just a couple of inches longer 61.42 inches and a little bit wider, so if you donít mind a little overhang, it maximizes the footprint. You can find. I found
Replacement Anchor Plate "A" for Yakima LandingPad 1 (QTY 8) anchors make it easy to mount brackets to the Tracks.
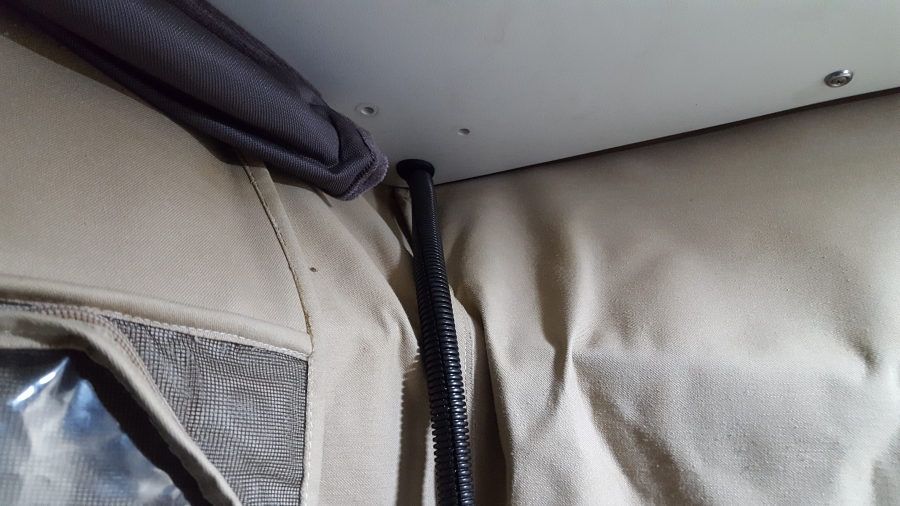
For wiring from the Poptop down to the controller generally you have two existing paths that exist already, front driver side, and rear passenger side.

You may need to upsize the flexible conduit, but it is very doable. I would then go under the canvas and outside inside roof panel and bring the wires through the roof with a ďSolar Entry GlandĒ of your choice. I always fuse before coming through the roof and generally use
MC4 inline fuse holders.
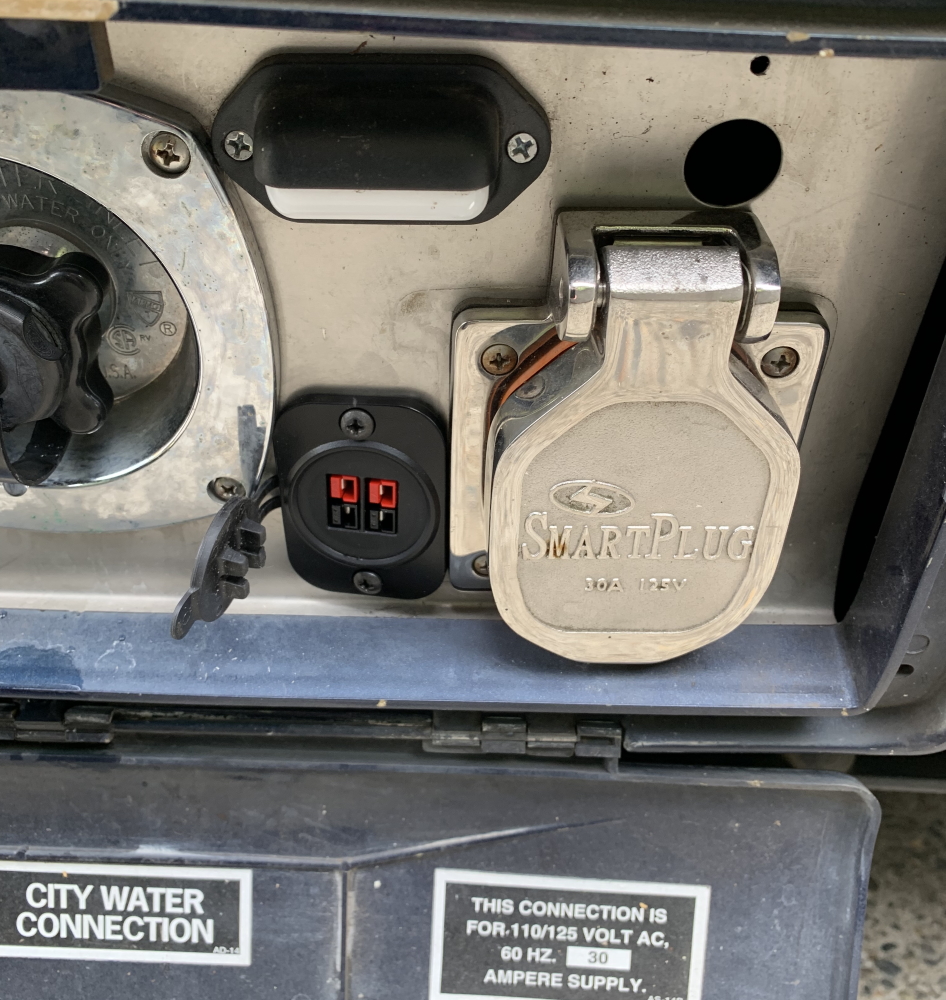
After that you will need to bring the solar cable to the input of your controller. This is where you could add an auxiliary solar port such as this
Powerwerx PanelPole. I generally use these
#32990 Sealed Multiple Wire Connector, One 12-10GA to Two 12-10GA to take the two 10 awg wires into one 10 awg wire for the input of your solar comptroller. The key is to match the operating voltage of your roof mount panels and your portable panels.

The output of the controller will be fused per manufacturer instructions and then attach to your existing electrical system. Sportsmobile is not big on busbars, so you will need to find existing Positive and Ground connections. The ground bar (usually on the wheel well) would work. You could attach to the bar connections on the Prosine, although this usually isnít my preference, in any case the wire lugs will need to match to the lugs you are attaching to. Donít put any more than 4 cables on the same connection point. Takes some pictures of the existing setup and I am sure you will get some recommended attachment points.
While none of this is terribly hard, there are a collection of tools that are needed to perform this task. There are usually no battery disconnect switches, so the choice is to work on stuff hot or disconnect the battery.
-greg