Hi All,
I finally finished my conversion from AGM to Lithium batteries. I had a month long break due to a severe knee injury but things are healing and I was able to get the conversion done over the past week or so.

Thank you to all the folks who provided advice, recommended components and provided me with some schematics and technical information. I appreciate all of the help you gave me, Im not sure I would have been able to make the conversion successfully otherwise.

I thought I would provide some information on the process for anyone else who is trying to convert from an older AGM and Blue Sea relay setup (in my case a 2014 Sportsmobile) to lithium batteries.
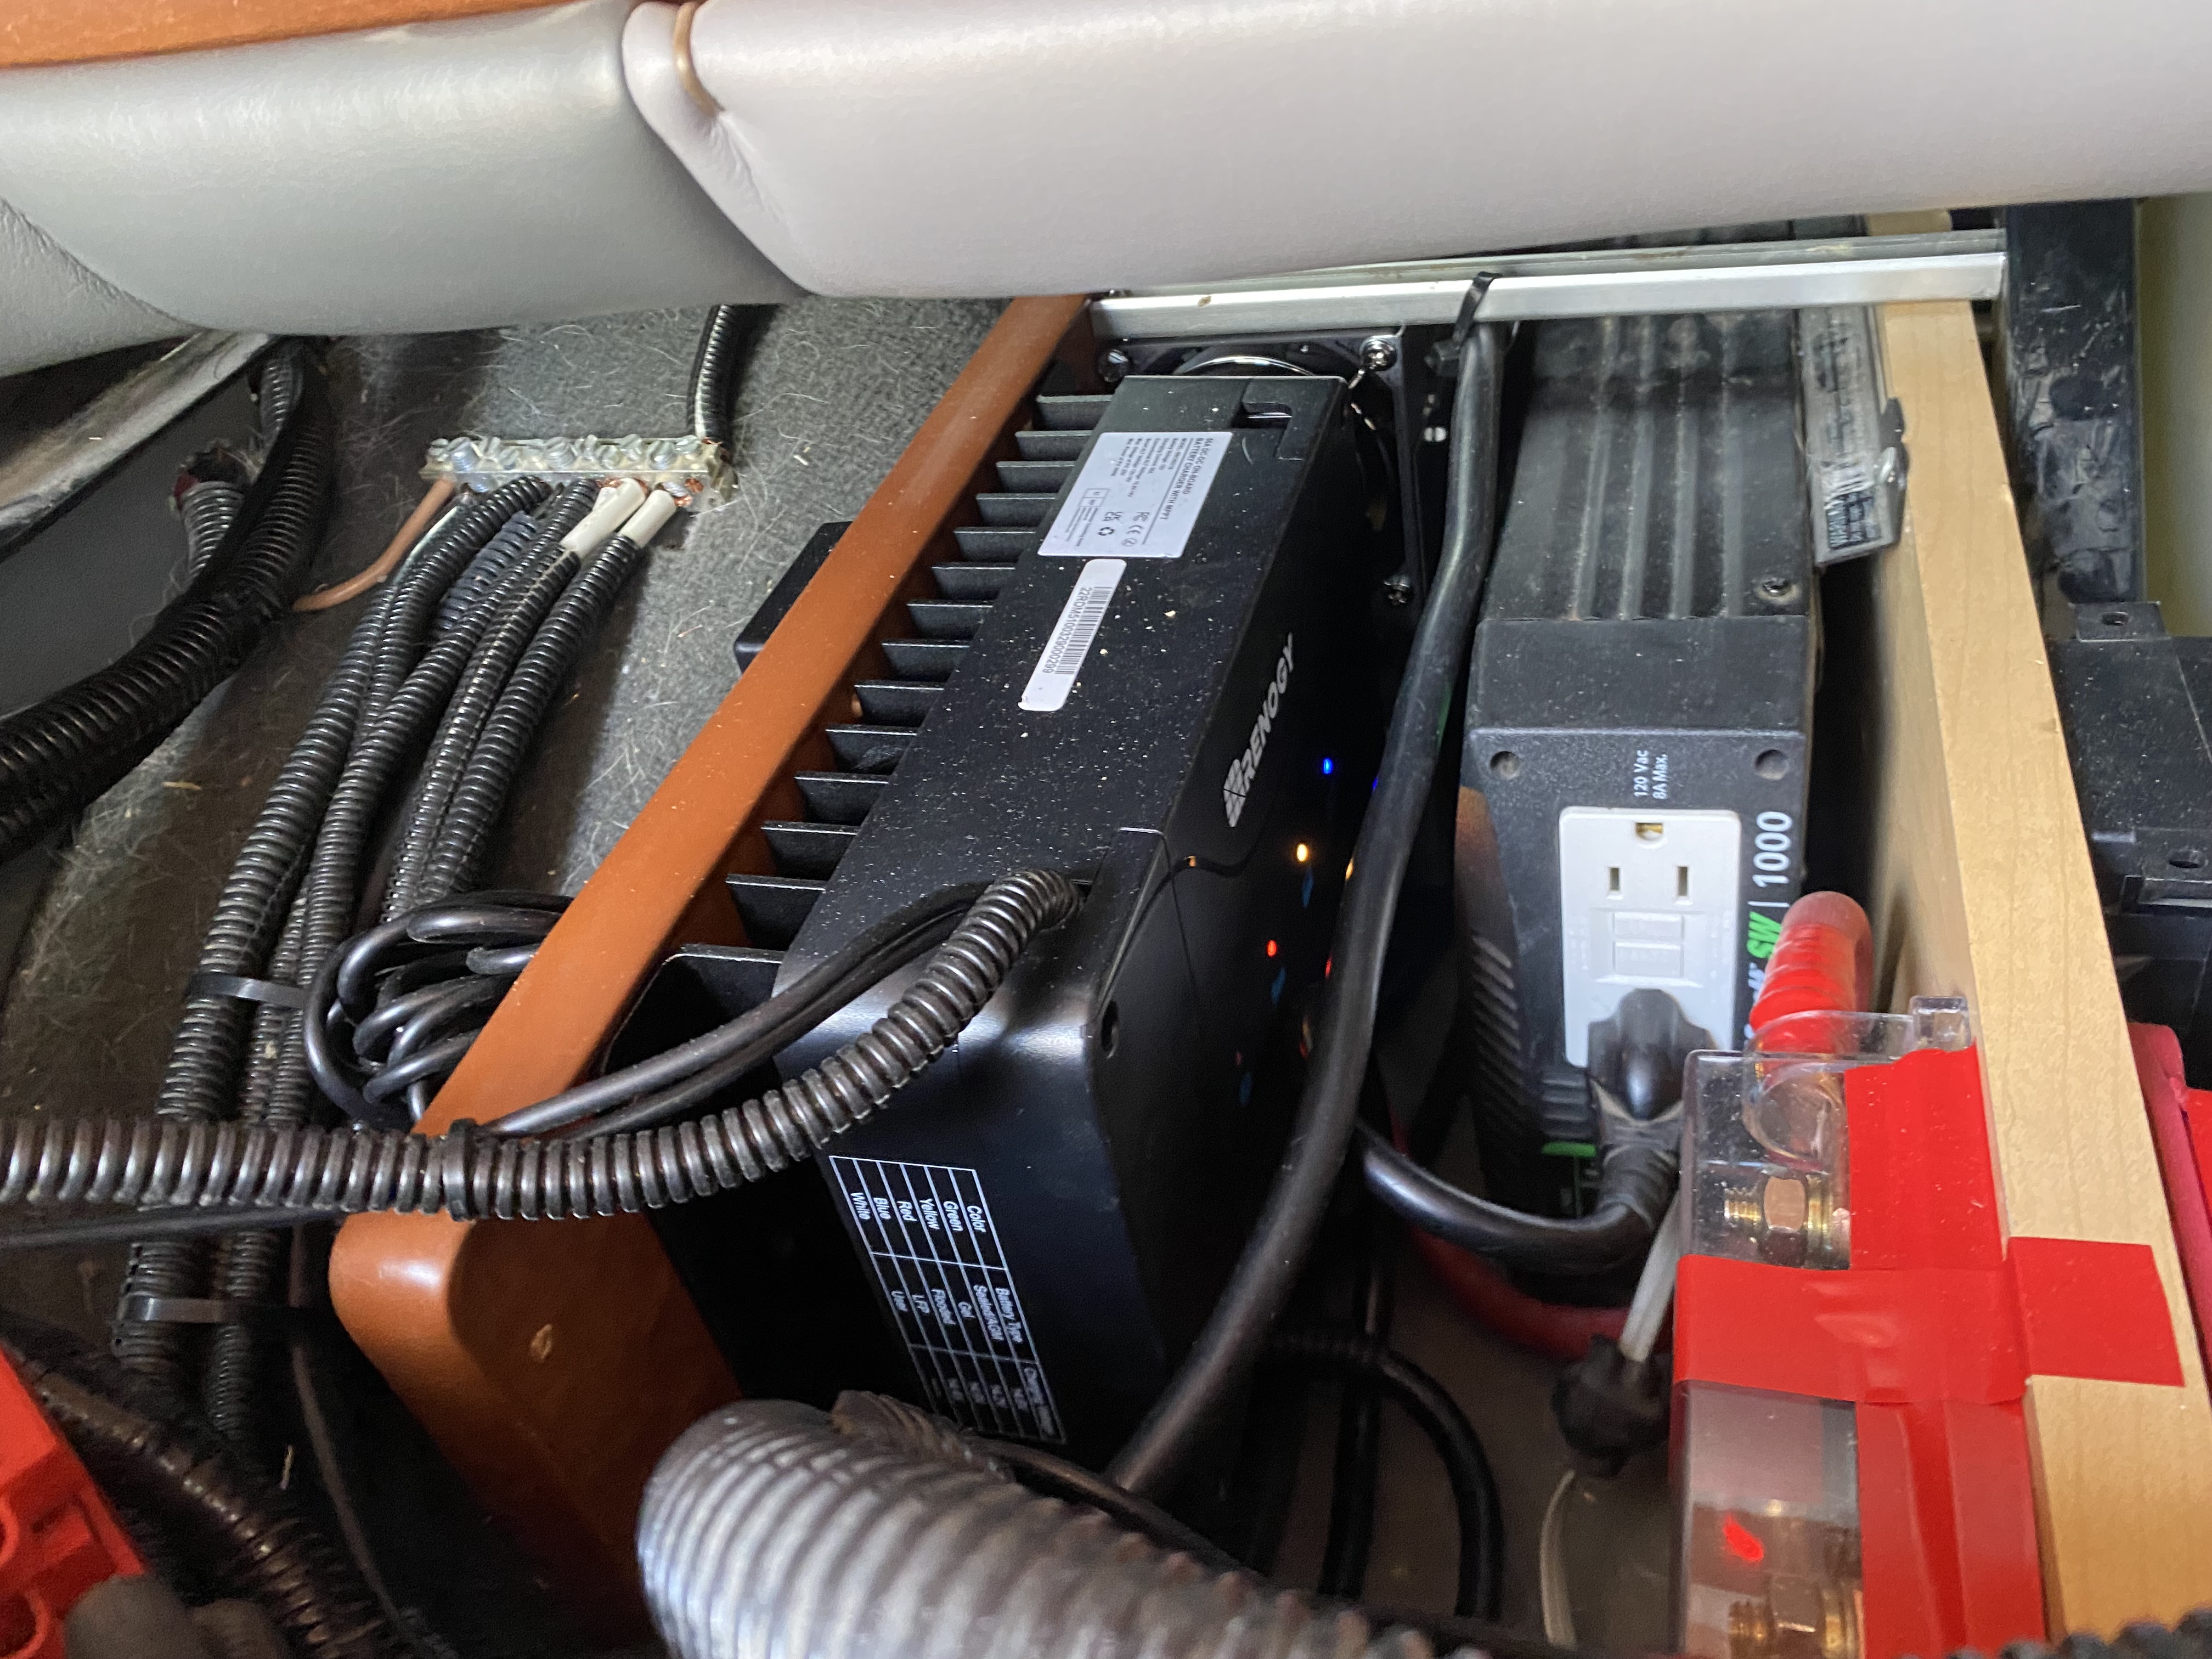
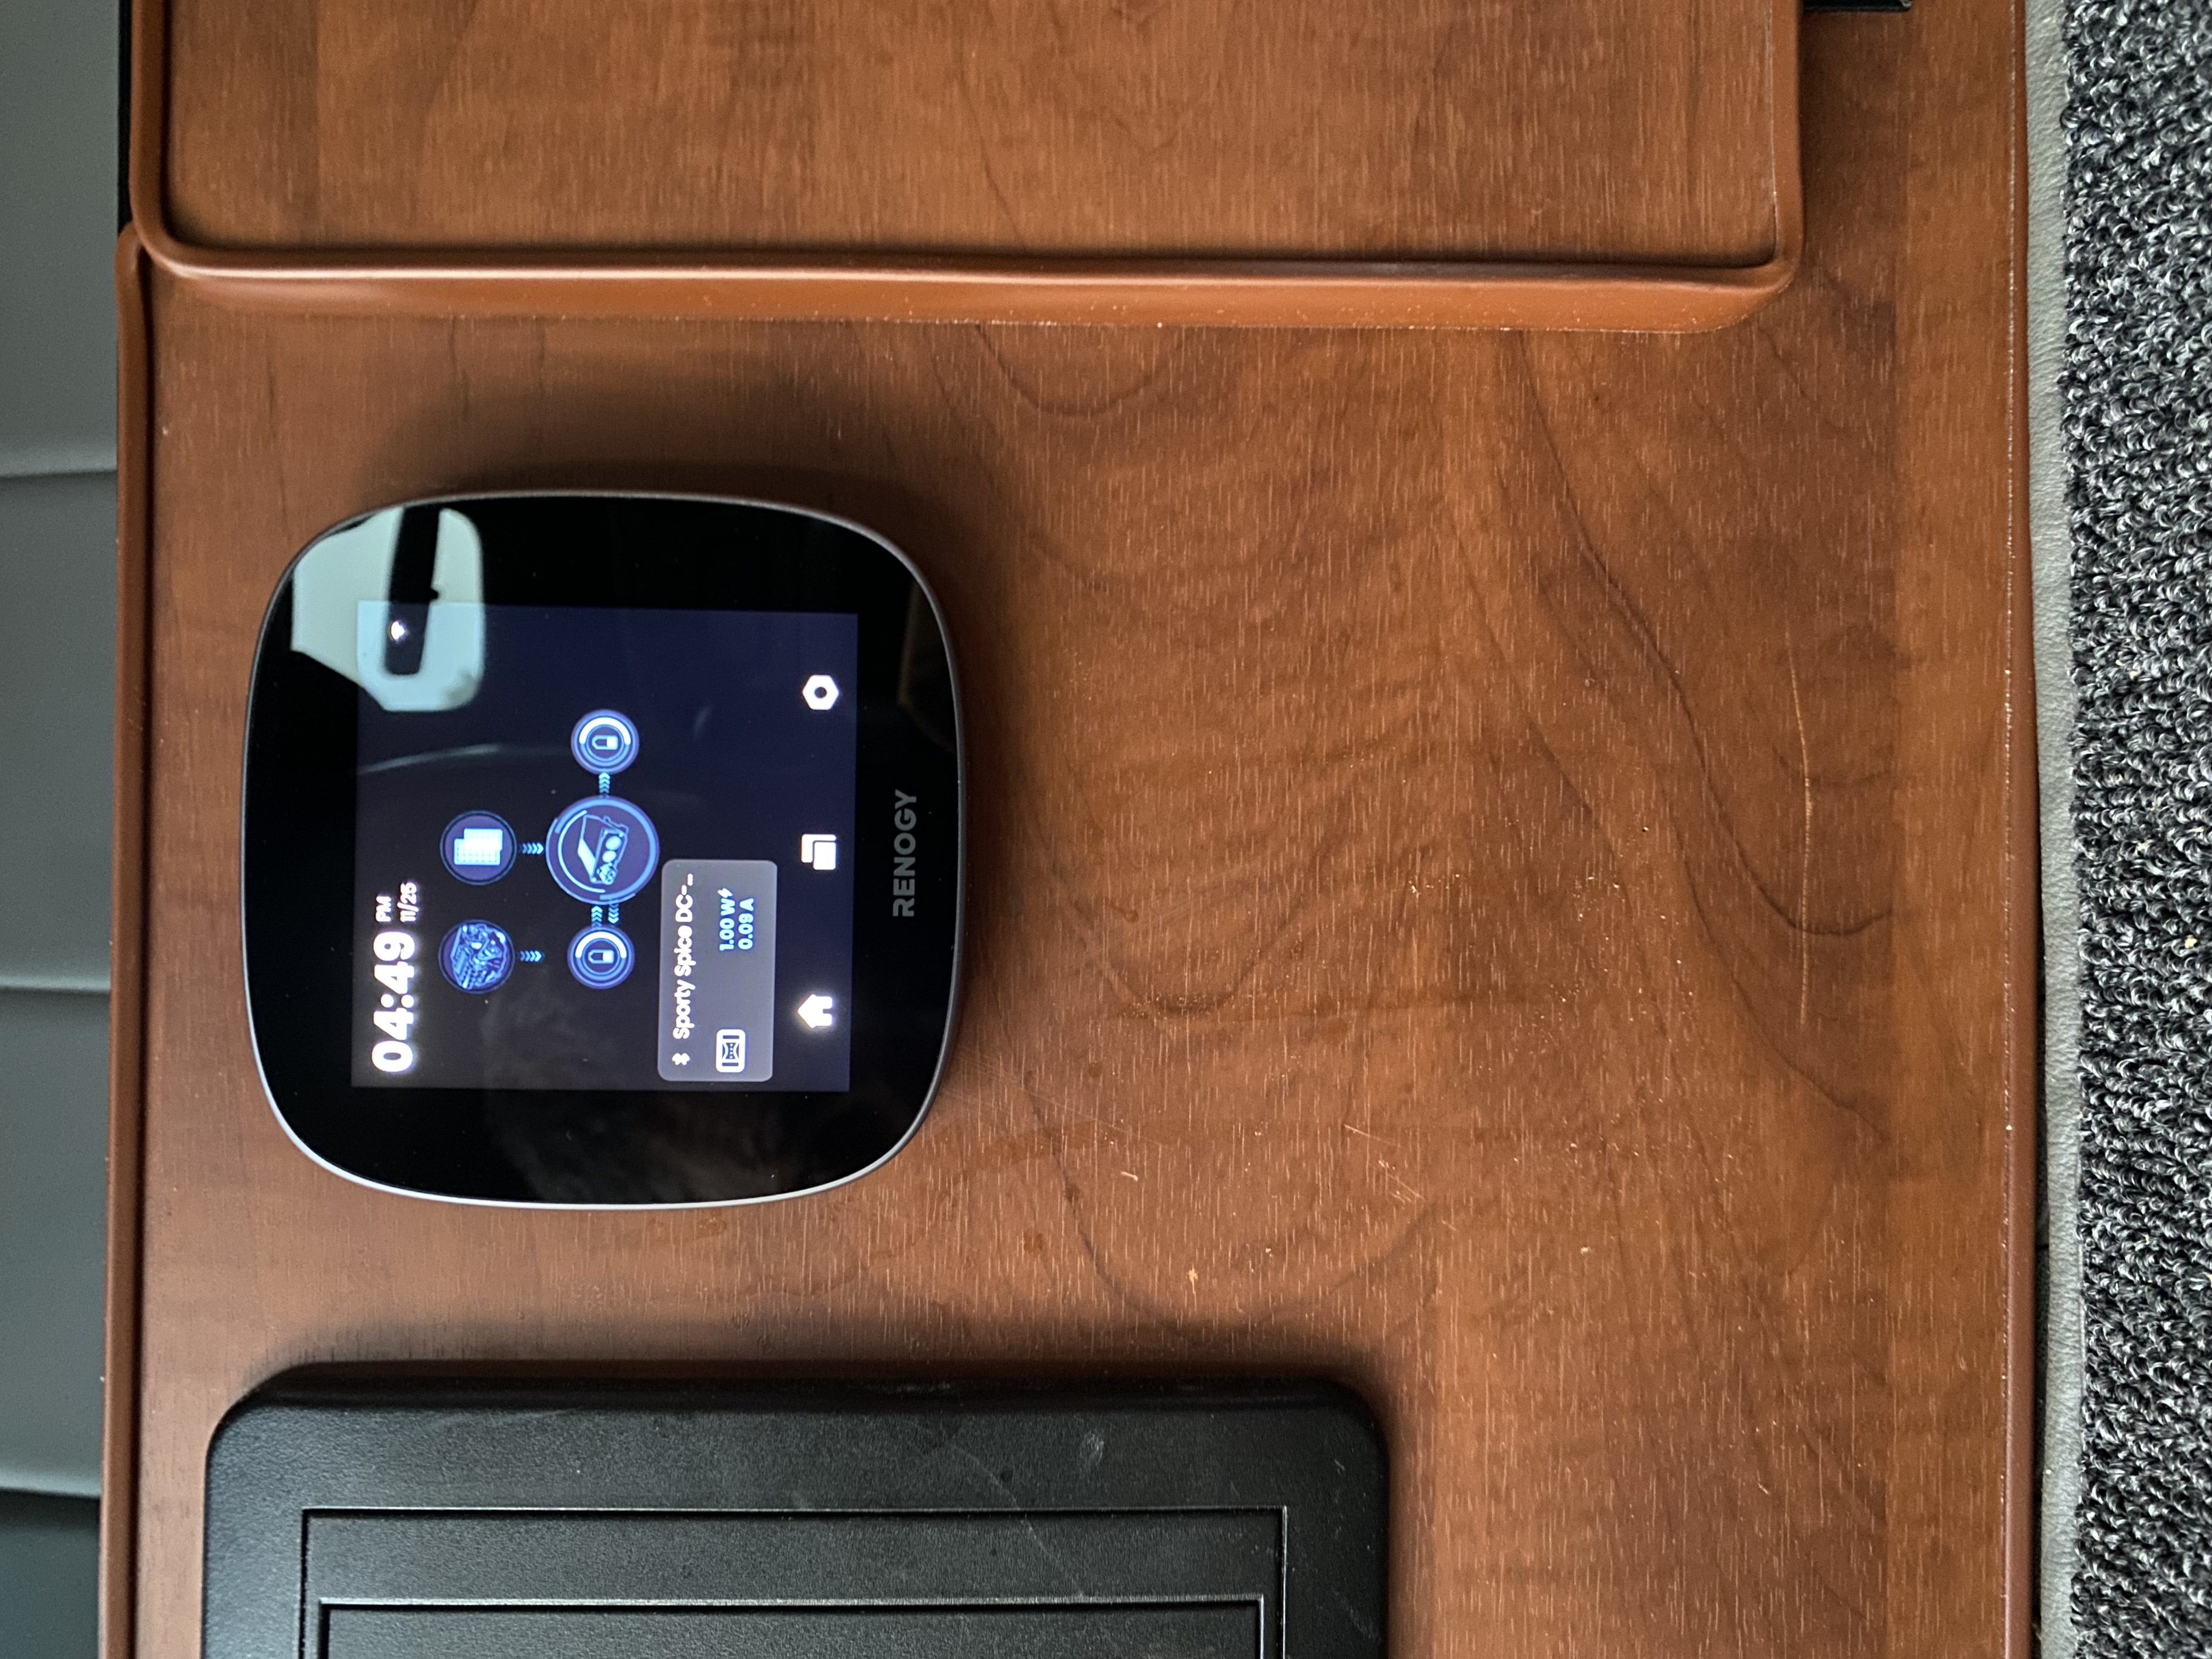
DC-DC charger. I used a Sterling BB1270 unit that I purchased from 1der. There are similar items available from Renology, Victron and others. The DC-DC charger is needed to ensure that the vehicle alternator is not damaged when charging lithium batteries. This unit replaced the existing Blue Sea relay that came with the van. It also has a controller unit that can be used to configure it for the system.
I no longer have the option to bind the house battery to the starter for jump starting the van
but I already carry a jump start pack so its not an issue. One could wire this up and use a manual switch but I didnt bother with it.
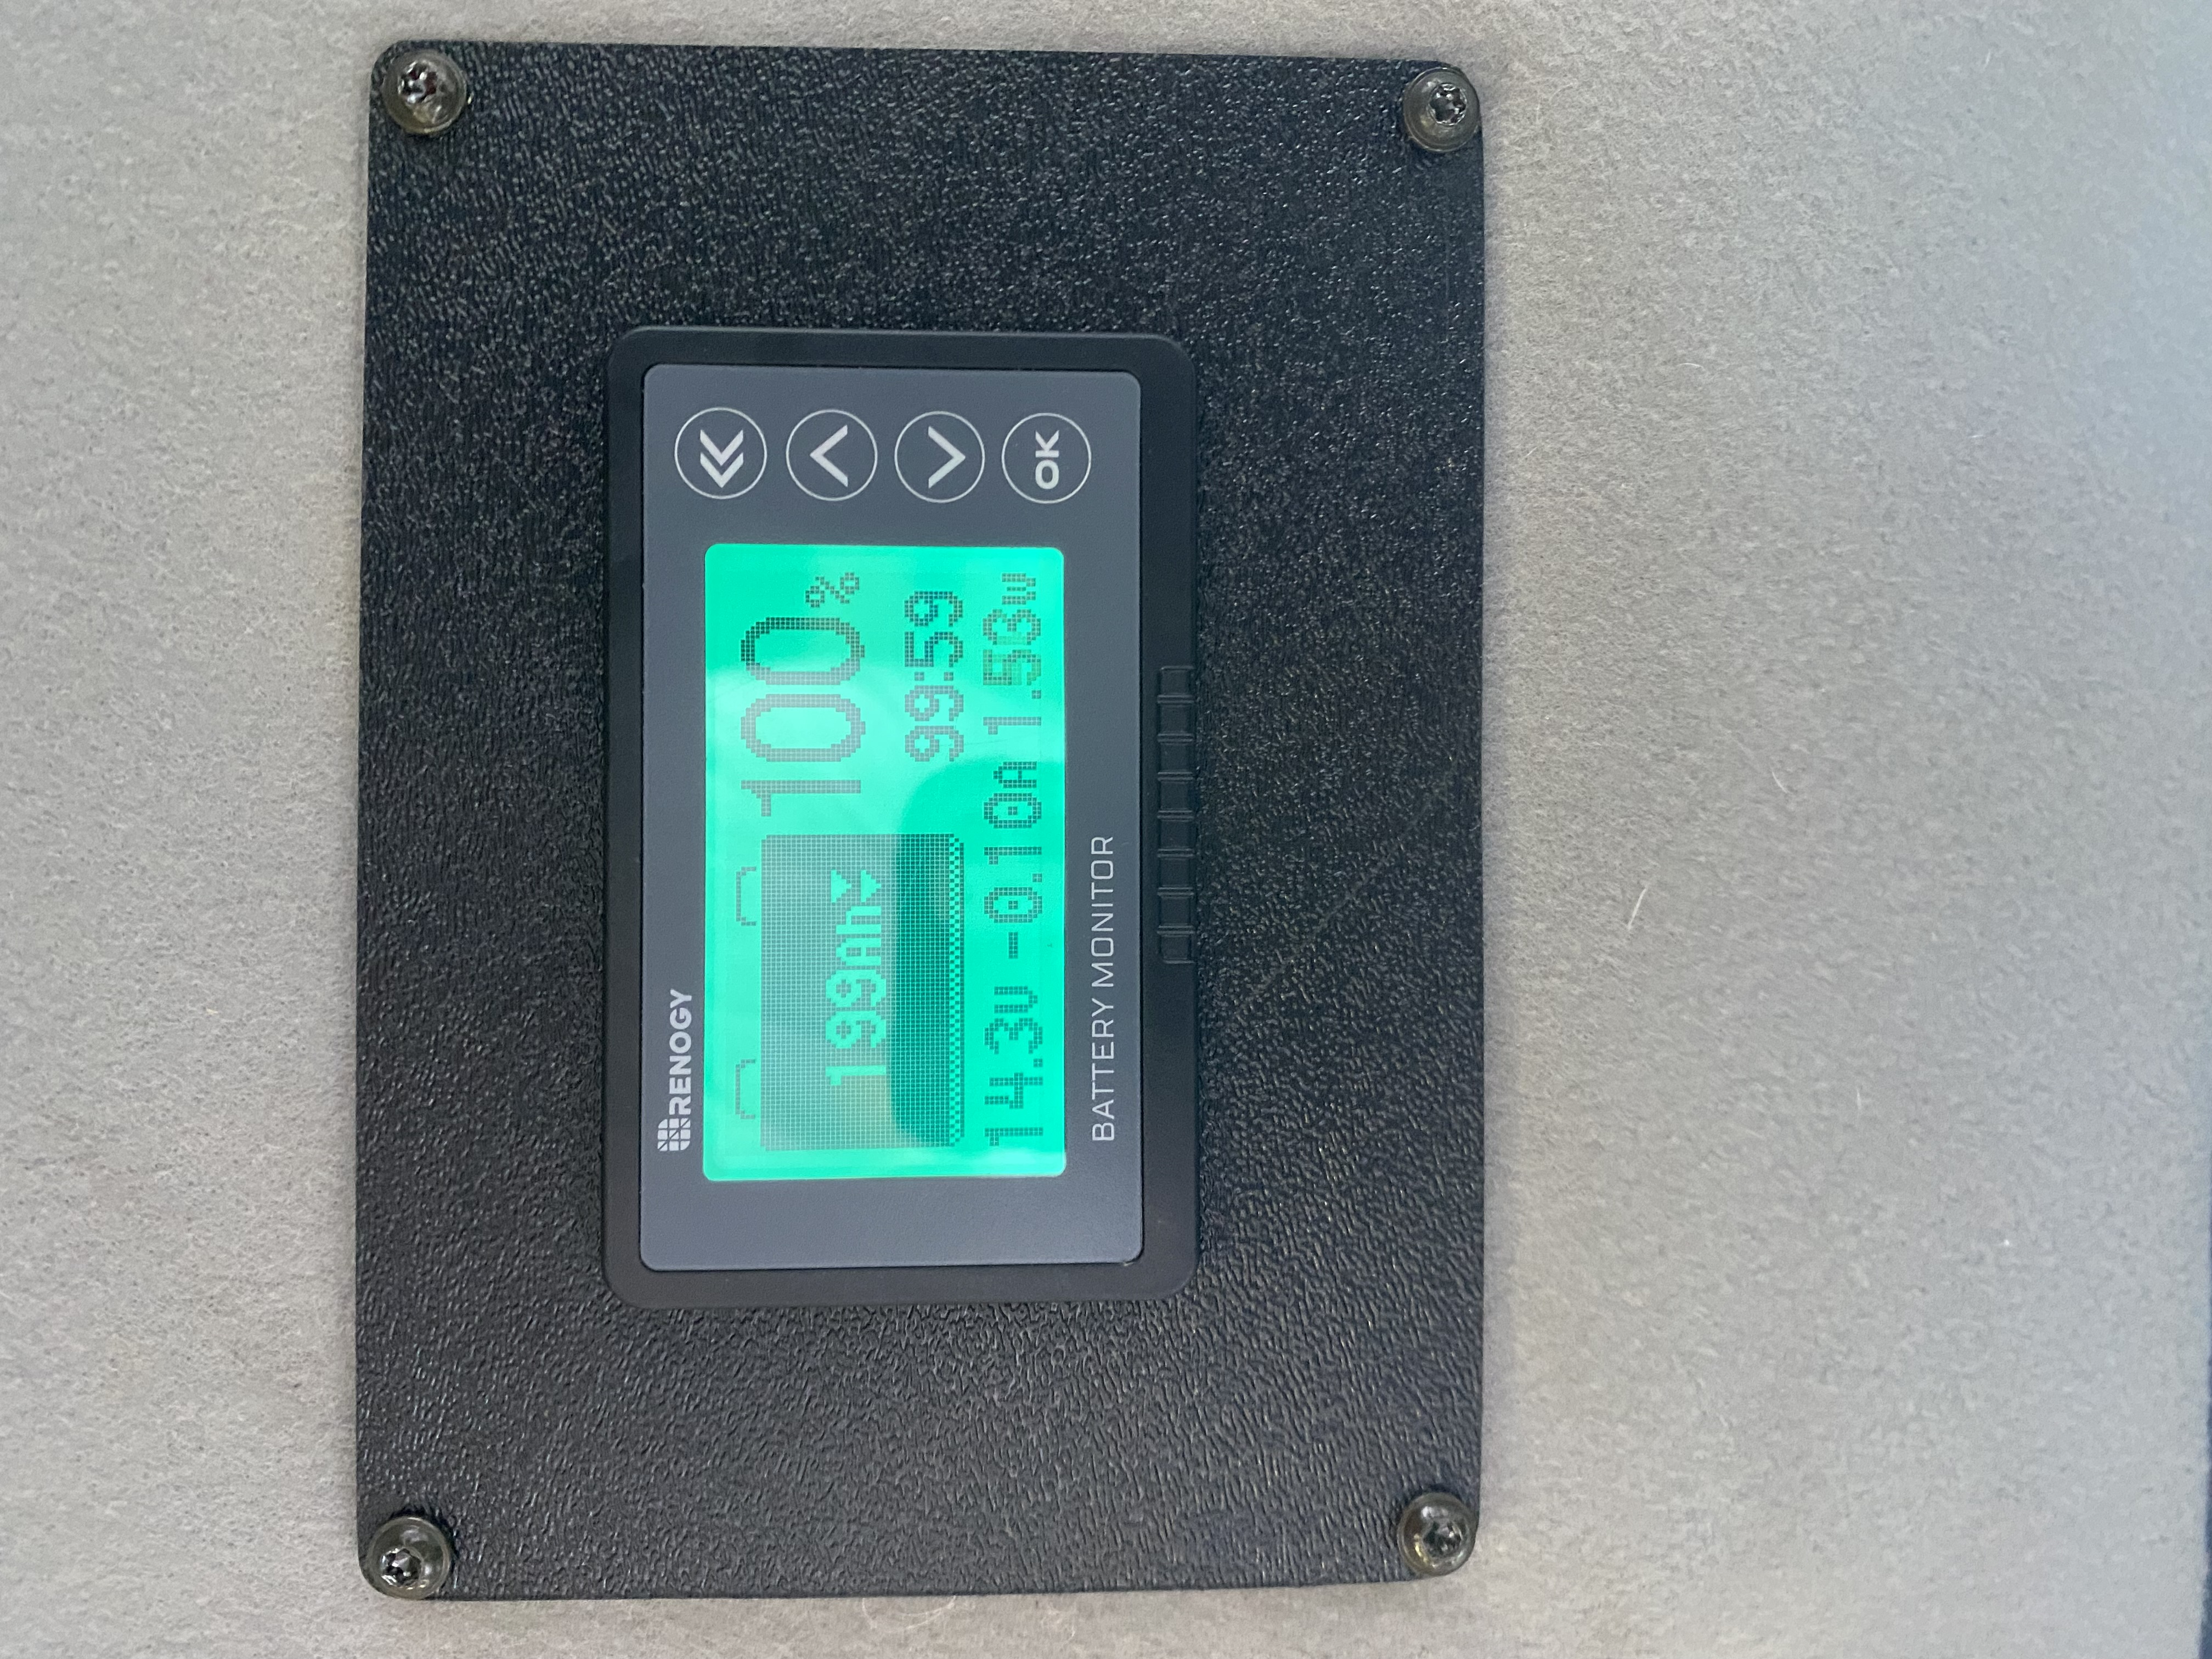
Battery monitor. I used a Victron BMV-712 Smart monitor. This unit allows you to monitor the current battery status and State of Charge. I added the shunt into the existing system by cutting the existing negative wire from the battery bank, adding some terminal rings to the cut ends and connecting them to the shunt. Its installed inside the van so it can be more easily accessed if necessary. The Victron battery monitor app (Bluetooth) works great with this unit - at least the iPhone one does.
Fuse blocks. I used two Blue Sea Systems 7720 Fuse Block MIDI plus 80 amp fuses (recommended by Scalf77). Fuses are needed on each side of the Sterling DC-DC charger. These fuse blocks allow the existing positive wires and terminal rings from the house and starter batteries to be connected on one side of the block The DC-DC charger connects on the other side using 6 gauge wires that I purchased on Amazon.
Lithium batteries. I ended up with two SOK 100A batteries. These have a built in BMS and heating system for charging below 32F. I used these because the online specs showed that a pair of them would fit into the same space that my existing AGM battery fit. Well the specs on the length were off by about 1/2 inch and they didnt fit - gah!
I ended having one of the battery tray cross pieces removed so that the batteries will fit end to end. You can do this with an angle grinder yourself. If you get lucky your friendly blacksmith-metalworker will show up at your door while you have the angle grinder in hand and are contemplating the battery tray - nice to have a professional do it properly, a lucky day.
I dont know about other battery brands and how they are shipped, but getting these two batteries to wake up and start charging was extremely difficult. My existing battery chargers wouldnt work since the units were in deep sleep and the chargers wont charge without detecting a voltage. There are chargers that will provide a wake up boost but I ended up starting the charging using a portable lithium power pack to wake them while I had my regular charger connected - the charger then picked up on the charging. SOK has a bluetooth app that connects to the batteries once they are awake - it works but is sometimes flaky.
Solar Charger. My current Zamp solar charger doesnt have a lithium battery profile. I spoke with the company, they suggested that I didnt really need to replace the charger since the AGM profile is very similar to a lithium battery one. However, they pointed me to their newer model with a lithium profile as a drop-in replacement - 40 Amp 5-Stage PWM Charge Controller.
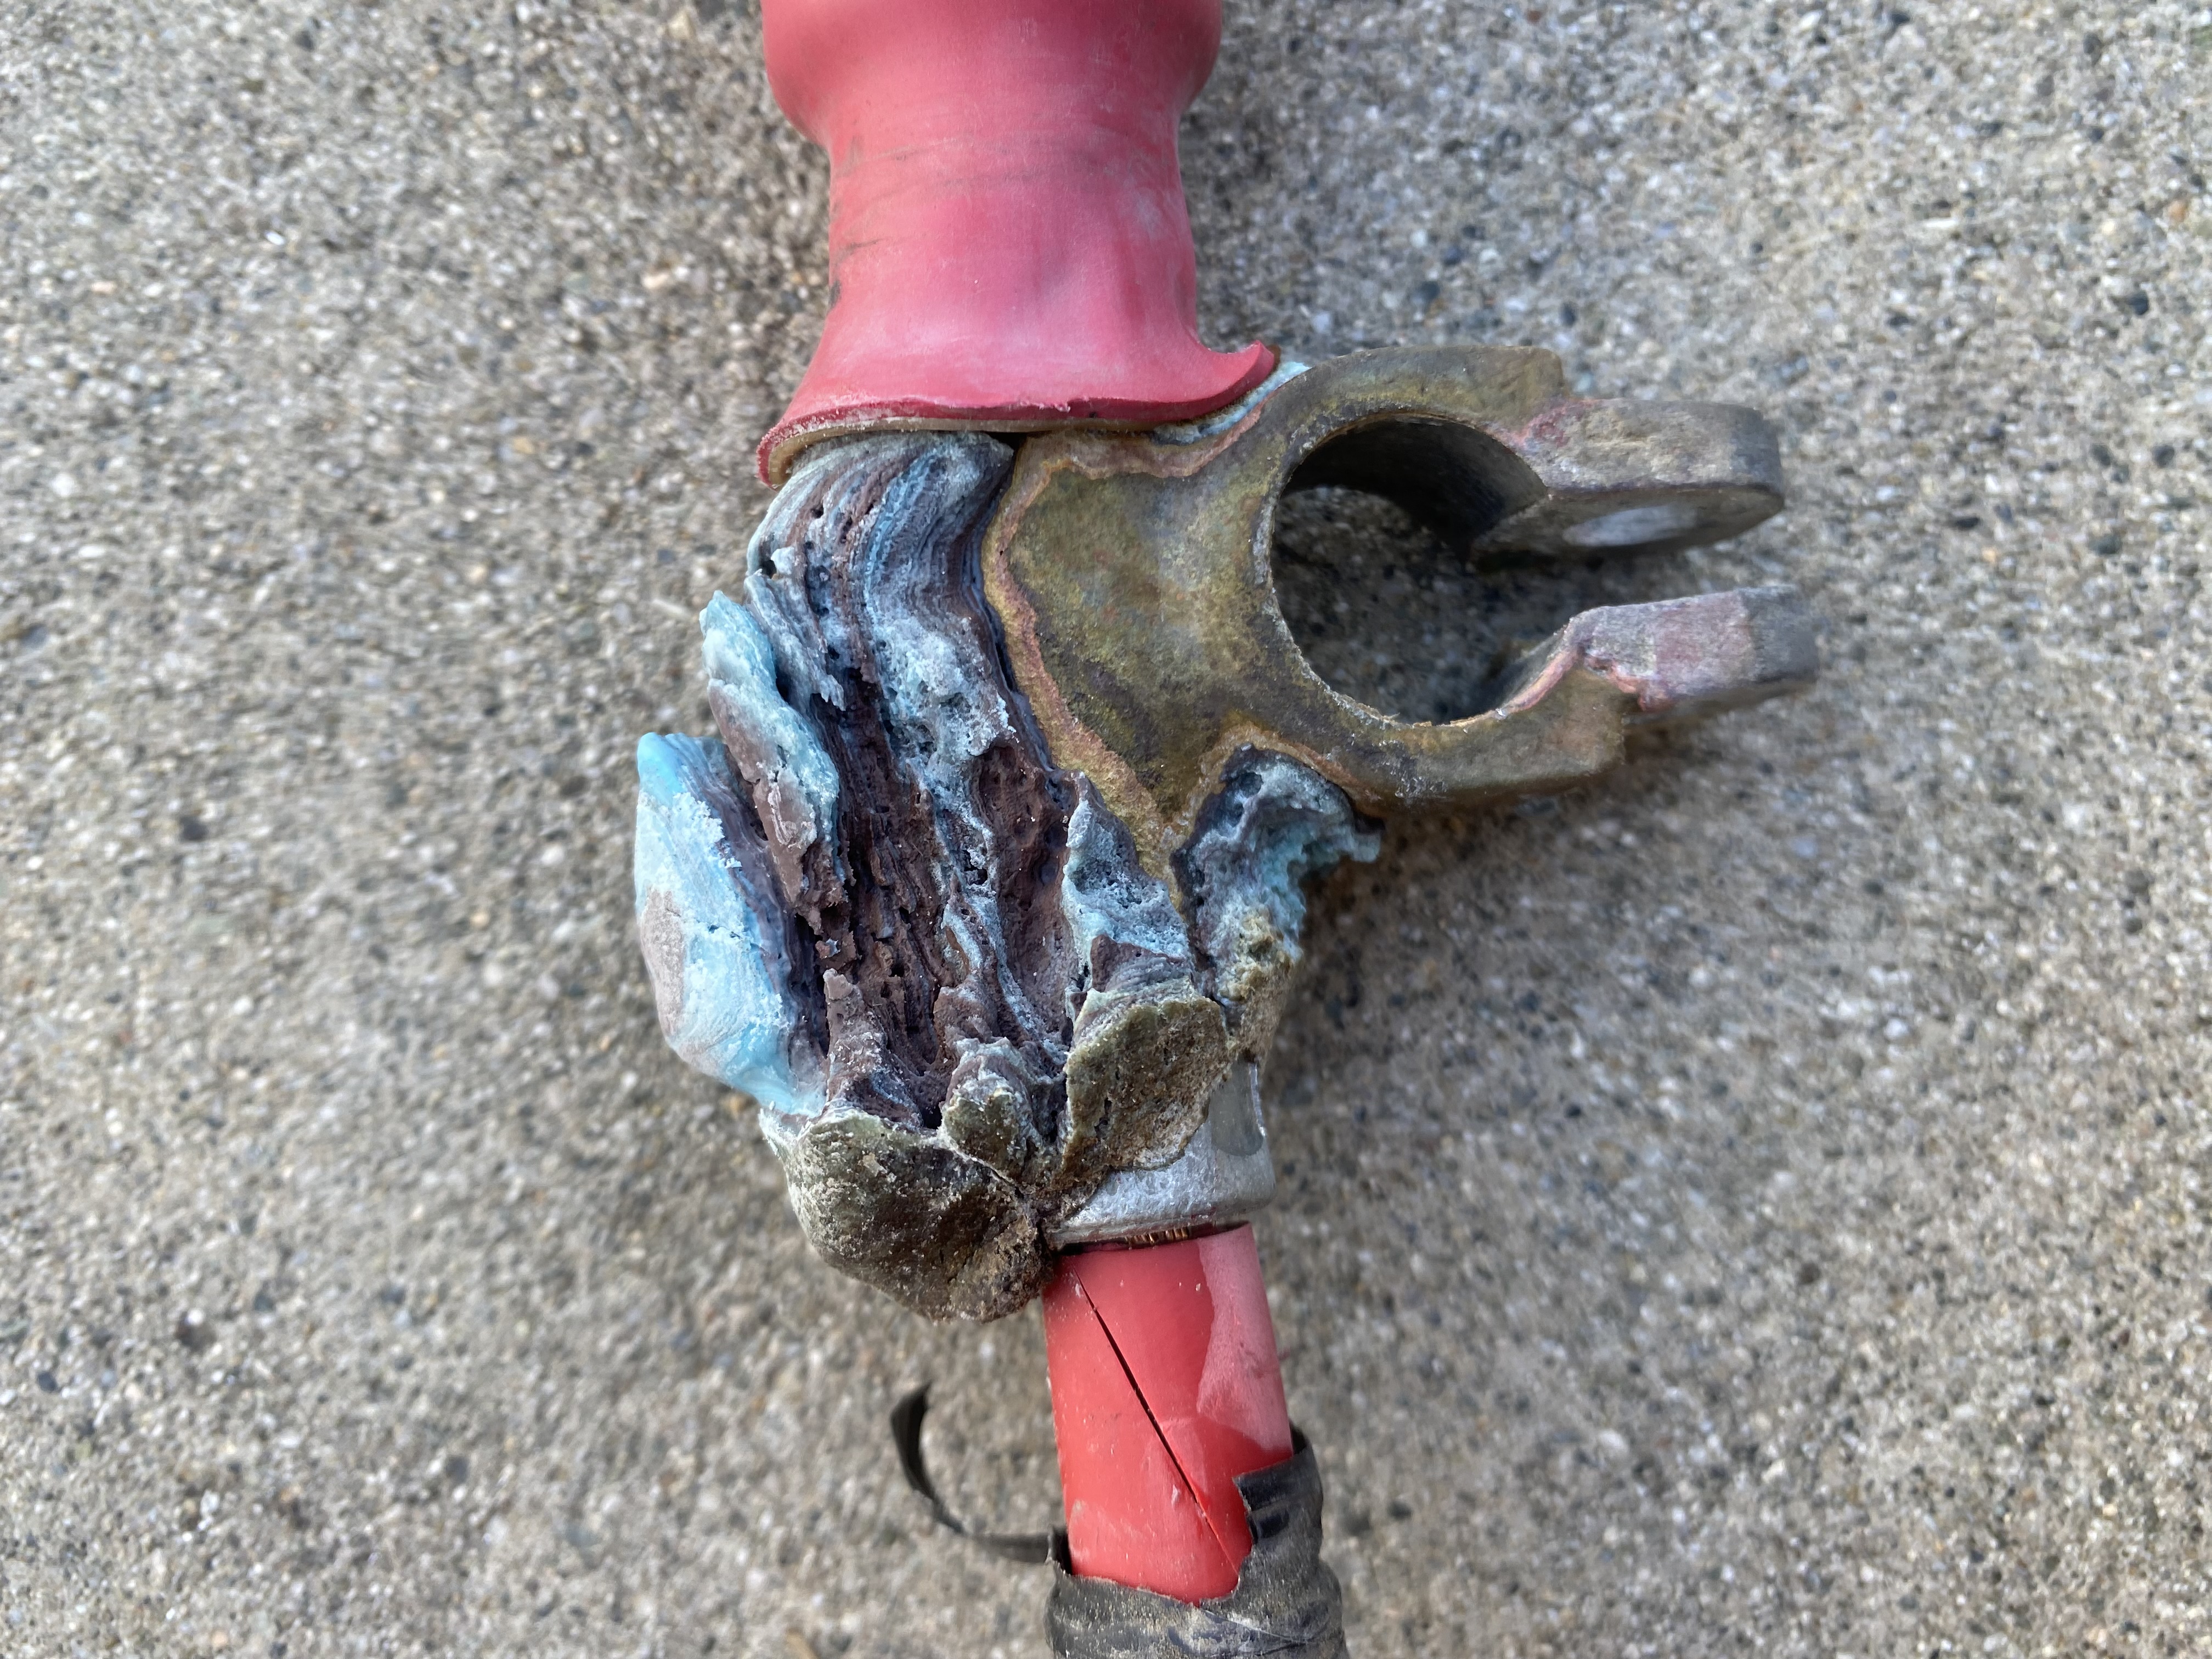
Starter battery negative connection. I connected the Sterling DC-DC negative to the starter battery with 25ft of 6 gauge wire. This also got some 3/8 wire loom added to it to protect it (adding the loom takes time and dedication). I wired this under the van following the existing positive wire back to the starter battery. It also required drilling a hole through the bottom of the van next to the existing openings since there was no way to force the wire through those channels.
Misc other items. Various sizes of terminal rings. Various connection bolts, nuts and washers. Various machine screws.Tie downs to hold the batteries in place on the tray.
I made multiple trips to my local Ace hardware and numerous orders on Amazon when I was unable to find the correct items locally.
I bailed on trying to place the two control units (for the Sterling and the Victron items) in the current display area for my other components. After tracing the wiring and making an attempt to open up the walls I decided not to go down that road. The iPhone app for the Victron unit works great - so the display unit isnt critical. The Sterling controller really only needs a one-time setup and occasional monitoring - I left it in a super easy to access spot where I just open a door to see it for now.
Overall it took me about 10 days to do the work. Partially because I had to order components as I discovered what I needed, and partially because I didnt work all day on it. If you have all the pieces in hand (and some help) you might be able to do all the work in 3-4 days. I did everything by myself except for some help putting the battery bank back in place and the tray modification. For anyone else like me, who isnt experienced with electrical installations, just take your time, study the schematics and understand the wiring diagrams. Double and triple check your connections and go slowly so that you dont make any mistakes. Make sure that you disconnect any live connections in the area that you are working. My biggest frustration was the lack of labeling on the existing installation and working in the cramped area - go slow and take your time.
I hope this is useful to someone else contemplating a conversion on an older van model.
Thanks again to everyone who helped me with this - boywonder, 1der, bigriver, Scalf77 and others.
Jon B


 better solution, 10th trip to the hardware store because we cannot find the part we already have but it is buried some where, four "oh yeah even better" revisions installed/uninstalled/installed again, mock up the temporary wire runs to make sure everything works, redo the wire runs to make them look good, test again, finish the install, have a beer. All done except all the tools and crap needs to be cleaned up and put away during which we just figured out how to do an even better next time. Cost $40 in labor


 Sporty Spice

 Linear Mode