Having recently sold my 2004 Sportsmobile, I thought it was about time I started a build thread for my new van. I purchased the van earlier in the year, and that takes me to the first big choice. I really liked my Sportsmobile poptop, so when deciding on a new van, I thought I wanted a poptop. Then I a realized that we hadn’t been sleeping up top much anymore. This is probably do to two things, the kids have grown up, and we have gotten older. We were certainly looking at a mid-roof or high roof, my wife was a strong input for the high roof. After that decision was made I just kind of turned to the long wheel-based version. The new AWD version coming out in 2020 was the thing that pushed me over the top on making the decision.
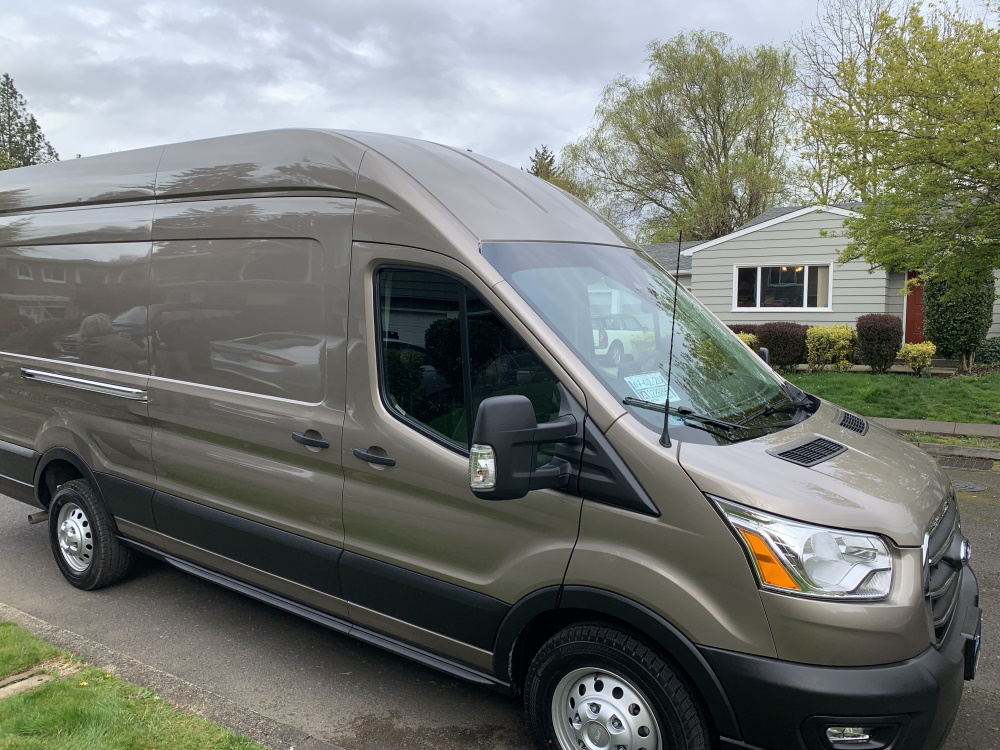
Now other than color there are some choices you can make when ordering a new transit. The first somewhat seemed obvious, the 3.5L ecoboost engine upgrade. I also chose the factory swivel seat option, which probably would have been easier if they gave you more options with the actual seat fabric. I did not dislike their cloth seats, but it would have been nice if they had a leather option in that package. The next thing that went along with the swivel seat was the push down manual brake, allowing free swivel for the driver seat.
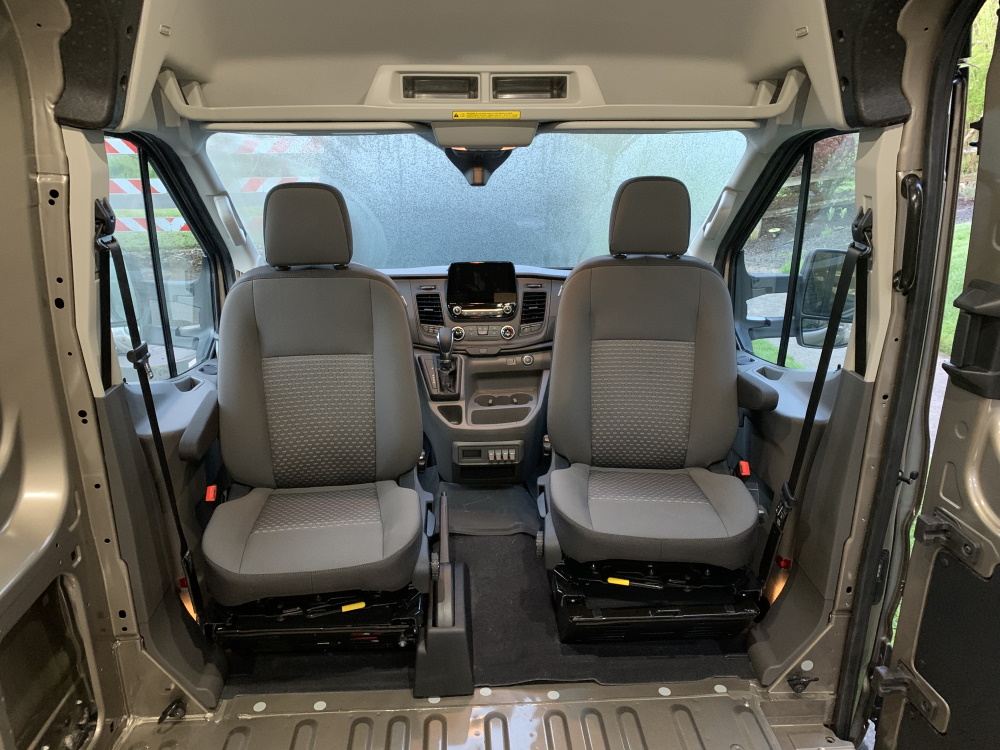
I also went with the sync 3, 8” screen audio setup. For those of you that remember my carputer setup in my old rig, may remember it had voice control, and I could pick music with voice control. I am happy to say that all I had to do was copy my music over to a USB drive, and I now have music at my verbal queue. The one option I struggled with the most was the dual alternator. I new I wanted dual alternators but was not sure how easily the two alternators could be separated. I decided I will pursue an aftermarket dual alternator instead. I want the van charging system and the house battery system to be totally separate from each other. I added the extended fuel tank (31 Gal), HD Trailer tow package, upfitter package, long-arm power heated mirrors, cruise, BLIS, keyless entry and remote start.
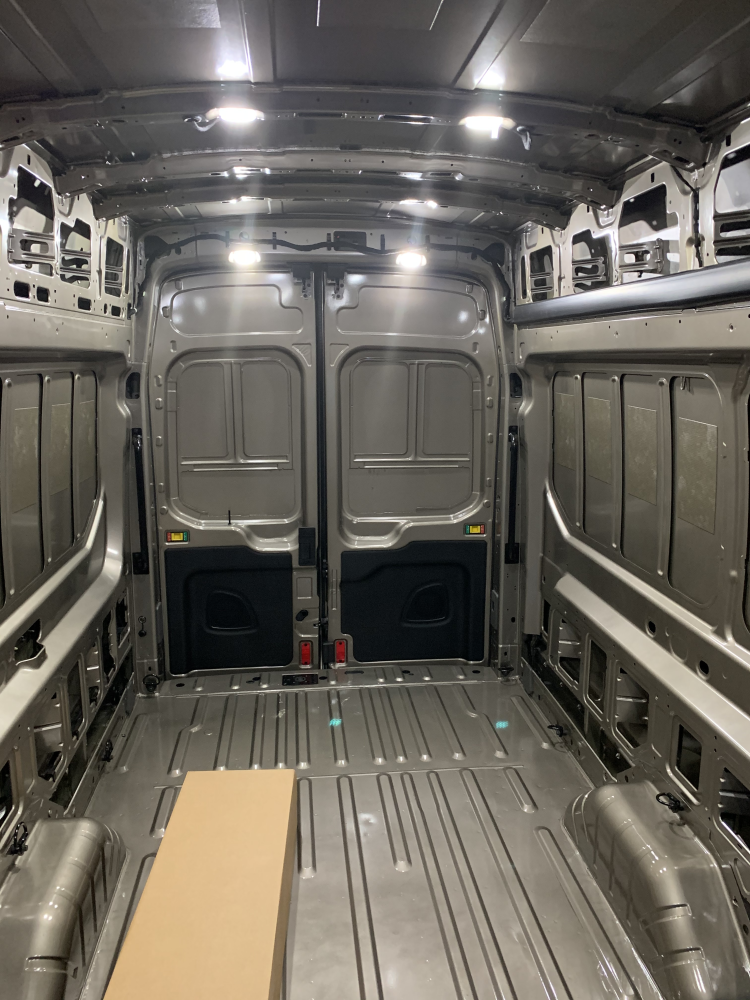
The first modification to my new rig focused on the roof, I installed a low profile 80/20 roof rack. Actually there are more roof rails, at the moment. To facilitate this I turned to DIYvan.com and their Ford Transit Roof Rail Pad and Brackets .
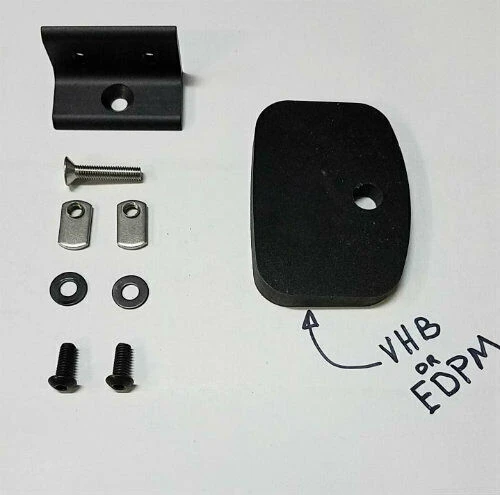
I purchased the 80/20 bars from Grainger. The roof pads allow you accommodate for the roof angle, so you keep the 80/20 bars vertical. The pads are made to bolt into the inserts provided by Ford. To start out this project I had to remove roof caps, to expose the insert.
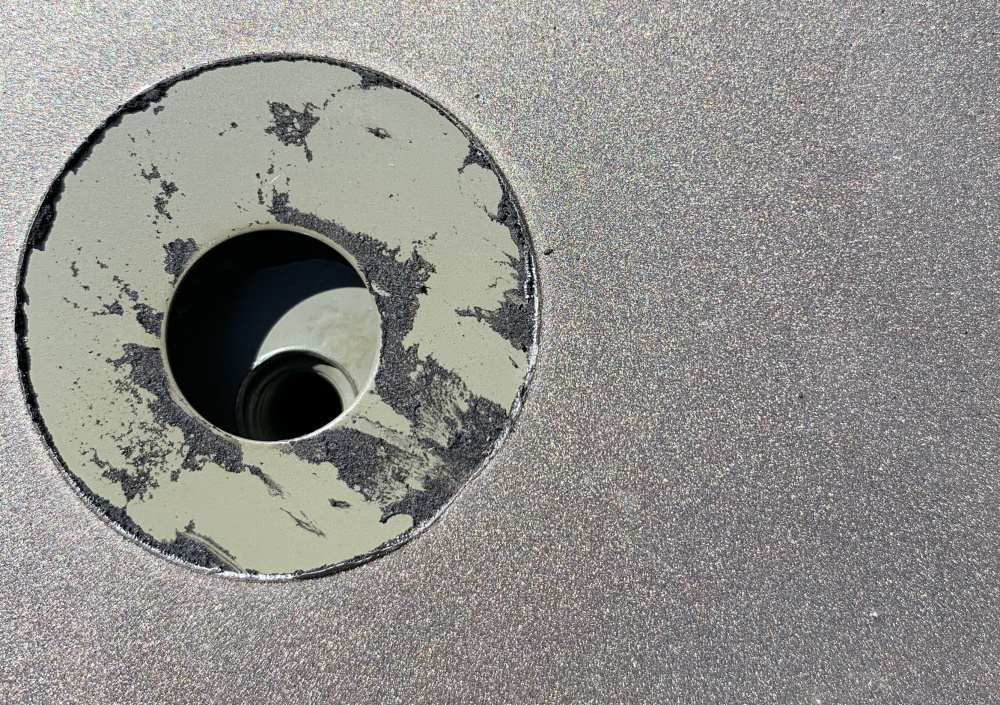
Much to my dismay they did not line up very well and the hole needed to be expanded a little. This was true on five out of the ten inserts. After cleaning up and applying some primer I moved to test fitting the bar.
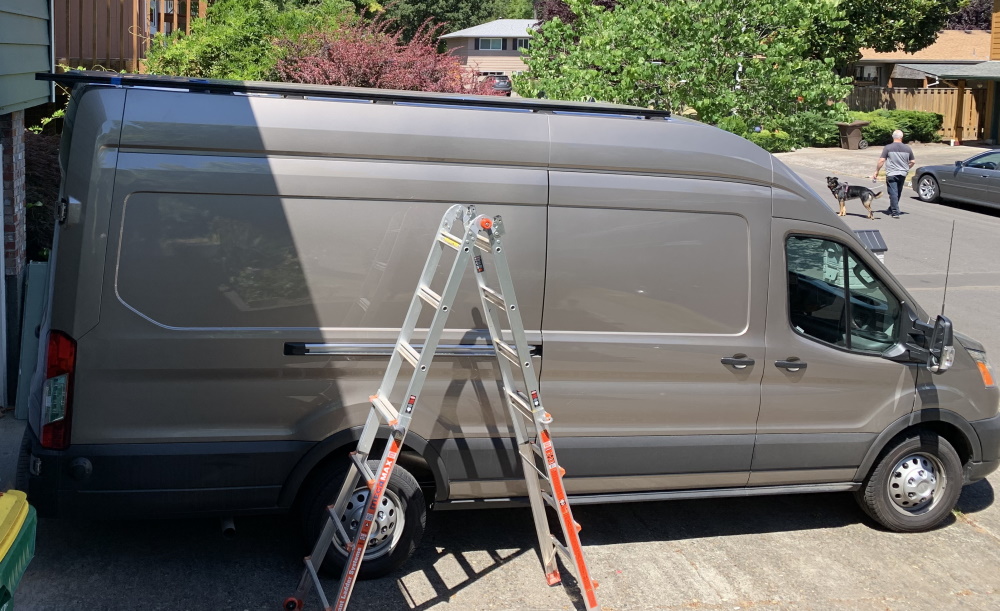
I was able to check for length and mark the positions of each pad. The pads have 3M VHB peel and stick adhesive, so you want to know the location before committing it to the roof. Pretty much follow the instructions, for cleaning the panel and applying the pad. In the meantime, I cut my rail to length and had the brackets loosely attached. Once back on the roof I checked for alignment and proceeded to mount the brackets, I used butyl between the bad and bracket, cover the fastener with flex-tape and sealed around the edges of the pad. All in all, installation was easy, here is a shot of the final product.
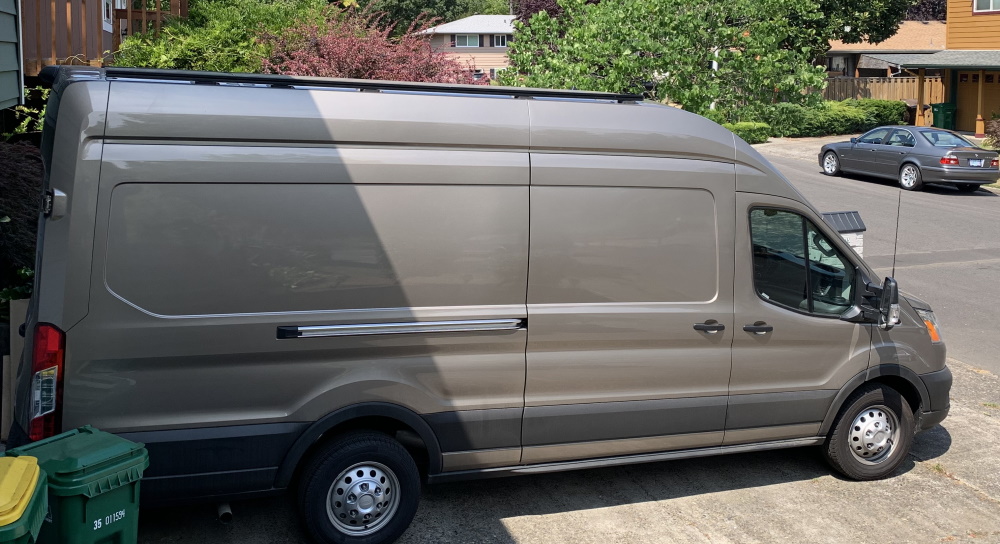
The next project was roof vents, I have two Maxxair 7500K roof vents, one forward and one in the rear. Here I was checking for position.
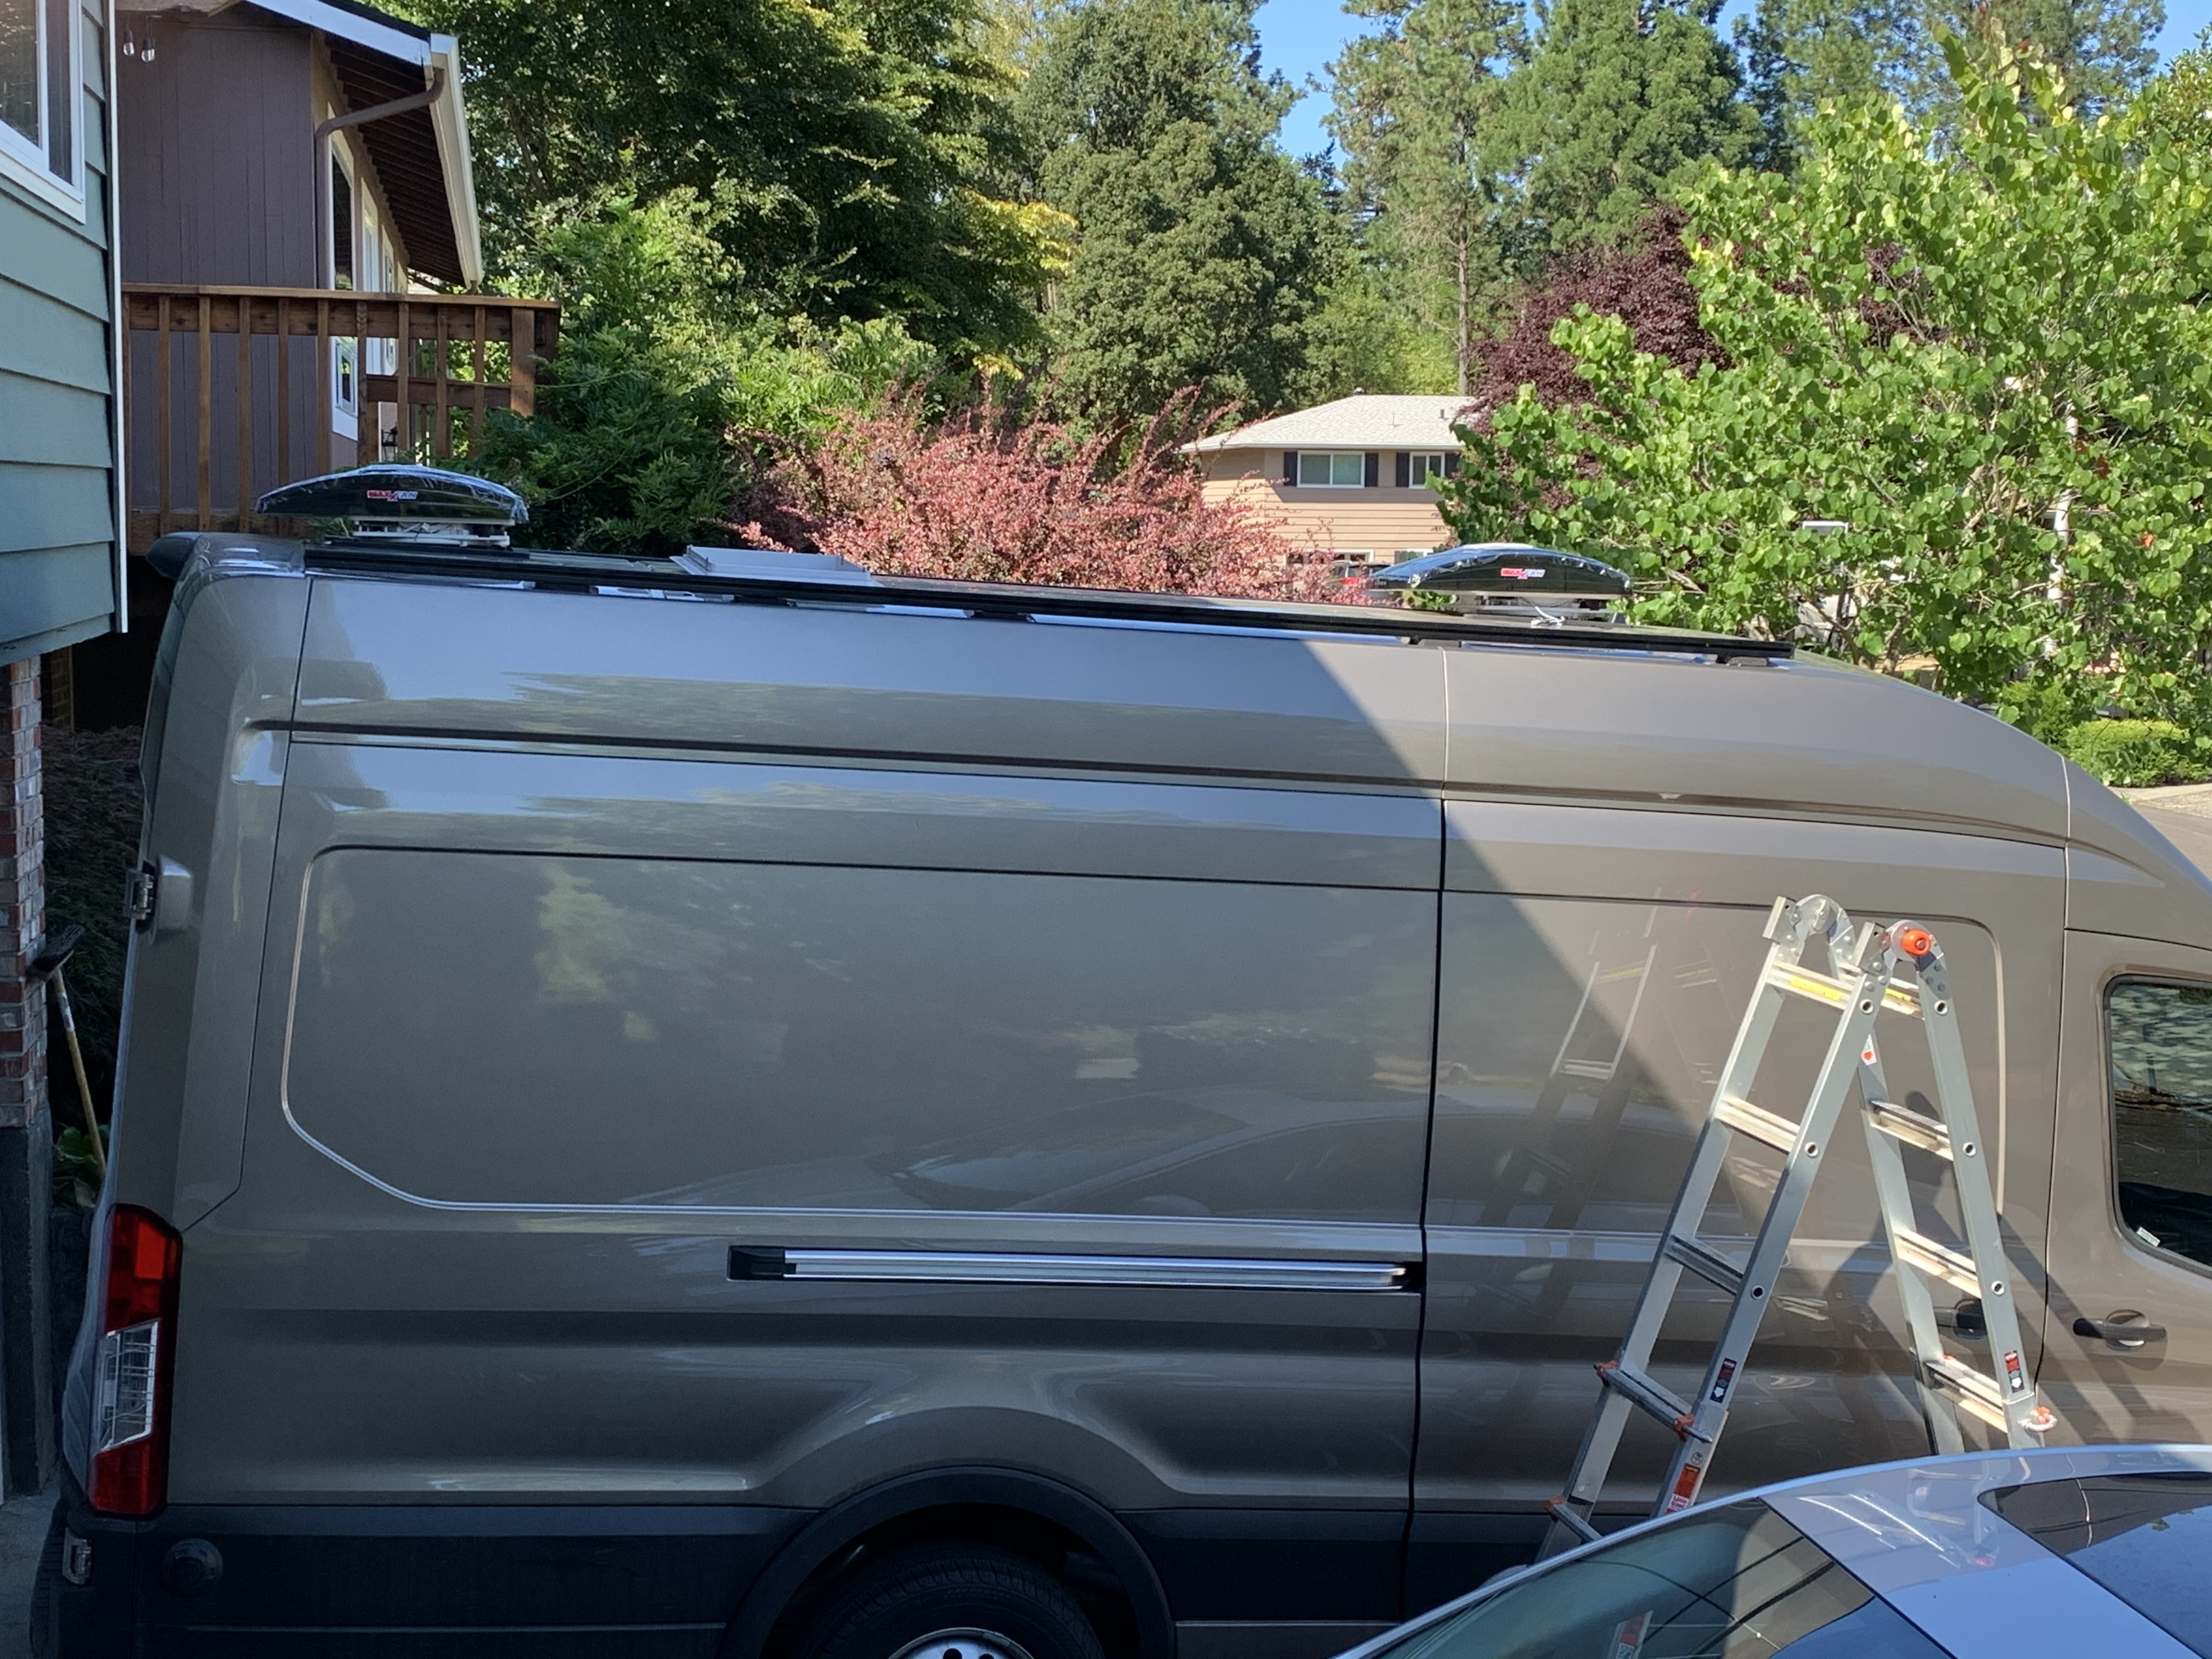
The roof of the van is of course not flat, luckily DIYvan.com has a solution for this also. The Ford Transit High & Mid Roof Vent Adapter for 14" x 14" Opening.
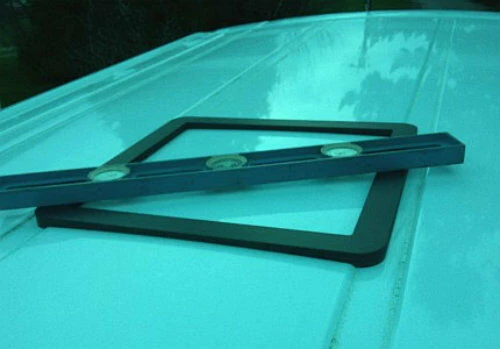
The standard adapter will fit pretty much anywhere on the roof, if you need to go more forward, they have a special one that will accommodate the roof feature. I also purchased the Ford Transit Inside Rear Support Strips for 148WB and 130WB, Medium/High Roof Vans.
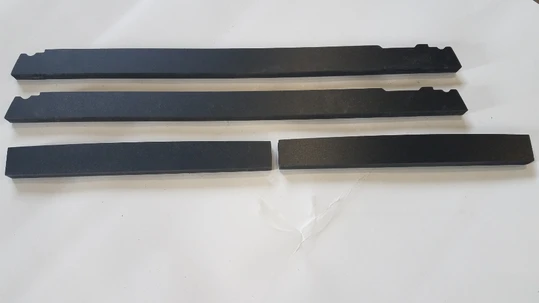
While I was mounting the rear fan farther back then the rear strips are set up for, they worked simply fine, the front strips fit perfectly. The strips are mounted to the roof of the van with window weld, they give you some place to screw into other than just the metal roof when attaching the fan.
First, I had to build a platform. It may now make sense why the roof rails were the first project.
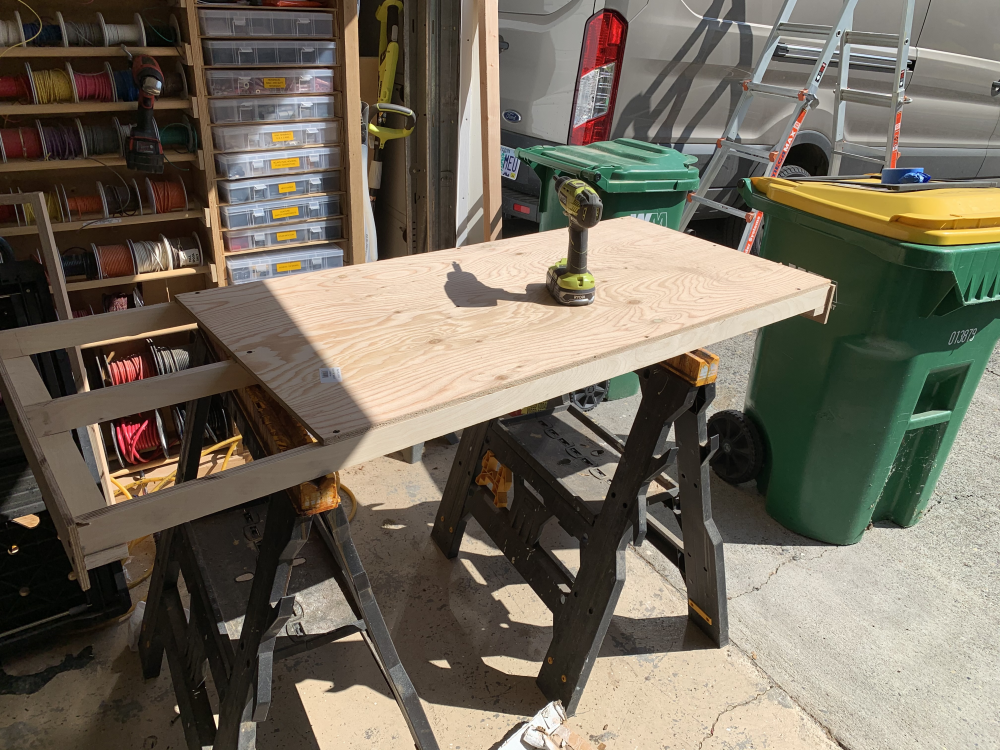
This would allow me somewhere to cut the hole and do the work.
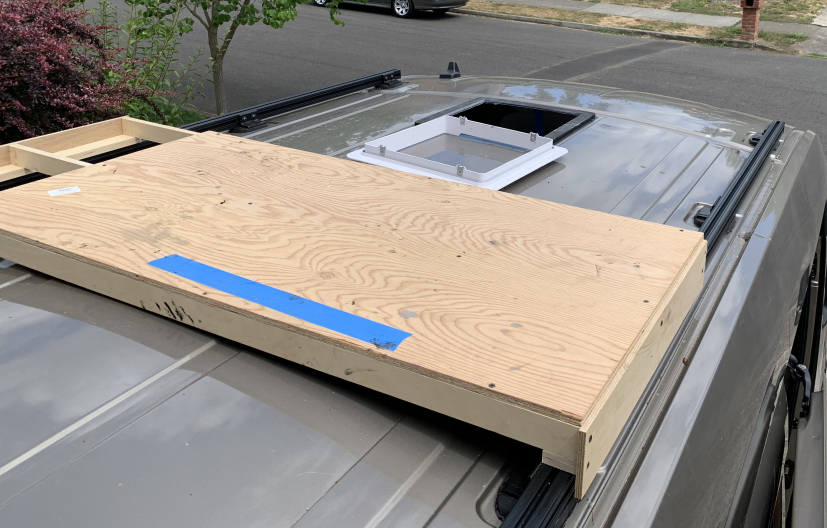
Unfortunately, this was going to become a two-day process, first I would need to cut the holes, prime the cut edges, and mount adapter plate. To catch any of the metal as I was cutting, I mounted some plastic bags under the cutout area.
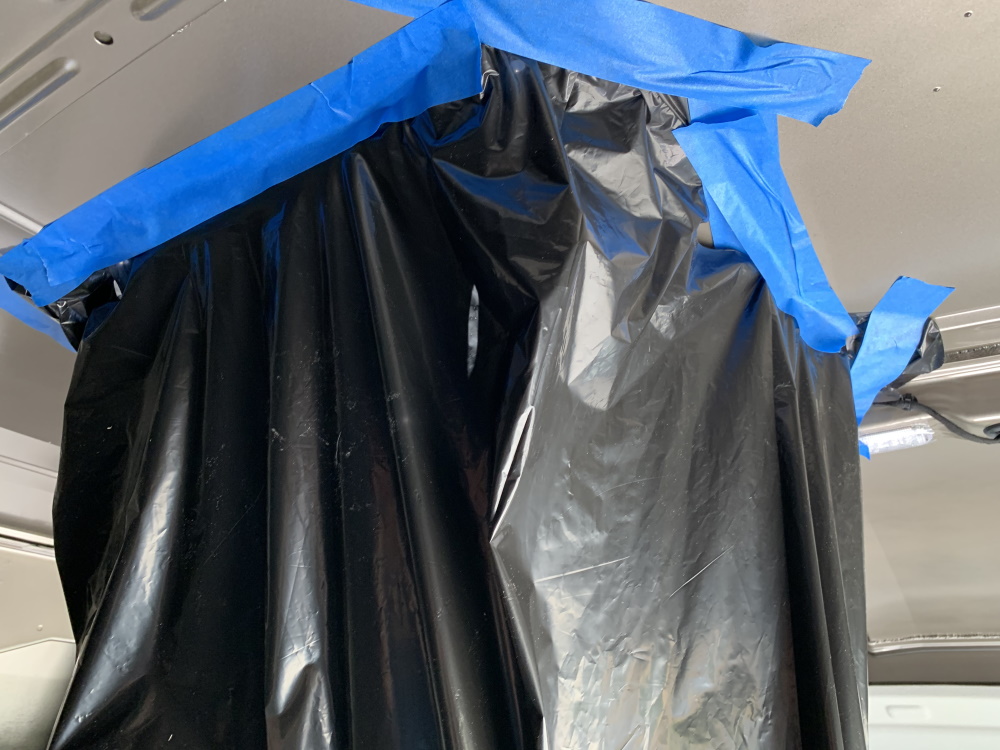
After that primed the cut edges and got ready for the adapter install. The instructions are straight forward, clean and scuff the metal and mount with a little pressure, the window weld is a little messy. After that I just needed to wait a day for the window weld to cure.
The next day started with fitting the maxxair adapter and drilling some pilot holes. I was the able to line up where I wanted to mount the support strips.
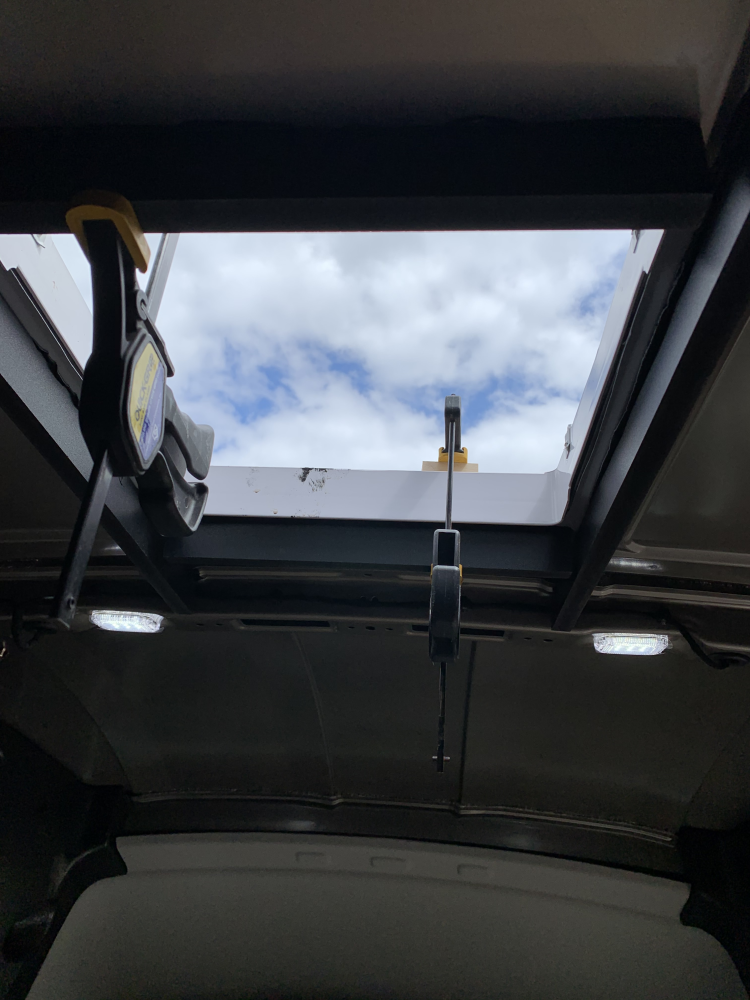
I applied some window weld and clamped the strip in place. Then I moved to the roof and screwed in the adapter bracket. I trimmed and butyl and applied more window weld on the edges. I used Xtrim self-leveling sealant to cover the screws, let setup and the installed the fan.
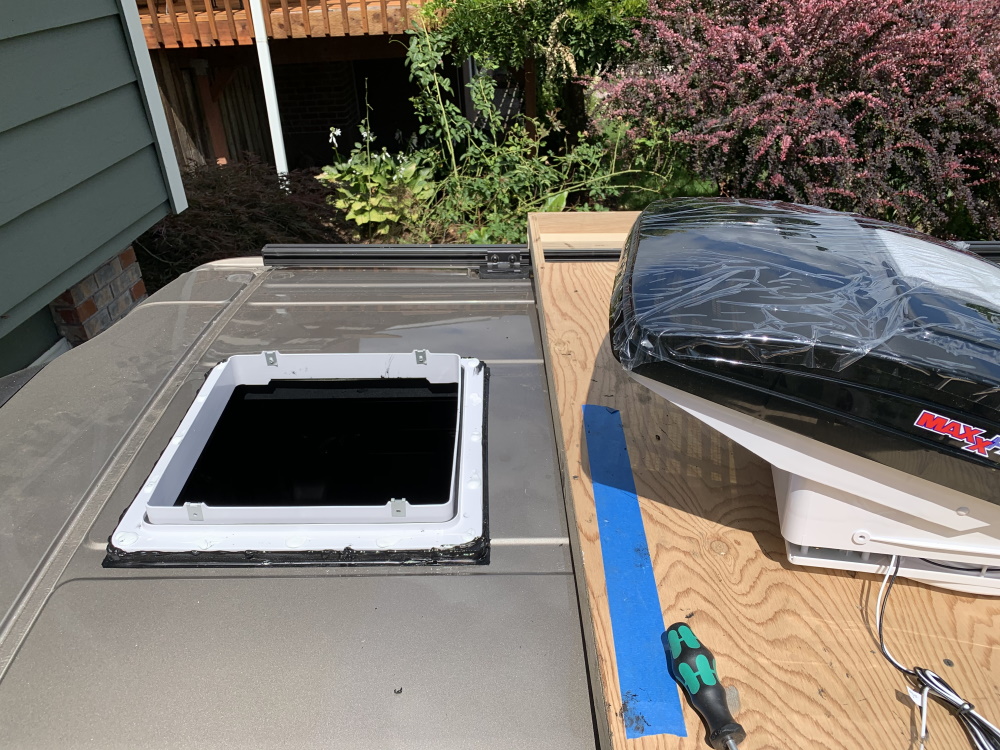
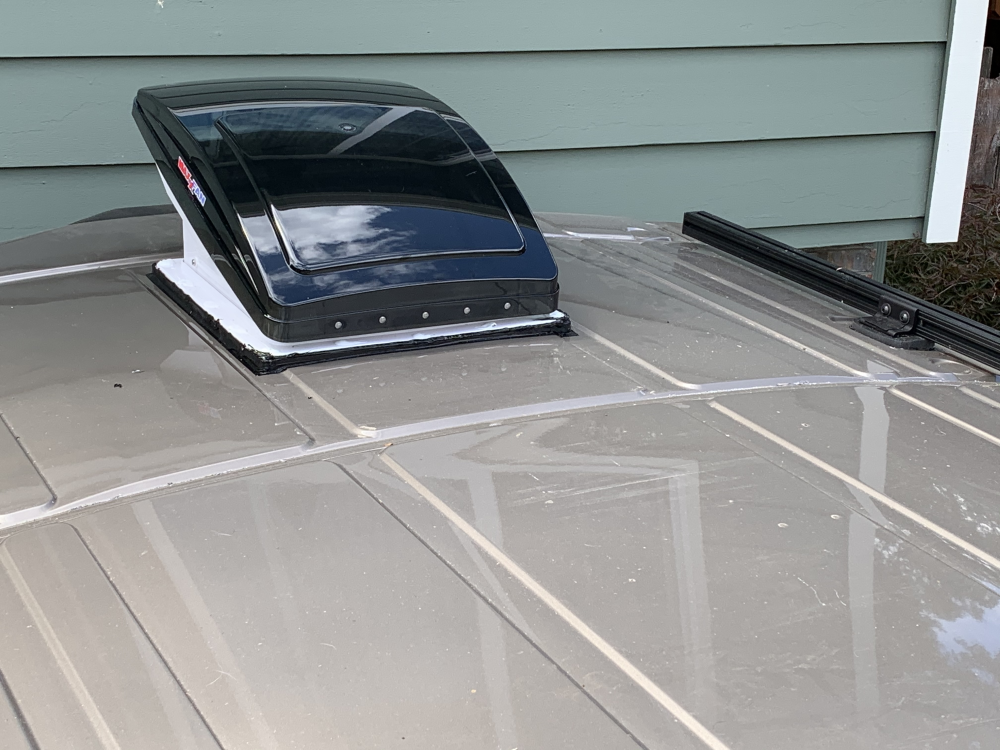
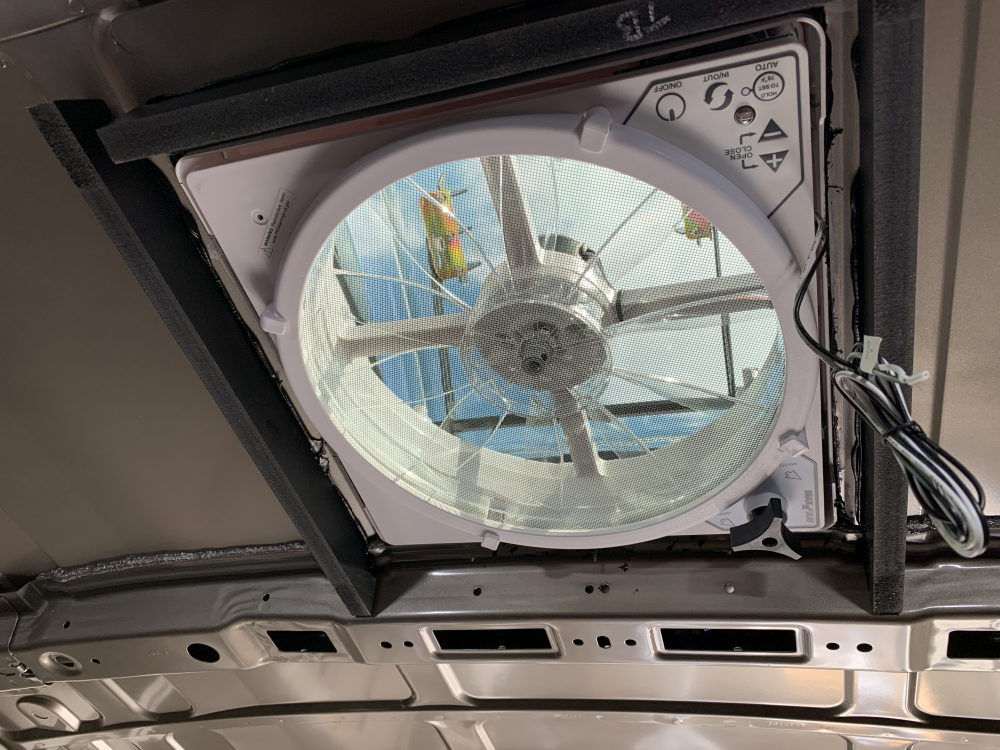
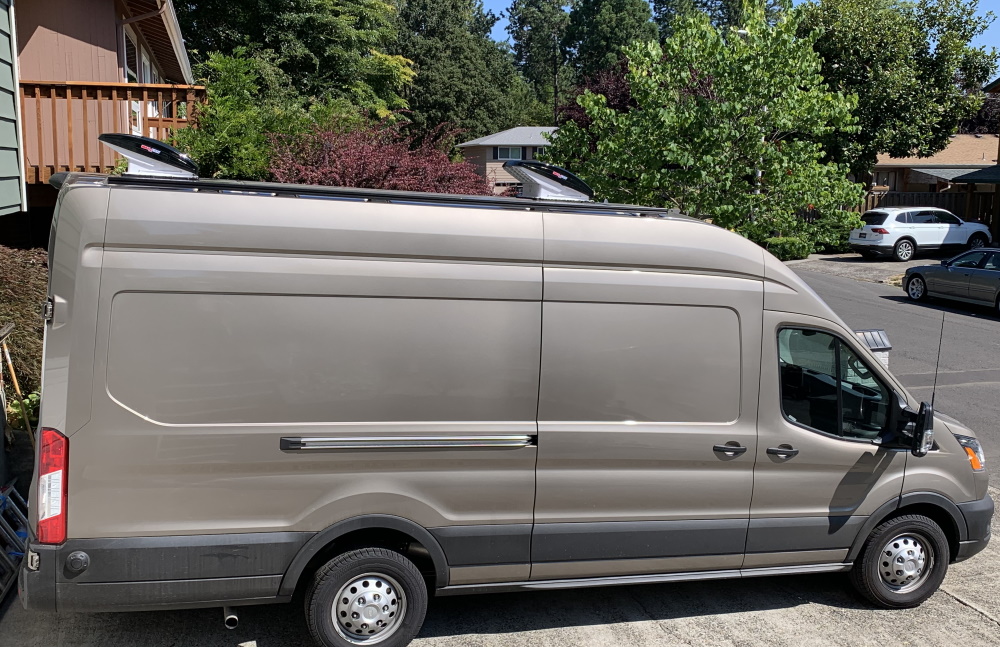
And finally, the fans installed. I still need to do the wiring and internal trim plate. I quick test drive didn’t bring up any unusual noises.
-greg