The SMB we purchased three years ago had the amsoil remote filter system. Remote filters can be beneficial if the system is sized properly. Reading the forums and gathering knowledge led us to the conclusion that there is a better solution...and here's what we did.
This is an alternative to the BPD remote oil cooler, just not as good at cooling since the oil-to-coolant heat exchanger still exists. And we can use a 6.7 powerstroke filter (if the filter works better and needs to be changed sooner, we can install a new filter with 1.5 quarts of oil)
1. The amsoil system uses 8an hose, which is undersized. 10an is better, and we elected to go with 12an.
2. The amsoil system uses two filters...we elected for a system that uses one.
3. There is no information online showing that someone has utilized an oil cooler with the amsoil system...we elected to use an oil cooler to help the 6.0 temps.
4. On our amsoil system, someone actually used teflon tape on the JIC flare fittings. we had no leaks, but that's a no-no for that type of fitting.
Step 1: Buy the parts to replace the amsoil system
Improved racing remote filter adapter with thermostat =
https://www.improvedracing.com/remot...t-env-170.html
3/4x16 to 1x16 adapter =
https://www.ebay.com/itm/22302869214...wAAOSwpdBbLWiL
10an ORB to 12AN hose ends =
https://www.summitracing.com/parts/irp-om-10-12
12AN push lock hose =
https://www.summitracing.com/parts/fra-810012
12AN hose clamps =
https://www.summitracing.com/parts/fra-999162
12AN hose ends =
https://www.summitracing.com/parts/fra-200112-bl
10AN ORB to 12AN hose end-90-degree =
https://www.summitracing.com/parts/fra-499213-bl
12AN x 1/2-NPT swivel fitting =
https://www.summitracing.com/parts/fra-499113-bl
Derale 65840 cooler =
https://derale.com/product-footer/fl...t/65840-detail
Davies Craig 0500 =
https://daviescraig.com/product/digi...witch-kit-0500
Motorcraft FL2051S filter =
https://www.summitracing.com/parts/MOF-FL2051S
Step 2: Remove the amsoil system.
This was easy, except for the 45-degree npt to jic fittings in the engine adapter. the outer fitting was overtorqued to get proper alignment.
we prefer straight npt to an fittings because you don't have to overtorque the fitting to achieve alignment.
Step 3: Install the replacement system
We used 12an fittings and hose. our design has one caveat...it requires a bit of grinding to make a 12an x 1/2-inch npt fit in the engine adapter. for a non-grinding solution, you would need a
straight fitting and a
45-degree fitting or two 45-'s.
See, someone decided to make the engine adapter with 1/2-inch npt ports at 1.25-inch on center...which is the same size as the flats on a 12an fitting.

our solution was to grind the peaks between the flats of one fitting and grind the flat of the other fitting. if the holes were 1.3-inches on center, no issues.
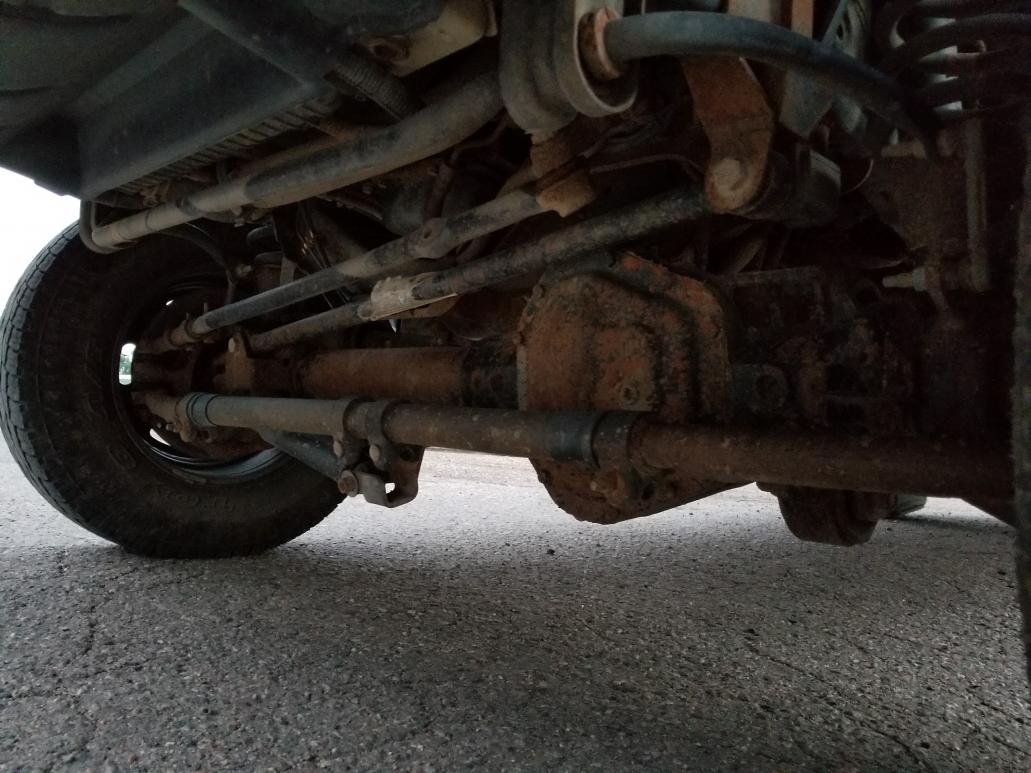
The two 90-degree swivels were installed in the engine adapter, then 12an push lock hose to the remote filter adapter w/ custom aluminum bracket to attach the filter mount to the amsoil bracket (just some flat aluminum bent into shape and notched to fit), then 12an push lock hose to the oil cooler that is mounted to the front of the fuel tank.
The oil cooler is mounted with four 3/8 x 16 weld mounts with 8040 adhesive. The powder coating was removed and the surface was roughened for adhesion...it's not going anywhere.

Here are the photo's:


And the results:
A l'il history first --- We've done almost everything to decrease the engine heat for the 6.0: remote 65840 transmission cooler, remote H7B power steering cooler, mishimoto thermostat, ELC coolant, engine+FICM tuning, upgraded turbo, turbo blanket, ceramic coating up pipes, upsized exhaust, etc.
There are still things that will help - cold air intake, body lift, smaller a/c condensor, upgraded radiator (custom), upgraded intercooler (custom), BD exhaust manifolds (to install).
Driving 70mph on I-80 between Reno and Truckee in 82-92 degree weather and the highest spread was EOT ~5 degrees above ECT (when the thermostat opens, it drops the temp almost as fast as the fan on full blast). There were times when the ECT was higher than the EOT...going uphill.
This solution won't be as good as BPD because the coolant and oil flow through the same heat exchanger and affect each others temps, but now the engine coolant AND the engine oil have the same thermostat - 185-degrees - and each system has a cooler, which should help balance the systems.
After the test run, we installed an improved racing gauge block in the return hose to the engine to measure pressure and temp, but the temp sender needs to be grounded, which somehow effs up the pressure sender?!?

We tried three ways to sunday and the only thing that works is ungrounded and pressure works...or grounded and temp works...so we went with reading pressure.
Need more drive time to see how well the system functions, but with really crappy air quality for a 200-mile radius, it's difficult.


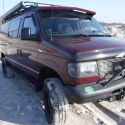
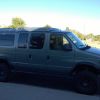 2006 Ford E350
 AWOL
AWOL


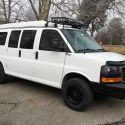
 2008 GMC 3500 SMB
 Linear Mode