I got the door liners off of my side and rear doors in preparation for installing a pair of Thunderbolt locks. The van had a hard time starting after a few hours, so i realized it was time to replace the seven-year-old battery. After I replaced the battery and got a good look at the interior of the doors, I realized it wouldn't be as straight forward a job as in the Thunderbolt video.
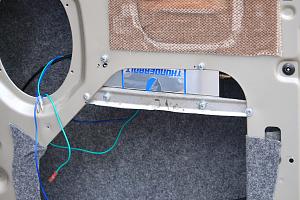
The provided brackets were not long enough to bridge the gap in the door, so I had to cut a piece of channel to mount the main part of the lock.

You have to be very careful when selecting where to put the latch. My first pilot hole was hard against some metal in the door, so I moved it over a half inch. I was afraid it might interfere with the original lock actuator, but it cleared. You have to make sure that the latch will clear obstructions on both doors which left a much smaller target area than I expected.
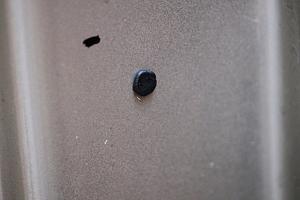
The gum they include in the kit works well and I was able to use a center punch right through it. The gum is in a tiny square of waxed paper and I almost didn't find it.

The rear door is much tighter since the license plate holder intrudes into the door cavity. I had to make a template so I could position the Thunderbolt mechanism where it would have needed clearances while still hitting metal for mounting. I had to tie wiring in the door out of the way to slip the box into the bottom of the door.
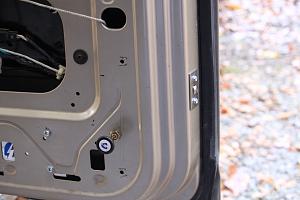
It was hard to find a place to mount the manual actuator in the rear door I took it straight out about four inches above the floor so it would be easy to reach from the interior. For the side door I mounted the manual actuator on an L-bracket inside the storage compartment in the door. Some pop-rivets were provided but I think I will only use them on the strike plates. The instructions say to lubricate the cables with silicone spray when you change oil and I think that would be easier if I can slide the latch out of the door.
It wasn't an extremely hard job, but it did take a bit of thought. My wife would say that for me that makes it a hard job.

Roger


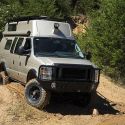
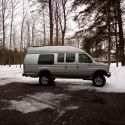
 2006 Ford E350


 Wanderjahr
 Linear Mode