Upholstery:
-Finally made it to the long awaited step of upholstery! Since this was my first time doing any upholstery kind of stuff I used a lot of references online, but one of the best that I have found was a blog and youtube channel from a person named Ken who runs
ourkaravan.com. He has great videos and blog posts about his sprinter van build and I would highly recommend anyone who is looking for resources to check him out.
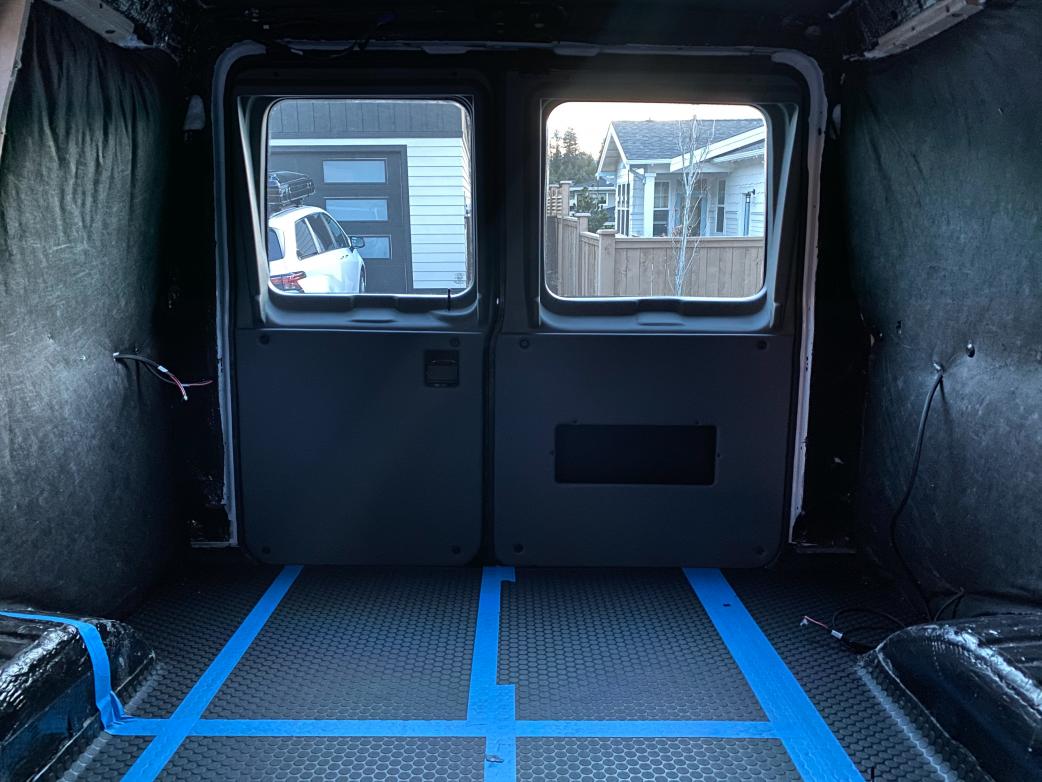
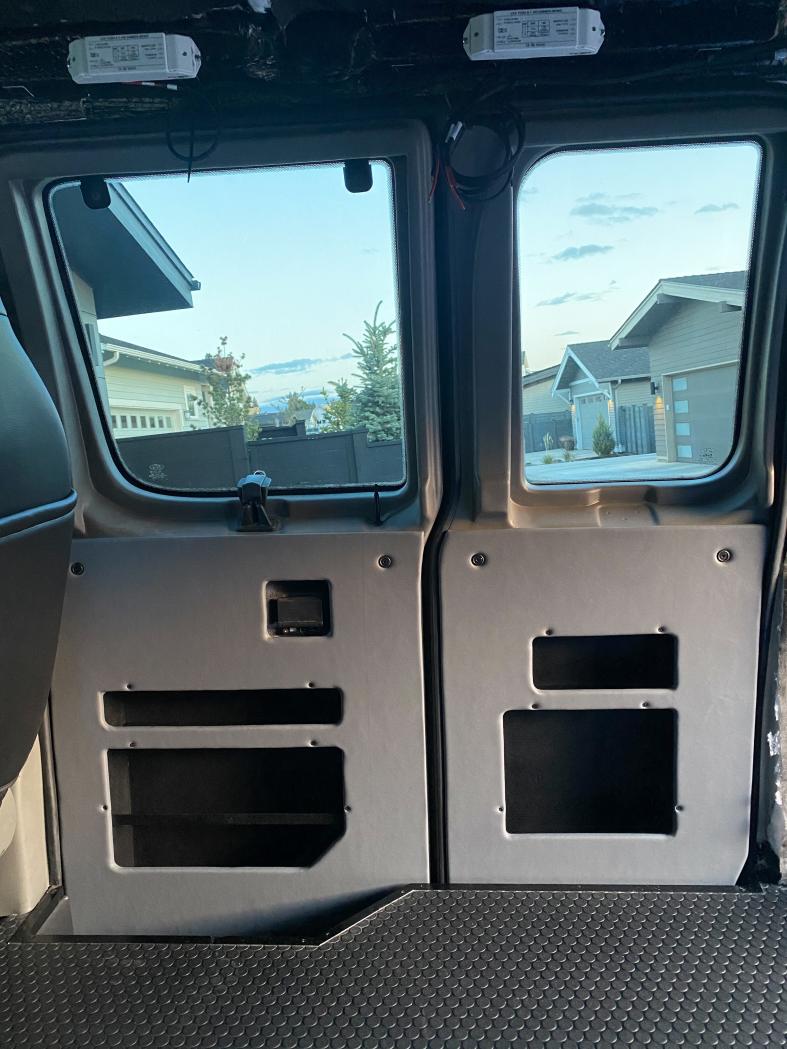
-I figured I would start with what I thought were the most forgiving areas being the rear doors. For the doors and window boxes, we are using Atlantis Marine vinyl color Storm from
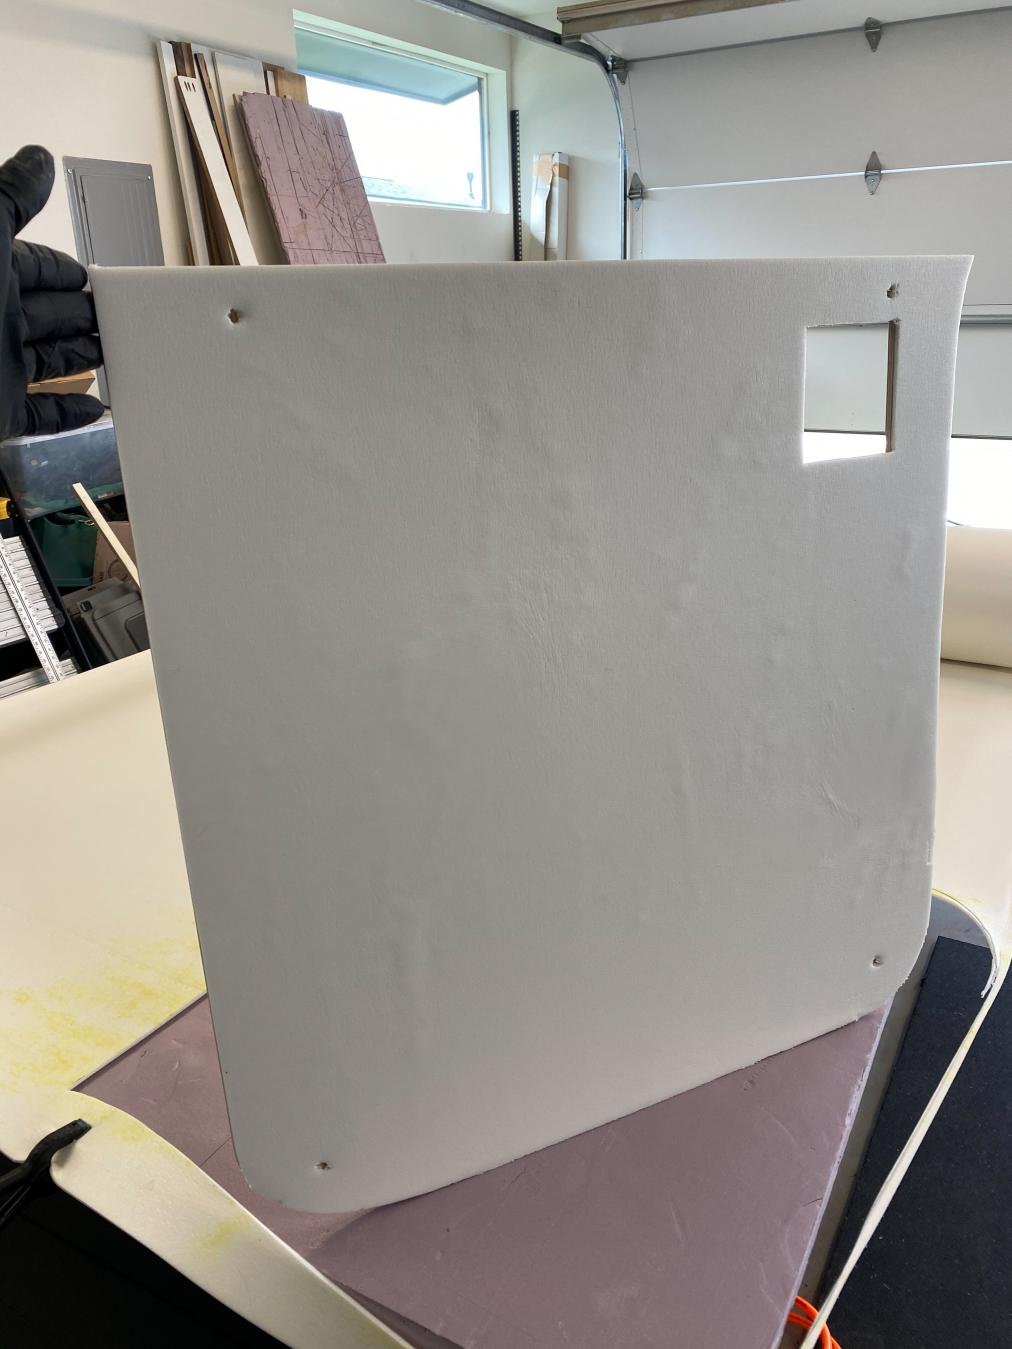
allvinylfabrics.com. The first step in the process was to trace out the door panel on the ⅛ foam. After getting it traced out (just for reference on where to spray the glue) I flipped the wooden door panel over and sprayed it with weldwood glue. After the panel had a layer of glue I went back to the foam and added a layer of glue. Then carefully lined up the two pieces using my marker line as reference. After pressing it down firmly I used a razor blade to cut off the excess as I wasn't wrapping the foam around the edges. I then repeated the same process for the vinyl step. After wrapping the edges and cutting out my bolt holes I reinstalled it in the van.
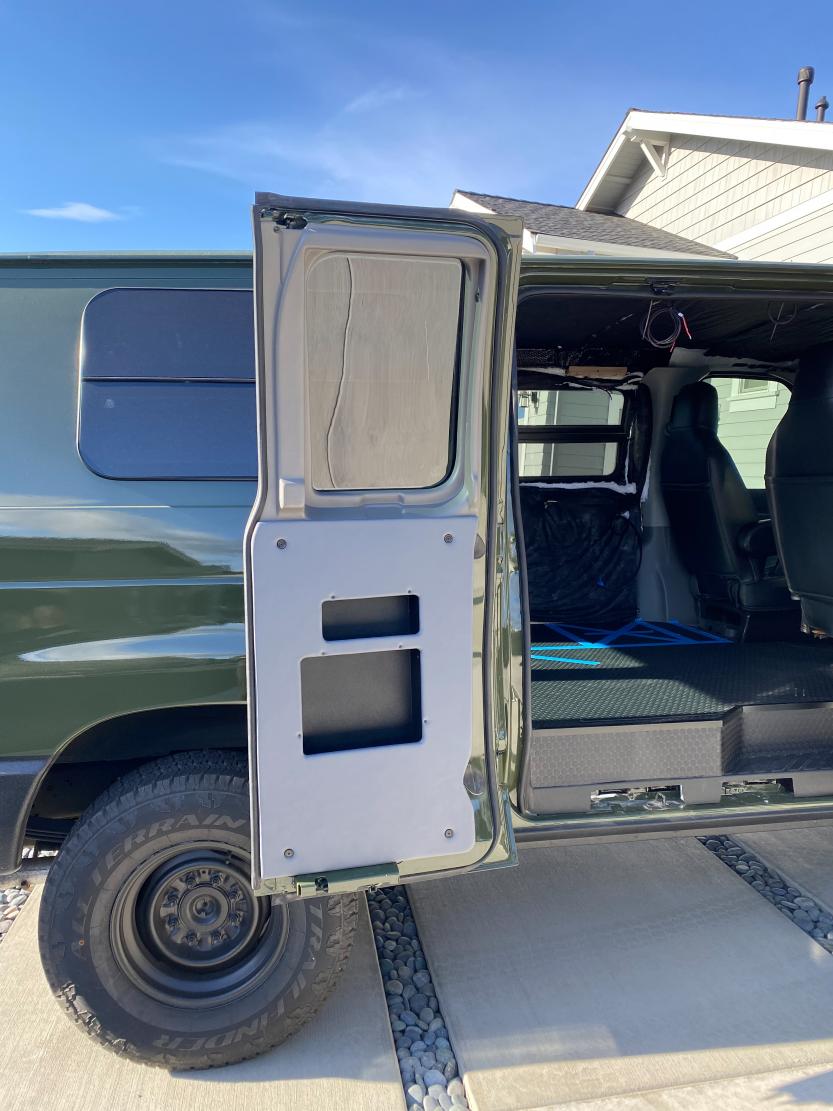
-I repeated the process for the next rear door with even greater success.
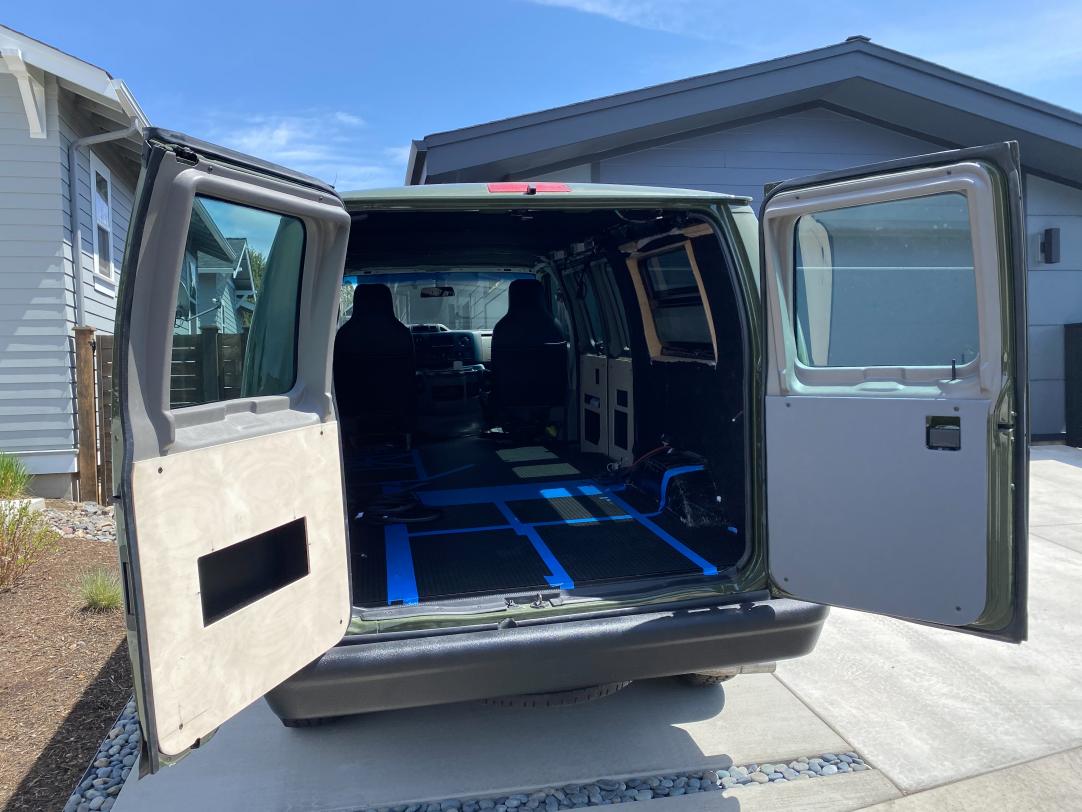
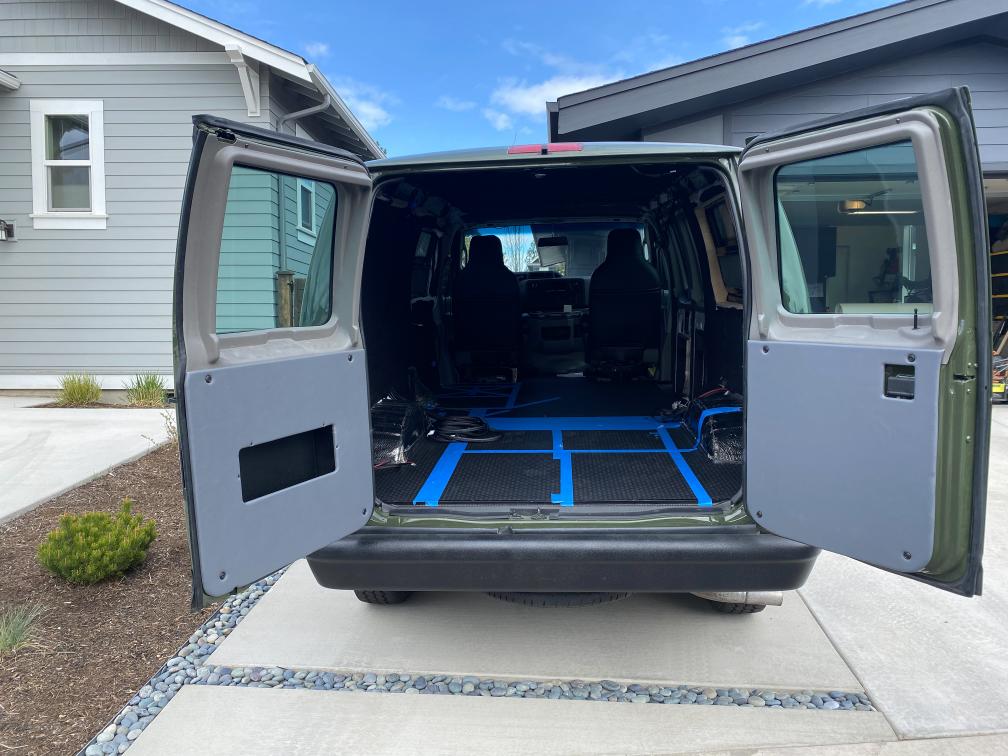
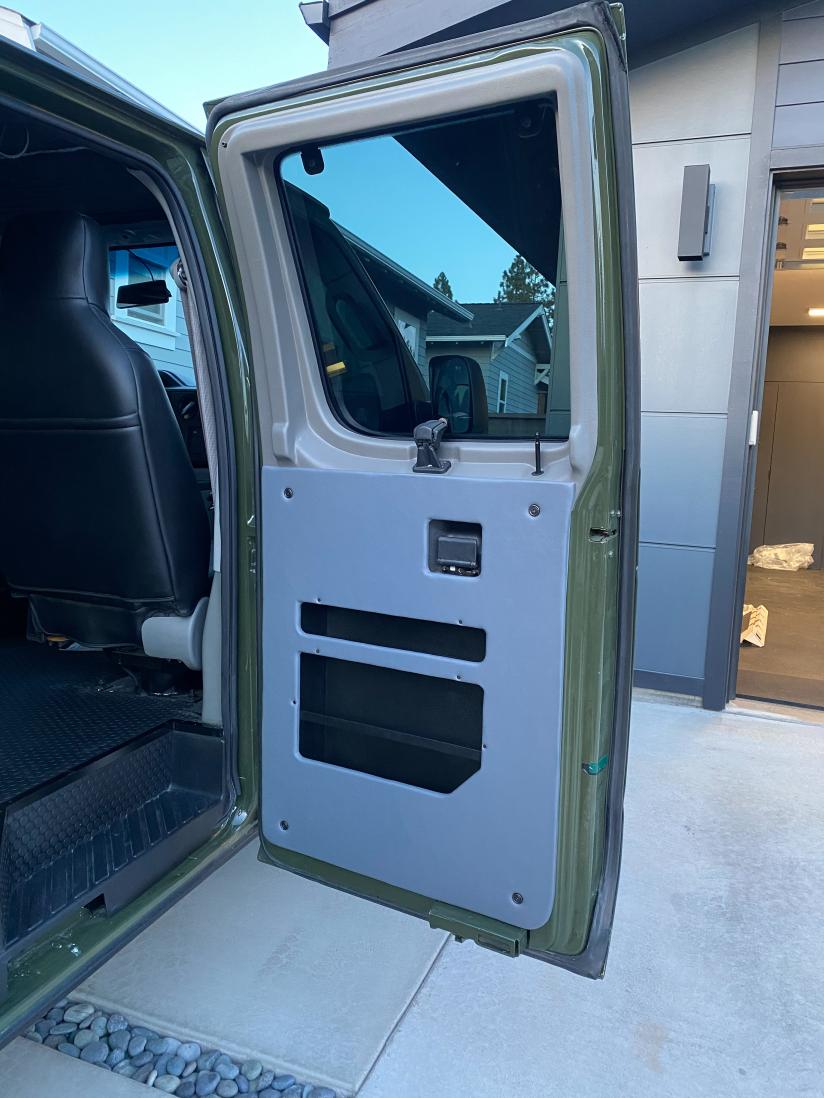
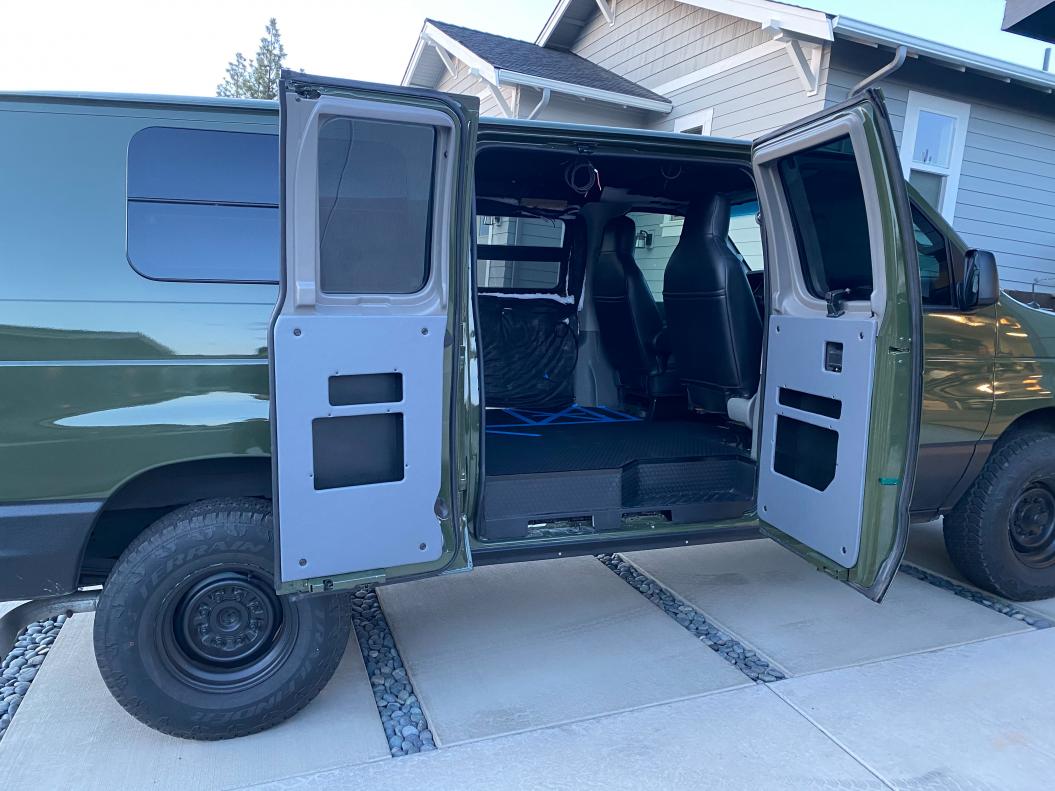
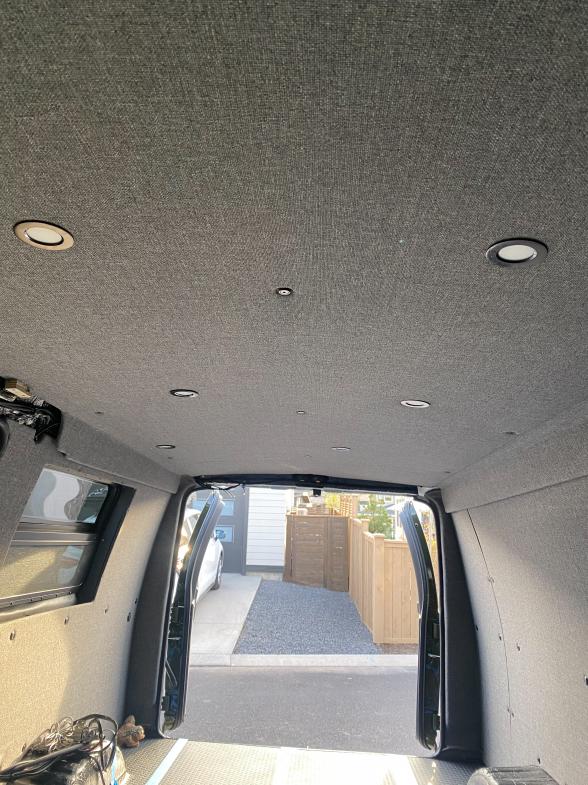
-Each panel I did I got a little better and a little faster. I continued with the same process for the remaining two side doors. Pretty happy with how these turned out.
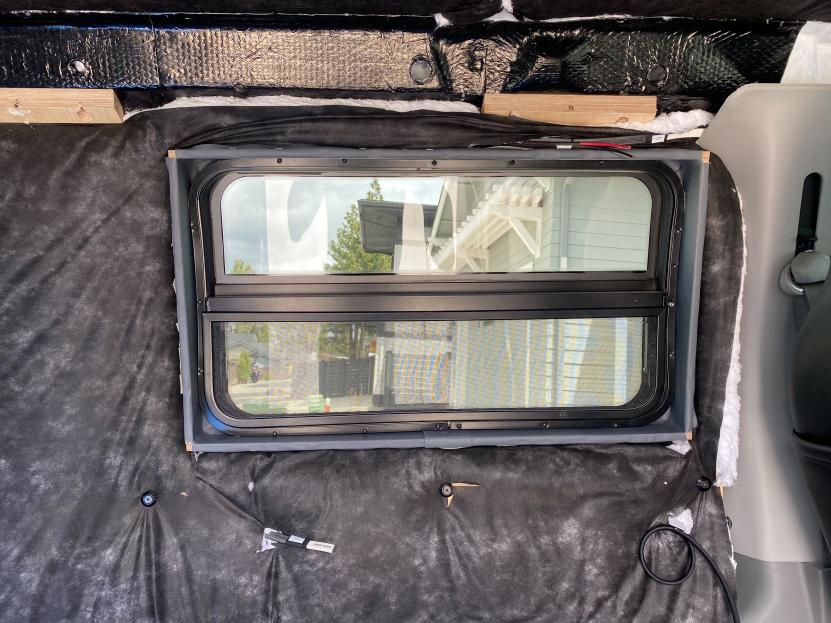
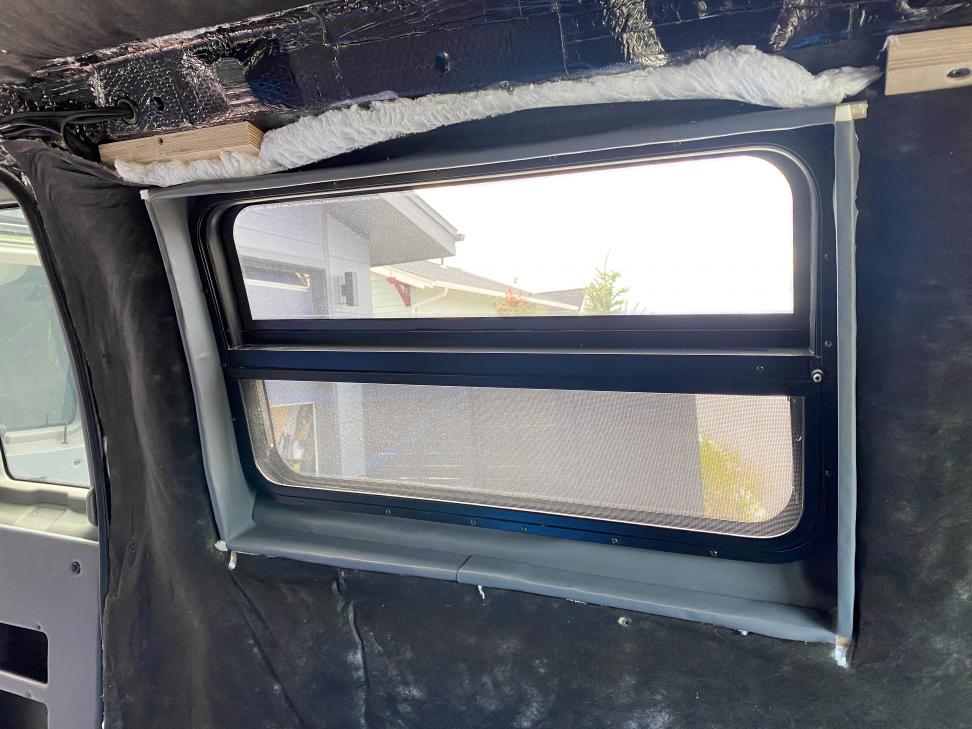
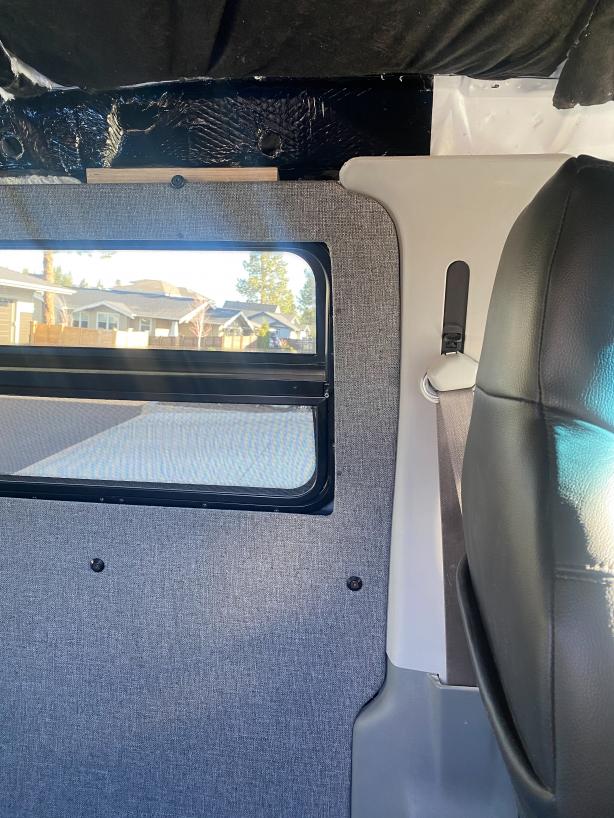
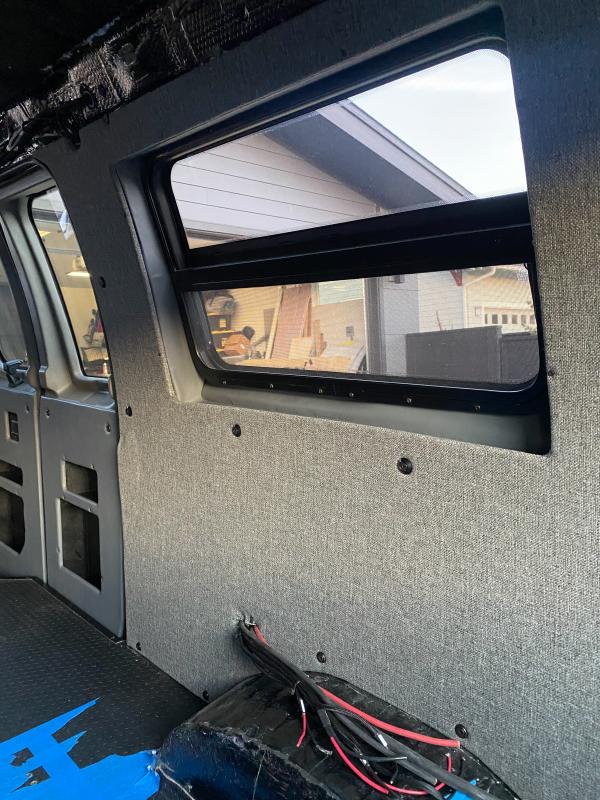
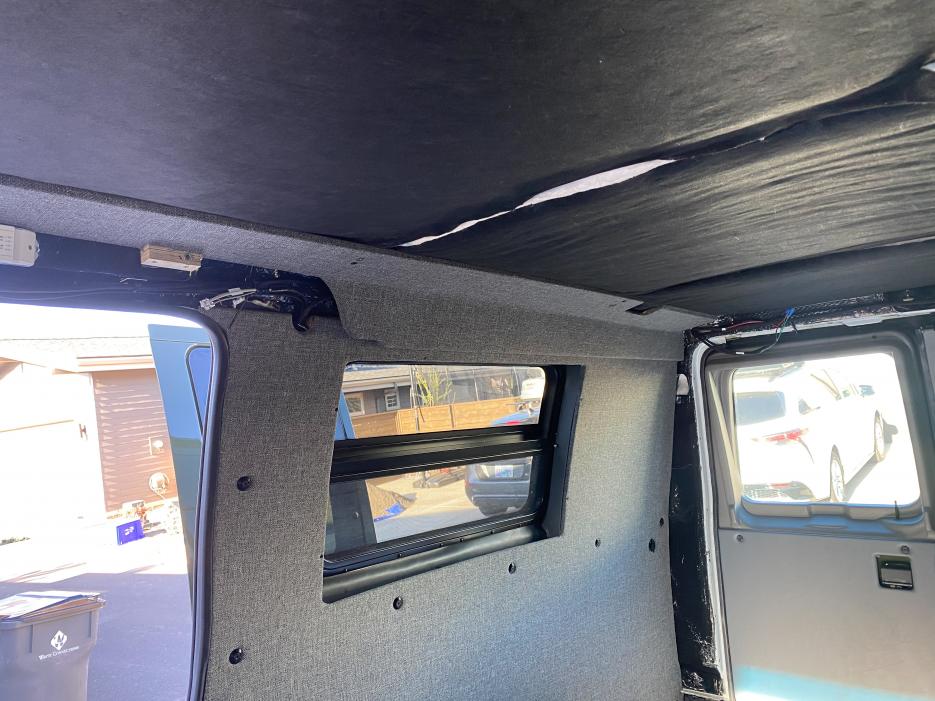
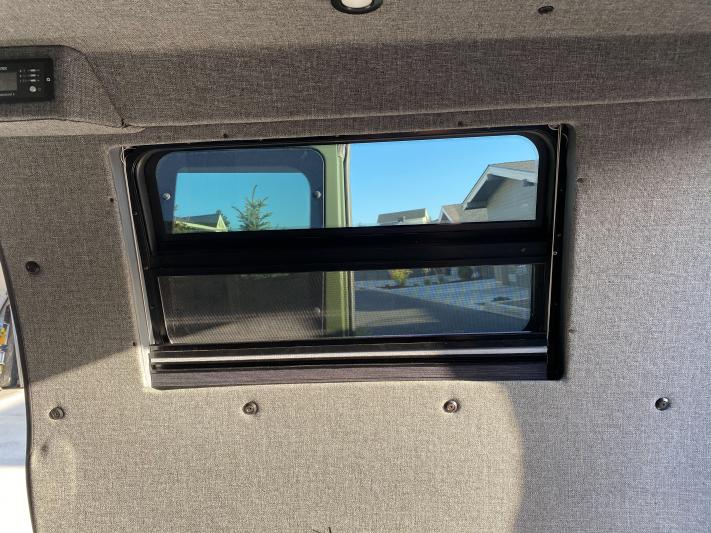
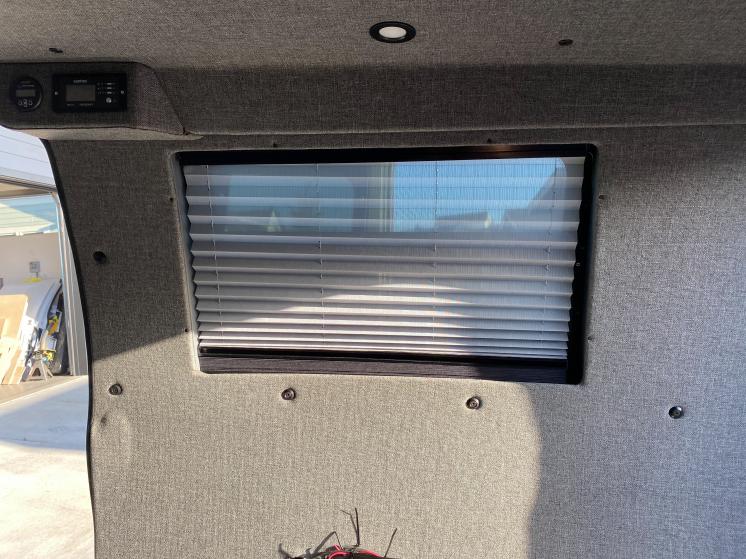
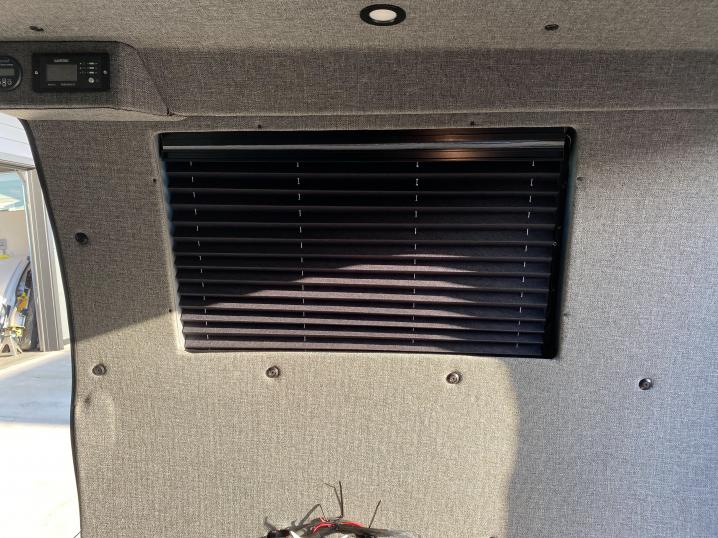
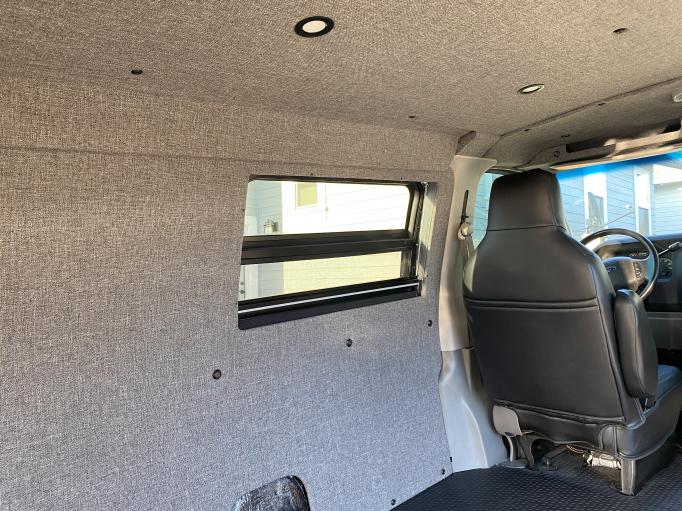
-Next up on the list were the window boxes. We decided to not do any foam on these as they were already a very tight fit. We decided to go with the vinyl since they will be exposed to the outside air and have more likelihood to get exposed to more condensation. I took the idea of folding the fabric over itself to create a cleaner look from Ken from ourkaravan. I also left the inside corners long so I could cut it up around the windows so I wouldn't see any of the sound deadening between the rounded corner of the window and the square corner of the window box.
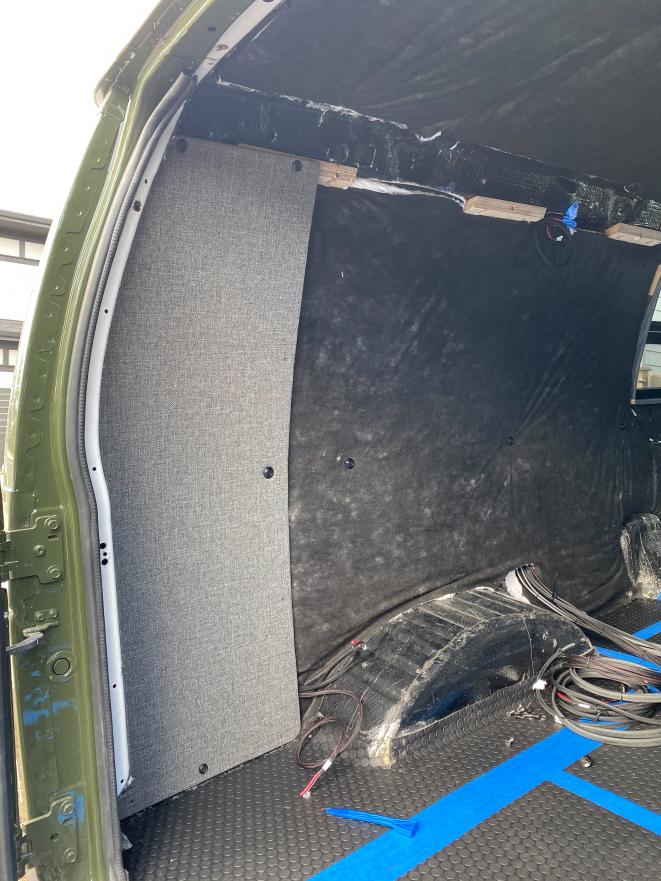
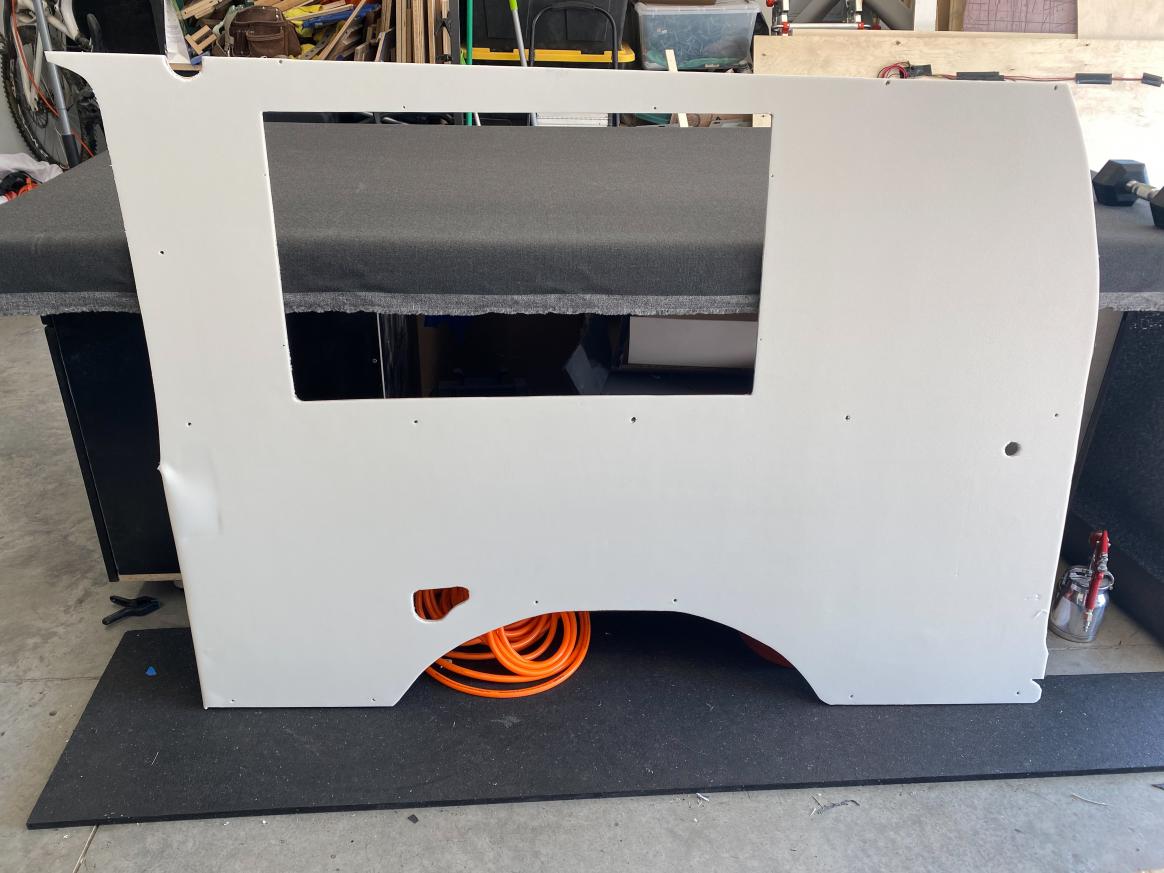
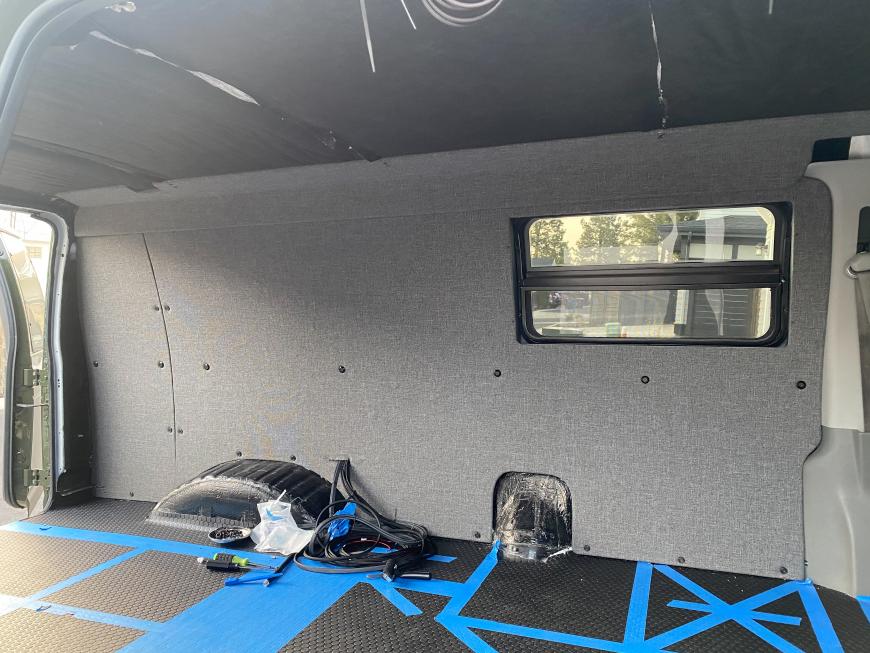
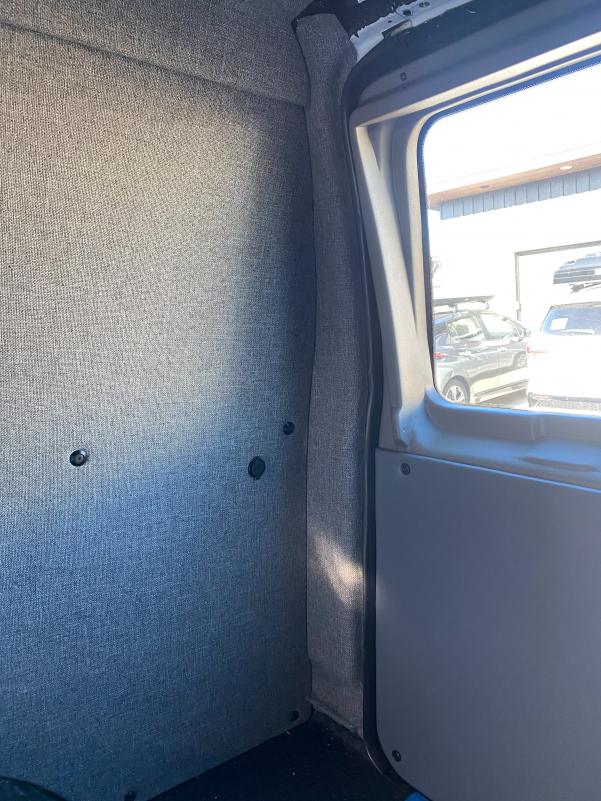
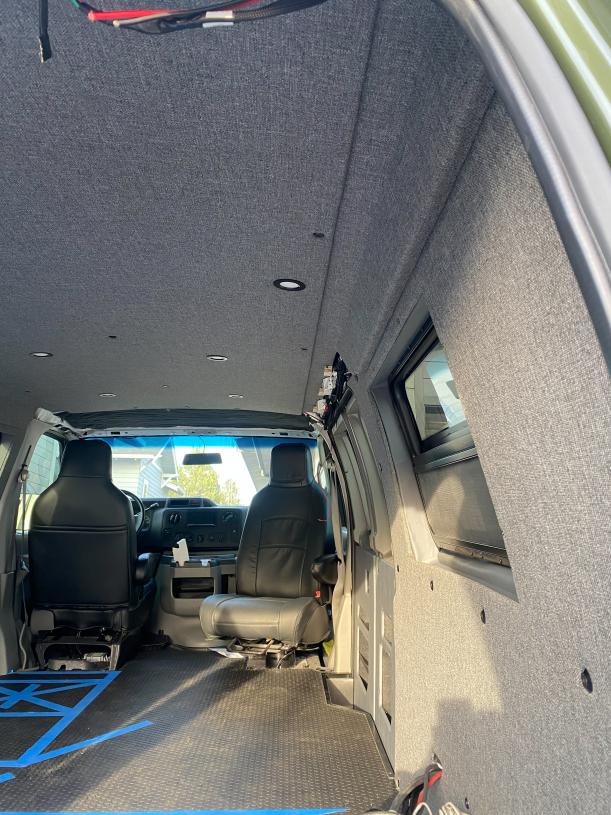
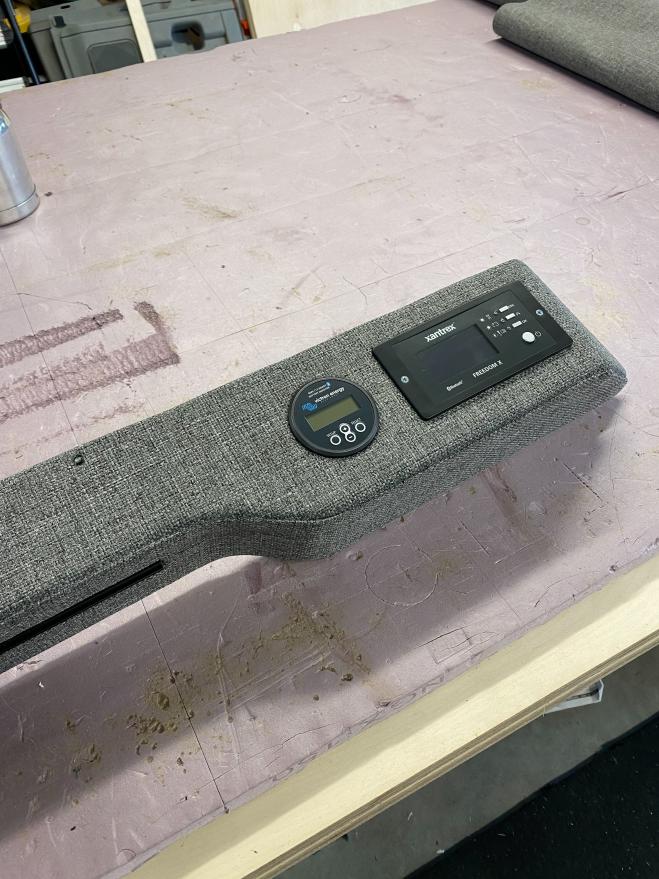
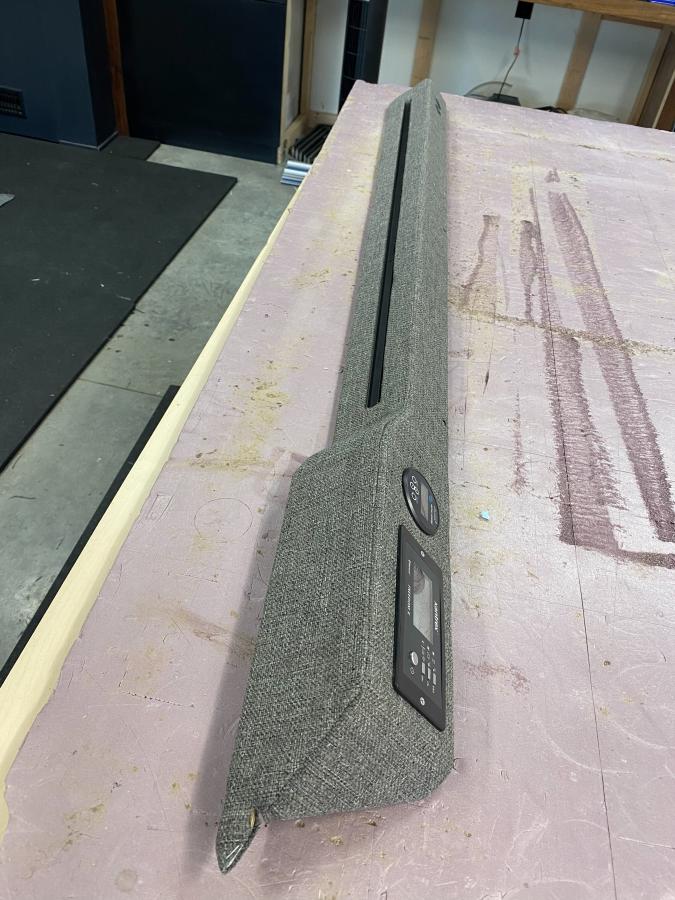
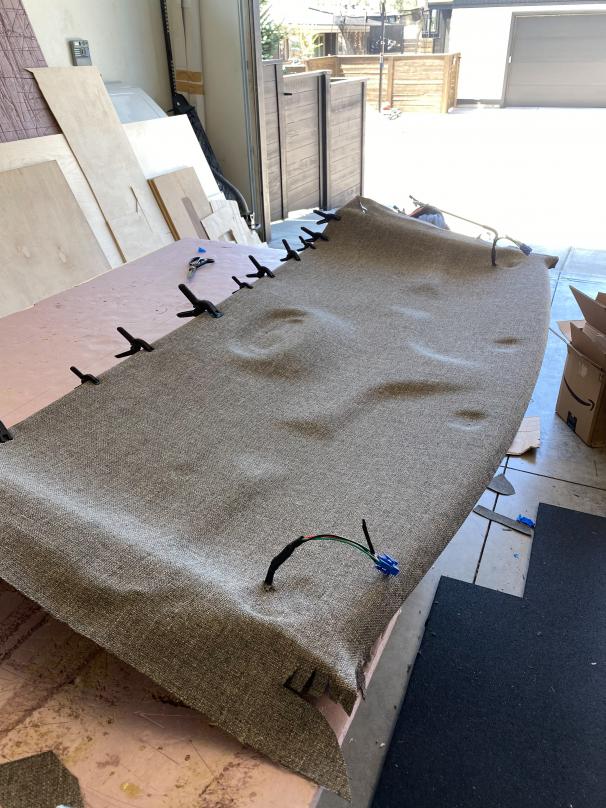
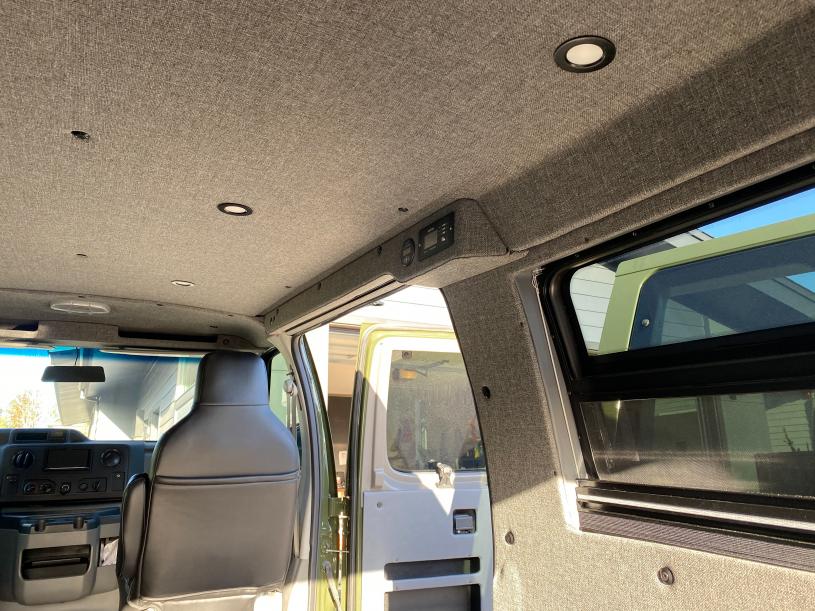
-After the window boxes were done I started on the first real wall panel. We went with the Marathon Tweed fabric in Grey Heather that we bought from
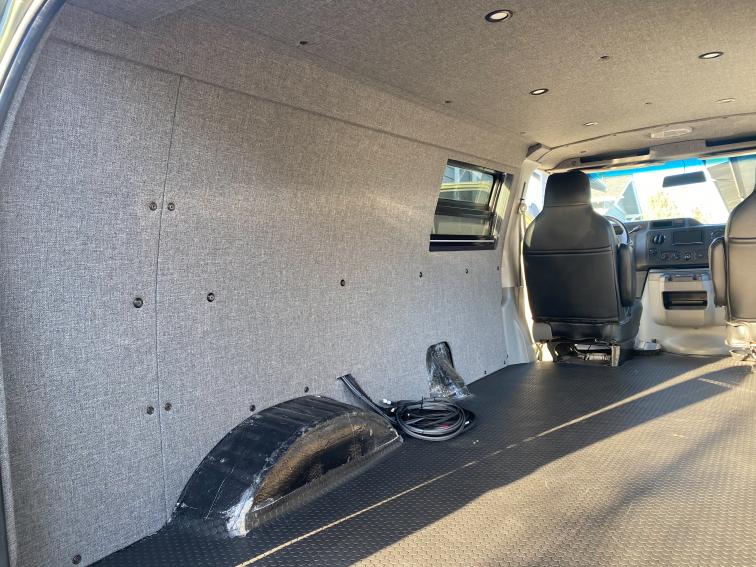
perfectfit.com. I used the same exact process as I did for the door panels for wall panels and started with my small rear panel on the driver side After getting them all wrapped I used a torch to heat up a screwdriver and push it through all my bolt holes. This melted the fabric around the hole which should help it from possibly unraveling at those points. After it was done I got it installed in the van.
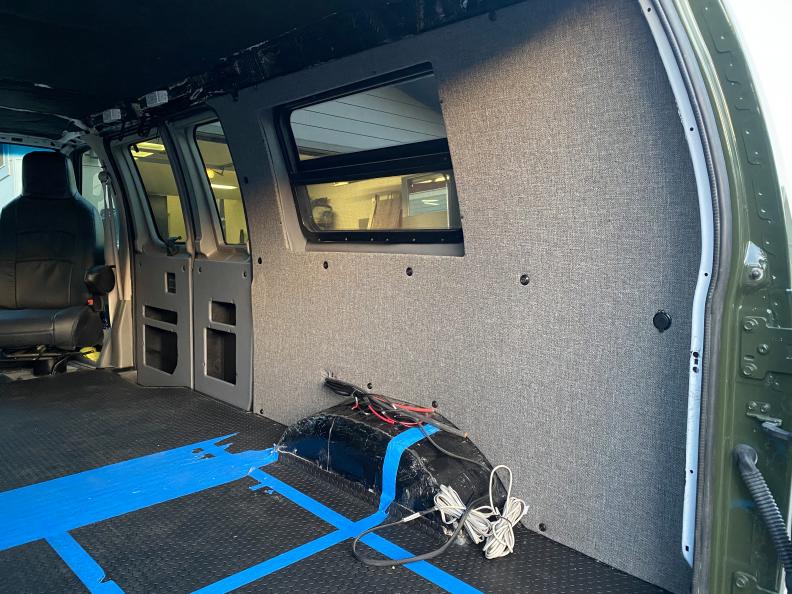
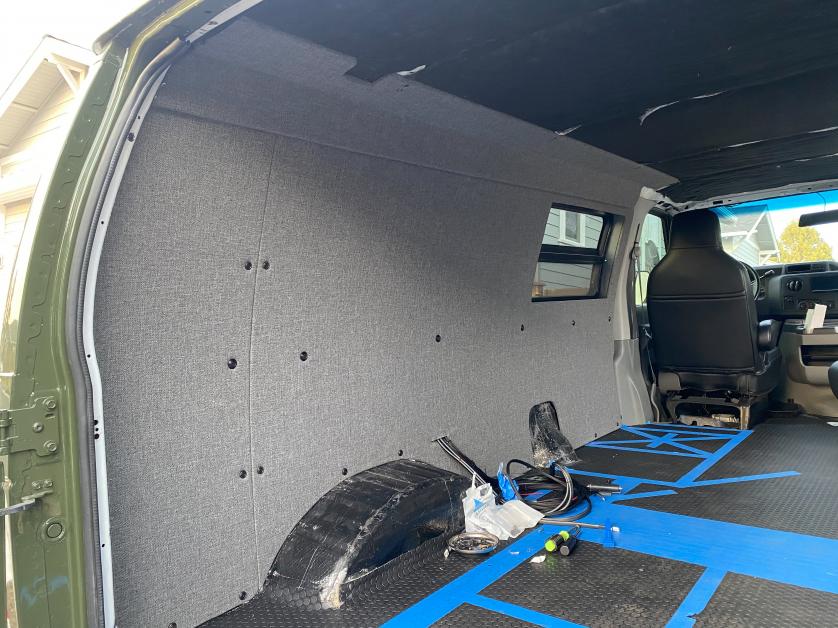
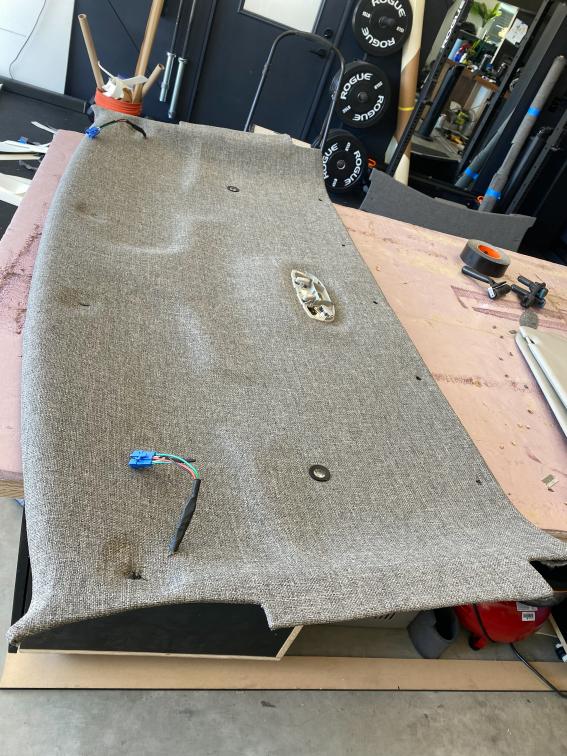
-I repeated the process on the main driver side panel. Since this was the first time I did this kind of thing I am not super happy with how the backside of my panel turned out, but I guess at the end of the day no one will probably ever see it. After getting it all done it was back into the van for a fitment check to ensure my ⅛ reveals that I left between the panels was adequate. It fit like a glove!
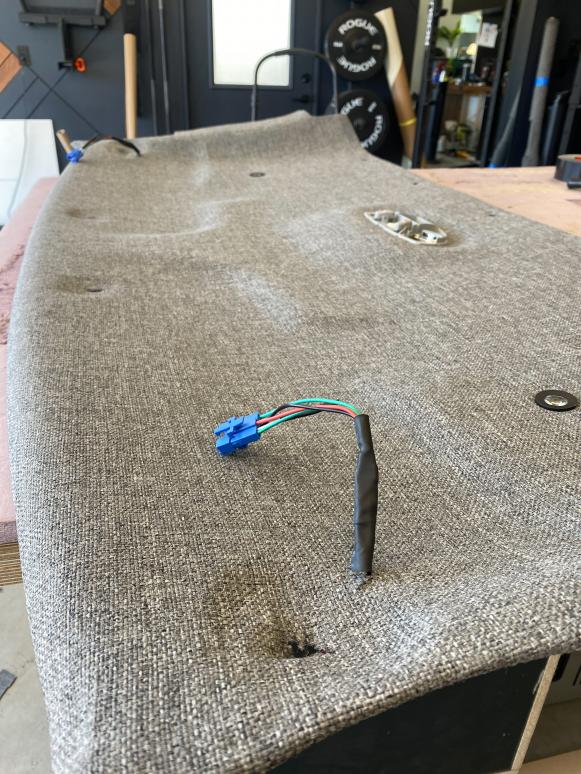
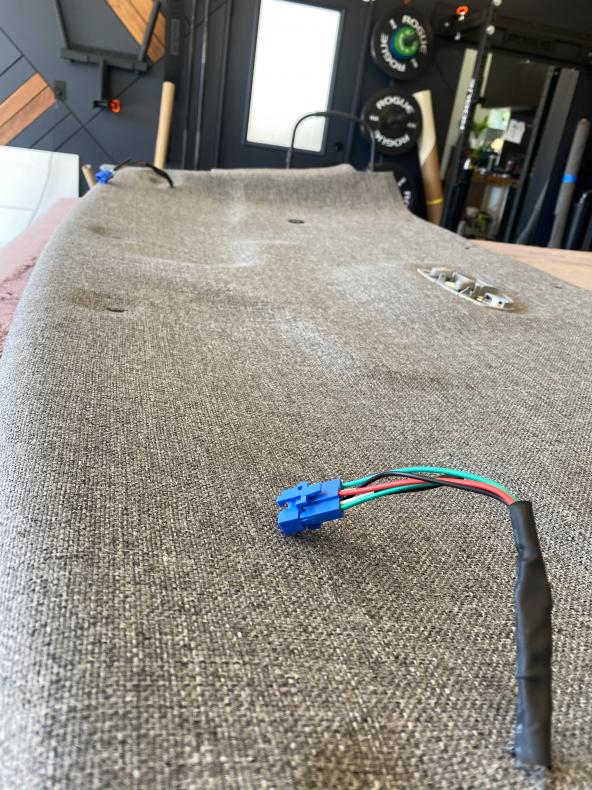
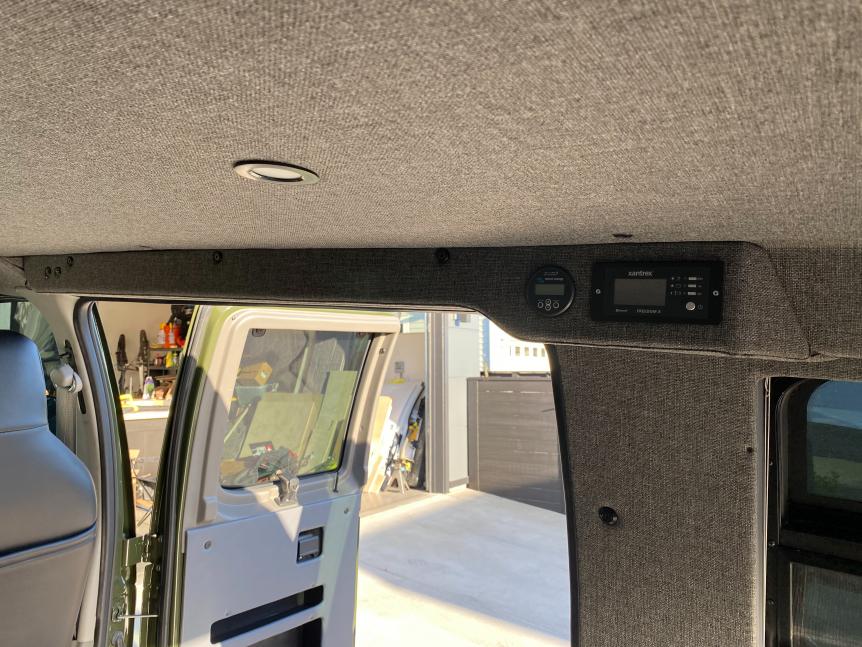
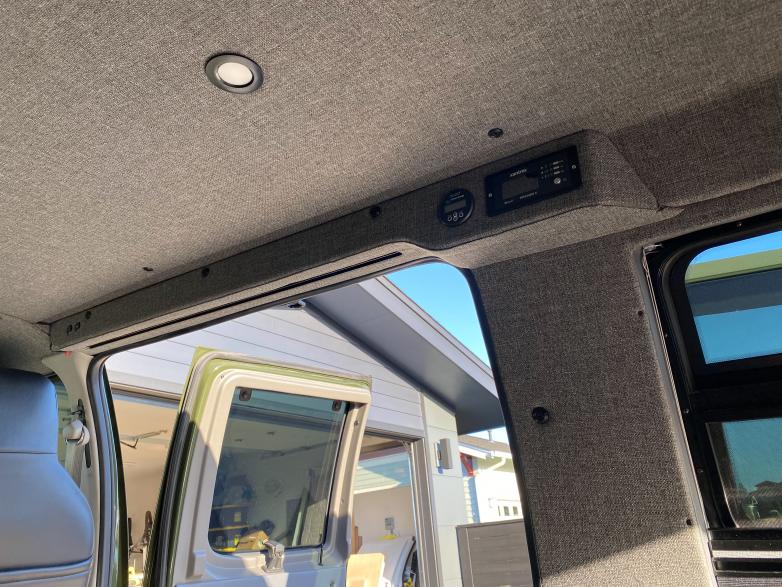
-One thing to note about this panel is I buried all my wires back in the wall for now since I wasn't exactly sure where the cabinets would land and I didnt want the outlets and wire pass-throughs to end up in a weird spot. I figured since I am planning on using faceplates for all of those things It wouldnt be too hard to cut them out after the fact and hide any flaws behind a trim ring. This might prove to be a bad idea, but I am hoping that is not the case.
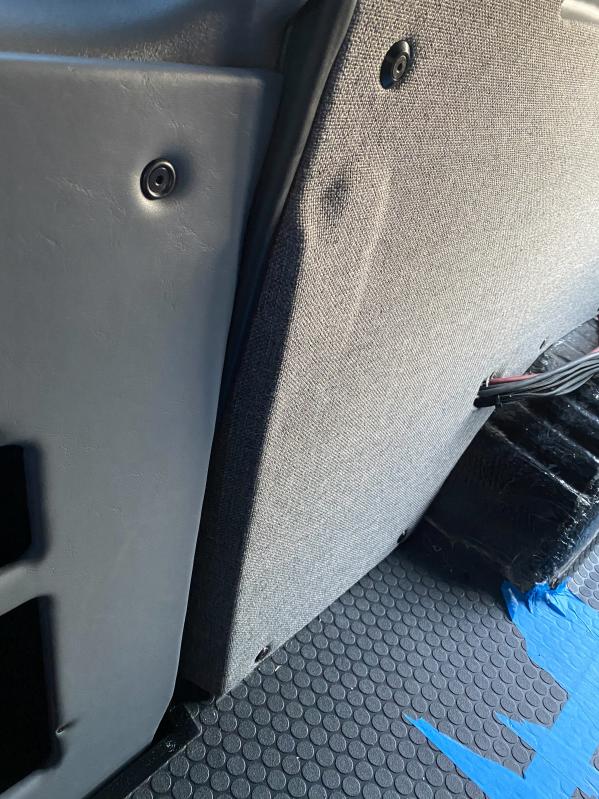
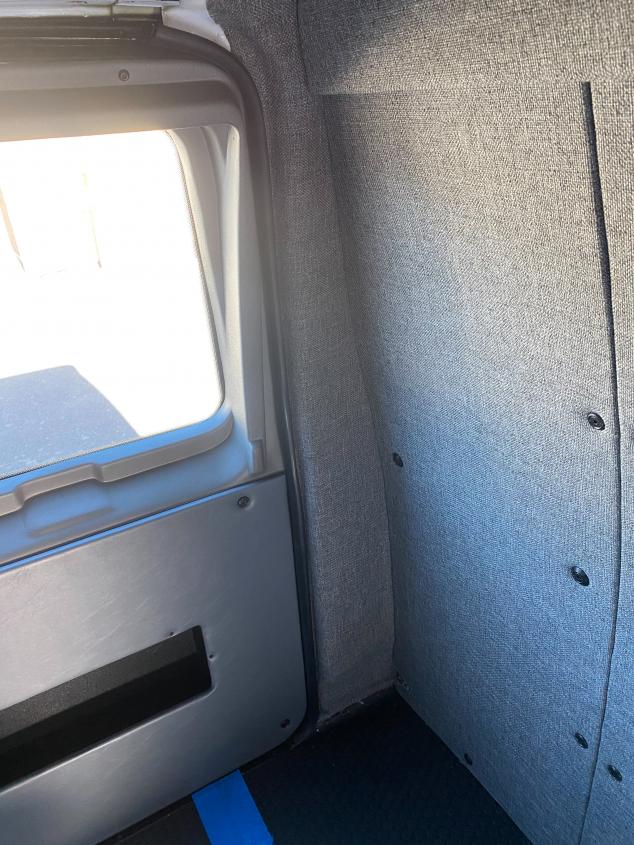
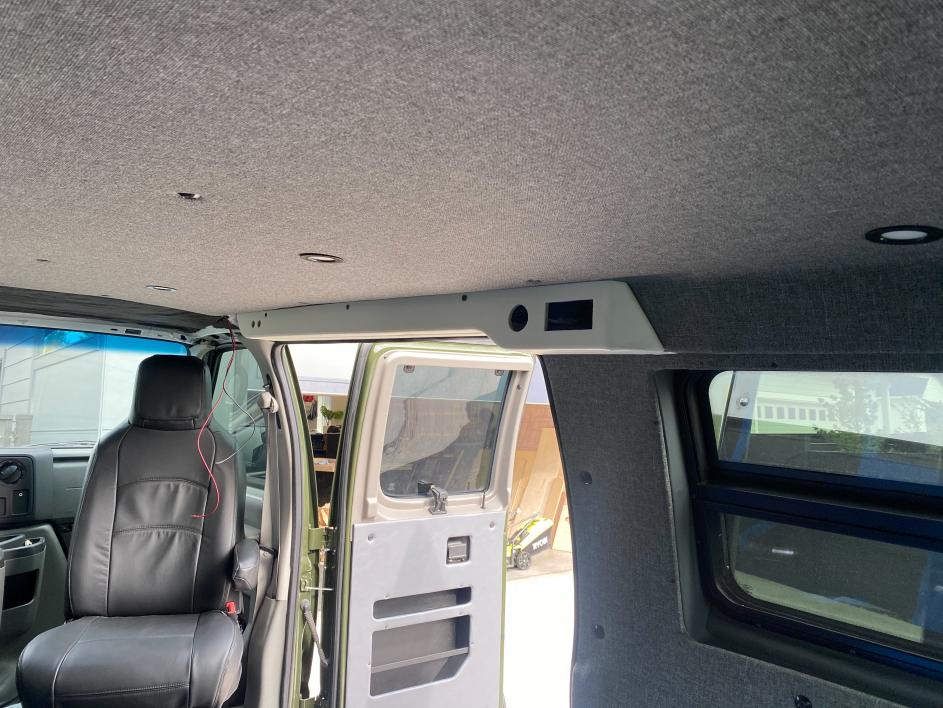
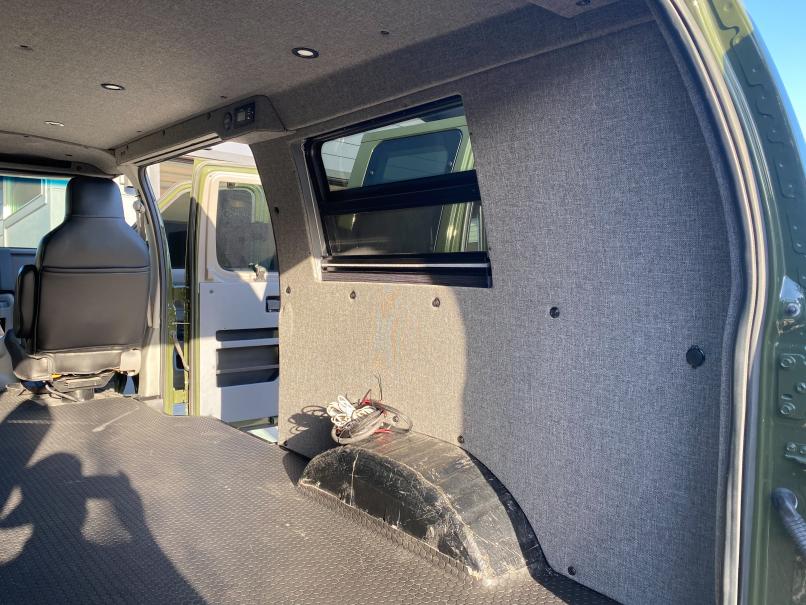
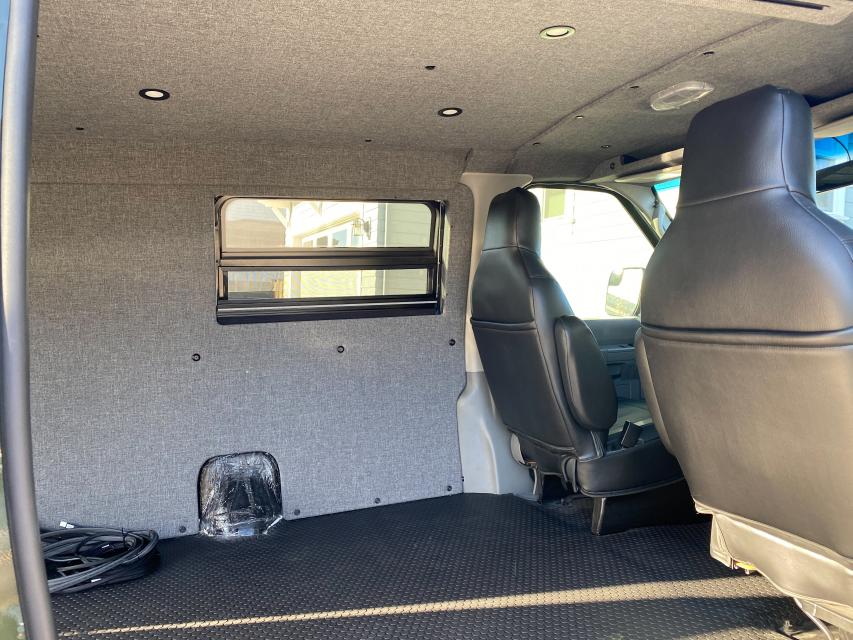
-Next up I repeated the process for the passenger side panel. Back when I cut my wall panel I had decided to run the panel all the way to the door frame which meant I needed to deal with the small bump out in the van body to the rear of the side doors and the return panel that needed to die back into the van body. If you look back in the thread you can see how I did that. Now that I am finished with that area I think my plan worked pretty well. I ran the foam and fabric over the bump out which left me with only a minimal bump in the finished wall. I also wrapped the fabric and foam all the way around the return panel as one continuous piece and I think it turned out pretty good!
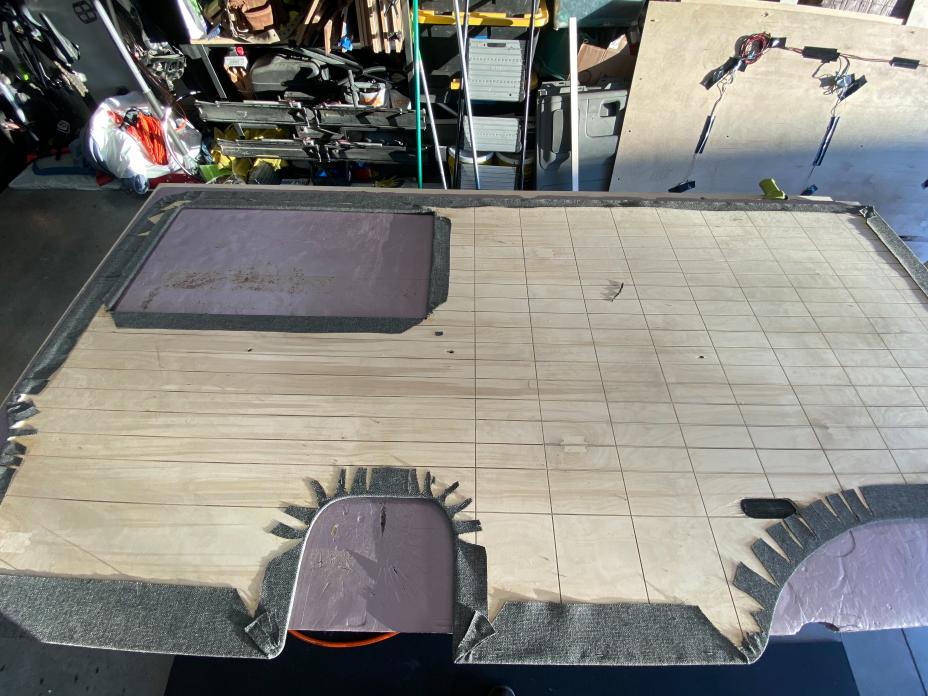
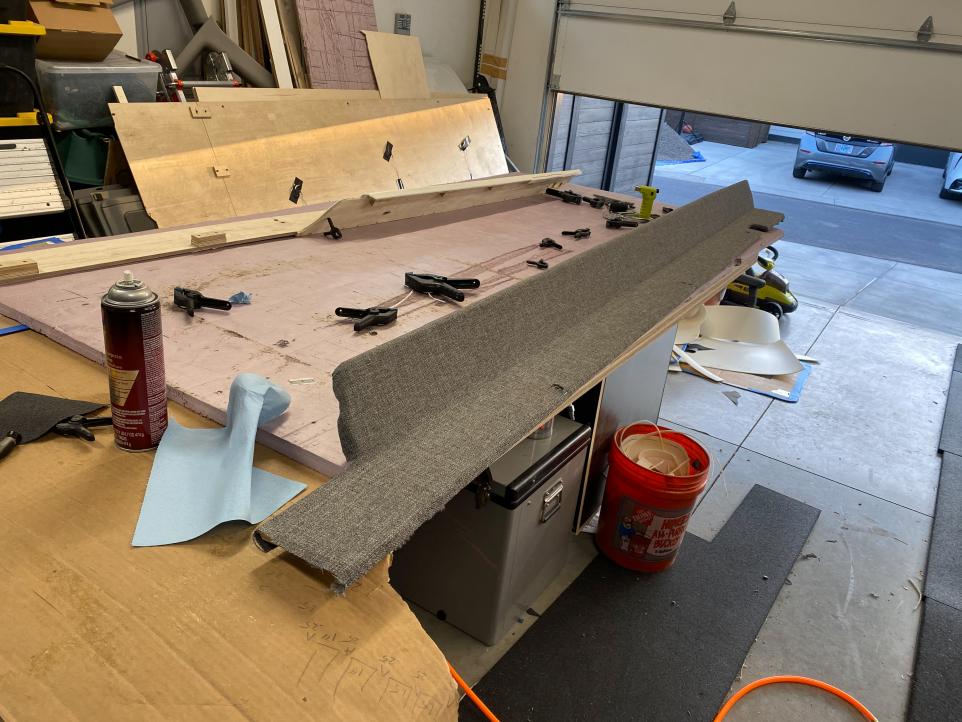
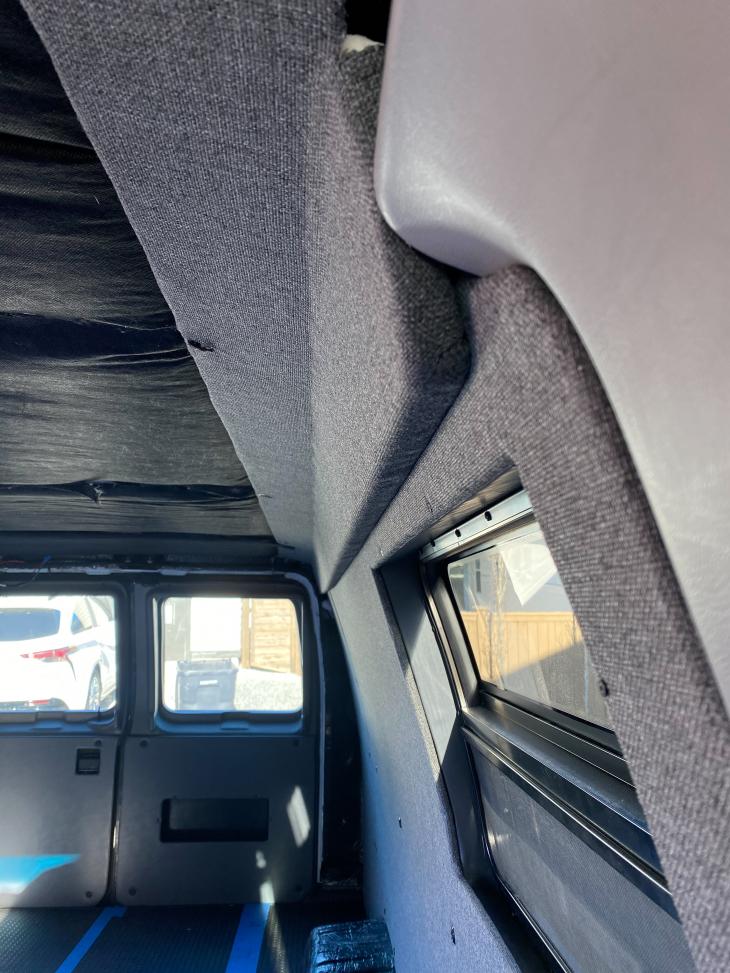
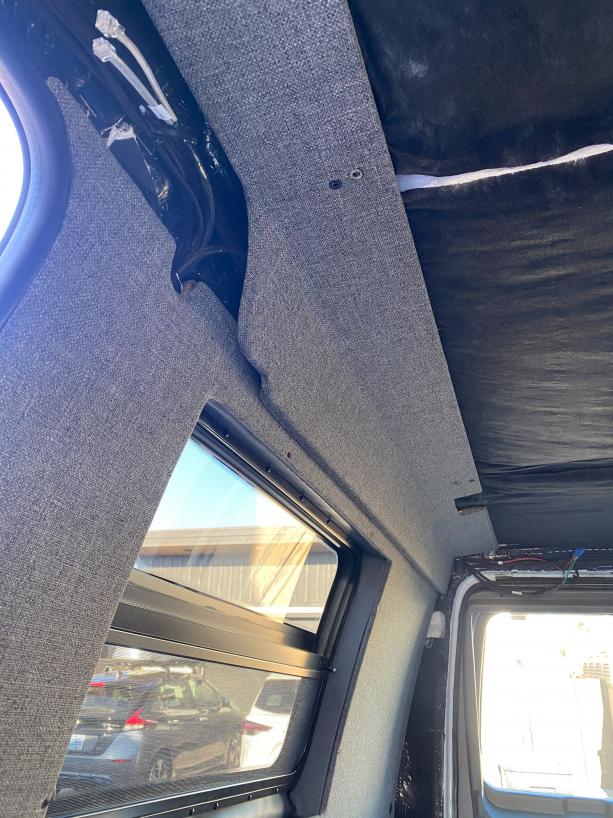
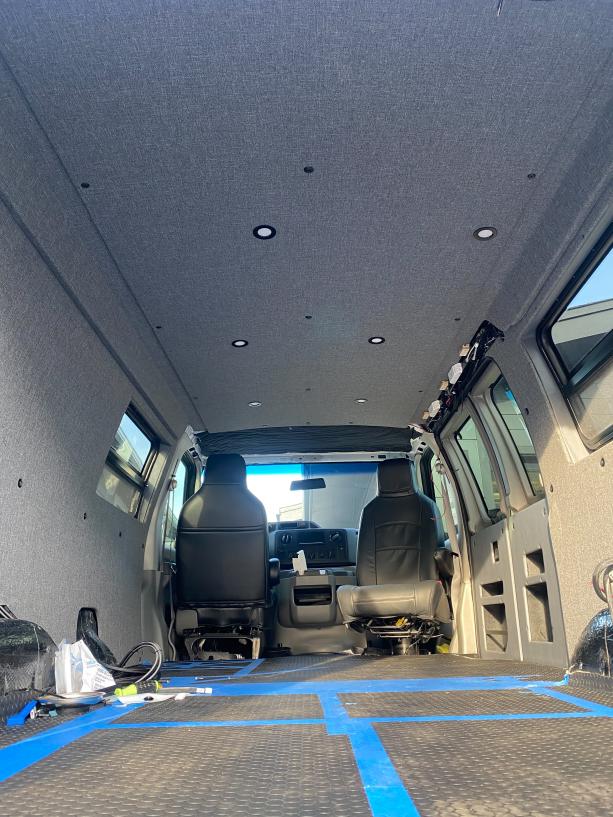
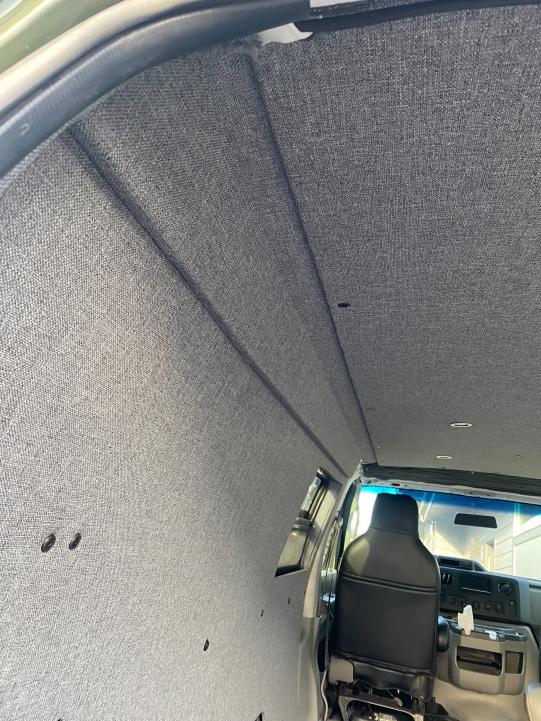
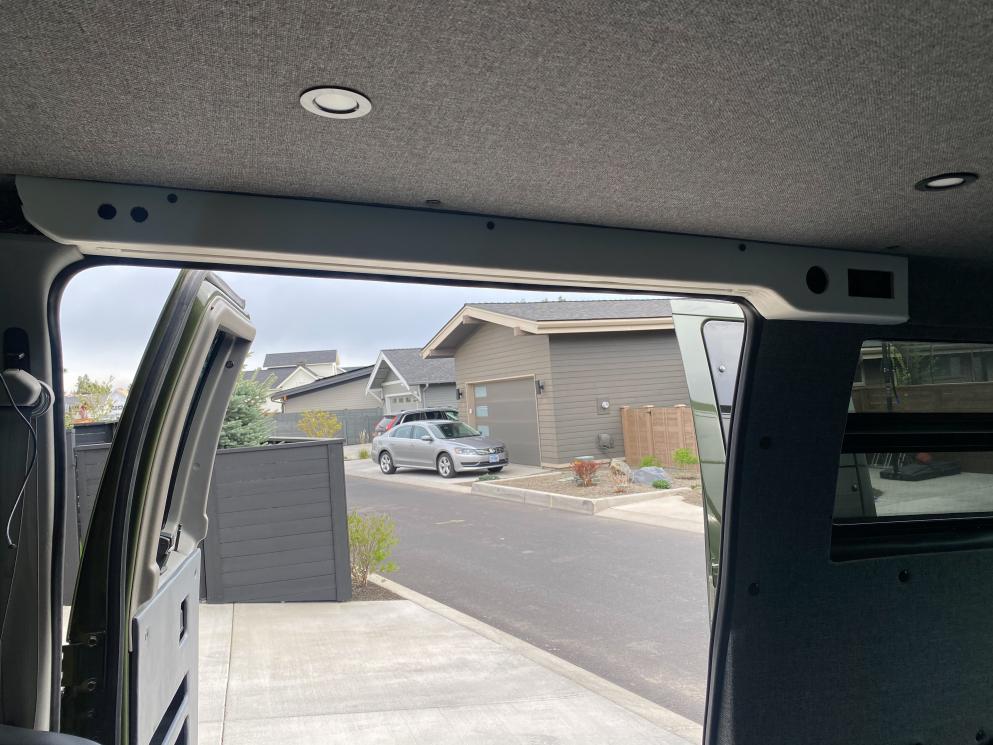
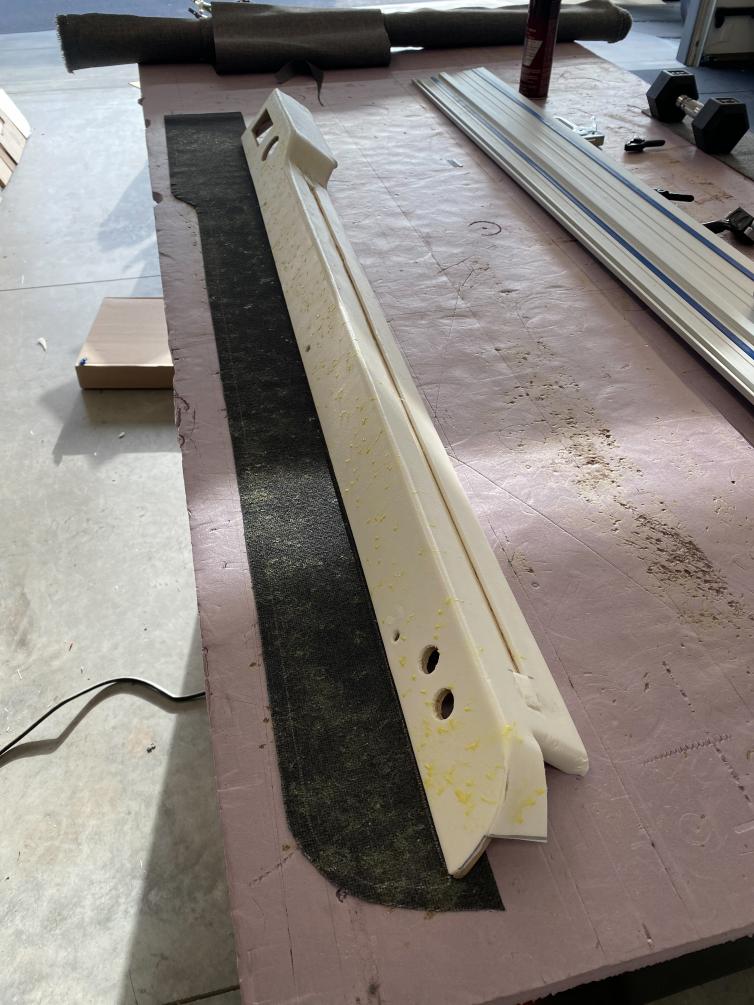
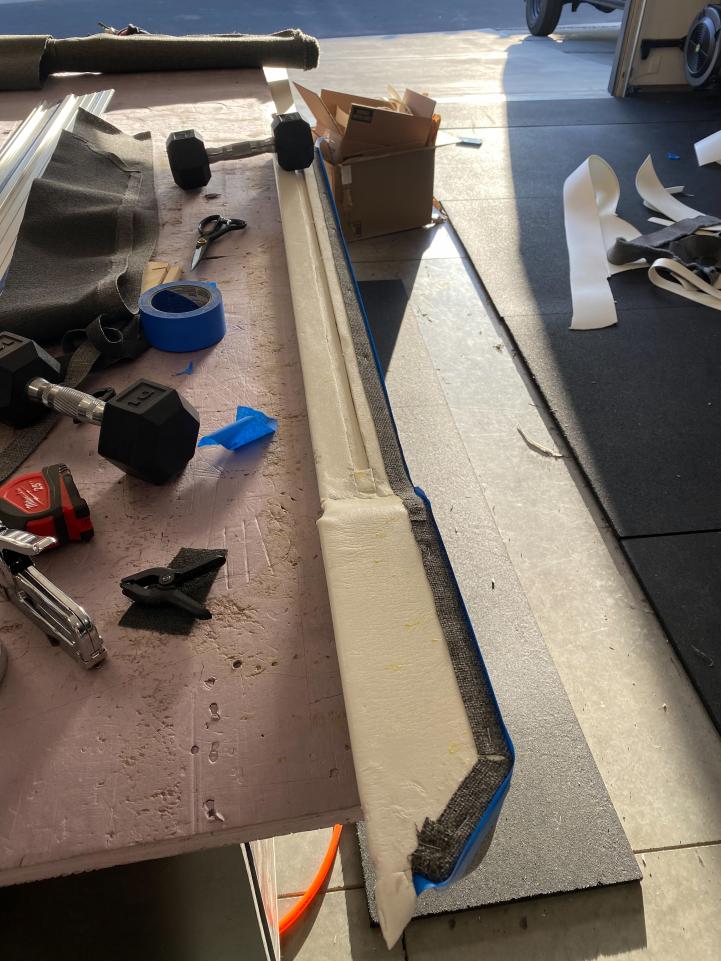
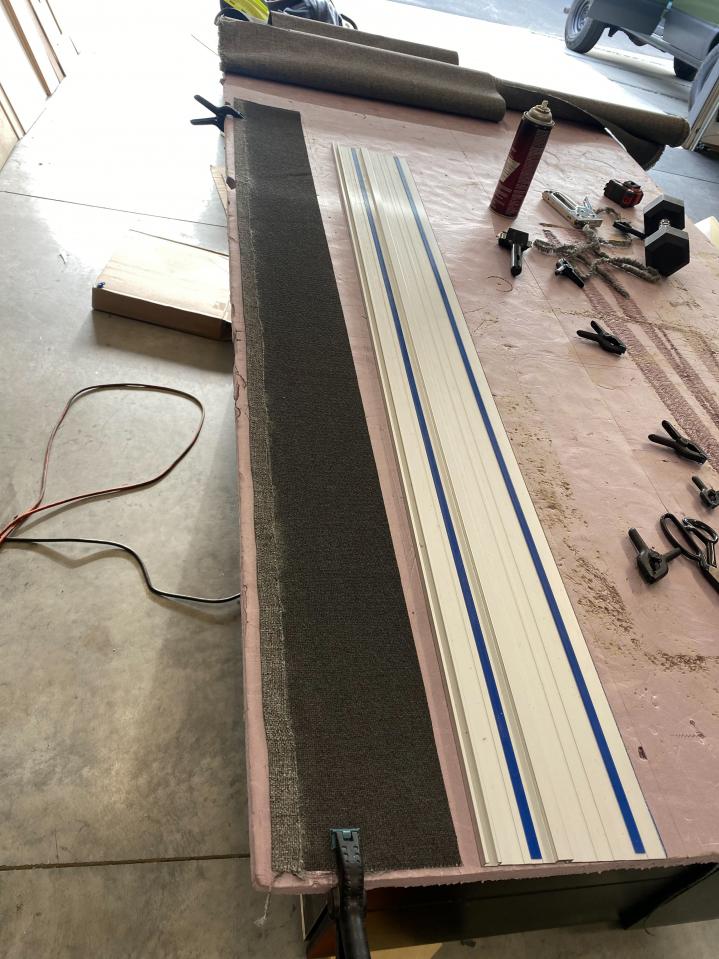
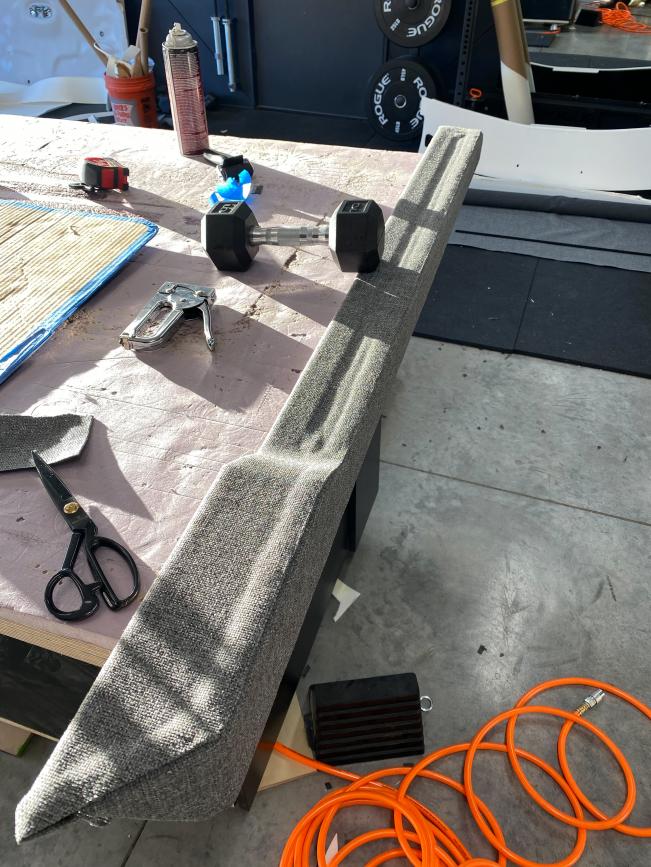
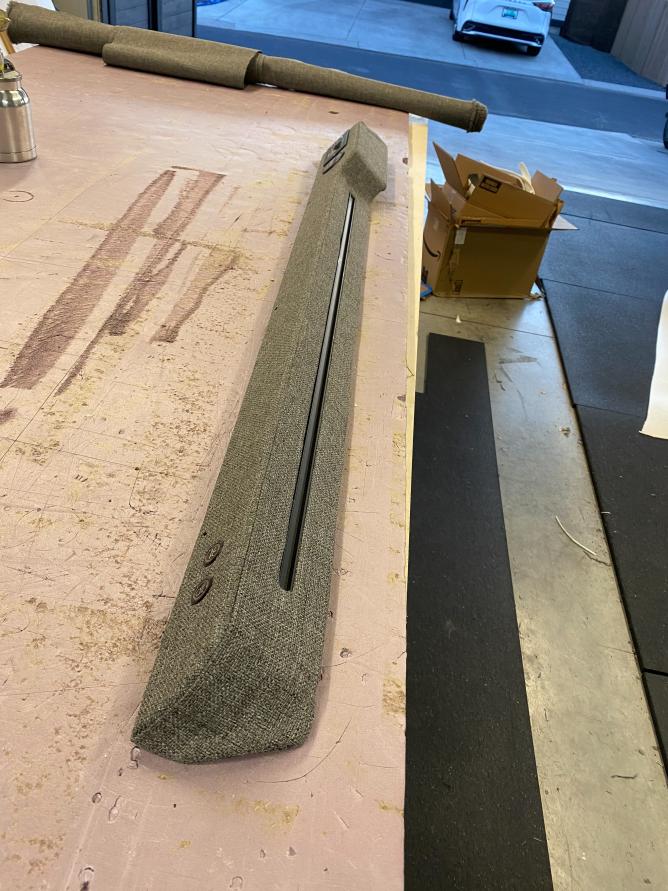
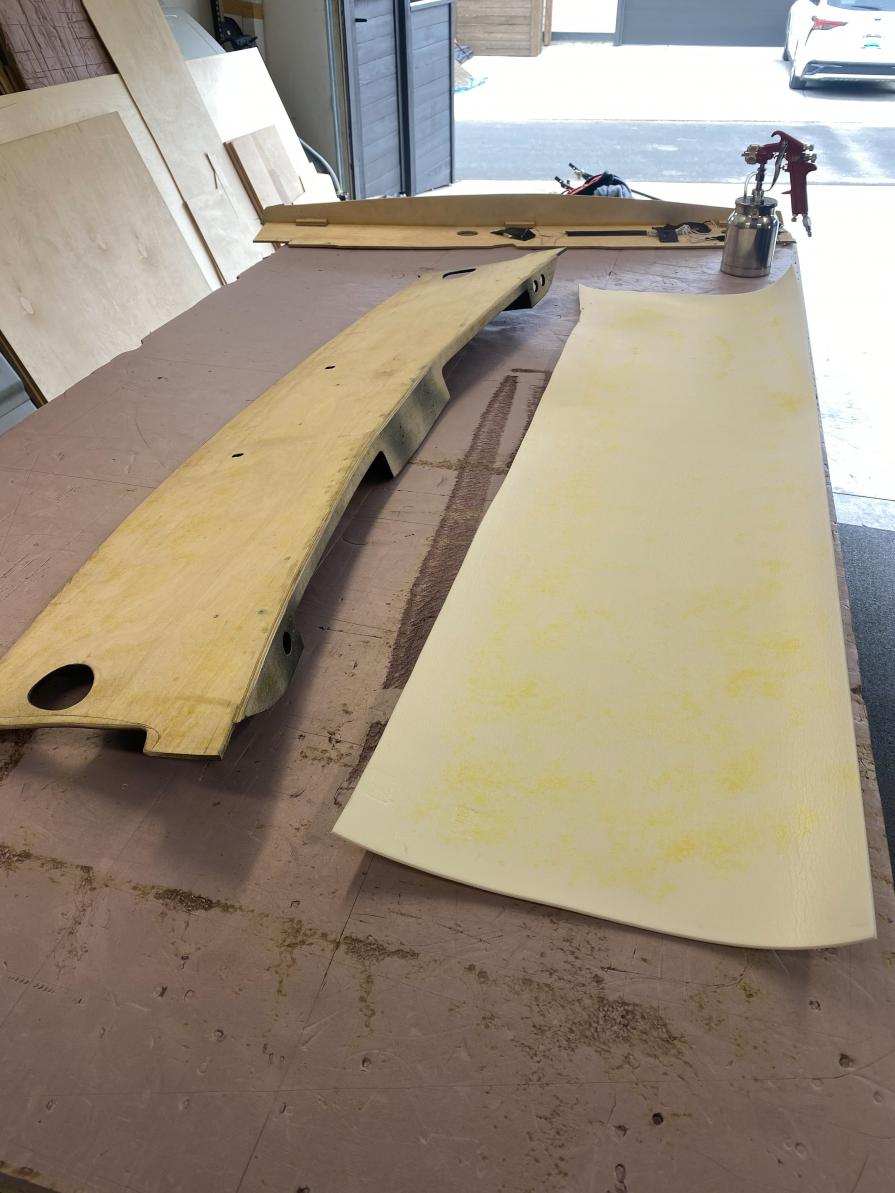
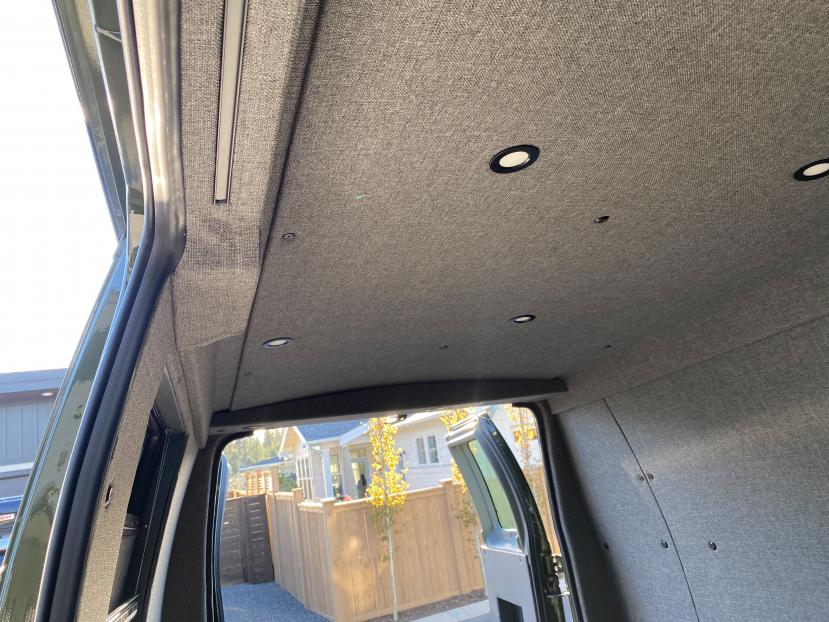
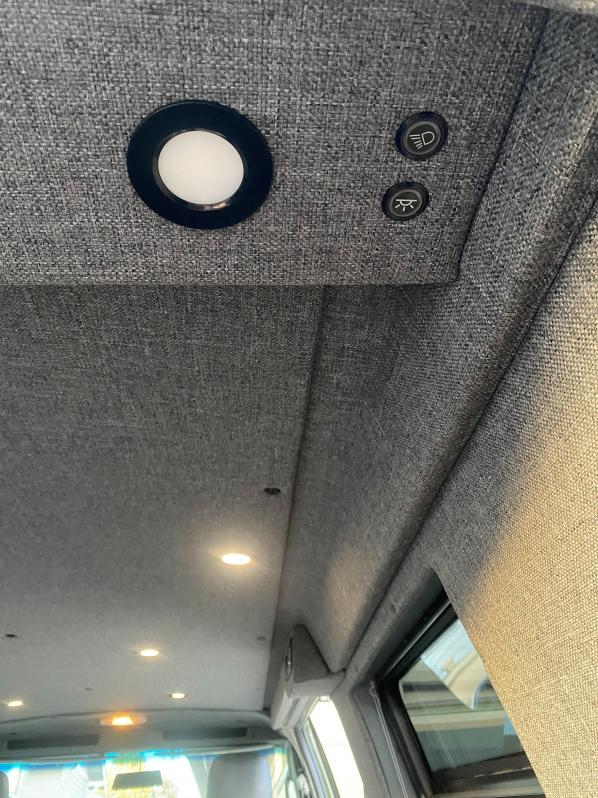
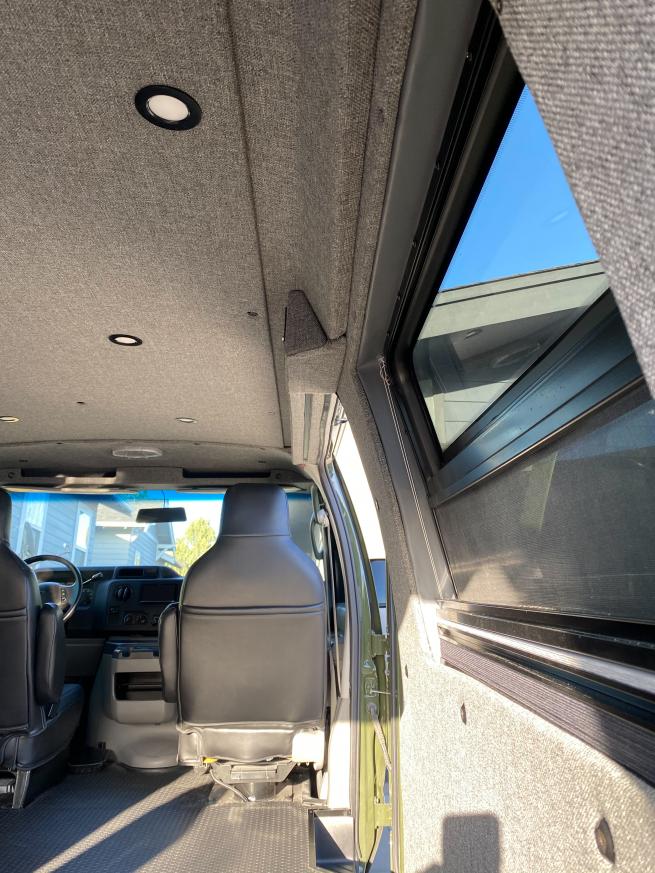
-After the wall panels I started on the transition pieces. I decided to only do foam on the downslope and bottom face of these pieces to make sure it didn't change the mounting surface for the ceiling panel. I used the same process and added extra foam in a few areas to help fill any gaps that I had. After getting the foam glued up I checked fitment before going to the fabric.
-Now that is where I am as of now! Pretty happy with how it's coming together so far. I am hoping to bust out the rest of the panels in the next few days and try to get going on some of the initial cabinet construction and the final electrical within the next week.


 Vandit
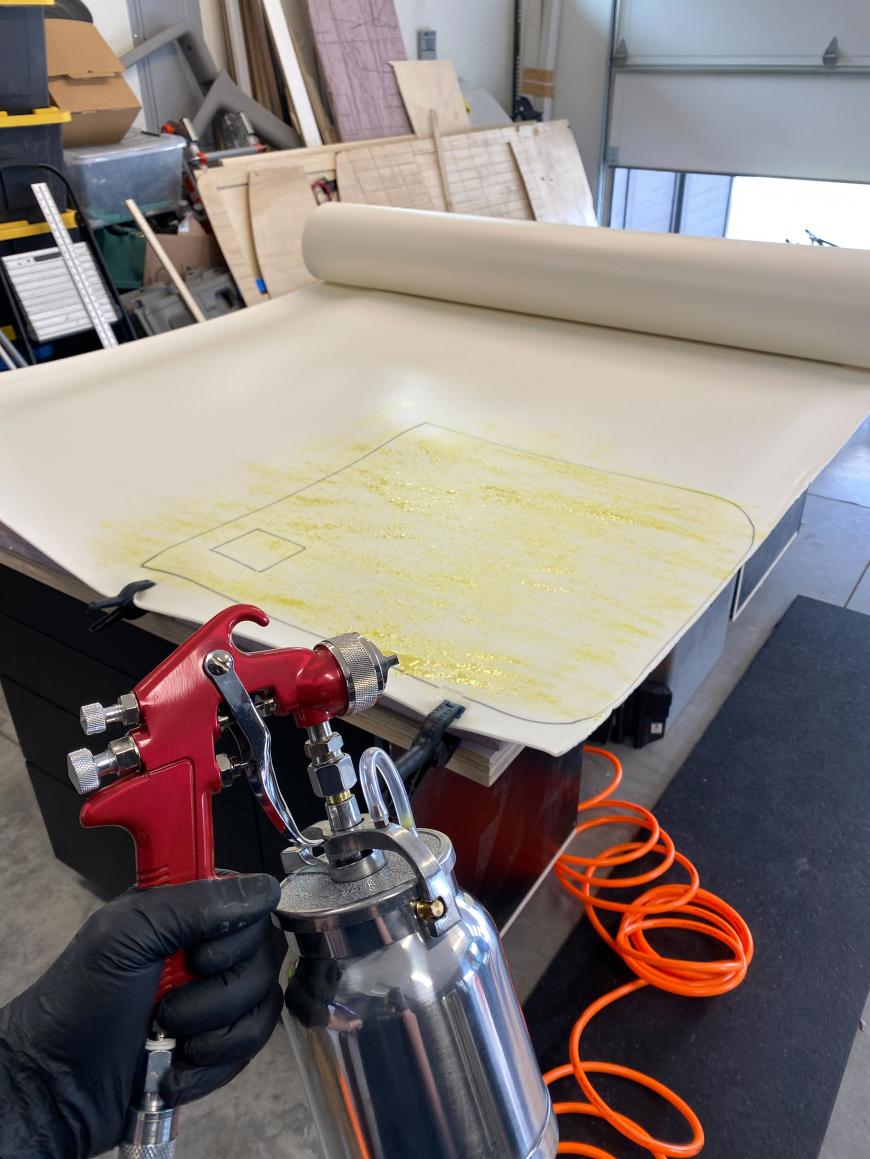


 Vandiesel II


 Linear Mode